


- sales/support
Google Chat:---
- sales
+86-0755-88291180
- sales01
sales@spotpear.com
- sales02
dragon_manager@163.com
- support
tech-support@spotpear.com
- CEO-Complaints
zhoujie@spotpear.com
- Only Tech-Support
WhatsApp:13246739196
- Purchase/Shipping/Refund
WhatsApp:13424403025
Speaker for micro:bit User Guide
Introduction
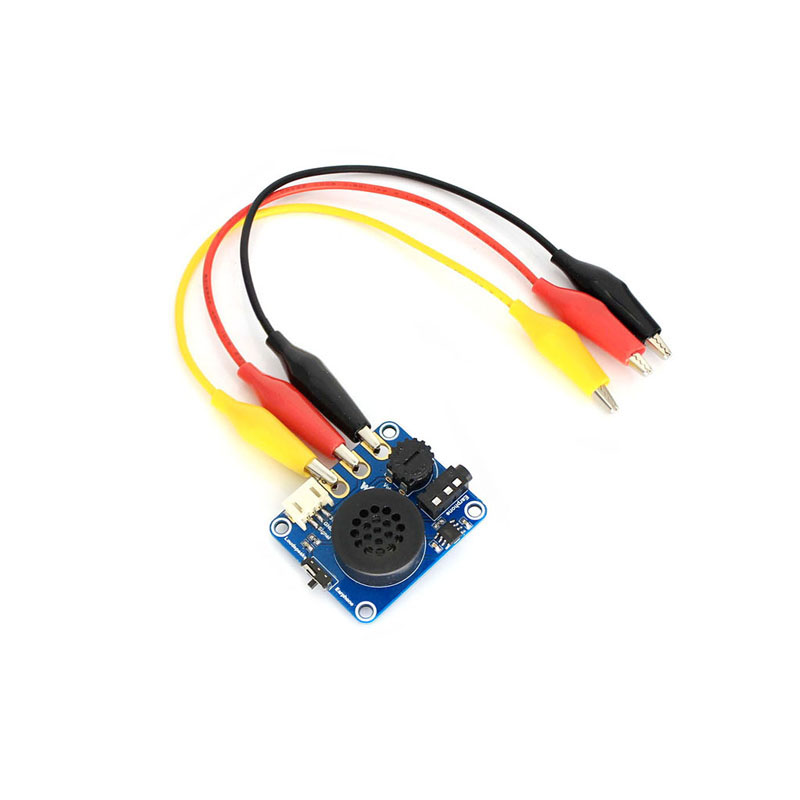
This product is a mini buzzer expansion board based on micro:bit, which integrates the IC NS8002 bridge audio power amplifier, a high quality speaker, and a headphone jack output plugin. The switcher allows you to choose a playback device,and it supports volume control.
Specification
- Dimension:36.52mm*30.72mm
- Operating Voltage: 2.0V~5.5V
- Volume adjustable: support
- Earphone jack: support
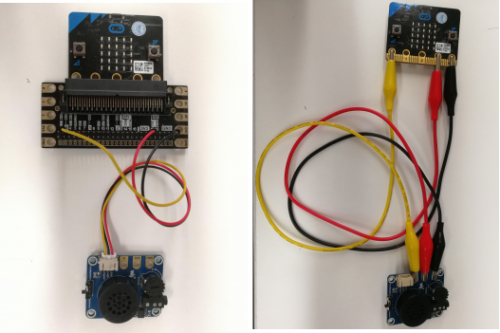
Hardware connection
There are two ways to connect this product
- Using the DuPont wires,
- Using alligator clip wires
Note:Both of these two kinds o cables come along with the product
Device description
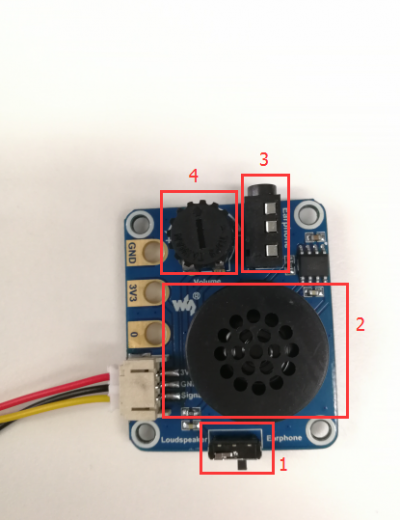
- Select audio device: Switch right for earphone output, switch left for speaker
- High quality speaker
- Ear[ones jack socket
- Volume control: Turn left to volume up, turn right to down
Programming Guide
Micor:bit has variety of programming methods like mbed, micropython, typescript and other programming methods, as well as code online websites which are abundant.
The official recommendation are two programming methods: typescript and micropython. Typescript is the graphical programming language.
Typescript
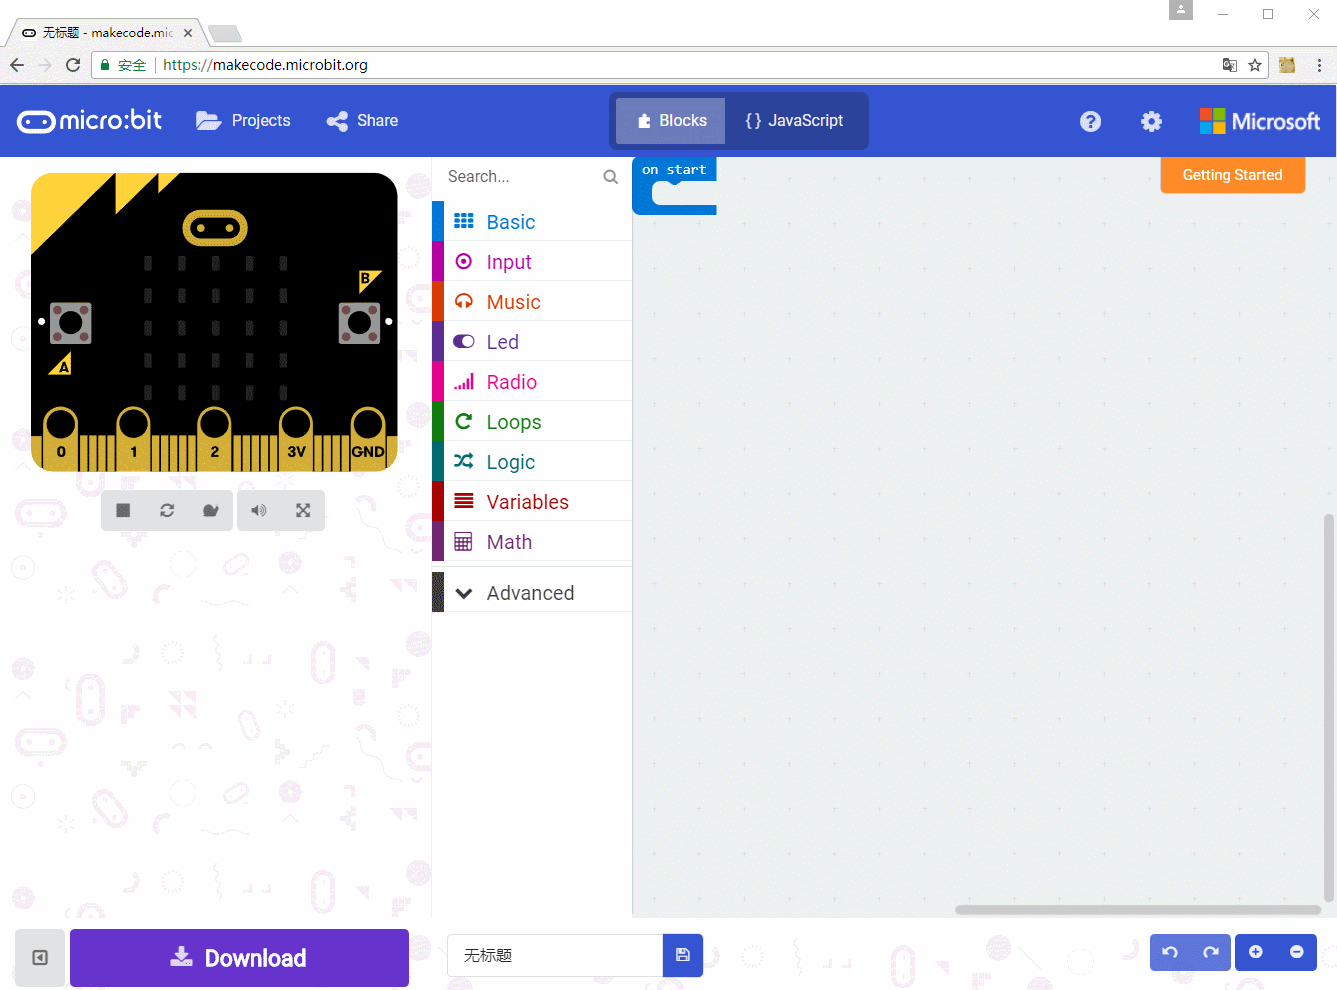
Typescript is a kind of graphical programming, its website is that: https://makecode.microbit.org/#
- Open a browser and input the next URL
- Playing a musical melody and setting the beat
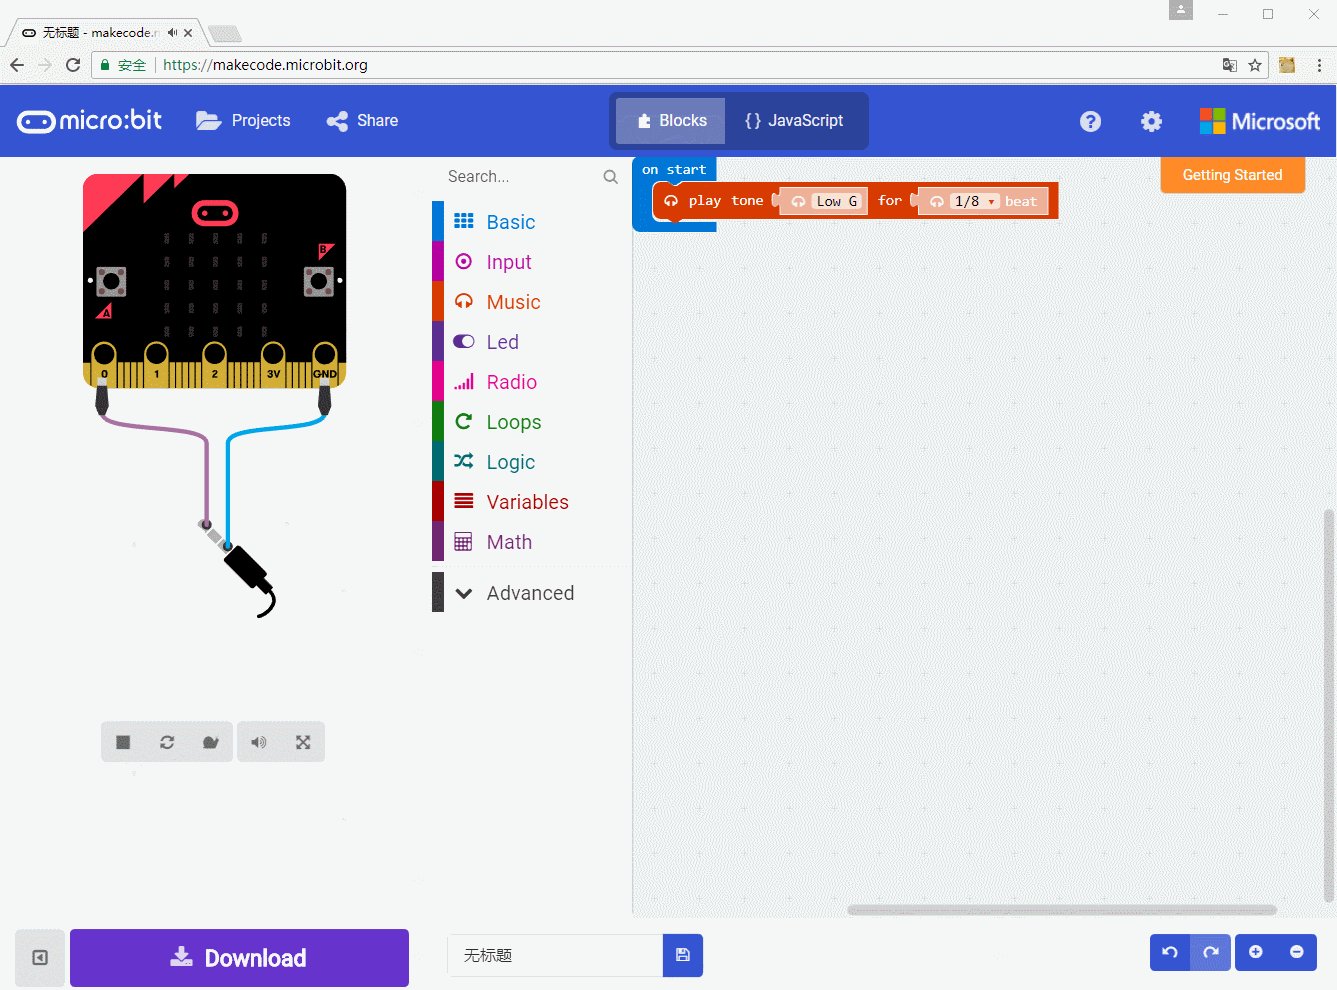
Click "music" on the left side, and place "play tone" inside "on start" block. First select a note, then set its beat. If your computer has playback device, it will play the corresponding voice.
- Playing music tones
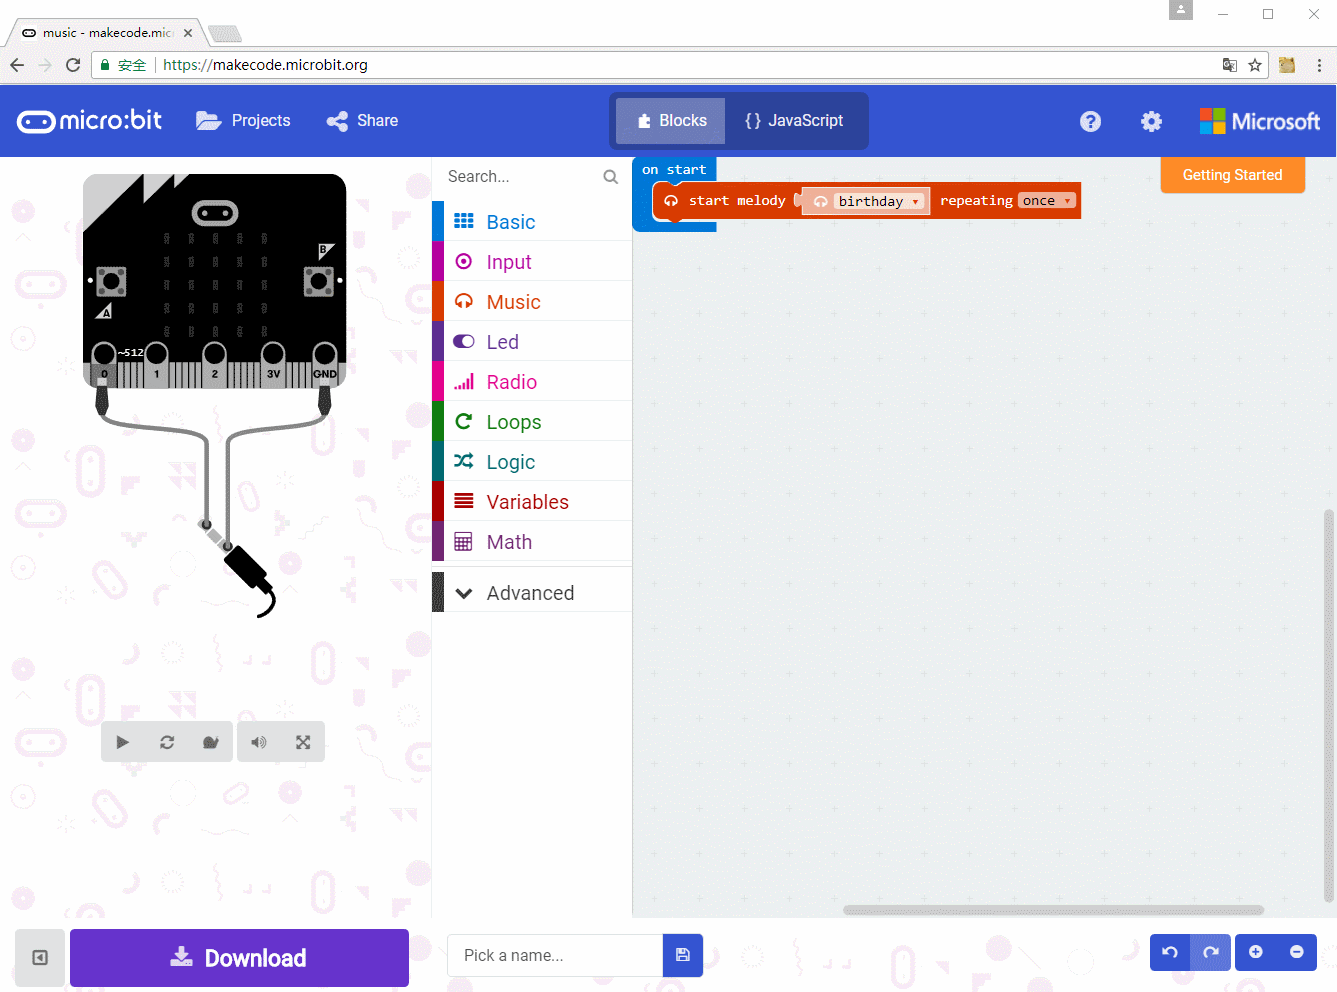
First remove "play tone" by dragging it to the left side, then place “start melody” block inside "on start" block.
The first parameter is to chooes a melody, and the second parameter is the number of times to play the melody again.
- Download
Connect the micro:bit to the computer. It will appear as a removable drive of 8 MB. This time you can download the program into the micro:bot
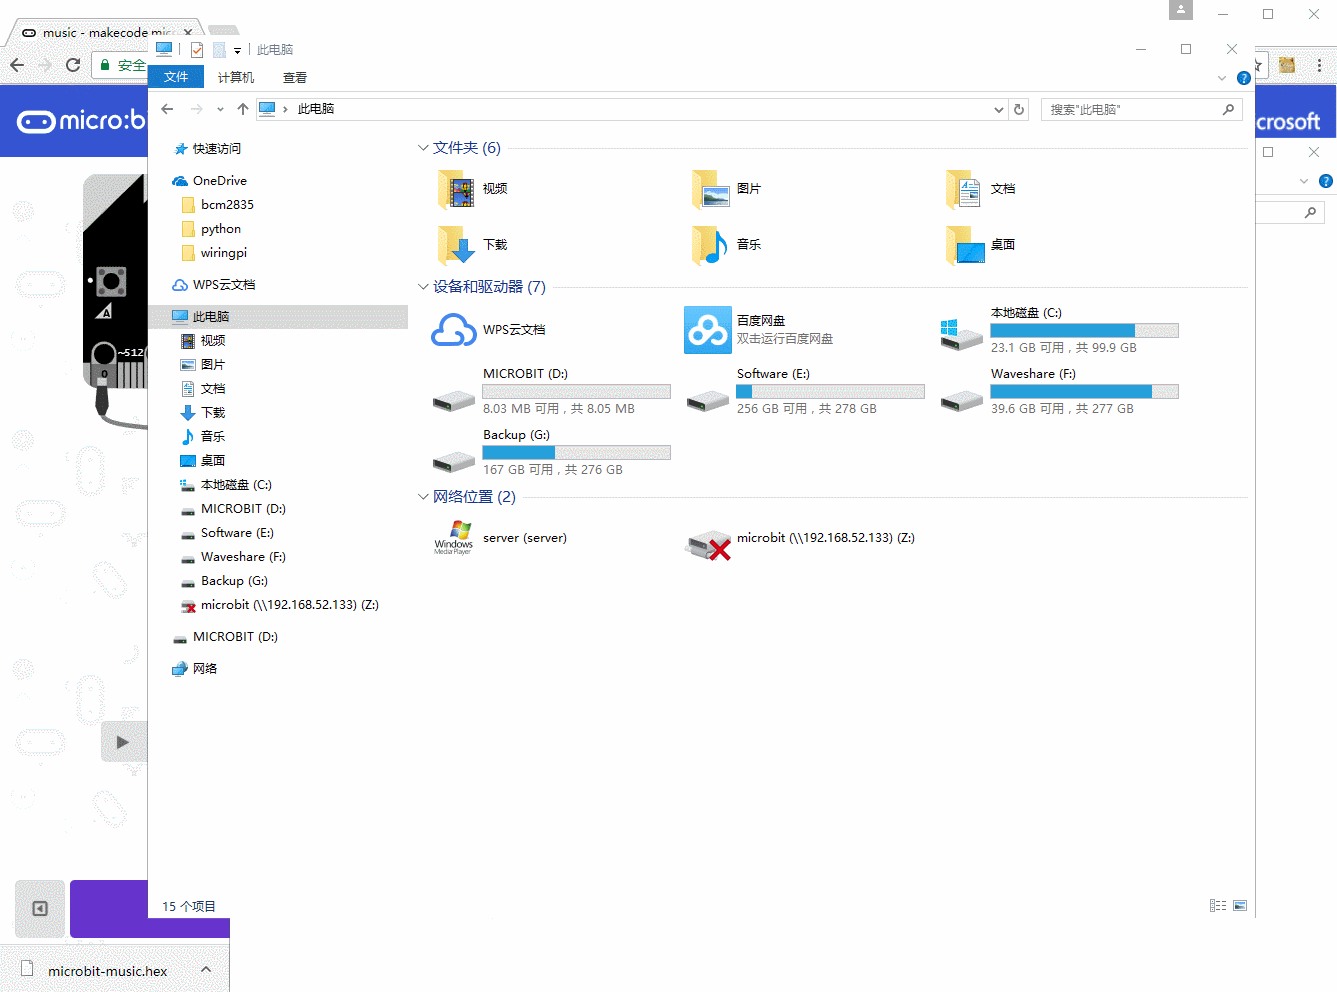
Choose a name for the project, save and download the HEX file. Copy the HEX file from the folder where it was saved and paste it onto the "MICROBIT" removable drive.
Micropython
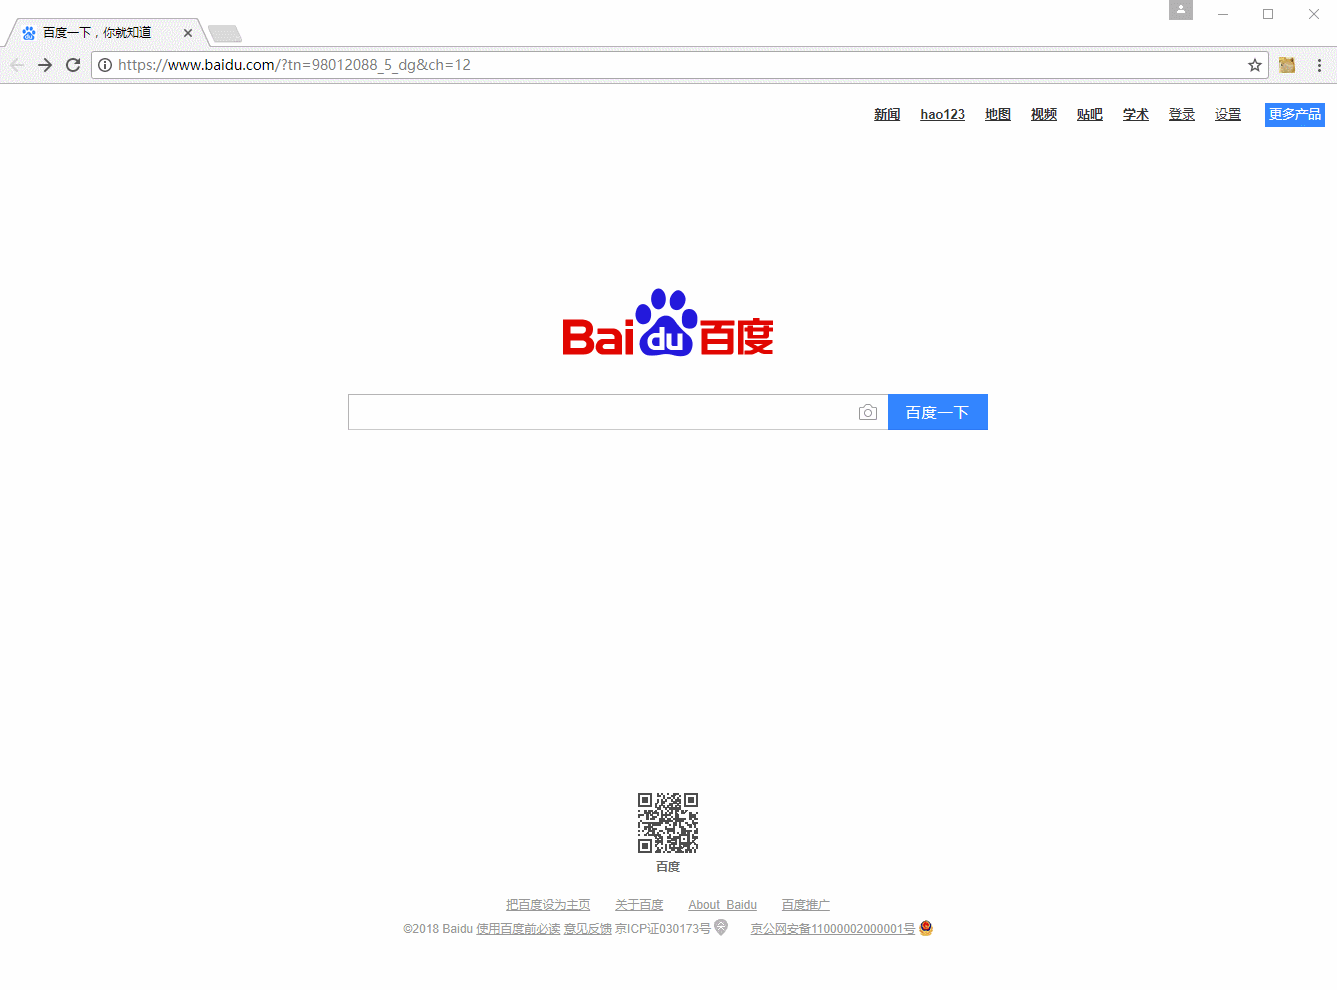
For micropython, there are two ways to use it, one is use online programming website: http://python.microbit.org/v/1
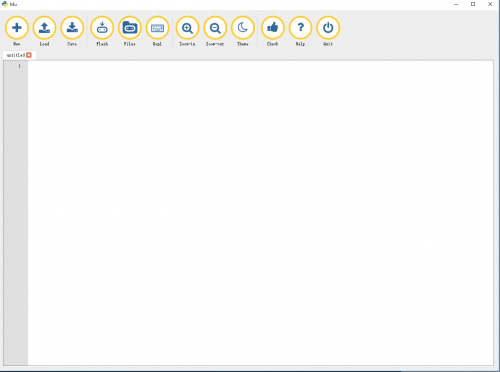
And another is offline program software Mu.
- Open the software
- Opening the programming manual
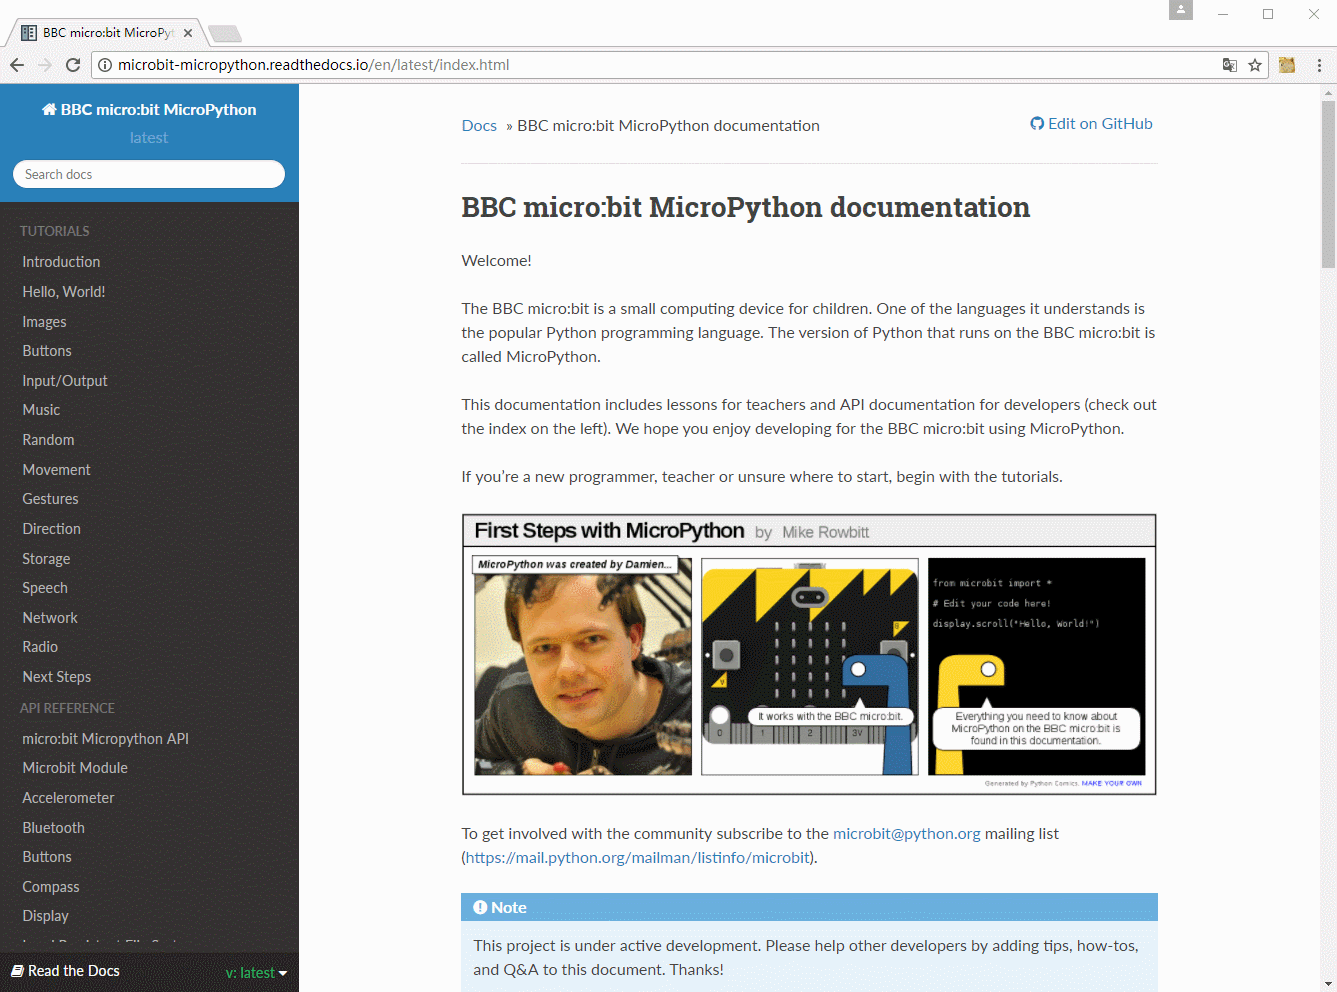
Click the link below to open the micro:bit official programming manual
https://microbit-micropython.readthedocs.io/en/latest/index.html
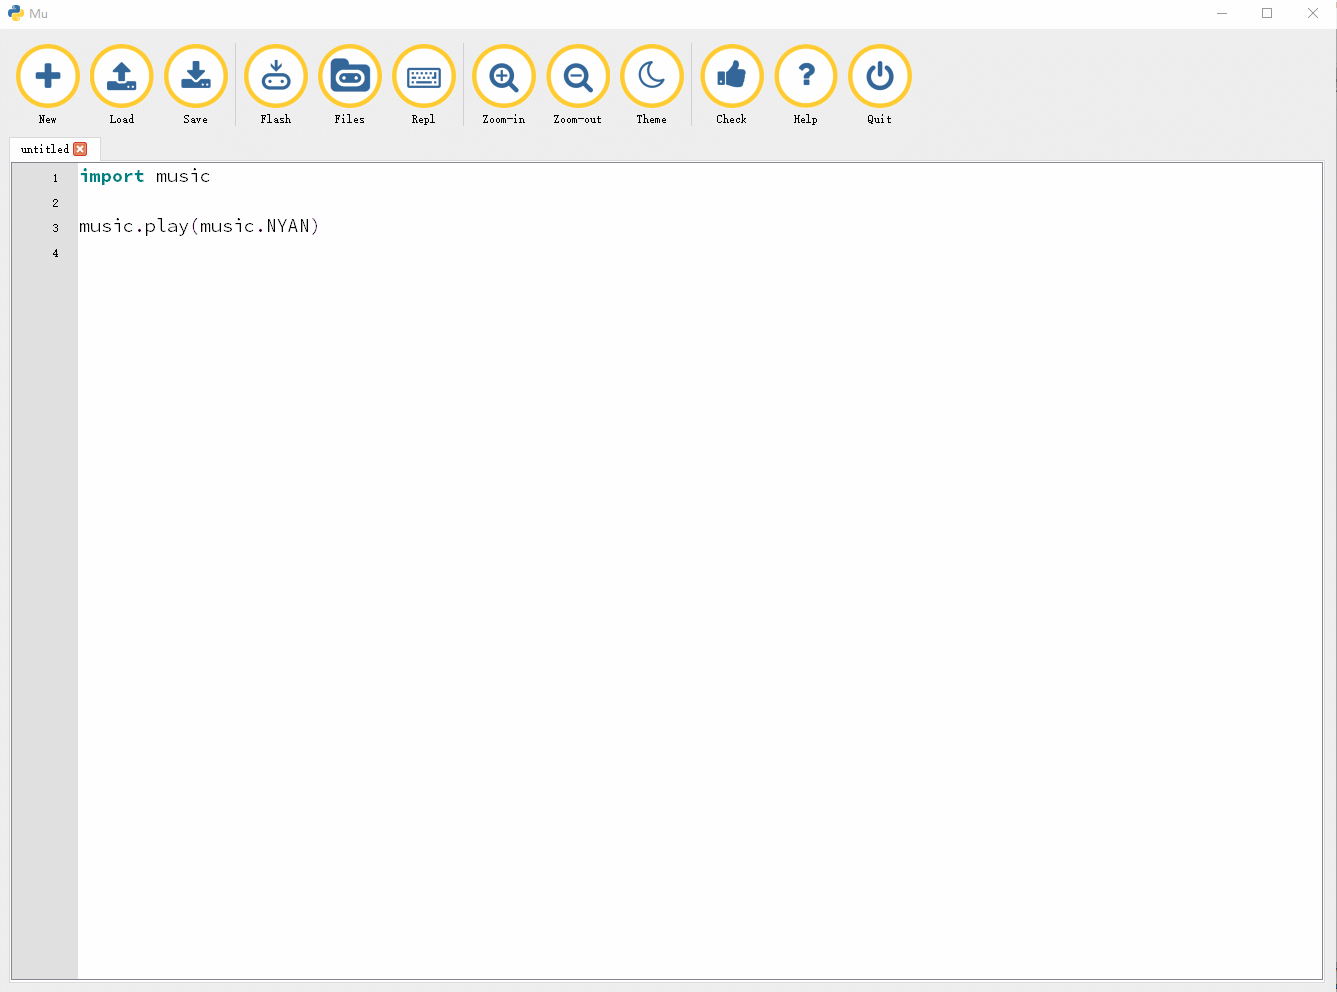
Click music to copy the section code:
- Download
Copy the code as the below step, and past it to the Mu. Click "check" for error checking, After no error are found click Flash button, and select micro:bit and download it.
Note: For more information about the programming, please refer to the programming manual.