- sales/support
Google Chat:---
- sales
+86-0755-88291180
- sales01
sales@spotpear.com
- sales02
dragon_manager@163.com
- support
tech-support@spotpear.com
- CEO-Complaints
zhoujie@spotpear.com
- Only Tech-Support
WhatsApp:13246739196
- Purchase/Shipping/Refund
WhatsApp:13424403025
Raspberry Pi 4B X880 Board User Guide
Overview
This X880 USB 3 to dual SATA Gen3 ports shield makes it easy to add high-capacity, high-performance external data storage to your Raspberry Pi 4.The dual SATA shield supports two 2.5" or 3.5" SATA hard drives with ultra-fast data transfer speeds and configurable RAID modes. This dual SATA shield delivers fast file transfer rates up to 5Gbps with USB 3.1 Gen 1 performance. It supports SATA I, II and III and is enhanced with UASP to maximize the performance and speed of your SATA III drives. The dual SATA shield provides an effective solution for Raspberry Pi 4 to store, access, back up, and protect important files.
NOTE:
- We do not recommend using Samsung hard drives,Please use hard drives of other brands.
- Not supported for use with the X735 Power Management Board or X708/X728 UPS board.
Features
- Ideal storage solution for Raspberry Pi 4 - Dual SATA Gen3 ports Shield
- Create high performance storage with a dual SATA HDD RAID array through USB 3.1 (5Gbps)
- Supports Standard Desktop 2.5"/3.5" SATA Hard Drives or SSD
- Supports SATA I, II and III and is enhanced with UASP to maximize the performance and speed of your SATA III drives
- Supports Transfer Speeds up to 5Gbps (USB 3.0),480Mbps (USB 2.0), 12Mbps (USB 1.1)
- Supports hardware JBOD, RAID0(striping), RAID1(mirror), Normal mode
- Supports mode select via jumper setting
- Plug-and-play, no drivers needed
- Powers the Raspberry Pi 4 via test pins - Only one PSU required
- Specially-made USB3.1 jumper to connect with RaspberryPi - no additional cables needed
- LED blue indicator indicates each drive status
- Mounting holes and standoffs provide mechanicalstability of the RaspberryPi and X880 assembly
- Heat dissipation solution:We recommend use embedded radiator P165-A or P165-B
- Supports installation of X880-A1 A2 2.5 "/ 3.5" SATA SSD/HDD Shield
Raid Setting
[About Raid]
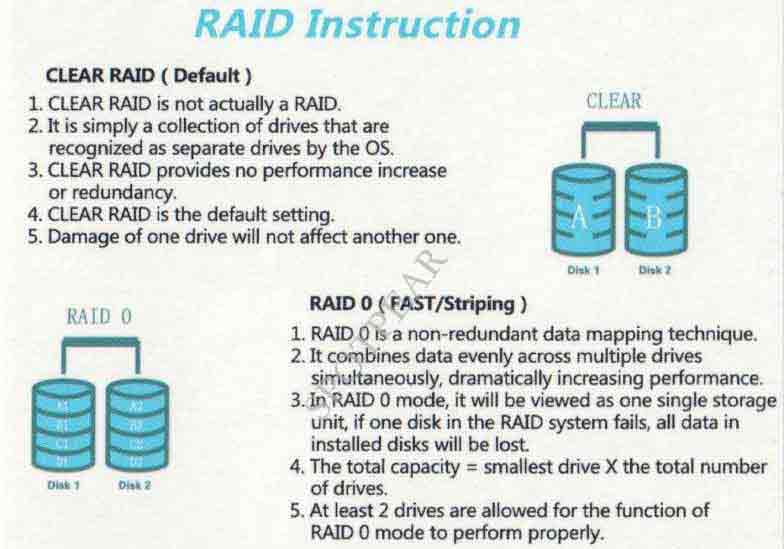
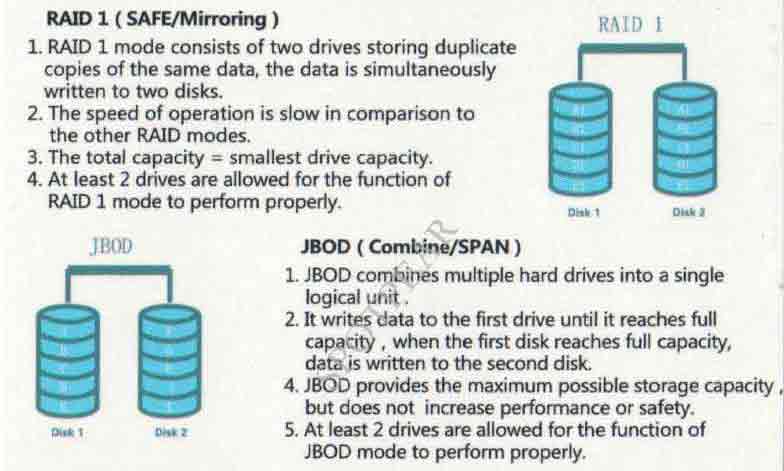
【RAID setup and Jumper setting】
*Warning : Please backup your data before setup and switch, otherwise you maybe lost your data.
1. Install the HDDs
2. Please connect the X880 to your PC or Raspberry Pi board and keep power on
3. Switch RAID mode
- Set the switch button to your preferred RAID mode(PM/RAID 0/RAID 1/SPAN) as per the RAID illustration table.
- Press the SET button for about 5 seconds, and release it till the blue LED indicators starts flashing.
- After RAID mode changed, please confirm that the PC can recognize the disk(s) properly and shows the right capacity.
or you can run the fdisk -l command to view the hard drive on raspberry pi OS when you connect x880 to raspberry pi board:
fdisk -l
You can found two hard drives if you select 'clear raid mode'(this is PM model)
pi@raspberrypi:~ $ fdisk -l
fdisk: cannot open /dev/ram0: Permission denied
fdisk: cannot open /dev/ram1: Permission denied
fdisk: cannot open /dev/ram2: Permission denied
fdisk: cannot open /dev/ram3: Permission denied
fdisk: cannot open /dev/ram4: Permission denied
fdisk: cannot open /dev/ram5: Permission denied
fdisk: cannot open /dev/ram6: Permission denied
fdisk: cannot open /dev/ram7: Permission denied
fdisk: cannot open /dev/ram8: Permission denied
fdisk: cannot open /dev/ram9: Permission denied
fdisk: cannot open /dev/ram10: Permission denied
fdisk: cannot open /dev/ram11: Permission denied
fdisk: cannot open /dev/ram12: Permission denied
fdisk: cannot open /dev/ram13: Permission denied
fdisk: cannot open /dev/ram14: Permission denied
fdisk: cannot open /dev/ram15: Permission denied
fdisk: cannot open /dev/mmcblk0: Permission denied
fdisk: cannot open /dev/sda: Permission denied
fdisk: cannot open /dev/sdb: Permission denied
or
You found only one hard drive if you select the RAID0/RAID1/SPAN model
pi@raspberrypi:~ $ fdisk -l
fdisk: cannot open /dev/ram0: Permission denied
fdisk: cannot open /dev/ram1: Permission denied
fdisk: cannot open /dev/ram2: Permission denied
fdisk: cannot open /dev/ram3: Permission denied
fdisk: cannot open /dev/ram4: Permission denied
fdisk: cannot open /dev/ram5: Permission denied
fdisk: cannot open /dev/ram6: Permission denied
fdisk: cannot open /dev/ram7: Permission denied
fdisk: cannot open /dev/ram8: Permission denied
fdisk: cannot open /dev/ram9: Permission denied
fdisk: cannot open /dev/ram10: Permission denied
fdisk: cannot open /dev/ram11: Permission denied
fdisk: cannot open /dev/ram12: Permission denied
fdisk: cannot open /dev/ram13: Permission denied
fdisk: cannot open /dev/ram14: Permission denied
fdisk: cannot open /dev/ram15: Permission denied
fdisk: cannot open /dev/mmcblk0: Permission denied
fdisk: cannot open /dev/sda: Permission denied
4. Set CLEAR RAID mode (PM, factory default setup)
- Press the SET button for about 5 seconds then and release it till blue LED indicators starts flashing.
- After above processes, the setup for CLEAR RAID is done.
[NOTE]
Once you set the RAID mode successfully, you need to partition&format&mount the hdd/ssd, so that it can be recognized by your Raspberry Pi OS. please refer to How to View/Partition/Format/Mount HDD/SSD
Power Supply Requirement
- Power supply: 12Vdc +/-5% , ≥3A
- Ports & Connectors: DC jack - 5.5x2.1mm
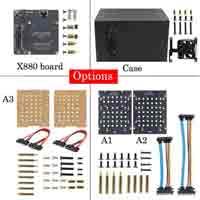
X880-A1-A2
The X880-A1 and X880-A2 are two pcs PCB boards with positioning holes that use to hold the 2.5" or 3.5" HDD/SSDs to use with X880 board togehter. Also include 2pcs SATA 7+15pin Male to Female Cables.
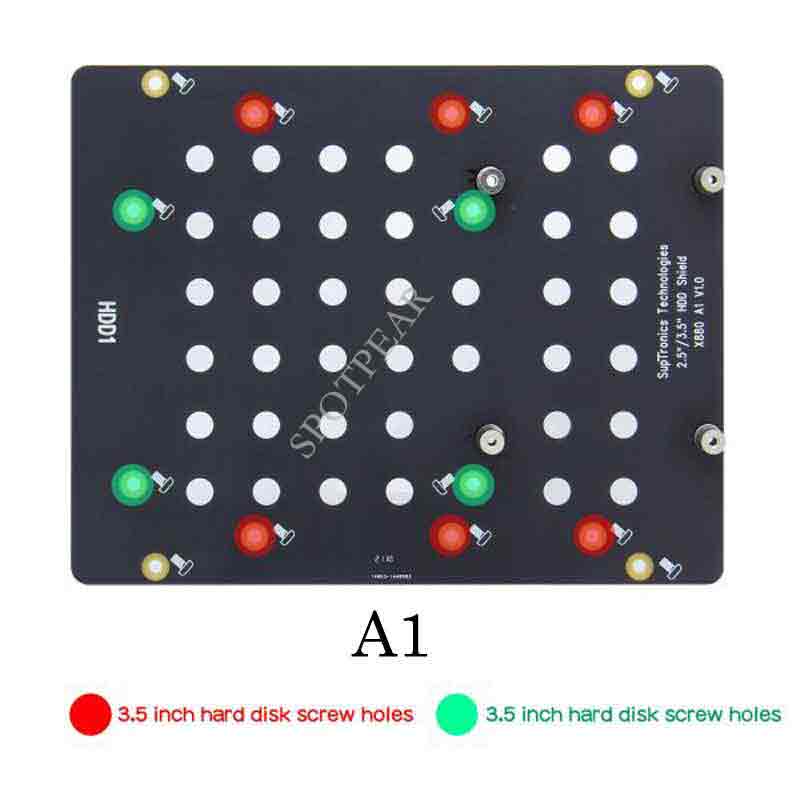
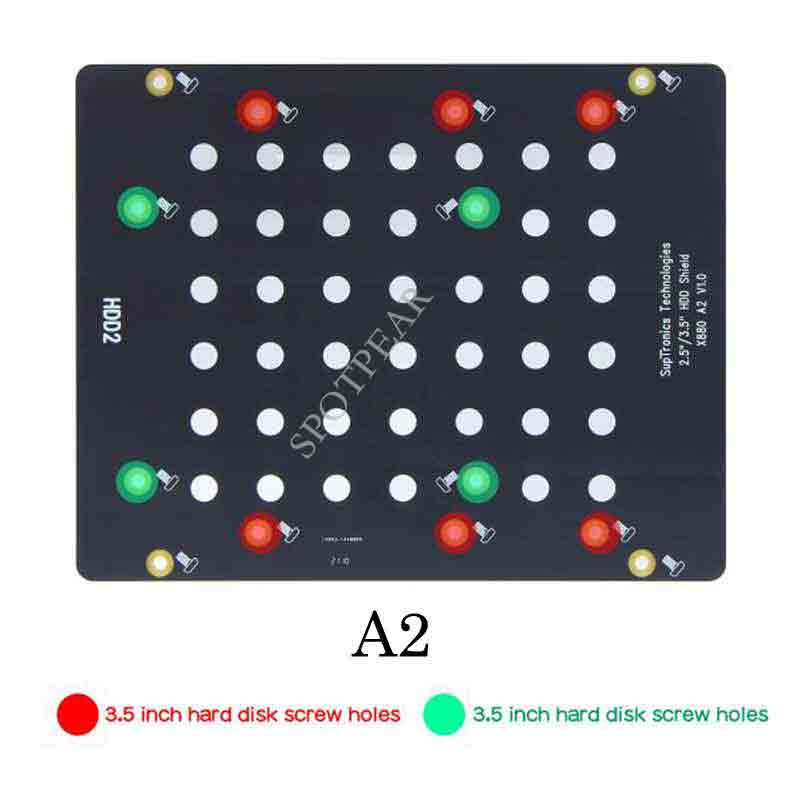
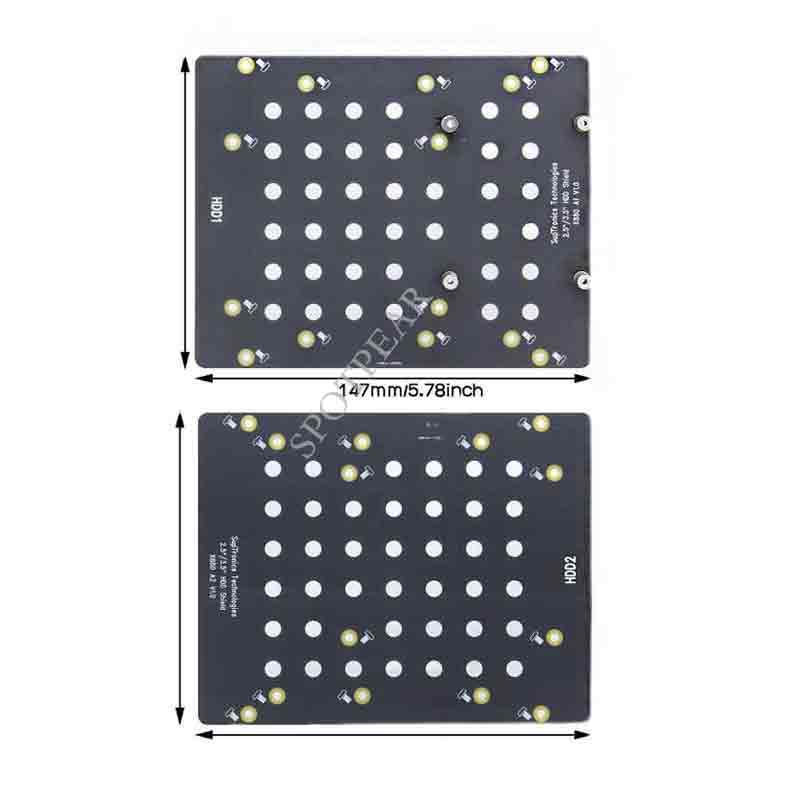
Matching Metal Case
X880-C1
Please refer to X880-C1. The X880-C1 is released on March 2022.
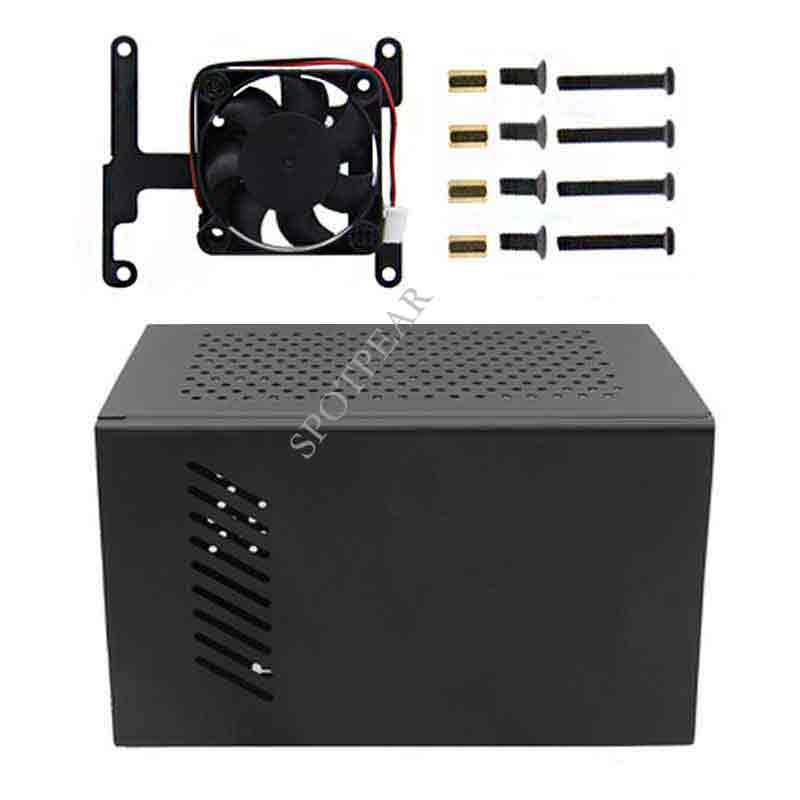
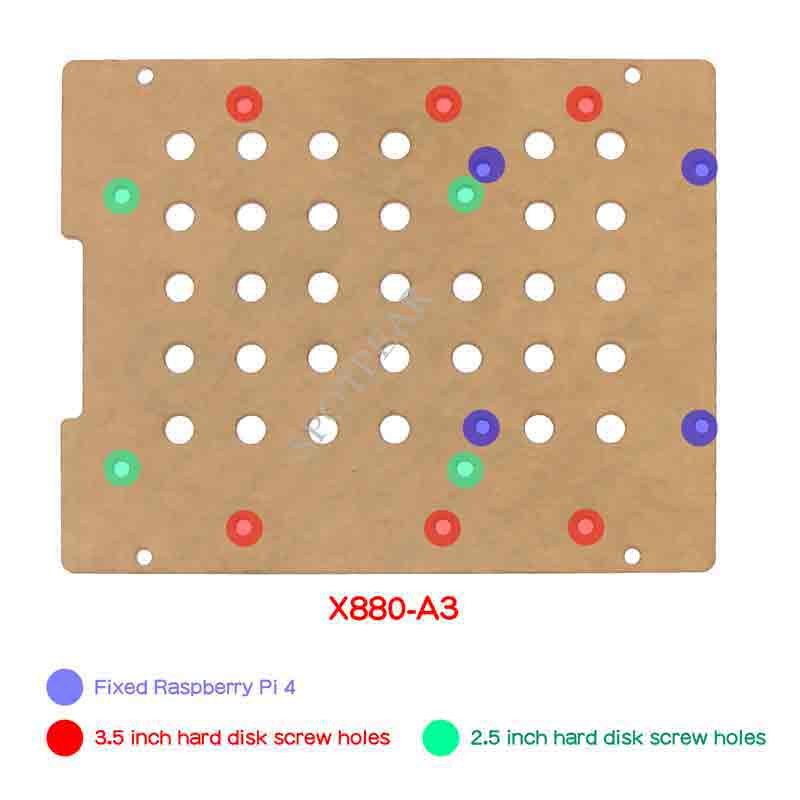
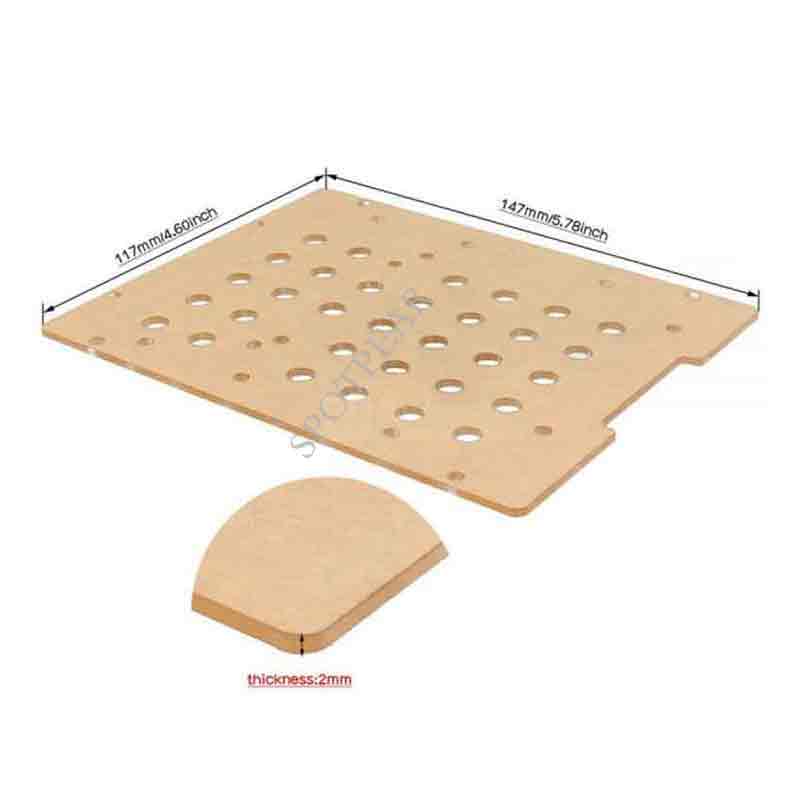
X880-A3
X880-A3 is the acrylic plates with 2mm thickness that use with X880-C1 metal case to hold the HDD/SSDs. It has the same function as X880-A1-A2, can replace the X880-A1-A2. But you will need 2pcs SATA 7+15pin Male to Female Cables.