• sales

    +86-0755-88291180

ESP-IDF download and installation

【1、Download the offline install package.】

[] First, log into the link. https://dl.espressif.com/dl/esp-idf/
[] or https://pan.baidu.com/s/11jwTFJbcOsV2K_IlkBriJQ?pwd=qm34https://dl.espressif.com.cn/dl/esp-idf/
[] This link is the official download website of Le Xin, where you candownload an offline install package. Click to download the 5.3.2 version.


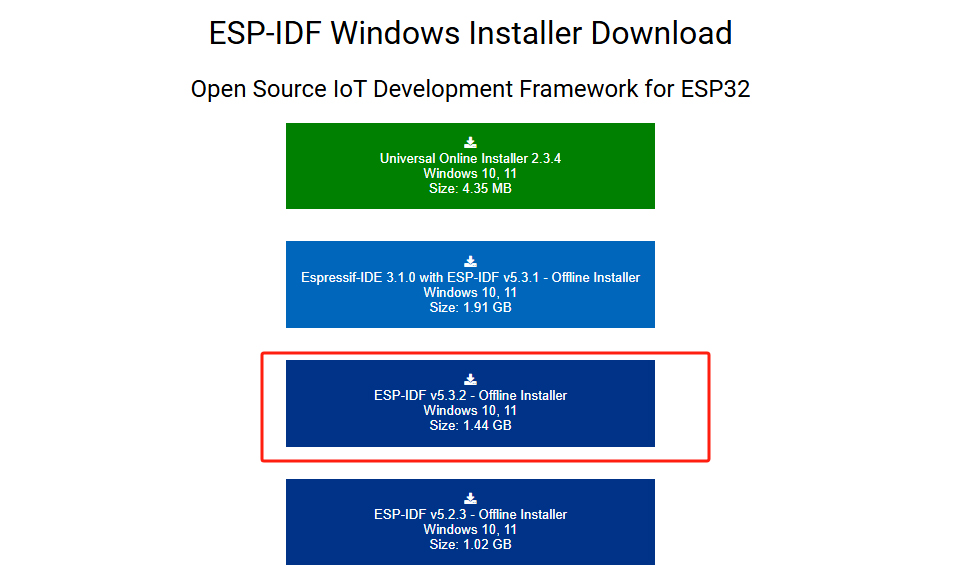
[] Various versions are also available at the bottom of the page


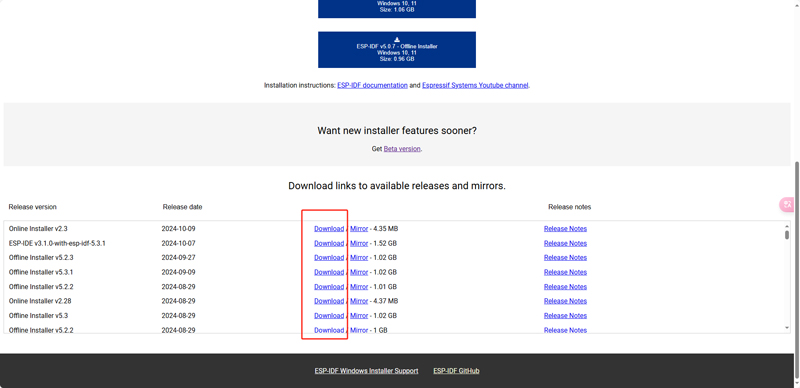
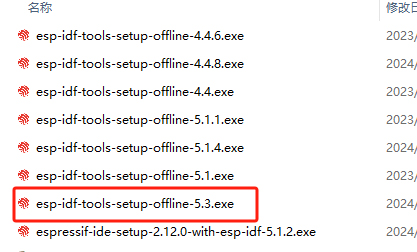
[] Select whichever version you want to install

【2、Installation environment】

[] Select the version you want to install and double-click the EXE file to start the installation


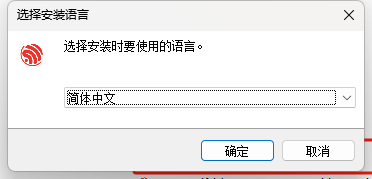
[] Choose here for English


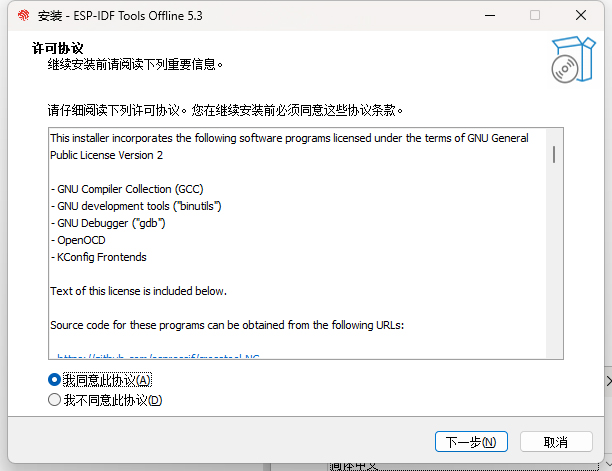
[] Just check "I agree" and click "Next.


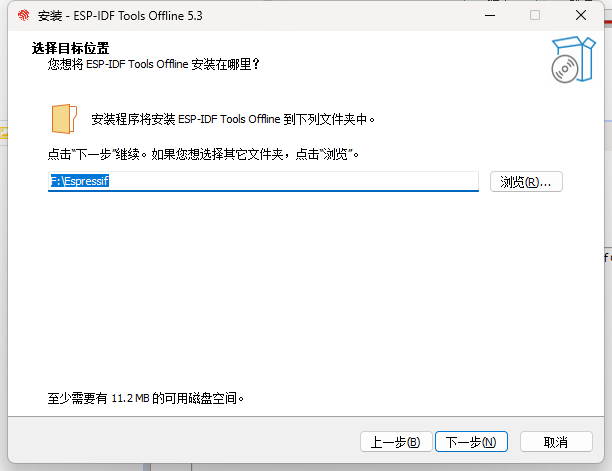
[] You can set the folder to which your IDF needs to be installed here, and try not to install it to disk C


[] Keep clicking next until the installation is complete

【3、Tests whether the installation is successful】


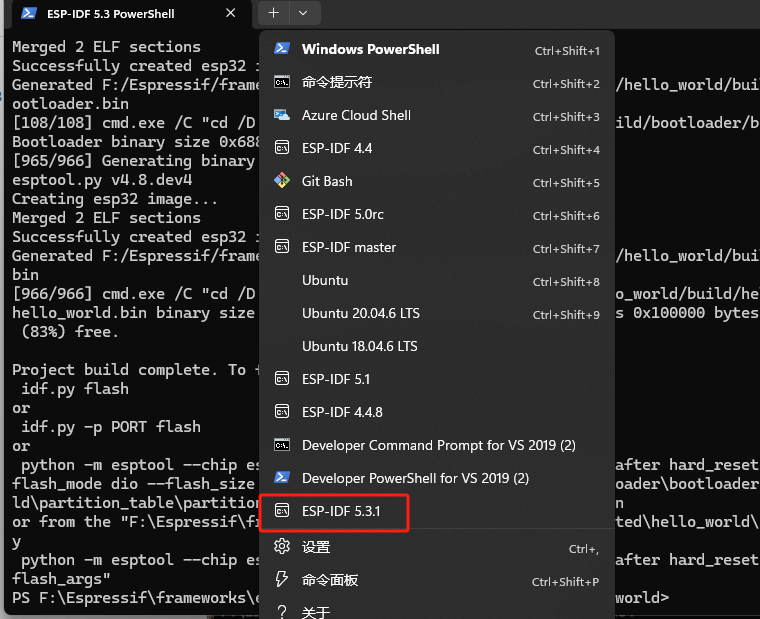
[] Double-click Powershell on desktop will automatically import idf environment, computer installed windows terminal (win11, win10 can search store open store installation) can directly open the terminal, terminal + number can directly run idf environment


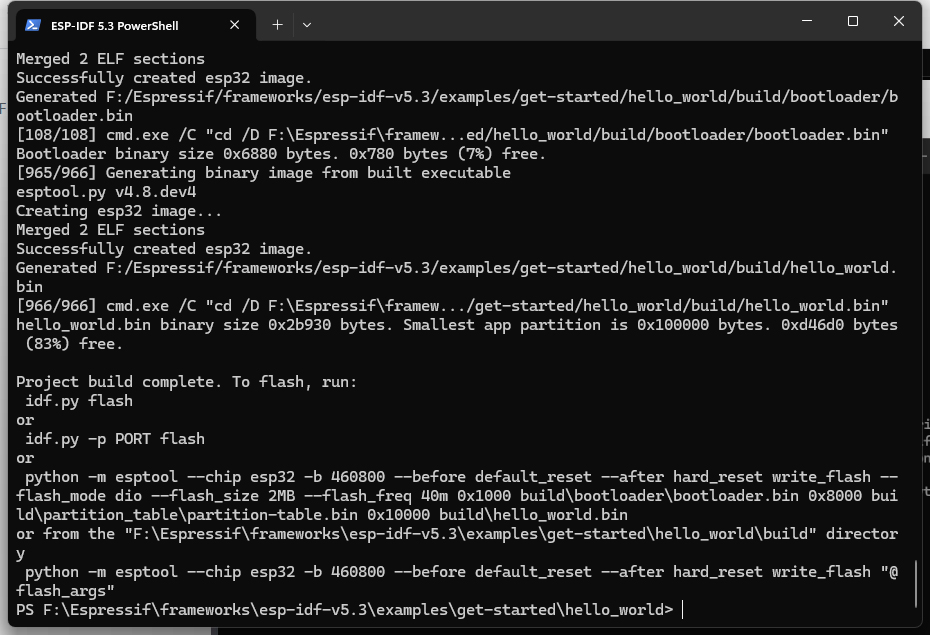
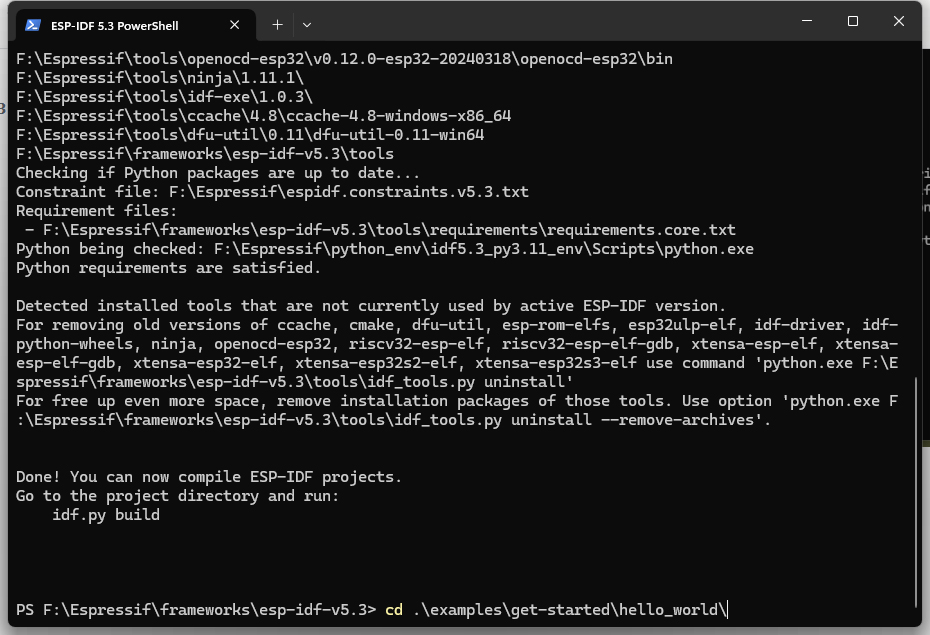
[] When the idf.py build message appears, the installation is successful and the firmware can be compiled
[] Run cd.\examples\get-started\hello_world\ to go to the directory of the project


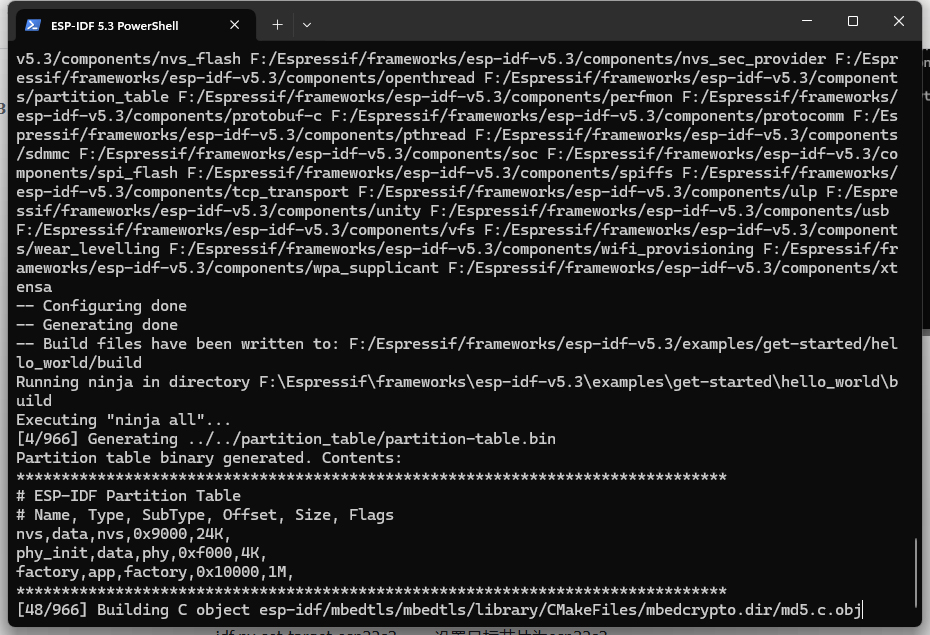
[] input idf.py build


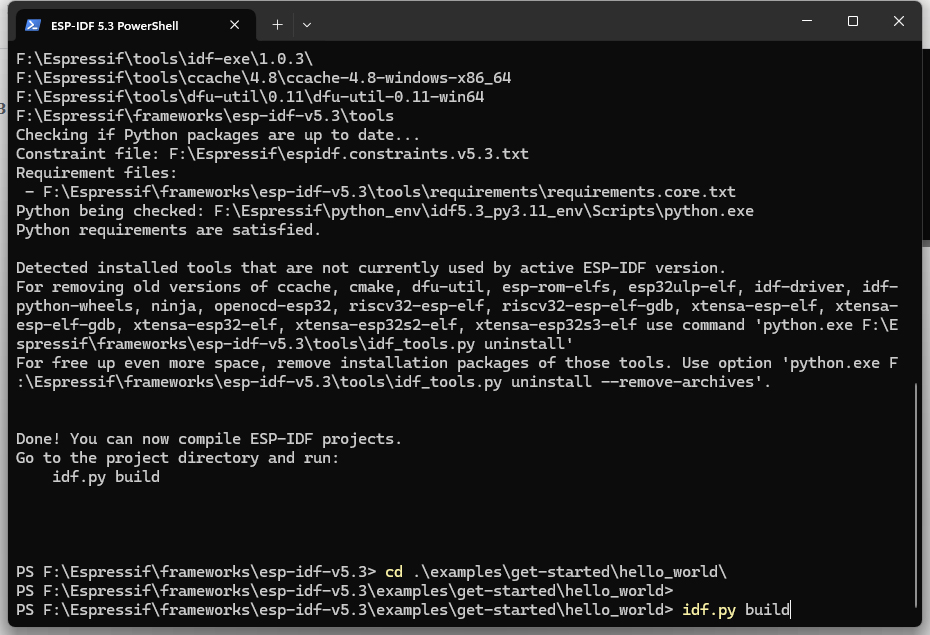
[] This begins to compile, compile time remember to turn off all anti-virus software, including 360, Tinder, windows defender, etc., will greatly improve the compilation speed


After compiling, you can run
idf.py build flash monitor Download and view logs output by the serial port
If the speed is too slow, you can run the idf.py command to add sipped
idf.py -b 2000000 build flash monitor
If you do not want to download all partitions once, run the following command to download only the app partition
idf.py build app-flash monitor
When different chip models are used, the following is an example of the command for setting the chip:
idf.py set-target esp32 Sets the target chip to esp32
idf.py set-target esp32s2 Sets the target chip to esp32s2
Idf. Py set - target esp32s3 Set the idf pyidf. Pyidf. Pyidf. Pyidf. Pysp32s3
idf.py set-target esp32c3 Sets the target chip to esp32c3
If the computer is inserted into a lot of ESP32 development board, you need to distinguish the port, you can open the device manager to see the communication port, such as my board subport is COM5, you need to run:
idf.py -p COM5 build flash monitor
To move a project to another path, delete the build folder
Do not put the project in the Chinese directory path!
Get into the habit of deleting build folders! Can solve all kinds of small problems
TAG: ESP32-P4 ESP32-C6 Development Board RISC-V WiFi6 MIPI CSI Camera 7/10.1 inch DSI Display /RJ45 Ethernet /Mic /Audio Size Compatible with Raspberry Pi Raspberry Pi USB Camera 12MP IMX378 30fps onboard dual microphones Also For Jeston / RDK IR Thermal Imaging Camera Desktop Ornament Raspberry Pi 5 Heatsink Raspberry Pi 12.3 inch DSI MIPI Display TouchScreen LCD 720x1920 Luckfox Lyra Omni3576 RK3576 Raspberry Pi Pico 2 P2350-Plus Smart Car Kit PicoGo2 Autonomous Driving Learning Car EPS32S3 1.8inch Round LCD Display WIFI-AIDA64-Secondary-TouchScreen/Wireless-Power/Video-Player LVGL Raspberry Pi 5 Night Camera X1002 Raspberry Pi 5 PCIe to M.2 NVMe SSD Adapter Board HAT Pi5 2280 ESP32 H2 ESP32-H2-Zero MINI Development Board For BLE/Zigbee/Thread UART TTL To RS485 C Built-In Protection Circuits IPS Raspberry Pi 0.96inch OLED Raspberry Pi Camera OV5647 Camera (F) Raspberry Pi Autofocus Camera ESP32 1.9 inch LCD Capacitive TouchScreen 1.9inch Display ST7789 170x320 for Arduino /Raspberry Pi /Pico Raspberry Pi Camera Module 3 Sensor Assembly IMX708 Official Original 11.9MP Camera Raspberry Pi 5 Camera SpotPear