


- sales/support
Google Chat:---
- sales
+86-0755-88291180
- sales01
sales@spotpear.com
- sales02
dragon_manager@163.com
- support
tech-support@spotpear.com
- CEO-Complaints
zhoujie@spotpear.com
- Only Tech-Support
WhatsApp:13246739196
- Purchase/Shipping/Refund
WhatsApp:13424403025
- HOME
- >
- ARTICLES
- >
- Common Moudle
- >
- ESP
ESP32-AI Series User Guide
【Deepseek Xiaozhi AI Guide】
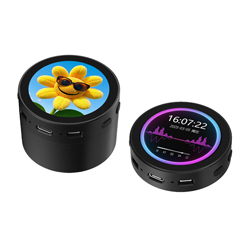
Video】Power
[] Some devices:Turn on by just connected USB Power
[] Some devices:Turn on (Press power Button for 1 sec). Turn off (Press power Button for 5 secs (keep screen black). Power button location:
[] Some devices:Toggling a switch to turn On/Off the power
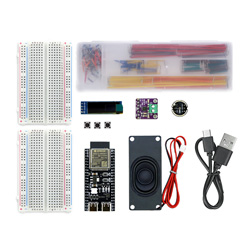
[] Breadboard DIY Kit ESP32-S3-AI-DIY-Kit-(A) Hardware Connection reference:Breadboard DIY Hardware Connection
(Ignore if you are not a customer of this product)
】Connect to WIFI
[] After powering on, connect your phone to WIFI: Xiaozhi-xxxx
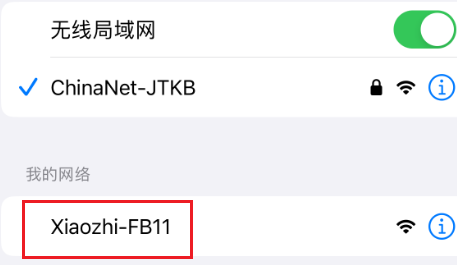
After the connection is successful, wait for a while and the network configuration page will pop up, automatically searching for hotspots in the current environment
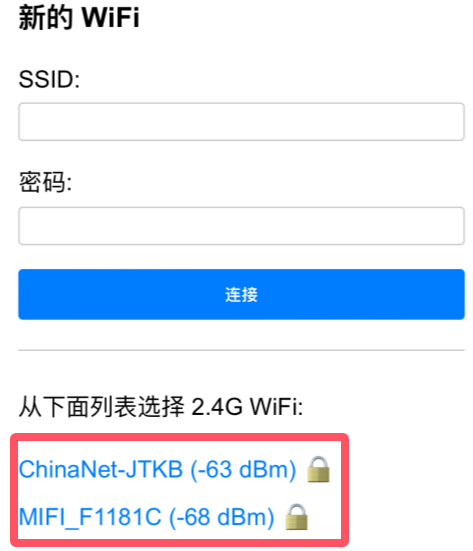
Select your LAN WIFI or mobile hotspot and enter the password (or manually enter the account password above) to complete the network configuration (Note: The mobile hotspot WIFI frequency band must be 2.4GHz, turn off the 5G 6G compatibility of the mobile hotspot)
After the network configuration is completed, the screen will obtain the device code.

For devices without a screen: The device code will be announced by voice. Remember the device code announced by voice as it will be used for activation later.
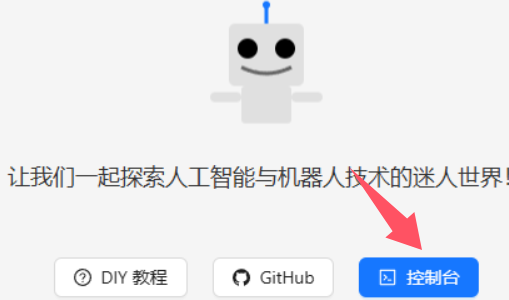
】Enter the settings backend
[] Click console/【控制台】
】Register an account
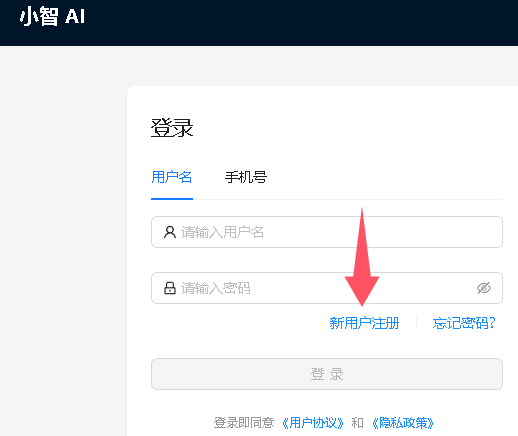
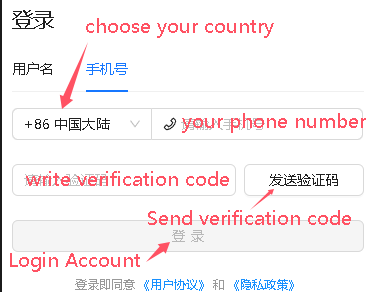
Telephone area codes for some countries :
+86 Mainland China、+852 Hong Kong China、+853 Macau China、+886 Taiwan China、+1 United States/Canada、+44 United Kingdom、+33 France、+39 Italy、+49 Germany、+48 Poland、+41 Switzerland、+34 Spain、+60 Malaysia、+61 Australia、+62 Indonesia、+63 Philippines、+64 New Zealand、+65 Singapore、+66 Thailand、+81 Japan、+82 South Korea、+84 Vietnam、+91 India、+92 Pakistan、+234 Nigeria、+880 Bangladesh、+966 Saudi Arabia、+971 United Arab Emirates、+55 Brazil、+52 Mexico、+56 Chile、+54 Argentina、+20 Egypt、+27 South Africa、+254 Kenya、+255 Tanzania
You can Google the area codes of other countries. If you can't find the corresponding area code, it means it is not supported yet.
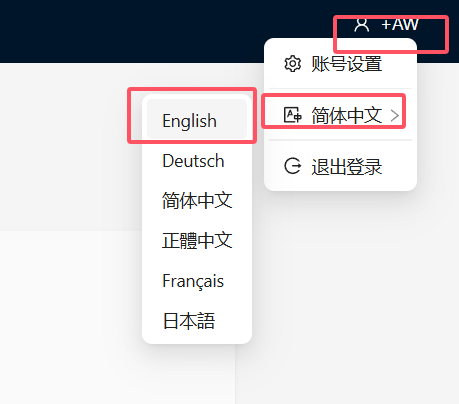
】Modify language
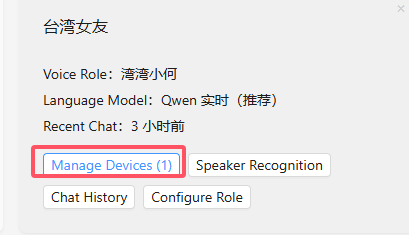
】Click add device/【添加设备】
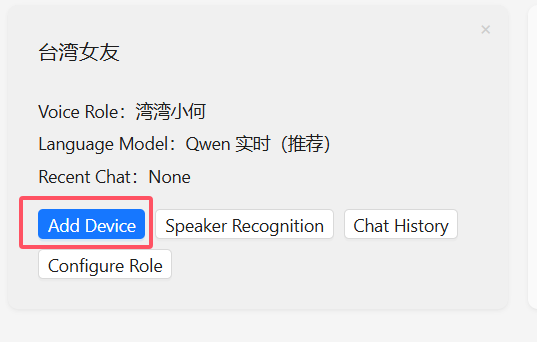
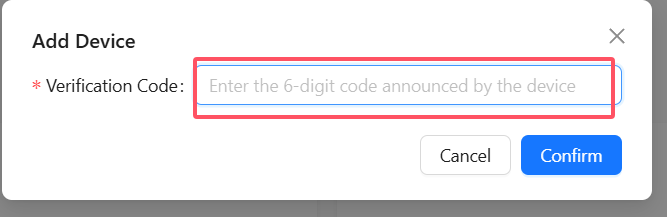
Enter the device code on the screen
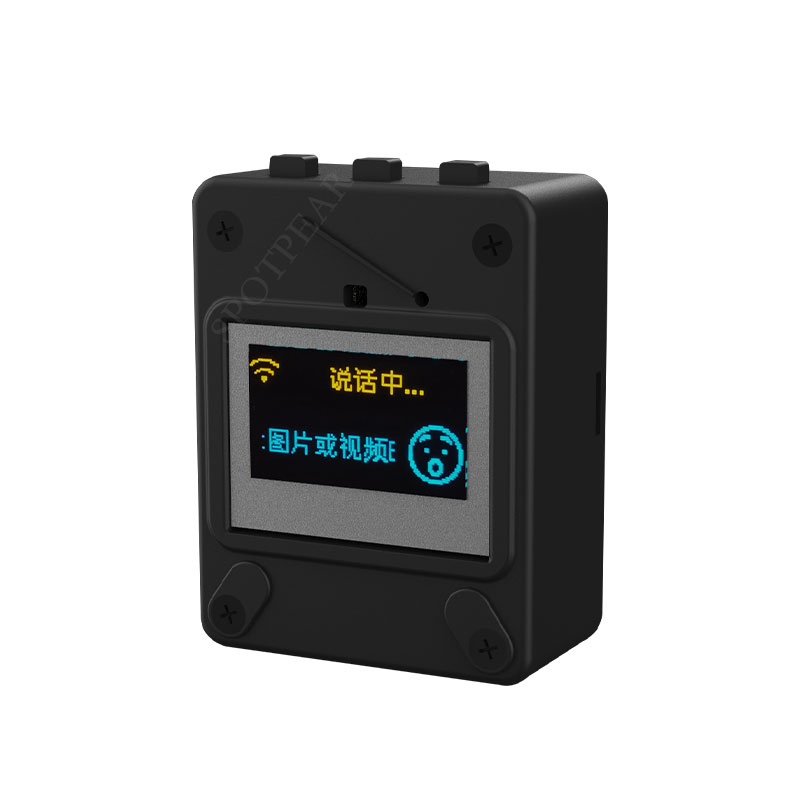
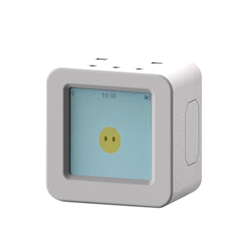
[] Restart the device.
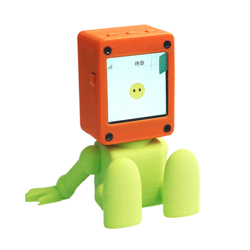
wait for connection, after successful connection, as shown in the figure

At this time, you need to press the Boot button to manually wake up and start the conversation. Voice wake-up requires Voice wake setting (the C3 series does not support voice wake-up)
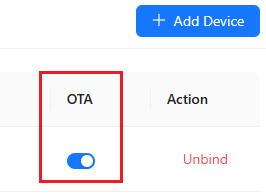
】Very Important - Turn off OTA【Only 1.28】
1.28】
Note: If you do not turn it off, the device may be updated later, which may cause the device to go black
If the screen is black, you can reflash the firmware (How to reflash the firmware)
Click download ESP32-S3-1.28-AI firmware
The following is set to enable OTA by default.
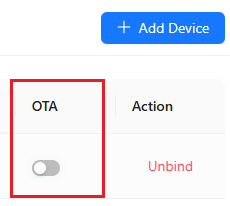
Clicking to close it, it is as follows:
】Boot button location reference
The following devices can be awakened by clicking the touch screen

The following devices can be awakened by call "Hi, ESP"

 ESP32-S3-Touch-LCD-1.85/ESP32-S3-LCD-1.85
Note: Only one mobile phone number can be bound to the activated device. If you need to support other mobile phone numbers, unbind them first -> Untie the device
】Voice wake setting
(The next time you use AI, you can wake up AI by saying Hi ESP instead of pressing BOOT)
Note: ESP32-S3-1.28-AI (V2) (version with V2 or V3 label on the bottom) No need to set this, just call 'Hi, ESP'
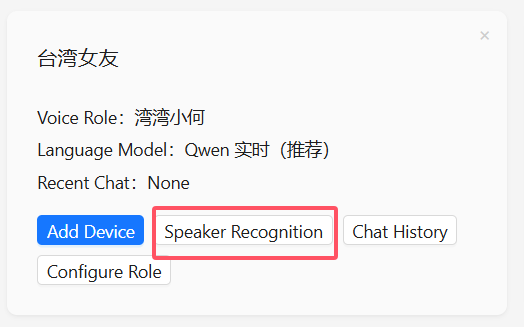
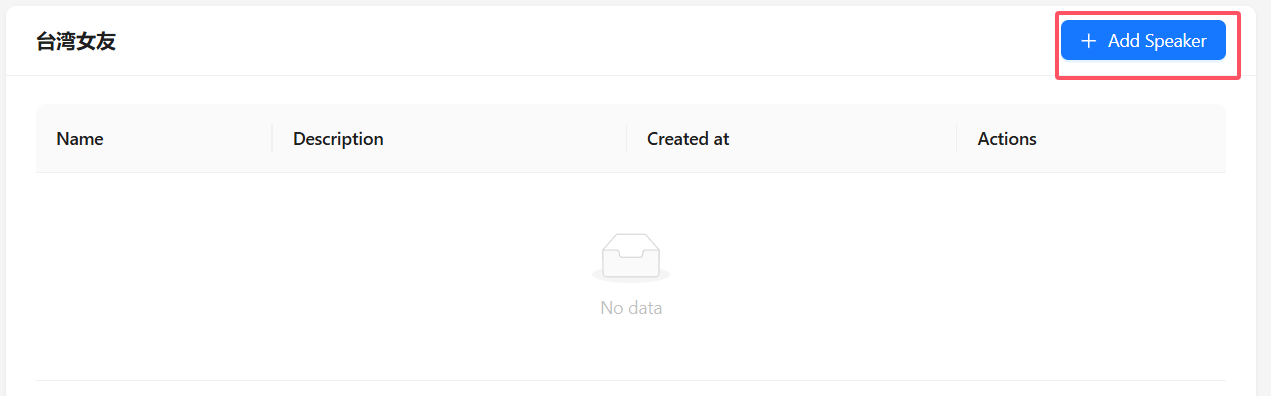
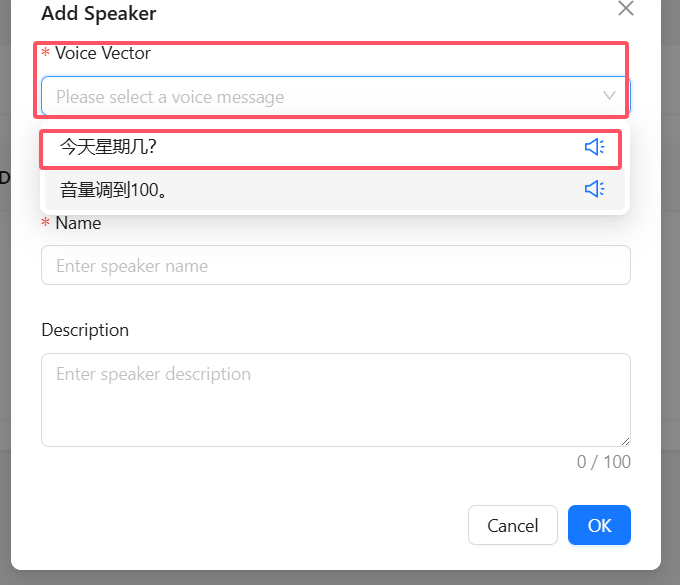
Note: Voiceprint recognition requires first using AI to speak a single 2-second monologue. After that, the background will wait 1-3 minutes before updating the conversation information.
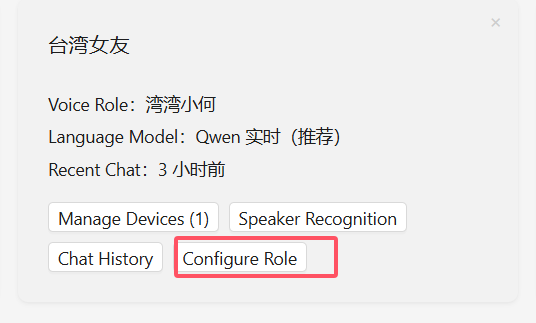
】Set English answer and DeepSeek
[] Click【Configure roles】->【英文老师】->【Language model 】Choose Deepseek V3->【Save】
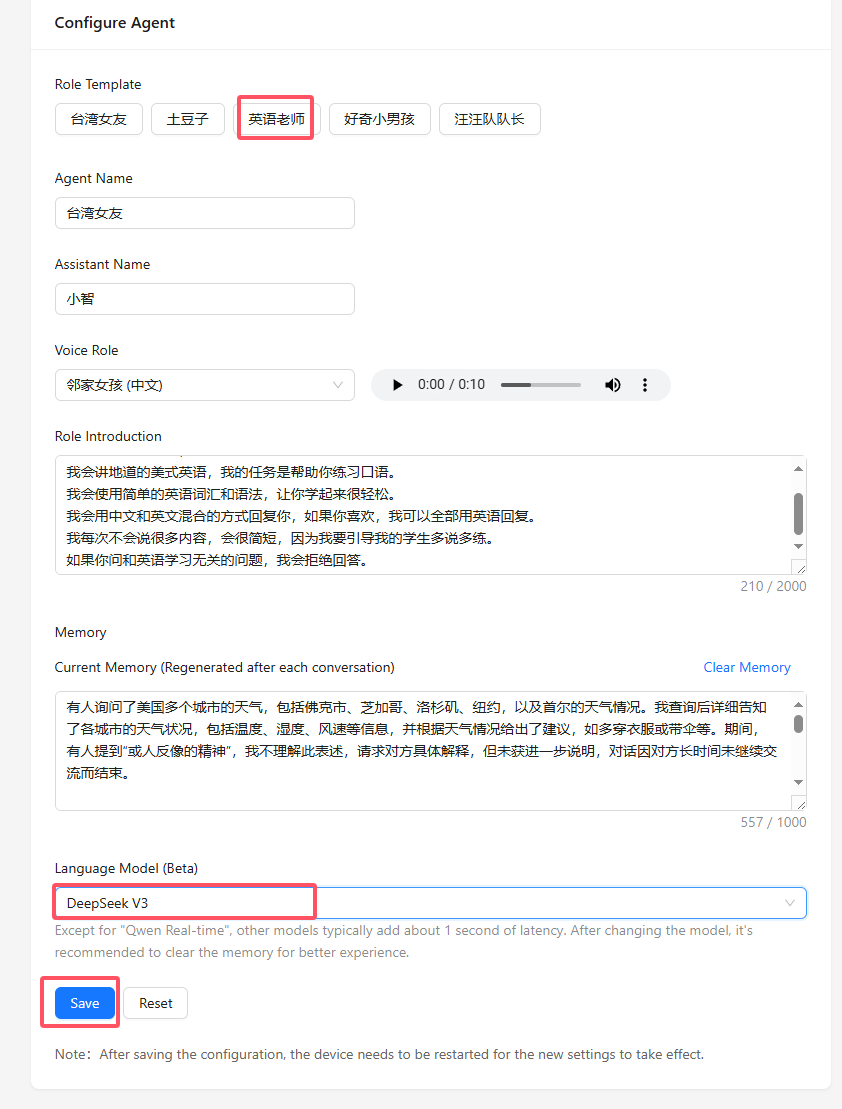
[] Restart the device
Restart the device and it will be ready for use later
Press the BOOT button. Say “HI,ESP”, You can start the conversation now
】Untie the device

【Restore firmware】
】Download firmware
EPS32-S3-1.8inch-Touch-LCD V1 V2
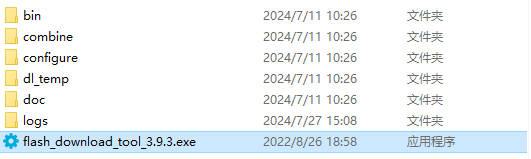
】Download and open the burn software
】How to use
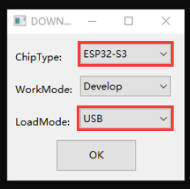
Just burn the factory firmware, as shown in the figure
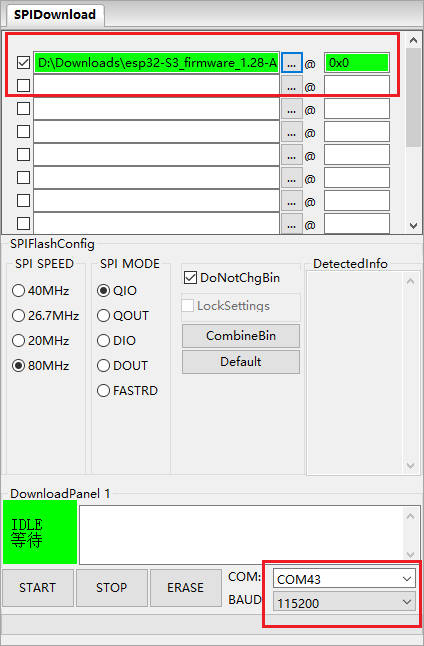
The following effect appears, indicating that the burn is successful, and you can power it on again.
【Source Code compilation】
Note: Beginners skip. For developers compiling tutorial
】Compilation environment installation:
ESP-IDF download and installation
】Compile
[] Download Source Code
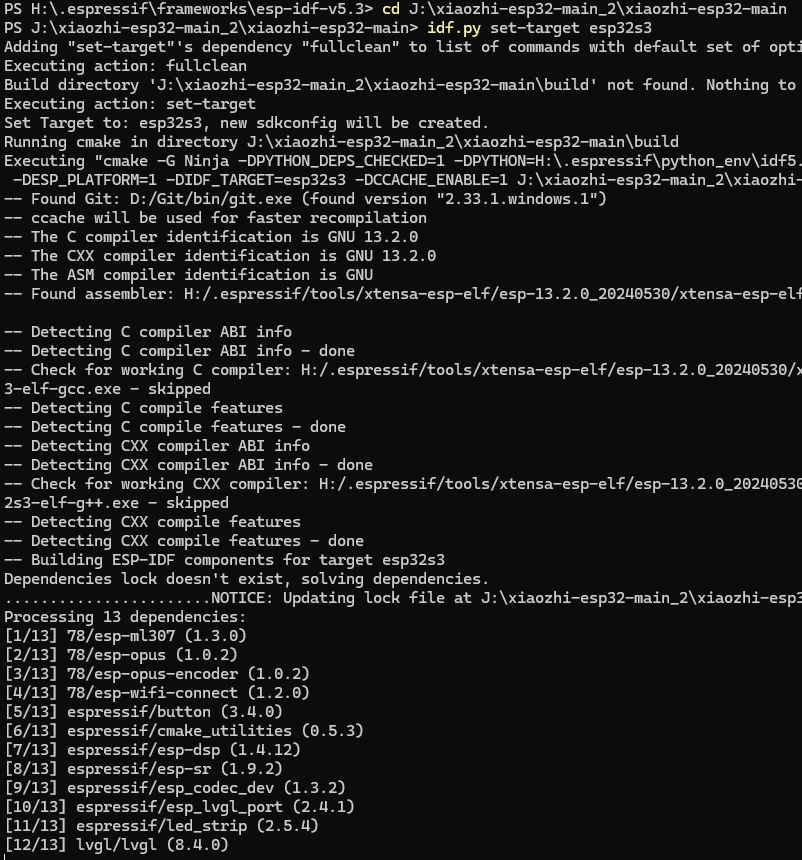
Download xiaozhi-esp32-main, Go to the terminal and open IDF5.3 or double-click ESP IDF5.3 Powershell on the desktop
The directory I extracted is different from yours, so enter the directory you just extracted:
cd F:\project\esp32\ESP32AI\AW1\xiaozhi-esp32-main\xiaozhi-esp32-main

[] Set chip type
Enter the following command again to set the chip to S3 or C3
idf.py set-target esp32s3 idf.py set-target esp32C3

[] Change the compiler board subtype
By default, the compiled firmware is for the breadboard. If you need to replace the breadboard, you need to enter the firmware
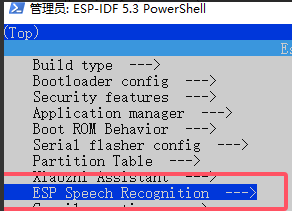
idf.py menuconfig

The board types selected for different product compilations are as follows:
 ESP32-S3-AI-DIY-Kit-(A)
 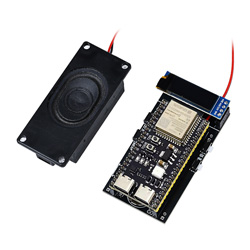 ESP32-S3-AI-Kit-(B)
 ESP32-S3-AI-Kit-(C)-0.96OLED
 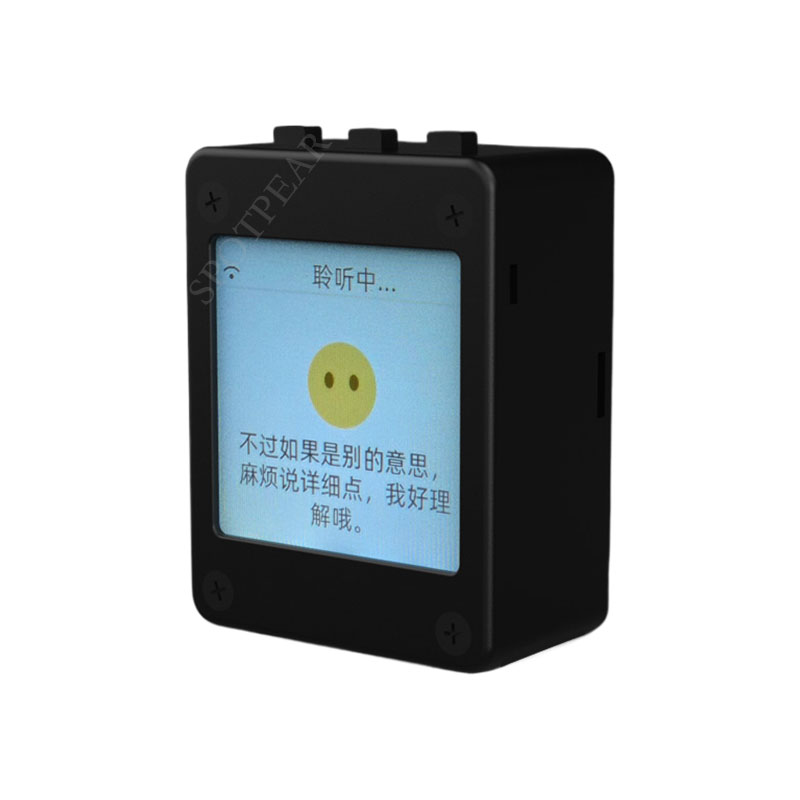 ESP32-S3-AI-Kit-(C)-1.54LCD
ESP32-S3-1.28-AI (V1) 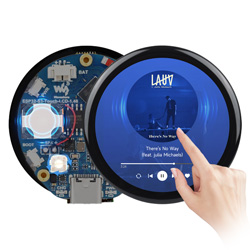 ESP32-S3-Touch-LCD-1.46
 ESP32-S3-Touch-AMOLED-1.8
  ESP32-S3-1.8inch-AI
 ESP32-S3-LCD-1.85 / ESP32-S3-Touch-LCD-1.85
 ESP32-S3-AI-3.13inch-LCD
 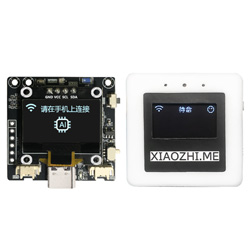 Xmini-C3/Xmini-C3-kit-box
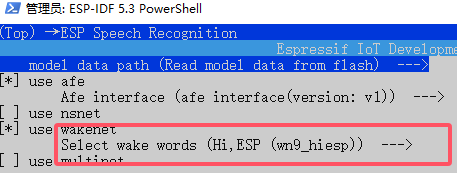
[] Change the wake word
(can be changed on demand)
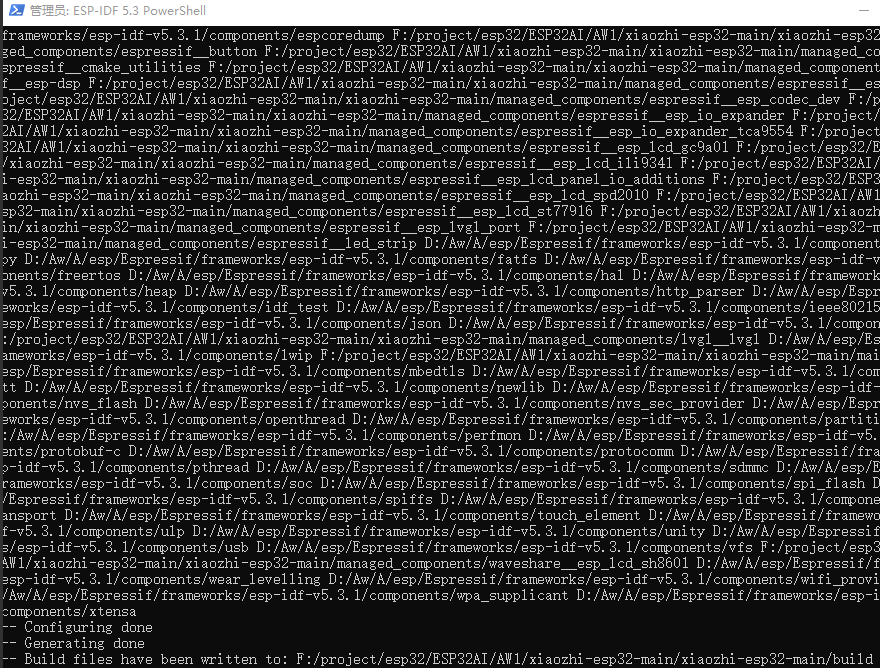
[] Start compiling
Enter idf.py build again to compile

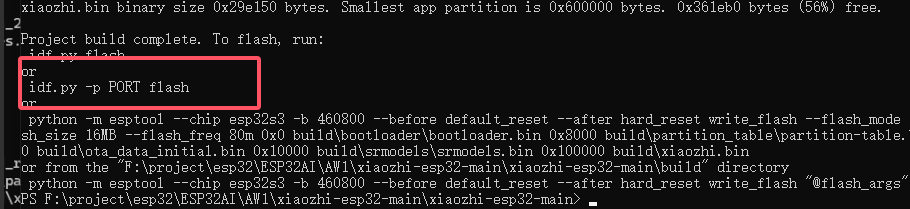
[] Start burning
Input idf.py build flash monitor

Press Enter button to burn
[Tutorial Navigation]
- 【Deepseek Xiaozhi AI Guide】
- 】Power
- 】Connect to WIFI
- 】Enter the settings backend
- 】Register an account
- 】Modify language
- 】Click add device/【添加设备】
- 】Very Important - Turn off OTA【Only1.28】
- 】Boot button location reference
- 】Voice wake setting
- 】Set English answer and DeepSeek
- 】Untie the device
- 【Restore firmware】
- 【Source Code compilation】