


- sales/support
Google Chat:---
- sales
+86-0755-88291180
- sales01
sales@spotpear.com
- sales02
dragon_manager@163.com
- support
tech-support@spotpear.com
- CEO-Complaints
zhoujie@spotpear.com
- Only Tech-Support
WhatsApp:13246739196
- Purchase/Shipping/Refund
WhatsApp:13424403025
- HOME
- >
- ARTICLES
- >
- Raspberry Pi
Windows Environment User Guide
Windows Environment Setting Tutorial
- This tutorial is applicable to the Raspberry Pi Pico and the RP2040 series development board developed by our company.
- The default development environment is Windows for example (the Raspberry Pi can be installed with the official installation script).
C/C++ SDK
You need to install the corresponding toolchain are:
- Arm GNU Toolchain (You need to install the corresponding version, such as Windows needs to install the file with the suffix -arm-none-eabi.exe.)
- CMake
- Visual Studio 2022
- Python 3.10
- Git
- Also, we have packaged the installation package and uploaded it to our server.
- You can click here to download the installation package.
How to Install
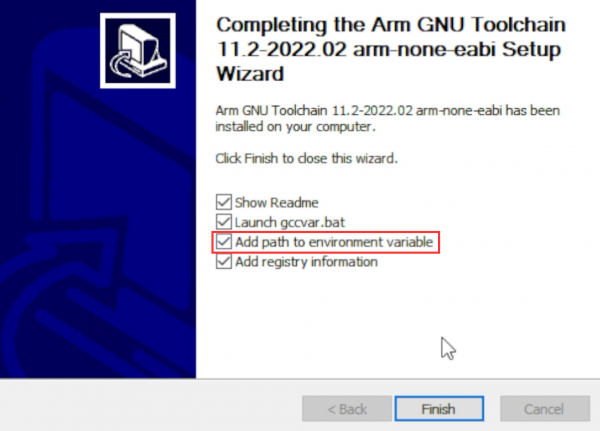
Arm GNU Toolchain
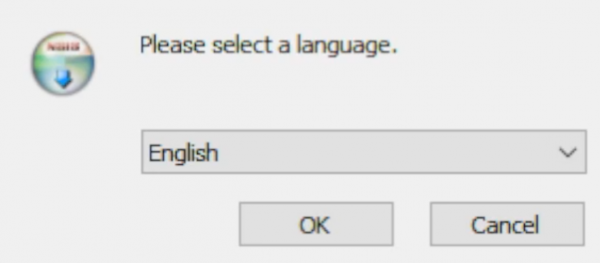
- Select language.
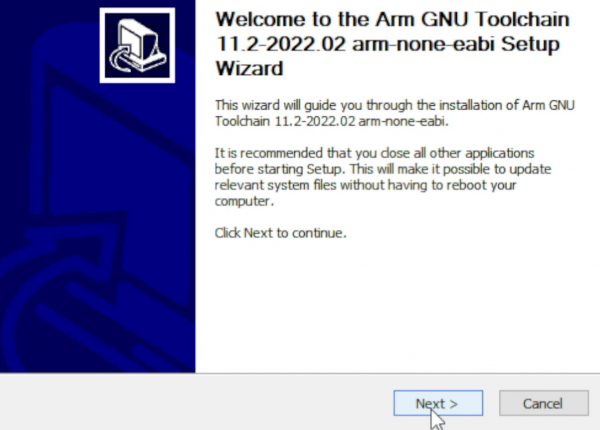
- Enter the installation wizard.
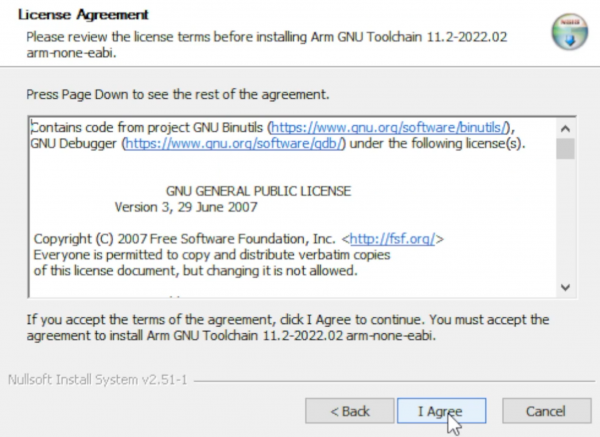
- Agree to the user agreement and continue.
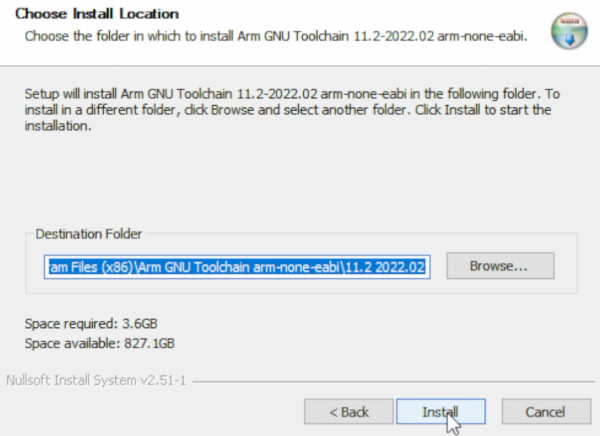
- Select the installation address.
- Wait for the installation to complete.
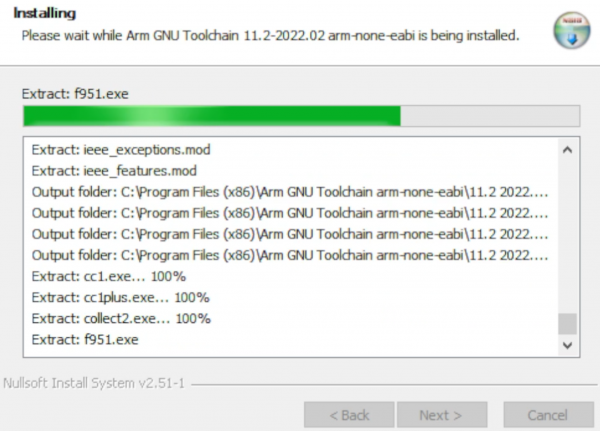
- Note: Check the option in the red box in the picture.
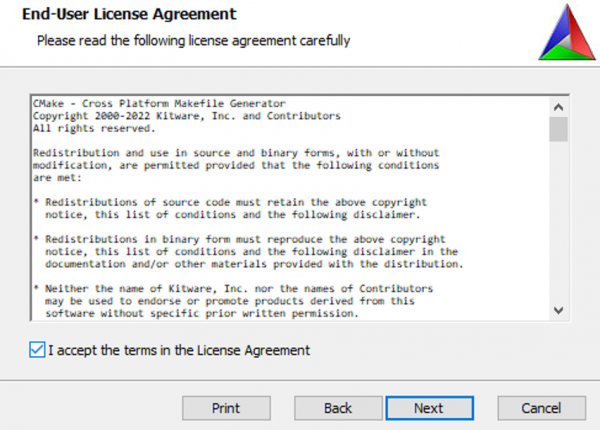
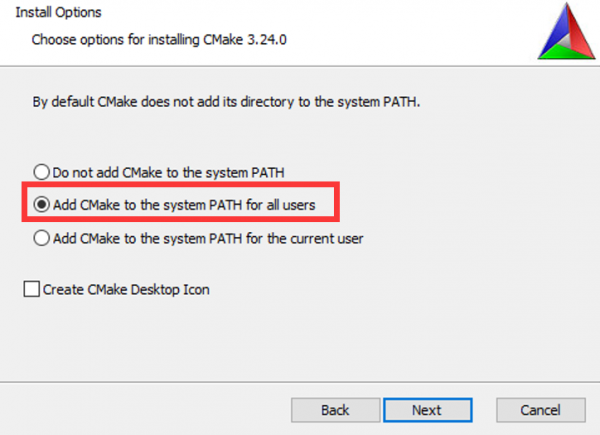
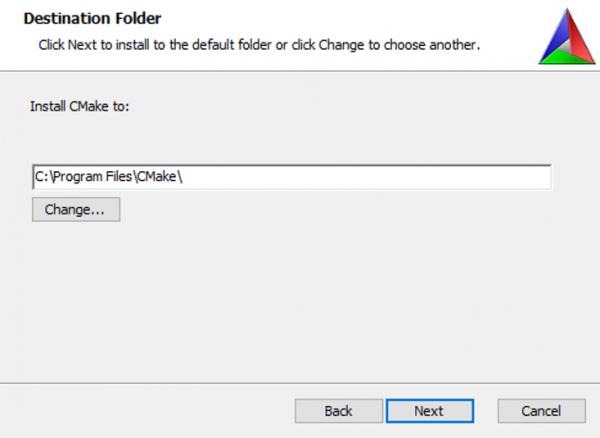
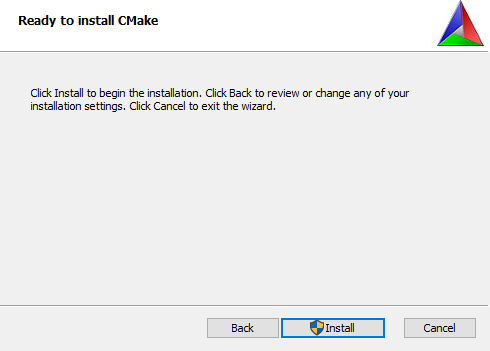
CMake
- Enter the installation wizard.

- Agree to the user agreement and continue.
- Add CMake to the system PATH for all users.
- Select the installation location.
- Enter to install.
- Finish.

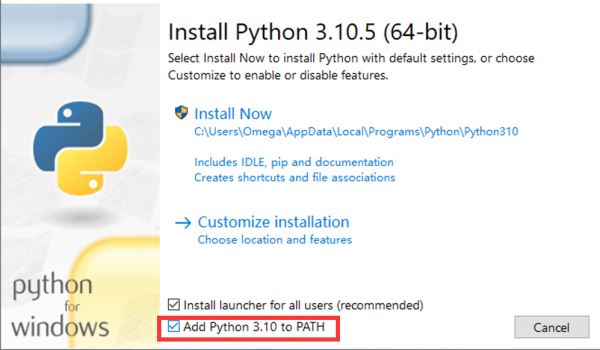
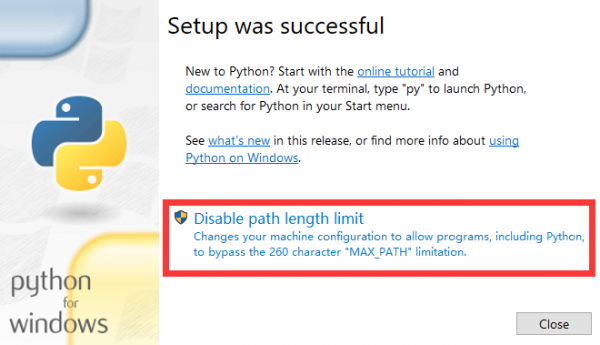
Python
- Enter to install and check tp add PATH.
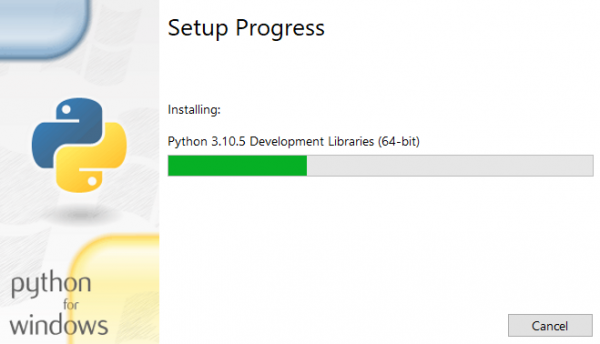
- Wait for installation.
- Friends who have the options in the red box can click to disable the PATH length limit.
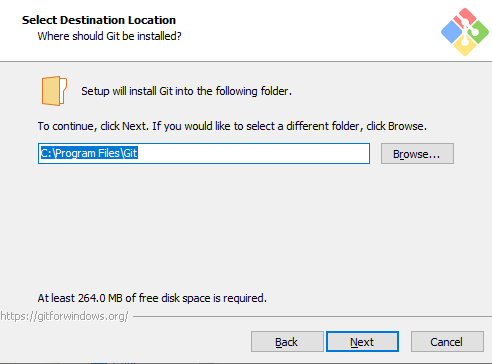
Git
- There are many installation options for Git and the length is relatively long. Here we only point out the recommended modification parts, and the default settings for the rest of the options are recommended.
- Choose an installation location.
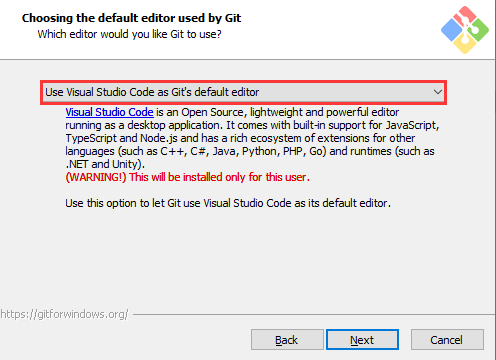
- Choose Git default editor (here I choose VS Code).
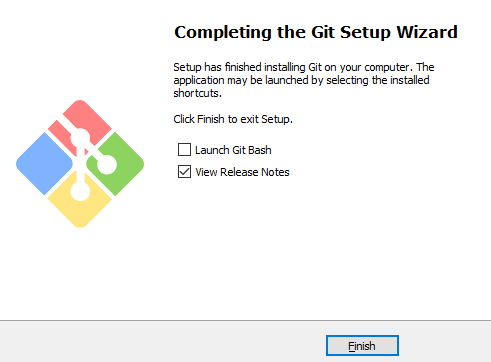
- Next, keep the default settings, select Next, and finally the installation is successful.
Visual Studio 2022
Visual Studio 2022 installation is very linear, just note the following one point.
When selecting a build tool, select the C++ tool in the figure: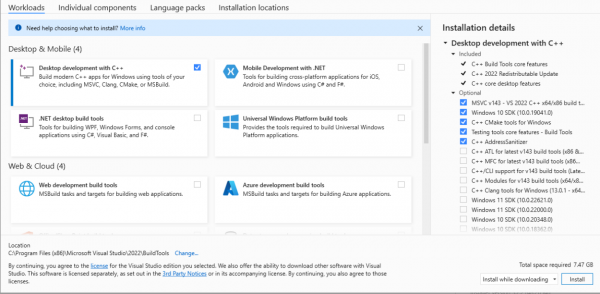
Get and Compile the Demo
Get SDK Demo
In the folder where you want to download the SDK, Shift + right click -> select "Open powershell here" and enter the command:
git clone -b master https://github.com/raspberrypi/pico-sdk.git
cd pico-sdk
git submodule update --init
cd ..
git clone -b master https://github.com/raspberrypi/pico-examples.git
Set the Environment and Compile
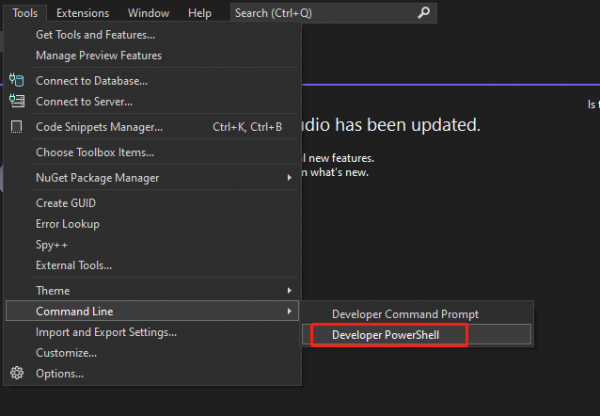
- Open your VS 2022 -> Tools -> Command Line -> Developer PowerShell.
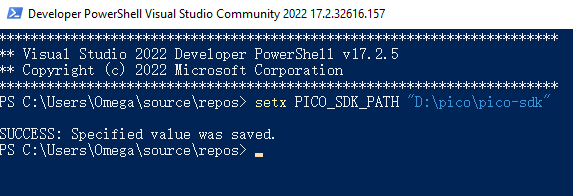
- Set the absolute address of your pico-sdk to PICO_SDK_PATH, for example, my pico-sdk address is "D:\pico\pico-sdk".
- Jump to the folder where pico-examples is located, create a build folder and compile.
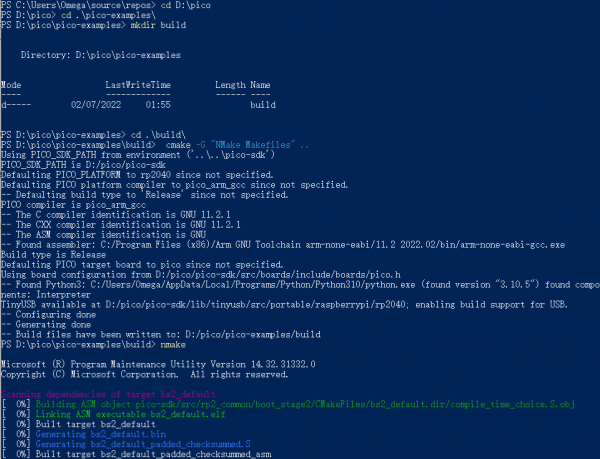
- Just wait for the compilation to complete (note that all demos are compiled here, so the compilation time is a bit long).

- The following are all instructions:
setx PICO_SDK_PATH "..\..\pico-sdk"
cd pico-examples
mkdir build
cd build
cmake -G "NMake Makefiles" ..
nmake
Download the Firmware
Select the demo firmware you need to download, and drag it into the memory simulated by pico:
TAG:
SpotPear
SPI Communication
NVIDIA Jetson Orin Nano/NX PoE Mini Expansion Board Power over Ethernet RJ45 802.3af compliant
Raspberry Pi CM5 Gigabit/2.5G Dual Ethernet Expansion Board with RJ45 GPIO IO Base
PC USB Monitor Screen
Raspberry Pi 5 Terminal
64MP
Raspberry Pi Screen
Pico-DALI2 Expansion Board For ESP32 C6 S3 DALI communication control multiple LED
ESP32
ESP32-S3 AI Camera Development Board Dual Microphone with Display Port
Arduino Thermal imaging
Modbus
SpotPear
1.47 inch LCD AXS5106L TouchScreen JD9853 Display 172x320 For Arduino/Raspberry Pi/Pico/ESP32
USB Binocular Camera 2MP OS02G10 Distortion Free Binocular Synchronous Frame USB 2.0 Plug and Play
ESP32-S3 GEEK Development Board
ESP32 P4 Development Board 7-inch LCD Display 1024×600 7inch Touchscreen ESP32-C6 WiFi6 AI Deepseek
Raspberry Pi GPS GNSS Expansion Board L76K Beidou (BDS) GLONASS QZSS A-GNSS Also For Jeston
Milk-V Duo Information
TAG:
Raspberry Pi 5 PWM Fan
Type-C Power Adapter
Raspberry Pi DSI Screen
Raspberry Pi 5 POE PD Trigger Activation Type C Power Over Ethernet 802.3af/at Pi5
Raspberry Pi PoE HAT
Sipeed Lichee Tang Nano 4K FPGA W1NSR-LV4C GOAI Gowin
Raspberry Pi 12.3 inch HDMI LCD Captive TouchScreen Display 1920x720 Jetson Series/Computer PC
Jetson Orin 5G/4G/3G expansion board GNSS GPS SIM8260G-M2 SIM8262E-M2
Raspberry Pi 5 Case
Bus Servo ESP32 UART USB ST RSBL Raspberry PI Robot
ESP32
Raspberry Pi Pico
ESP32-S3 AI Camera 1.28inch LCD Dual MIC Development Board Display 1.28 inch Voice Interruption Object Recognition 10-in-1 Multifunctional
Cortex-A53
Pi5 Active Cooler Black
UGV Beast PT Jetson Orin ROS2 AI OpenCV Robot Car MediaPipe Jetson Orin Nano
Raspberry Pi USB Camera 8MP IMX415 Distortion-Free Dual Microphones USB 2.0 For Jeston RDK
Arduino UNO R4 Minima
Raspberry Pi Industrial 10.1 inch HMI LCD TouchScreen Display 1280x800
ABX00092