- sales/support
Google Chat:---
- sales
+86-0755-88291180
- sales01
sales@spotpear.com
- sales02
dragon_manager@163.com
- support
tech-support@spotpear.com
- CEO-Complaints
zhoujie@spotpear.com
- Only Tech-Support
WhatsApp:13246739196
- Purchase/Shipping/Refund
WhatsApp:13424403025
- HOME
- >
- ARTICLES
- >
- Milk-V
- >
- Milk-V Duo
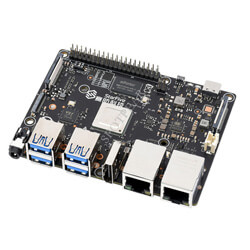
VisionFive2 8GB User Guide
Overview
Onboard RV64GC ISA Quad-core 64-bit SoC, operating frequency up to 1.5GHz, VisionFive 2 supports OpenCL 3.0, OpenGL ES 3.2, and Vulkan 1.2. It is available in 4GB/8GB LPDDR4 RAM options and an optional wireless module. Also, it has multiple onboard interfaces, including M.2 / CSI / DSI / HDMI / eMMC / USB 3.0 / 40PIN GPIO / RJ45 Gigabit Ethernet port / TF card slot, etc. Supports 4K@60fps and H264/H265 multi-stream video decoding, 1080p@30fps and H265 multi-stream video encoding. Onboard 40PIN GPIO header, VisionFive2 is compatible with Raspberry Pi series boards. Provides wide software compatibility including support for Debian.
Parameters
| Processor | StarFive JH7110 |
|---|---|
| CPU | RISC-V U74 Quad-core 64-bit V64GC ISA SoC@1.5GHz |
| GPU | IMG BXE-4-32 |
| Memory | 4G/8G Byte LPDDR4 |
| Storage | TF card/eMMC |
| Camera | MIPI CSI 2lane × 1 |
| Display port | HDMI 2.0 × 1 (4K@30fps or 2K@60fps); 2-lane MIPI DSI × 1 (1080p@30fps); 4-lane MIPI DSI × 1 (2K@30fps); Only one DSI port can be used for display at the same time |
| USB Host | USB Type-A 3.0 × 4 |
| USB Device | USB Device × 1; multiplexed with the USB Type-C port |
| Networking | 1 × Gigabit Ethernet port (main Ethernet port) (near the edge of the board); 1 × 100/10M Ethernet port |
| Others | 40PIN × 1; M.2 M-Key SSD slot; 2Pin fan header; 3.5mm Audio Jack |
| Power supply | Supports Quick Charge input 5V DC (minimum 3A) (up to 30 W) Supports 5~20V fixed voltage input Supports USB Type-C PD 2.0, 9V/2A, 12V/2A, 15V/2A, 20V/2A Supports QC 3.0/2.0 adapter, 9V/2A, 12V/1.5A |
| Dimensions | 100 × 74 × 21 mm |
| Recommended operating ambient temperature | 0~50℃ (If the operating temperature of the chip exceeds 85°C, the frequency and voltage of the CPU will be automatically reduced for cooling) |
User Guide
As the Debian image is large, it is recommended to use a TF card of 32GB or above.
Install Debian System
Download, open SDFormatter, and format the corresponding TF card.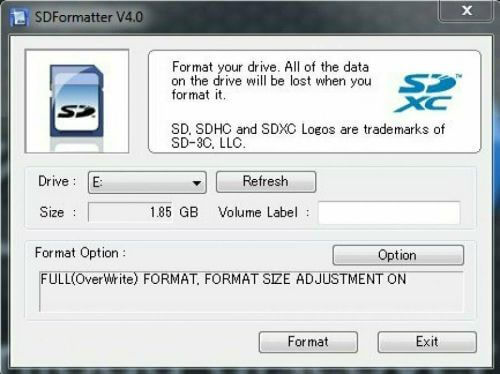
Download, open Win32DiskImager.zip, choose the corresponding image and disk, and click "write".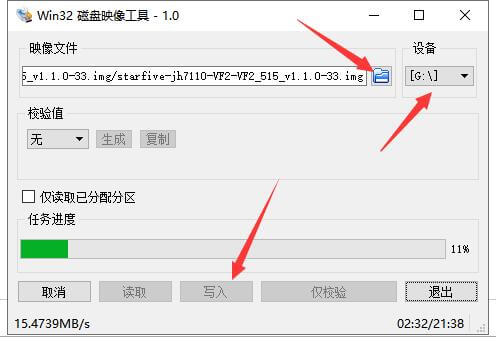
Booting
Turn the two DIP switches on the board to the right (ON) position.
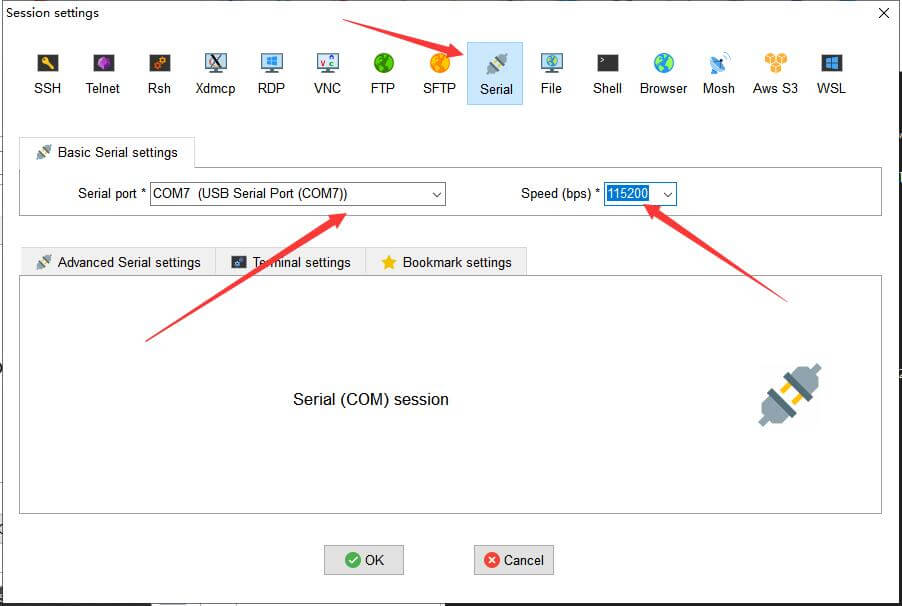
Insert the TF card that burned the image, connect the USB to TTL module according to the figure, connect it to the PC, and check the port. 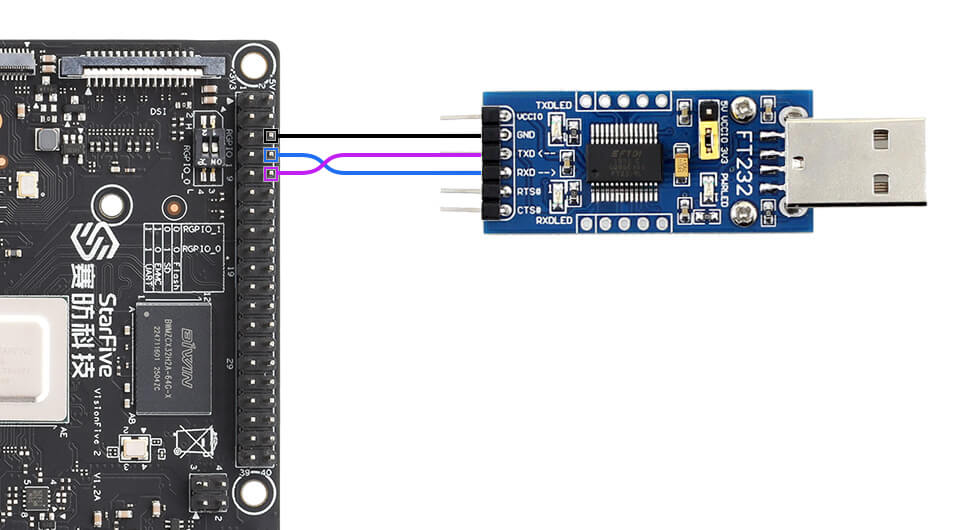
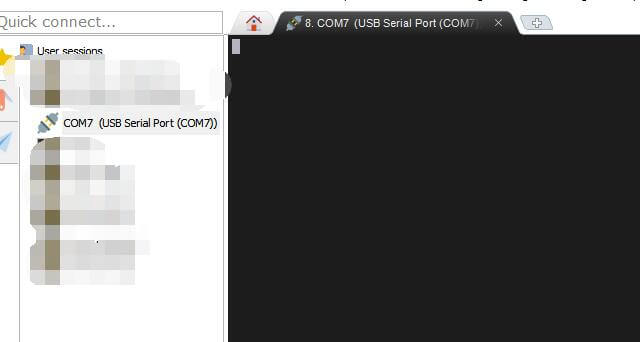
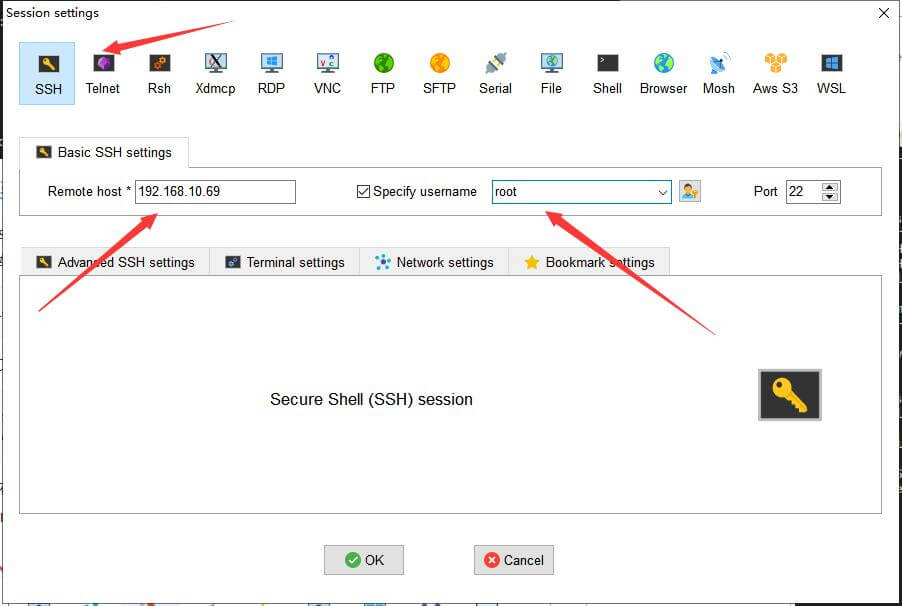
Open MobaXterm and operate as shown below: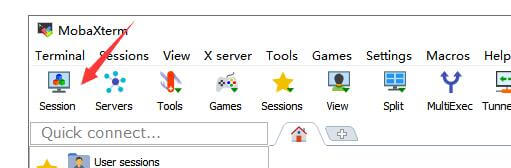
Access network cable and power supply.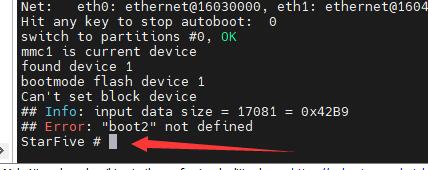
Enter the following command (to be entered line by line):
ext4load mmc 1:3 a0000000 /boot/uEnv.txt
env import a0000000 17c
setenv fdtfile starfive/jh7110-visionfive-v2.dtb
sysboot mmc 1:3 ext2 b0000000 /boot/extlinux/extlinux.conf
Wait a few seconds and it will automatically enter the system (if you have selected it before, you must select it before entering the system).
Enter the corresponding account and password:
Username: root
Password: starfive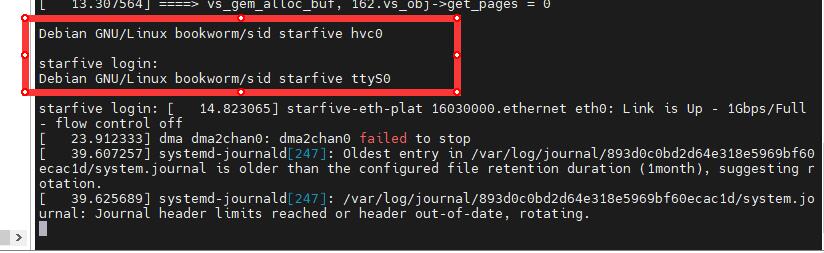
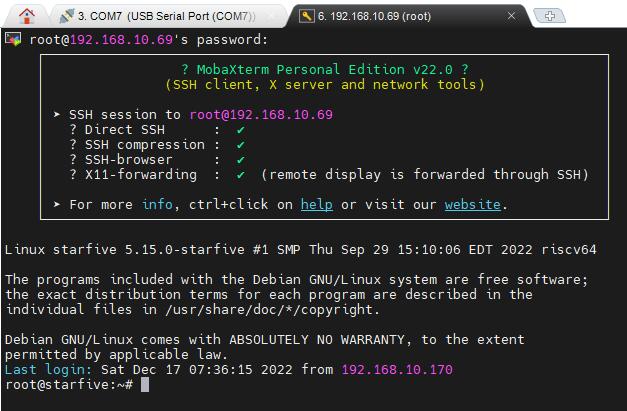
Connect To SSH
The Debian system of VisionFive2 does not support the root user to use an ssh connection, so it needs to be set according to the following configuration.
edit the ssh configuration file
nano /etc/ssh/sshd_config
Add the following two sentences at the end of the file:
PasswordAuthentication yes
PermitRootLogin yes
Save, exit, and restart the ssh service.
service sshd restart or systemctl restart sshd.service Use MobaXterm software to ssh connection to VisionFive2, if the connection fails, restart VisionFive2.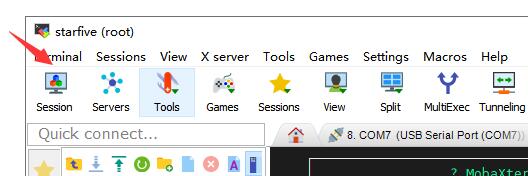
How To Use With Other Product
WM8960
Replace the command at startup with the following:
ext4load mmc 1:3 a0000000 /boot/uEnv.txt
env import a0000000 17c
setenv fdtfile starfive/jh7110-visionfive-v2-wm8960.dtb
sysboot mmc 1:3 ext2 b0000000 /boot/extlinux/extlinux.conf
Install alsa-utils
apt install alsa-utils
If the module is not connected at the beginning, you need to restart VisionFive2 to detect the audio device.
Type aplay -l to list sound cards and digital audio devices.
Pay attention to the position marked on the picture, which indicates the device number of the sound card and digital audio equipment, where card0 and device0 are the headphone jacks on the VisionFive2 motherboard, card0 and device2 are the headphone jacks on the WM8960 module.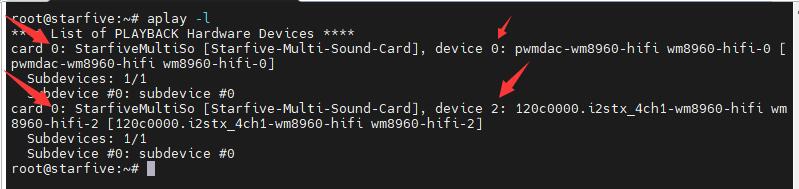
Type arecord -l to list sound cards and recording devices.
Pay attention to the position marked on the picture, which indicates the device number of the sound card and recording device, card0 and device1 are the two patch microphones on the WM8960 module.
Enter the command:
arecord -Dhw:0,1 -f S32_LE -r16000 -c2 -d 10 -t wav sound_32b_16k.wav
Start recording 10 seconds of 32-bit, 16kHz audio, and save it in the current directory, the file name is sound_32b_16k.wav.
input the command:
aplay -Dhw:0,2 -f S32_LE -r16000 -t wav sound_32b_16k.wav
Use the WM8960 module onboard headphone interface to play audio.
Note that the headphone jack on the VisionFive2 motherboard only supports audio output in 16-bit audio format.
LCD
Compatible model:
Hardware connection:
| LCD | VisionFive2 Board Pin |
| VCC | 3.3V |
| GND | GND |
| DIN | 19 |
| CLK | 23 |
| CS | 24 |
| DC | 22 |
| RST | 13 |
| BL | 12 |
Install the corresponding library file:
apt-get install pip
pip install VisionFive.gpio
apt-get install python3-numpy
apt-get install python3-pil
Download the demo:
apt-get install p7zip-full
wget https://www.waveshare.com/w/upload/e/e9/LCD_Module_code.7z
7z x LCD_Module_code.7z -o./LCD_Module_code
cd LCD_Module_code/VisionFive/python/example/
Run the corresponding demo according to your LCD.
python3 0inch96_LCD_test.py
python3 1inch14_LCD_test.py
python3 1inch28_LCD_test.py
python3 1inch3_LCD_test.py
python3 1inch54_LCD_test.py
python3 1inch8_LCD_test.py
python3 2inch_LCD_test.py
python3 2inch4_LCD_test.py