- sales/support
Google Chat:---
- sales
+86-0755-88291180
- sales01
sales@spotpear.com
- sales02
dragon_manager@163.com
- support
tech-support@spotpear.com
- CEO-Complaints
zhoujie@spotpear.com
- Only Tech-Support
WhatsApp:13246739196
- Purchase/Shipping/Refund
WhatsApp:13424403025
- HOME
- >
- ARTICLES
- >
- Common Moudle
- >
- WIFI
Raspberry Pi IR Infrared Send/Infrared Receive Tutorial
Development environment:
[] LIRC Version:0.10.1-6.3
[] Raspberry Pi:4B
[] Raspbian OS; (32 bit)Linux raspberrypi 5.15.84-v7l+
Install the LIRC software and configure:
Install lirc:
sudo apt-get update
sudo apt-get install lirc
driver configuration:
Edit the config.txt configuration file in the /boot directory
sudo nano /boot/config.txt
Find the configuration to enable the infrared function in config.txt
# Uncomment this to enable infrared communication.
#dtoverlay=gpio-ir,gpio_pin=18
#dtoverlay=gpio-ir-tx,gpio_pin=17
Remove the comment '#' in front of dtoverlay
# Uncomment this to enable infrared communication.
dtoverlay=gpio-ir,gpio_pin=18
dtoverlay=gpio-ir-tx,gpio_pin=17
#gpio-ir corresponds to the infrared receiver; gpio-ir-tx corresponds to the infrared transmitter
Restart the system:
sudo reboot
# After configuring the /boot/config.txt file, it needs to be restarted to take effect
Configure the /etc/lirc/lirc_options.conf file
sudo nano /etc/lirc/lirc_options.conf
Find the 'driver' and 'device' options in the file, and delete the parameters after '='
driver = devinput
device = auto
Modify the value of driver and device:
# change into
driver = default
device = /dev/lirc0
# device 的值改成/dev/lirc1也行,但经测试,改为/dev/lirc1时无法使用红外发射功能
Test the receiving function of the infrared module
Start infrared driver
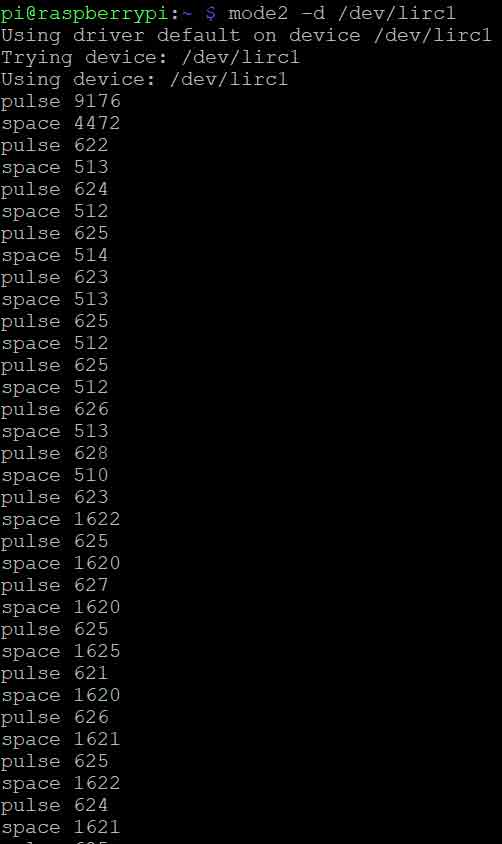
mode2 -d /dev/lirc1
#If it fails, it may be necessary to stop the lircd service to enter the infrared signal receiving mode. You can run sudo service lircd stop first and then run the infrared receiving command
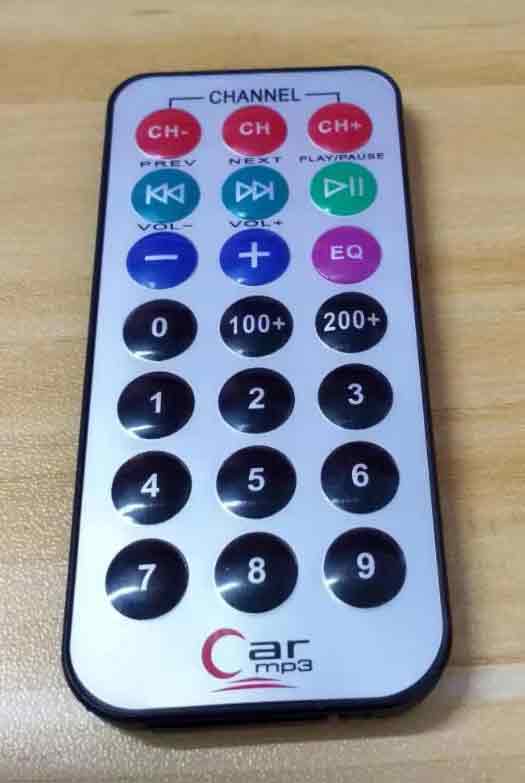
Testing of IR modules using any IR remote control device
When the infrared remote control is aimed at the infrared module and pressed, the terminal will display a code similar to the following, indicating that the infrared reception is normal
Test the infrared module emission function
The Raspberry Pi can transmit and receive infrared signals through the lirc library, so it is necessary to configure the infrared signal through the lirc library before launching
The lirc package has an irrecord command that can configure keys, but the accuracy is not high.。
Here we only use it to output the configuration file format
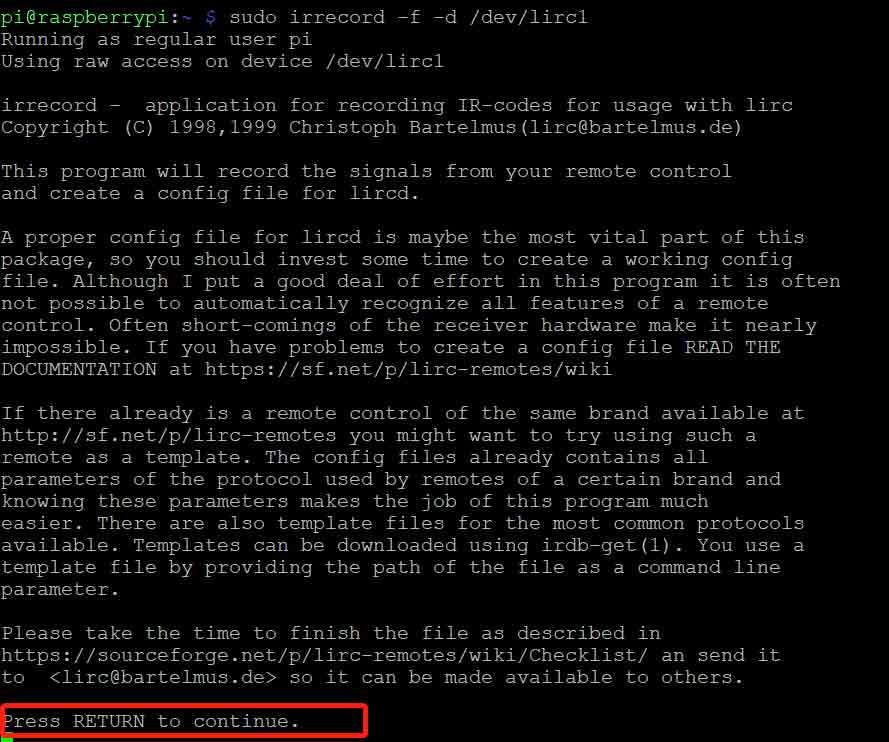
sudo irrecord -f -d /dev/lirc1
Prompt Press RETURN to continue. Enter, then wait, do not press the remote control button
Prompt Enter name of remote (only ascii, no spaces) : enter the name of the configuration file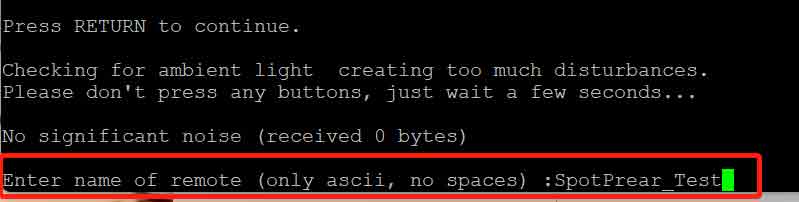
Prompt Press RETURN now to start recording. Enter to start recording
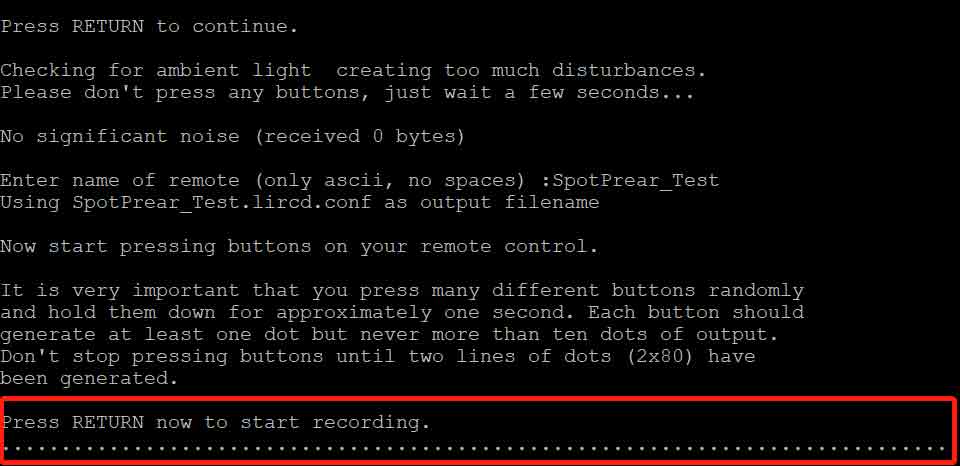
Afterwards, enter freely (you can keep pressing a key, if the point appears slowly, it is likely that sudo was not added before the command), we are just to obtain the configuration file format, the official requirement is to press different remote control keys, at least one will appear points, but not more than 10 points, until a prompt appears
Next, you will be asked to enter the key name, and then press and hold the key. Here, it is recommended to use names similar to KEY_1 and KEY_2 (see Attachment 1 below for details), so that no error will be reported. By default, there is a requirement for the key name format. If you ignore it, you can Add after the irrecord command --disable-spacename
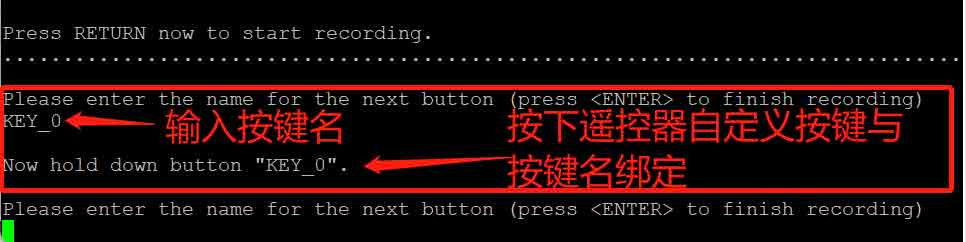
Just enter one or two keys, press Enter to end, we just want to get the configuration file format
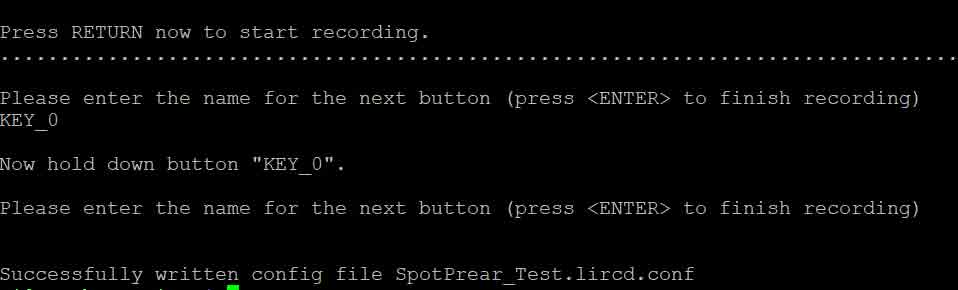
After pressing Enter, the yopur.lirc.conf file may be directly generated in the current directory, or it may be finished after pressing a key (note! Press a key, press it quickly, not hold it down!)
Copy template to /etc/lrc/lircd.conf
sudo cp your_files /etc/lirc/lircd.conf #your_ Files is the file name you configured in the previous step
Infrared emission test::
sudo service lircd restart #Restart service (required!!!!)
sudo irw
#Press the previously recorded button towards the infrared receiver. The console will display the following format fields:
#000000 xxxxxxxx xx button name remote control name
Launch command: irsend SEND_ ONCE remote control name button name
irsend SEND_ONCE orange_scale_ir KEY_0
#KEY_ 0 is a user-defined name when configuring remote control buttons
Check if the infrared module emits:
a.Start another Linux terminal
b.The first terminal enables infrared reception function
mode2 -d /dev/lirc1
The second terminal enables infrared emission function
irsend SEND_ONCE SportPrear_Test KEY_0
#SportPrear_ Test is the user-defined configuration file name when configuring remote control buttons
#KEY_ 0 is the user-defined key name when configuring remote control buttons
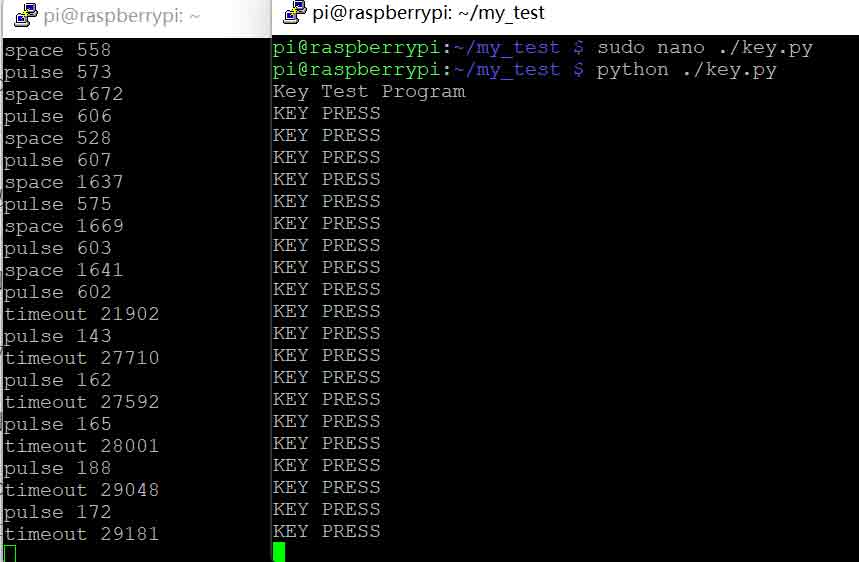
Emission and reception effects
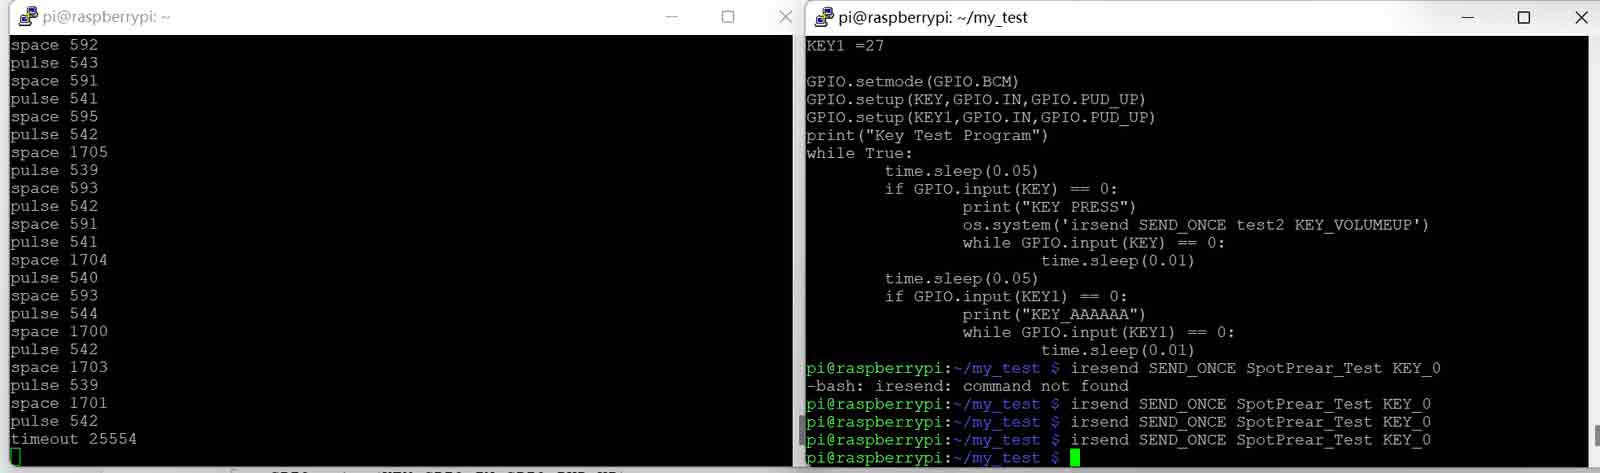
Key tutorial
Press Button 1 (or Button 2) to print the effect on the console
Creating Python test files
sudo nano key.py
Writing Python testing code
import RPi.GPIO as GPIO
import time
KEY =22
GPIO.setmode(GPIO.BCM)
GPIO.setup(KEY,GPIO.IN,GPIO.PUD_UP)
while True:
time.sleep(0.05)
if GPIO.input(KEY) == 0:
print("KEY PRESS")
while GPIO.input(KEY) ==0:
time.sleep(0.01)
Running Python Test Code Files
python ./key.py
d.Test rendering
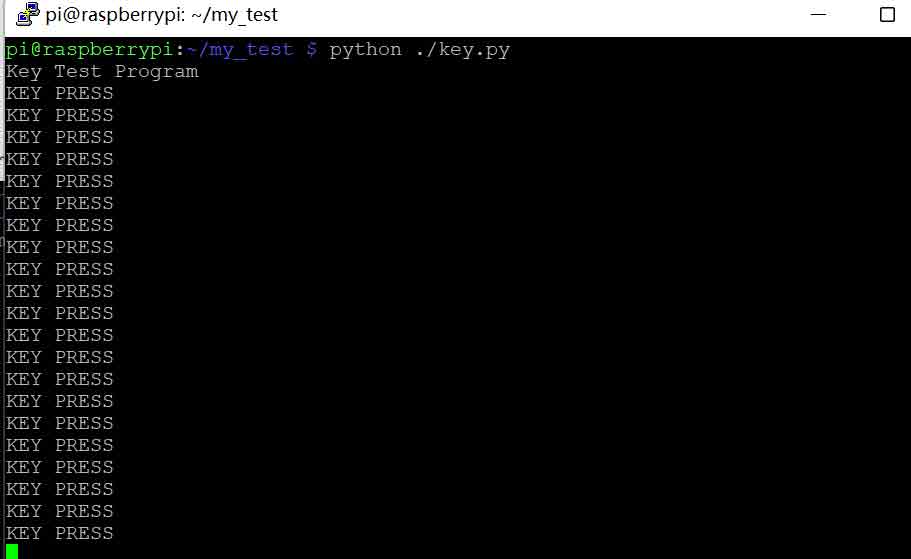
Press Button 1 (or Button 2) to emit infrared effect
a.Modify the above code to
#According to the module schematic, the Button is located at pins 22 and 27
import RPi.GPIO as GPIO
import os
import time
KEY =22
GPIO.setmode(GPIO.BCM)
GPIO.setup(KEY,GPIO.IN,GPIO.PUD_UP)
while True:
time.sleep(0.05)
if GPIO.input(KEY) == 0:
os.system('irsend SEND_ONCE SpotPrear_Test KEY_0')
print("KEY SEND TEST")
while GPIO.input(KEY) ==0:
time.sleep(0.01)
Experimental phenomena