- sales/support
Google Chat:---
- sales
+86-0755-88291180
- sales01
sales@spotpear.com
- sales02
dragon_manager@163.com
- support
tech-support@spotpear.com
- CEO-Complaints
zhoujie@spotpear.com
- sales/support
WhatsApp:13246739196
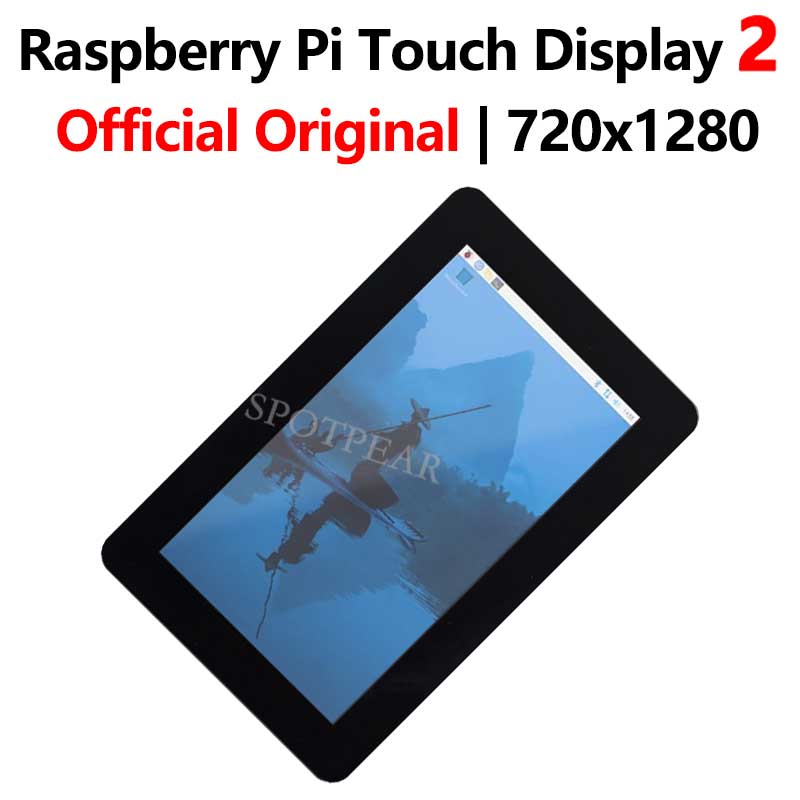
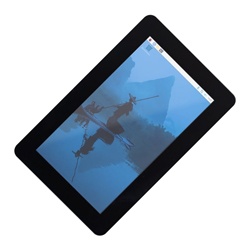
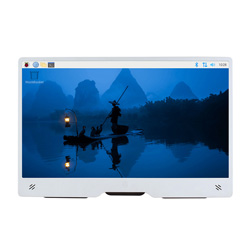
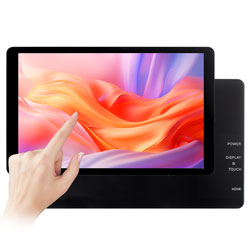
Raspberry Pi Touch Display 2 Official Original Capacitive TouchScreen 7 inch LCD TFT 720x1280
$88
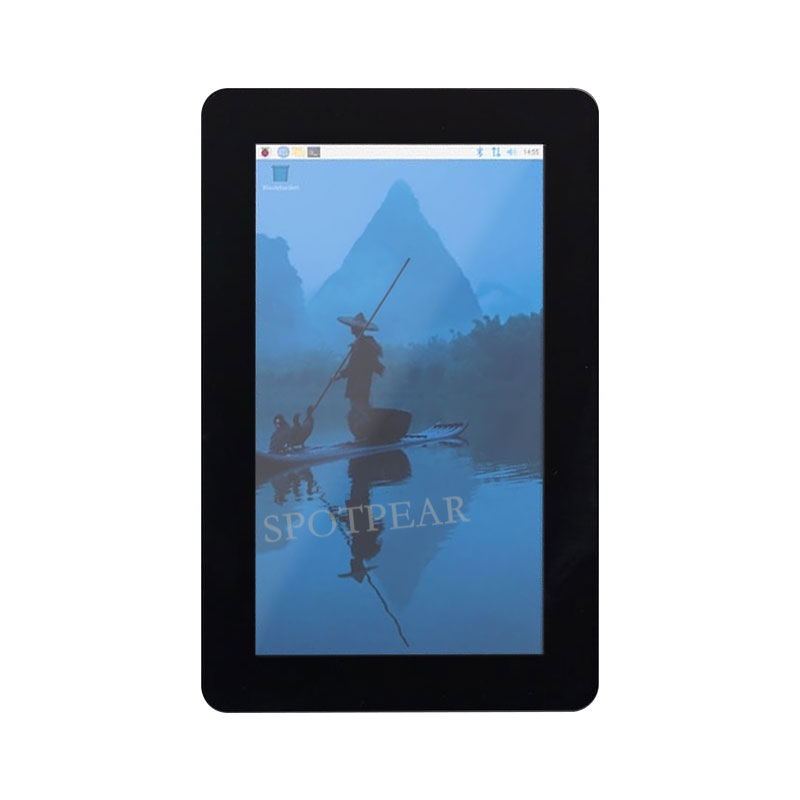
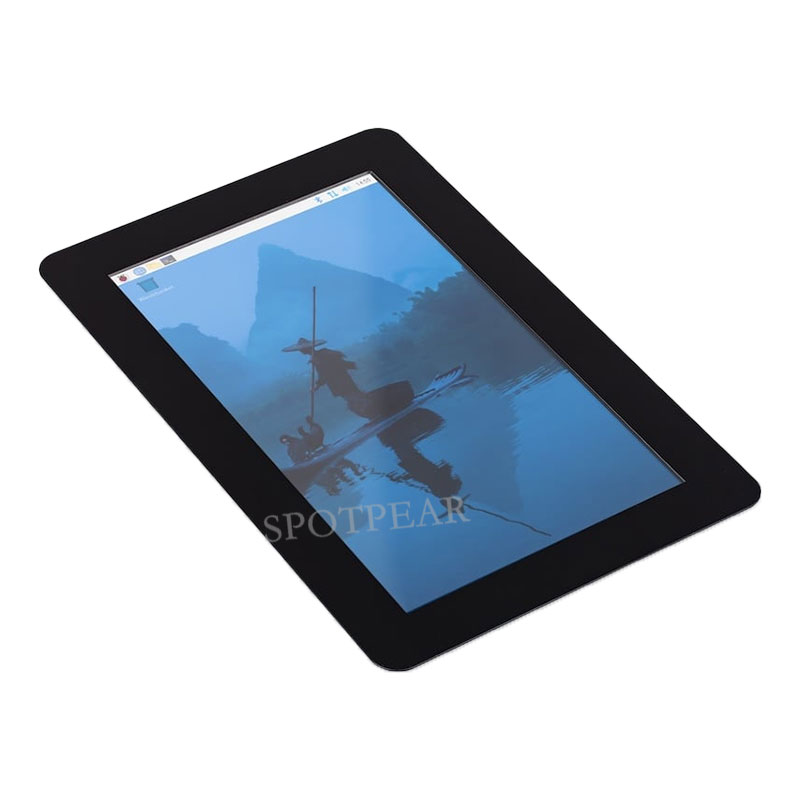
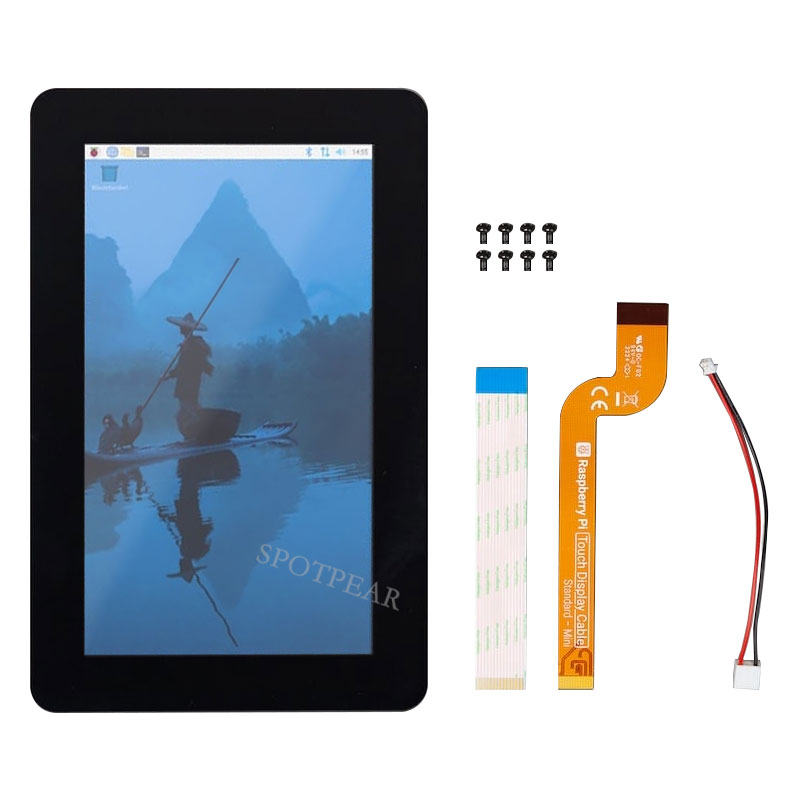
Raspberry Pi Touch Display 2 is a 7″ touchscreen display for Raspberry Pi. It is ideal for interactive projects such as tablets, entertainment systems, and information dashboards.
Raspberry Pi Official Original Product Recommend
Raspberry Pi 7 inch DSI Display Recommend
【Overview】
[] Raspberry Pi Touch Display 2 is a 7″ touchscreen display for Raspberry Pi. It is ideal for interactive projects such as tablets, entertainment systems, and information dashboards.
【Parameter】
[] Size: 189.32mm × 120.24mm
[] Display size (diagonal): 7 inches
[] Display format: 720 (RGB) × 1280 pixels
[] Active area: 88mm × 155mm
[] LCD type: TFT, normally white, transmissive
[] Touch panel: True multi-touch capacitive touch panel, supporting five-finger touch
[] Surface treatment: Anti-glare
[] Colour configuration: RGB-stripe
[] Backlight type: LED B/L
【Install】
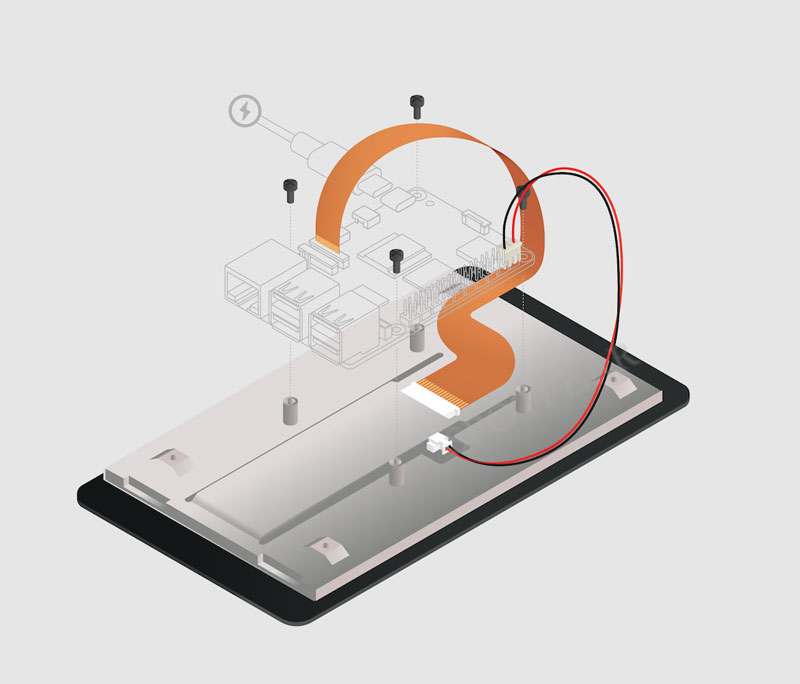
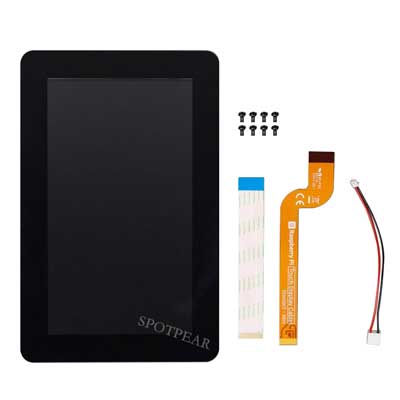
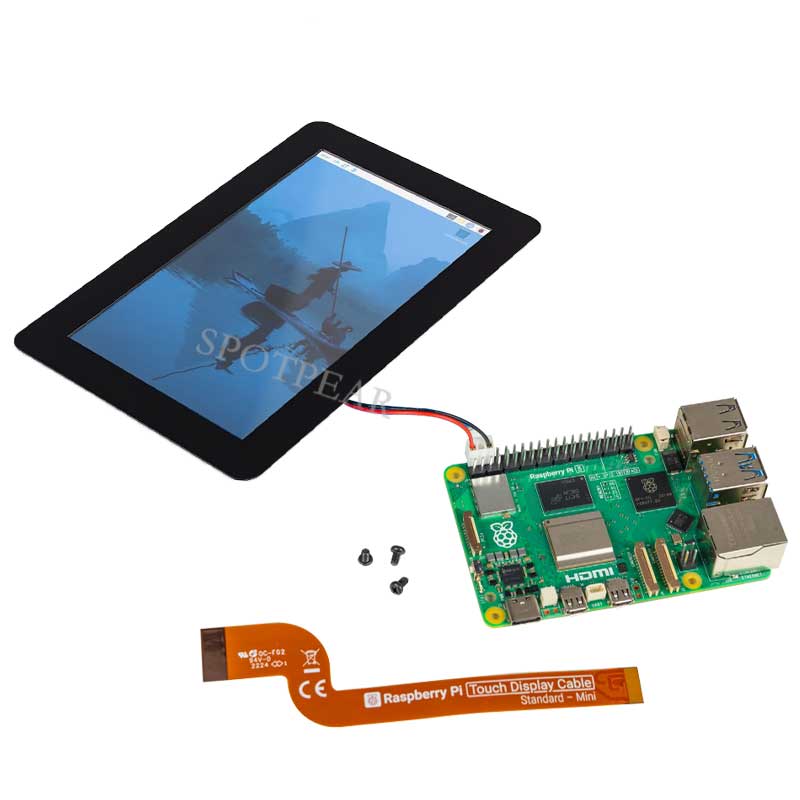
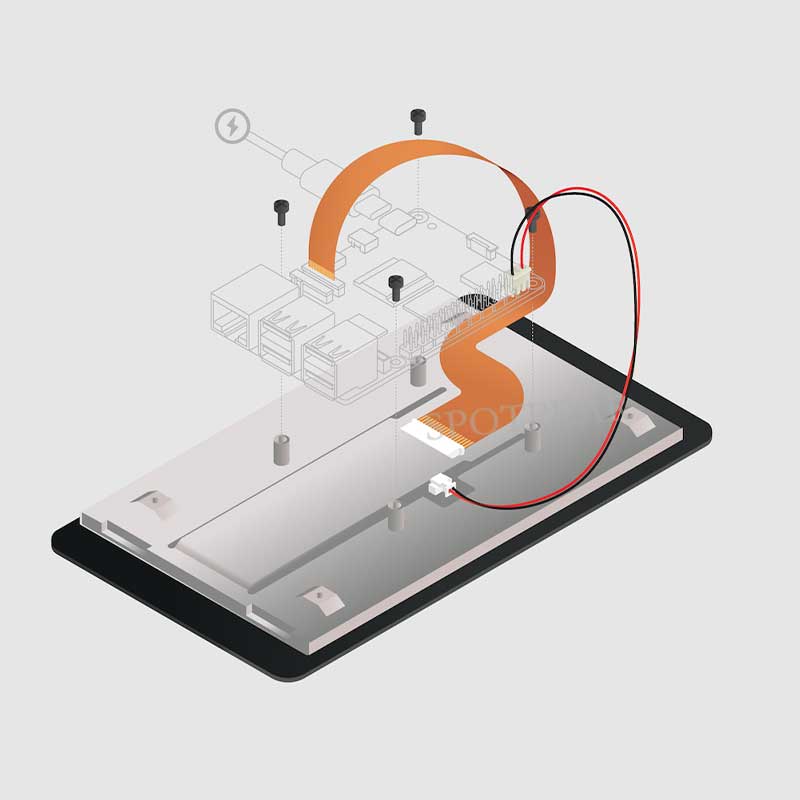
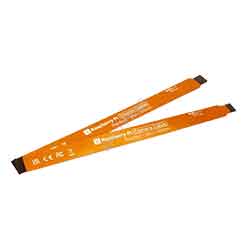
To connect a Touch Display 2 to a Raspberry Pi, use a Flat Flexible Cable (FFC) and a GPIO connector. The FFC you’ll use depends upon your Raspberry Pi model:
for Raspberry Pi 5, use the included 22-way to 15-way FFC
for any other Raspberry Pi model, use the included 15-way to 15-way FFC
Once you have determined the correct FFC for your Raspberry Pi model, complete the following steps to connect your Touch Display 2 to your Raspberry Pi:
Disconnect your Raspberry Pi from power.
Lift the retaining clips on either side of the FFC connector on the Touch Display 2.
Insert one 15-way end of your FFC into the Touch Display 2 FFC connector, with the copper contacts facing upwards, away from the Touch Display 2.
While holding the FFC firmly in place, simultaneously push both retaining clips down on the FFC connector of the Touch Display 2.
Lift the retaining clips on either side of the DSI connector of your Raspberry Pi. This port should be marked with some variation of the term
DISPLAYorDISP. If your Raspberry Pi has multiple DSI connectors, prefer the port labelled1.Insert the other end of your FFC into the Raspberry Pi DSI connector, with the copper contacts facing towards the Ethernet and USB-A ports.
While holding the FFC firmly in place, simultaneously push both retaining clips down on the DSI connector of the Raspberry Pi.
Plug the GPIO connector cable into the port marked
J1on the Touch Display 2.Connect the other (three-pin) end of the GPIO connector cable to pins 2, 4, and 6 of the Raspberry Pi’s GPIO. Connect the red cable (5V power) to pin 2, and the black cable (ground) to pin 6. Viewed from above, with the Ethernet and USB-A ports facing down, these pins are located at the top right of the board, with pin 2 in the top right-most position.
Optionally, use the included M2.5 screws to mount your Raspberry Pi to the back of the Touch Display 2.
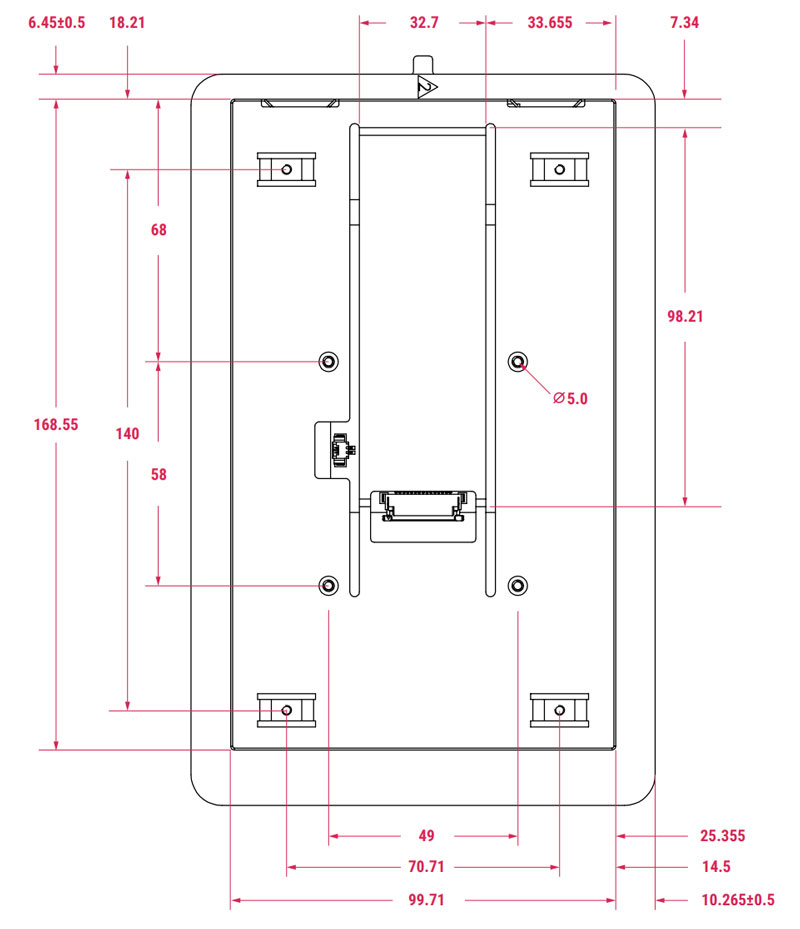
Align the four corner stand-offs of your Raspberry Pi with the four mount points that surround the FFC connector and
J1port on the back of the Touch Display 2, taking special care not to pinch the FFC.Insert the screws into the four corner stand-offs and tighten until your Raspberry Pi is secure.
Reconnect your Raspberry Pi to power. It may take up to one minute to initialise the Touch Display 2 connection and begin displaying to the screen.
【Size】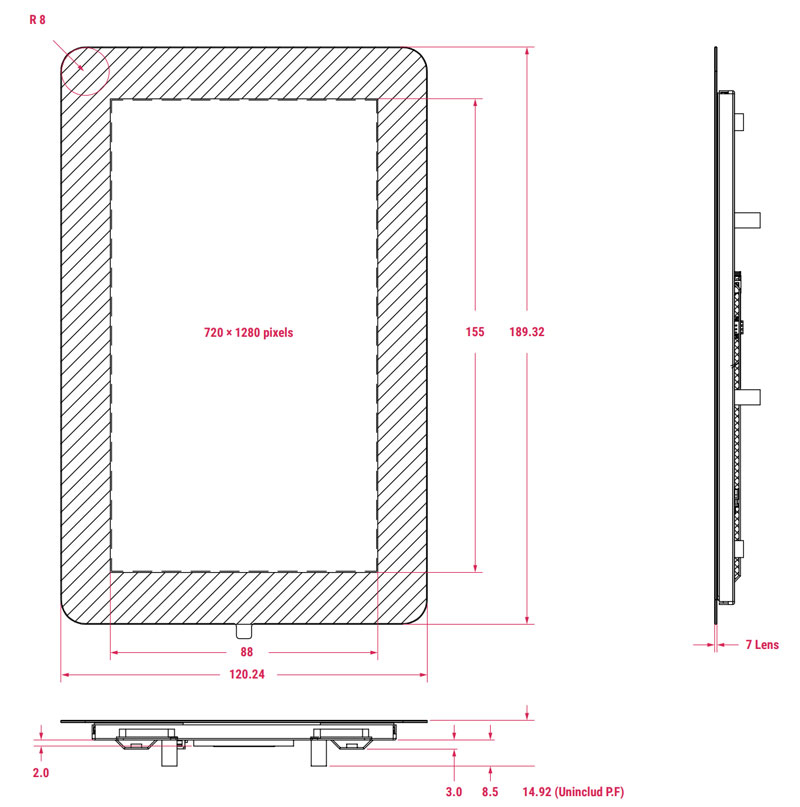
【Reference Links】[] Raspberry Pi Touch Display 2 product brief
[] Raspberry Pi Touch Display 2 install guide[] https://pip.raspberrypi.com


