


- sales/support
Google Chat:---
- sales
+86-0755-88291180
- sales01
sales@spotpear.com
- sales02
dragon_manager@163.com
- support
tech-support@spotpear.com
- CEO-Complaints
zhoujie@spotpear.com
- Only Tech-Support
WhatsApp:13246739196
- Purchase/Shipping/Refund
WhatsApp:13424403025
Raspberry Pi 9HP-CAPQLED User Guide
Introduction
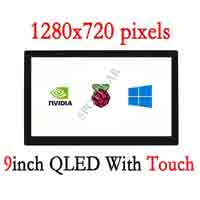
9inch QLED Quantum Dot Display, Capacitive Touch, 1280 × 720, G+G Tempered Glass Panel, Various Devices & Systems Support.
Features
- 9inch QLED quantum dot display, wider color gamut, more pure chroma, and longer lifetime, 1280 x 720 hardware resolution.
- 10-point capacitive touch control, tempered glass capacitive touch panel, hardness up to 6H.
- Used with Jetson Nano, supports Ubuntu.
- Used with Raspberry Pi, supports Raspberry Pi OS / Ubuntu / Kali and Retropie and driver free.
- When used as a computer monitor, supports Windows 11/10/8.1/8/7.
- Support popular Game Consoles like Xbox360, PS4, and SWITCH.
- Multi-languages OSD menu, for power management, brightness/contrast adjustment, etc.
- It has a 3.5mm audio jack and supports HDMI audio output.
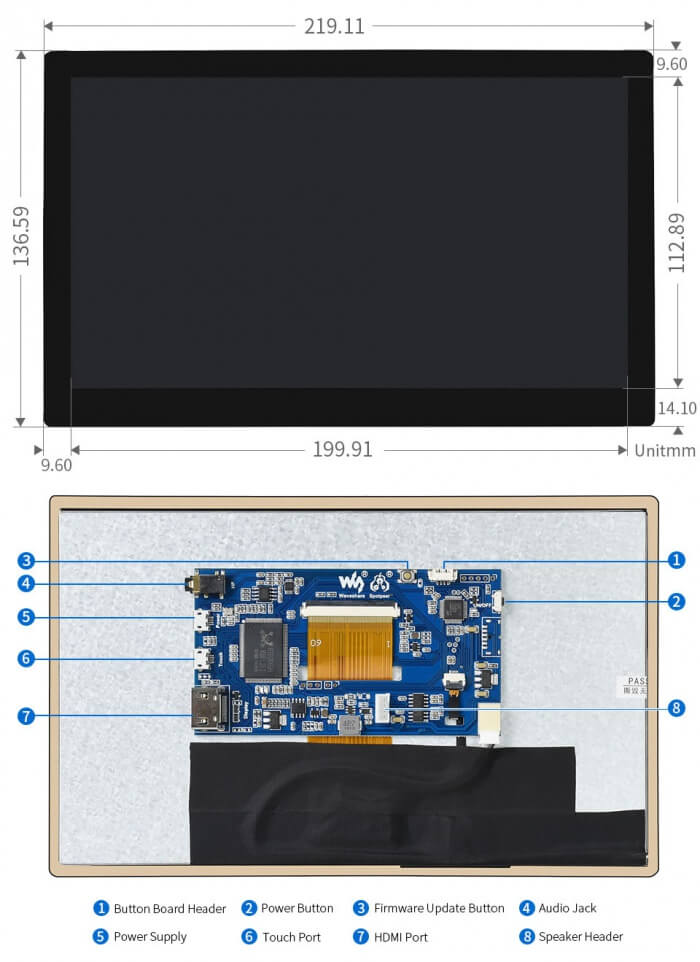
What's On Board
Working with PC
This product supports Windows 11/10/8.1/8/7 OS.:
1. Connect the 5V power supply to the Power port of the LCD, and you can see that the LCD backlight is lit normally.
2. Connect the TOUCH interface of LCD to the USB interface of PC. Wait for a while, the windows will automatically recognize the touch function.
3. Connect the HDMI interface of LCD to the HDMI port of the PC. About 5s later, you can see the LCD display properly. If you need the audio, you can insert 3.5mm earphones into HP ports.
Note:
1) When the computer is connected to several different displays at the same time, only this LCD can be used to control the cursor on the main display, so we recommended setting this LCD as the main display.
2) Some of PC cannot support HDMI screen Hot Plug. In this case, restart the PC can solve.
Working with Raspberry Pi
This LCD can support Raspberry Pi OS / Ubuntu / Kali / Retropie systems.
Please download the latest version of the image on the Raspberry Pi official website.
- 1) Download the compressed file to the PC, and unzip it to get the .img file.
- 2) Connect the TF card to the PC, use SDFormatter software to format the TF card.
- 3) Open the Win32DiskImager software, select the system image downloaded in step 1, and click ‘Write’ to write the system image.
- 4) After the image has finished writing, open the config.txt file in the root directory of the TF card, add the following code at the end of config.txt, then save and quit the TF card safely.
hdmi_group=2
hdmi_mode=87
hdmi_timings=1280 0 160 32 48 720 0 10 10 12 0 0 0 60 0 77000000 3
- 5) Insert the TF card into the Raspberry Pi
- 6) Connect the 5V power supply to the Power port of the LCD, and you can see that the LCD backlight is lit normally.
- 7) Connect the Touch interface of the LCD to the USB port of Raspberry Pi.
- 8) Connect the HDMI interface of the LCD to the HDMI port of Raspberry Pi and then power on the Raspberry Pi, it can display normally after waiting for about a few seconds.
Working with Jetson Nano
To use with Jetson Nano, it doesn't require to configure.
1) Connect the 5V power supply to the Power port of the LCD, and you can see that the LCD backlight is lit normally.
2) Connect the TOUCH interface of the display to the USB port of Jetson Nano
3) Connect the HDMI interface of the display to the HDMI port of Jetson Nano.
4) Wait for seconds and the display will work normally. If you need to get the audio, you need to connect 3.5mm earphones to the HP port of the display.
Note:
When using the HP audio interface, you may need to set the sound output settings in the system.
