


- sales/support
Google Chat:---
- sales
+86-0755-88291180
- sales01
sales@spotpear.com
- sales02
dragon_manager@163.com
- support
tech-support@spotpear.com
- CEO-Complaints
zhoujie@spotpear.com
- Only Tech-Support
WhatsApp:13246739196
- Purchase/Shipping/Refund
WhatsApp:13424403025
- HOME
- >
- ARTICLES
- >
- Raspberry Pi
Windows Environment User Guide
Windows Environment Setting Tutorial
- This tutorial is applicable to the Raspberry Pi Pico and the RP2040 series development board developed by our company.
- The default development environment is Windows for example (the Raspberry Pi can be installed with the official installation script).
C/C++ SDK
You need to install the corresponding toolchain are:
- Arm GNU Toolchain (You need to install the corresponding version, such as Windows needs to install the file with the suffix -arm-none-eabi.exe.)
- CMake
- Visual Studio 2022
- Python 3.10
- Git
- Also, we have packaged the installation package and uploaded it to our server.
- You can click here to download the installation package.
How to Install
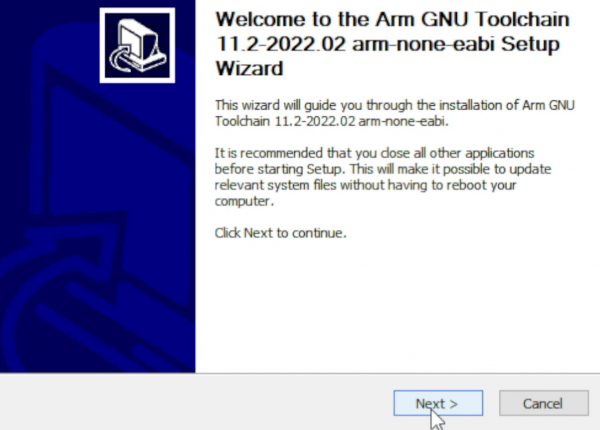
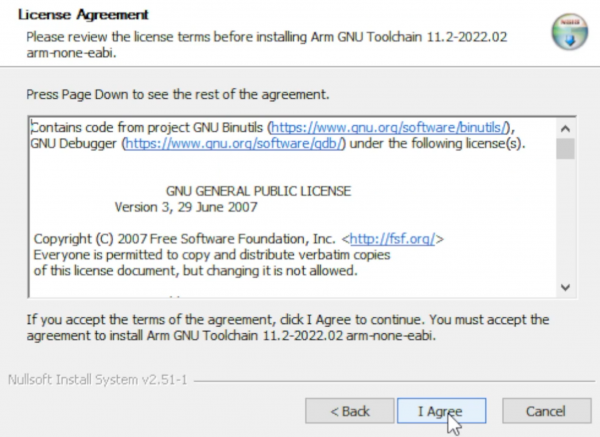
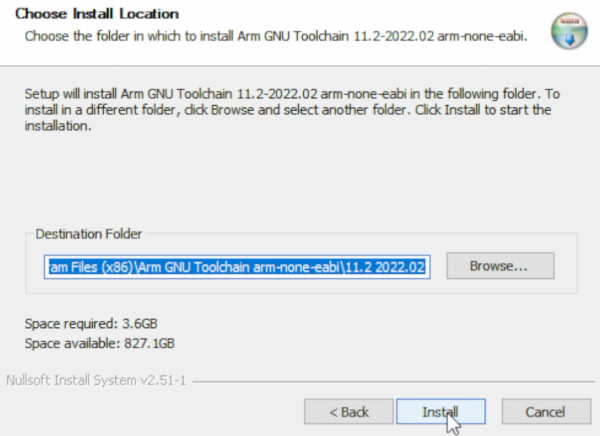
Arm GNU Toolchain
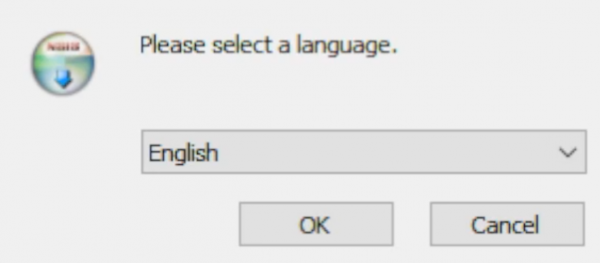
- Select language.
- Enter the installation wizard.
- Agree to the user agreement and continue.
- Select the installation address.
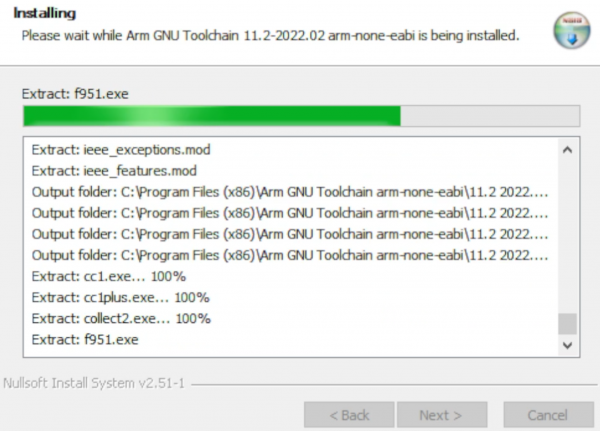
- Wait for the installation to complete.
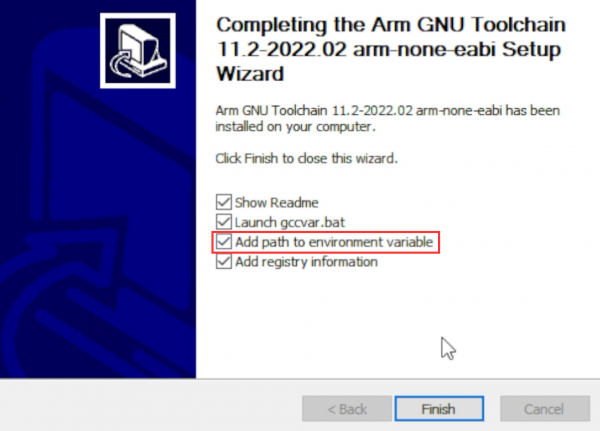
- Note: Check the option in the red box in the picture.
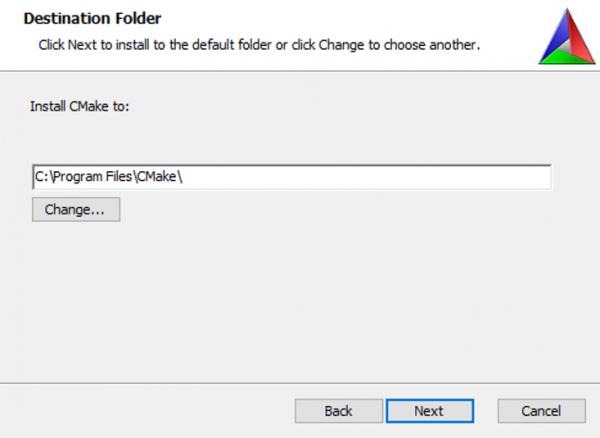
CMake
- Enter the installation wizard.

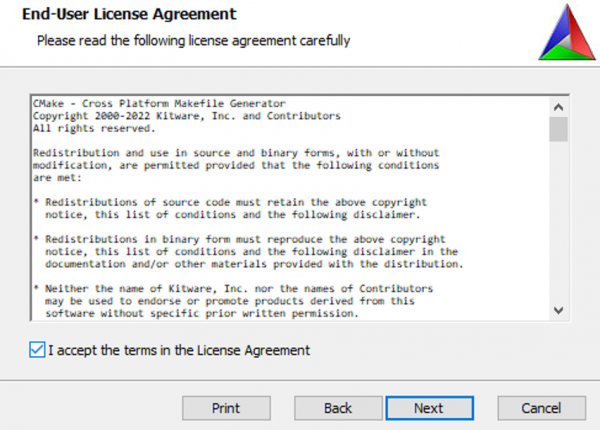
- Agree to the user agreement and continue.
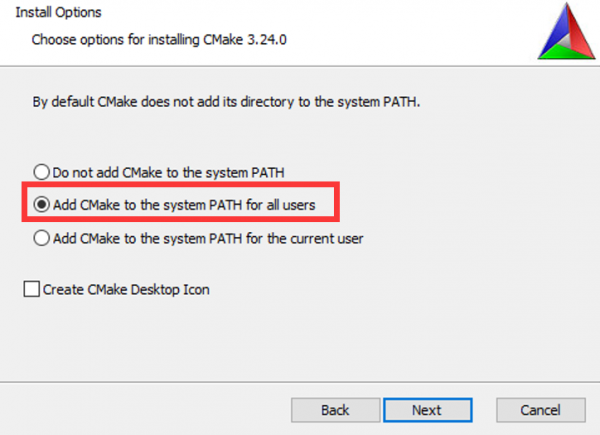
- Add CMake to the system PATH for all users.
- Select the installation location.
- Enter to install.
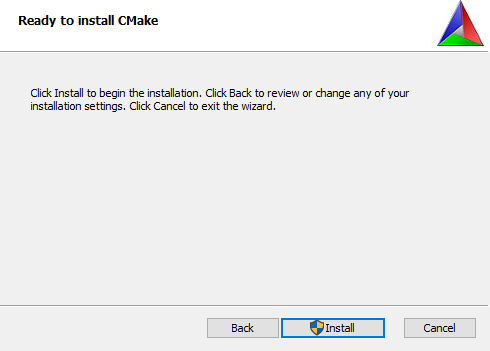
- Finish.

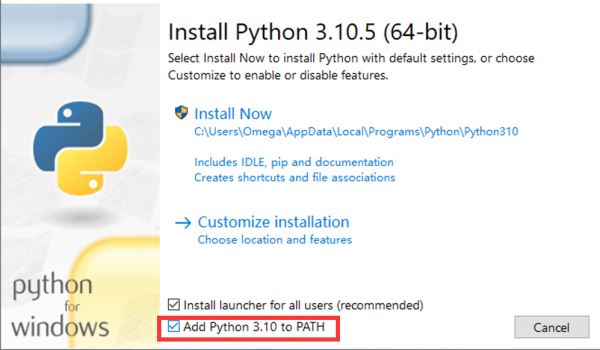
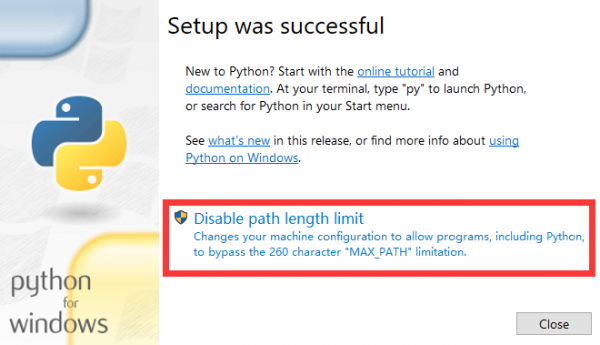
Python
- Enter to install and check tp add PATH.
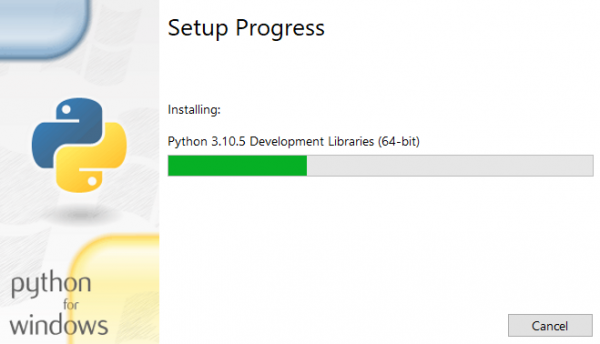
- Wait for installation.
- Friends who have the options in the red box can click to disable the PATH length limit.
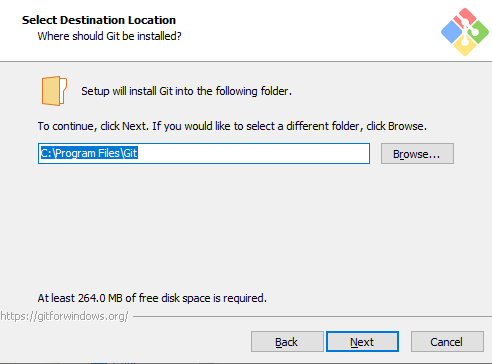
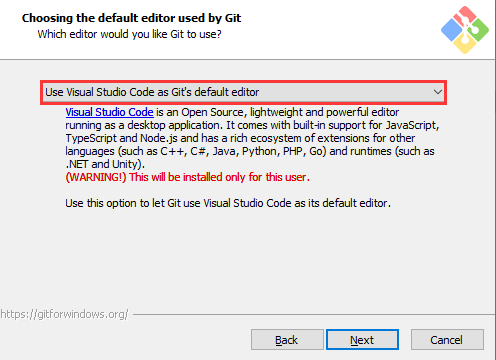
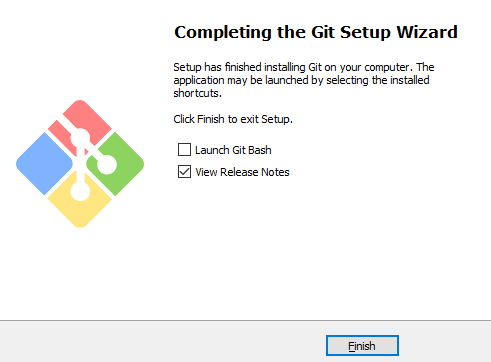
Git
- There are many installation options for Git and the length is relatively long. Here we only point out the recommended modification parts, and the default settings for the rest of the options are recommended.
- Choose an installation location.
- Choose Git default editor (here I choose VS Code).
- Next, keep the default settings, select Next, and finally the installation is successful.
Visual Studio 2022
Visual Studio 2022 installation is very linear, just note the following one point.
When selecting a build tool, select the C++ tool in the figure: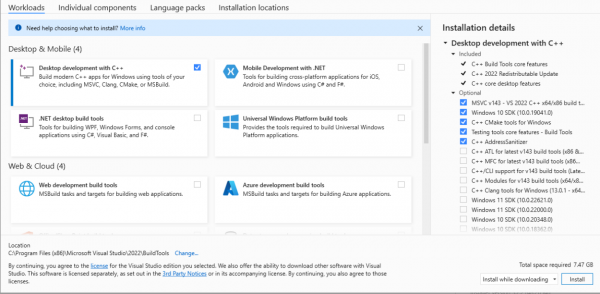
Get and Compile the Demo
Get SDK Demo
In the folder where you want to download the SDK, Shift + right click -> select "Open powershell here" and enter the command:
git clone -b master https://github.com/raspberrypi/pico-sdk.git
cd pico-sdk
git submodule update --init
cd ..
git clone -b master https://github.com/raspberrypi/pico-examples.git
Set the Environment and Compile
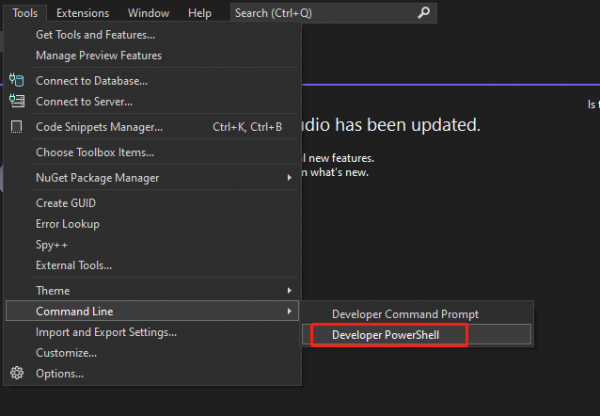
- Open your VS 2022 -> Tools -> Command Line -> Developer PowerShell.
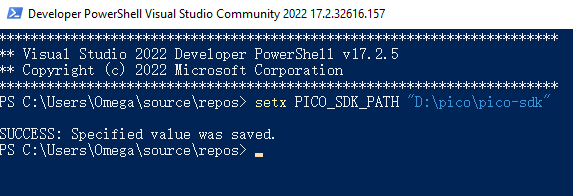
- Set the absolute address of your pico-sdk to PICO_SDK_PATH, for example, my pico-sdk address is "D:\pico\pico-sdk".
- Jump to the folder where pico-examples is located, create a build folder and compile.
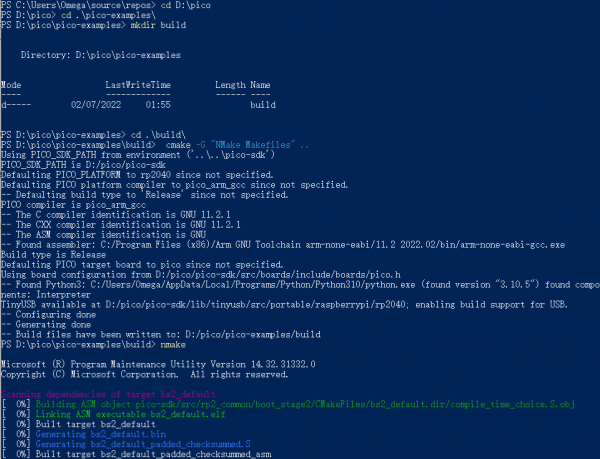
- Just wait for the compilation to complete (note that all demos are compiled here, so the compilation time is a bit long).

- The following are all instructions:
setx PICO_SDK_PATH "..\..\pico-sdk"
cd pico-examples
mkdir build
cd build
cmake -G "NMake Makefiles" ..
nmake
Download the Firmware
Select the demo firmware you need to download, and drag it into the memory simulated by pico:
TAG:
ESP32 S3 Development Board 2.1 inch Round Rotary Knob LCD Smart Screen 2.1inch Display 480x480 LVGL for Arduino
Luckfox Pico plus
Raspberry Pi 5 Sound Card
Industrial RJ45 Ethernet To 16-ch Relay Module Modbus RTU TCP With Protection and guide rails
RS485 to RJ45
ESP32-S3 AI Voice Dialogue Robot Mechanical Dog Development Board Toy Tabletop Pet Deepseek
Raspberry Pi 5 UPS HAT E 4-Port For 21700-Li-Battery (NOT includ) 5V6A Uninterruptible Power Supply
PC USB Monitor Screen
RP2040-Keyboard-3
Raspberry Pi Pico 1.54inch LCD display 240×240 IPS 1.54 inch screen
SpotPear
Milk-V Duo Ethernet
Raspberry Pi 18.5inch FHD LCD 1920x1080 Capacitive TouchScreen Display For Raspberry Pi/Jetson Nano/
ESP32-S3 Smart 86 Box Development Board with 4 inch 480x480 Display Touch Screen For AI and DeepSeek
Raspberry Pi Touch Display 2 Official Original Capacitive TouchScreen 7 inch LCD TFT 720x1280
ADXL354BEZ
Black
Digital Photo Frames
Industrial Modbus RS485 RTU 8-ch Magnetic Latching Relay Module (C) With Digital Input
Raspberry Pi Pico 2 RP2350 0.85inch LCD Display Development Board RGB Lighting 128×128
TAG:
Workstation electronic Nameplate
ESP32 C3 Ornament Trinket LVGL Astronaut Clock Watch 1.69inch Round LCD TouchScreen ST7789 240x280
SeeedStudio SenseCAP Watcher Clear Enclosure Camera AI ESP32-S3 Himax WiseEye2 HX6538 AI Agent
Arducam
3D Display Transparent Screen
Raspberry Pi Pico 2 RP2350 CAN Onboard XL2515 CAN Controller RP2350A
Raspberry Pi Game
Raspberry Pi IR Array Thermal Imaging Camera Far infrared
Omni-Directional
WiFi Bluetooth
ESP32 C3 Round LCD Electronic EYE 0.71 inch Display Watch Screen GC9D01 160x160
Raspberry Pi 5
RM530N GL IoT EMBB 5G 4G 3G M.2 LTE-A/NSA SA GNSS DFOTA VoLTE Quectel
VisionFive2 4GB 8GB StarFive RISC V Computer JH7110 Integrated 3D GPU
Electronic EYE 0.71inch Round Double LCD Display Screen Arduino Raspberry Pi ESP32 Pico STM32
VGA to TTL
1.85inch LCD TouchScreen Display 360×360 ST77916 For Arduino /Raspberry Pi /ESP32 /Pico /STM32
Raspberry Pi Pico 2 RP2350A 1.54inch TouchScreen 1.54 inch LCD Display Development Board 240×240
ESP32-S3 AI Camera 1.28inch LCD Dual MIC Development Board Display 1.28 inch Voice Interruption Object Recognition 10-in-1 Multifunctional
Raspberry Pi 5 IMX219