- sales/support
Google Chat:---
- sales
+86-0755-88291180
- sales01
sales@spotpear.com
- sales02
dragon_manager@163.com
- support
tech-support@spotpear.com
- CEO-Complaints
zhoujie@spotpear.com
- Only Tech-Support
WhatsApp:13246739196
- Purchase/Shipping/Refund
WhatsApp:13424403025
- HOME
- >
- ARTICLES
- >
- Common Moudle
- >
- ESP
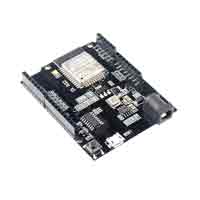
ESP32-UNO D1 R32 User Guide
Development environment settings:
Use the Windows environment for development,
installation steps:
1. Install the Arduino IDE, you can download the Arduino IDE client from Arduino.cc.
2. Install the Git GUI, you can download the Git GUI client from Git-scm.com.
3. Open the Git GUI and select Clone existing repository.
Type https://github.com/espressif/arduino-esp32.git in the "Source Location" option click the browse option in the target directory and select the /hardware folder under the Arduino IDE.
Then add /espressif/esp32 after the file path. In fact, create a folder, but you can't create it yourself, you need to fill in the creation in the software.
Taking my current path as an example, the full path of the target directory is F:/bao/arduino-1.8.2/hardware/espressif/esp32