


- sales/support
Google Chat:---
- sales
+86-0755-88291180
- sales01
sales@spotpear.com
- sales02
dragon_manager@163.com
- support
tech-support@spotpear.com
- CEO-Complaints
zhoujie@spotpear.com
- Only Tech-Support
WhatsApp:13246739196
- Purchase/Shipping/Refund
WhatsApp:13424403025
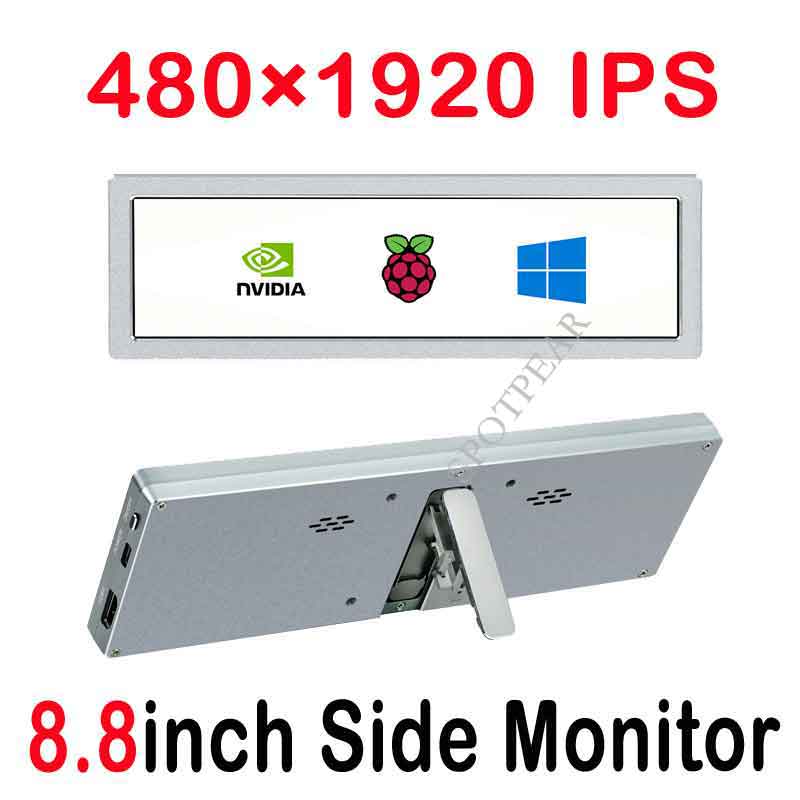
Raspberry Pi 8.8inch Side Monitor User Guide
Overview
8.8inch Side Monitor, 480×1920, HDMI, IPS, HiFi Speaker, No touch, it can be used for Raspberry Pi, Jetson Nano, or PC.
Features
- 8.8inch IPS display, hardware resolution is 480x1920
- Full metal CNC alloy shell
- Use with Raspberry Pi, it supports Raspbian / Ubuntu / Kali and Retropie, driver free
- Use with Jetson Nano, it supports Ubuntu, driver free
- Use with Desktop PC, it supports Windows 11 / 10 /8.1 / 8 /7, driver free
- Support backlight control for power saving.
Work with PC
To work with Desktop PC, the display supports Windows 11/10/8.1/8/7.
- Connect the Power interface of LCD to the USB port of PC or 5V power adapter
- Connect the HDMI interface of the LCD to the HDMI interface of the PC
Note that the default orientation of the display is vertical with 480x1920 hardware. If you want to change it to horizontal, you can refer to the Orientation chapter.
Work with Raspberry Pi
To work with the Raspberry Pi board, you need to configure the system resolution manually, otherwise the display cannot work.
- Download the newest image from the Raspberry Pi website
- Unzip the archive downloaded to get the .img file
- Use the SDFormatter.exe software to format the Micro SD card
- Wite the .img file to the SD card by Win32DiskImager.exe file
- After writing, open and modify the config.txt file, which locates at boot directory.
- Add the following lines to the config.txt file and save
max_framebuffer_height=1920
hdmi_mode=87
hdmi_group=2
hdmi_force_mode=1
hdmi_timings=480 0 30 30 30 1920 0 18 6 6 0 0 0 60 0 66280000 3
- Insert the Micro SD card to the Raspberry Pi
- Connect the Power interface of LCD to the USB port of the Raspberry Pi or 5V power adapter
- Connect the HDMI interface of the LCD to the HDMI port of the Raspberry Pi
- Start the Raspberry Pi and the display could work after a few seconds.
Note that the default orientation of the display is vertical with 480x1920 hardware. If you want to change it to horizontal, you can refer to the Orientation chapter.
Orientation
Windows PC
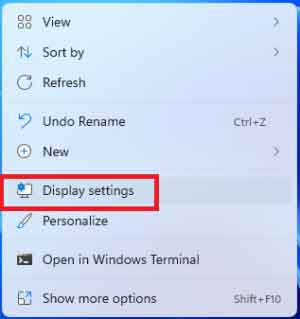
- Right-click and choose the Display setting
- Click the Identify to detect the display
- Choose the display, set the display mode to extend, and change the orientation
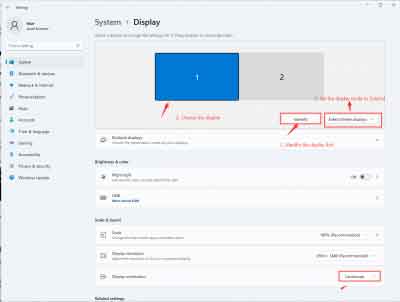
- Choose the display, set the display mode to extend, and change the orientation
Raspberry Pi
- Open the Menu of Raspberry Pi
- Choose Preferences -> Screen Configuration
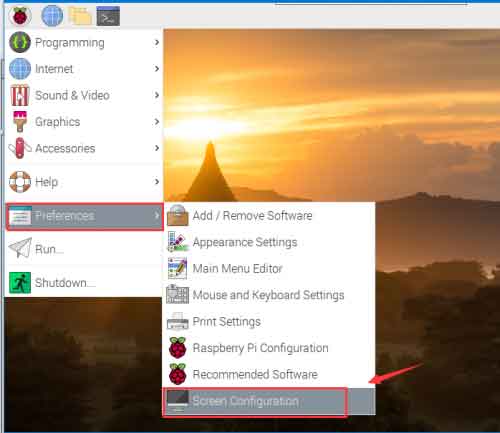
- Choose Preferences -> Screen Configuration
normal: Default orientation
Right: Rotate 90°
inverted: Rotate 180°
left: Rotate 270°
Note: If you use Raspberry Pi 4, please enable the dtverlay=vc4-fkms-V3D
Others
Control Backlight
The brightness can be adjusted by the buttons on the side。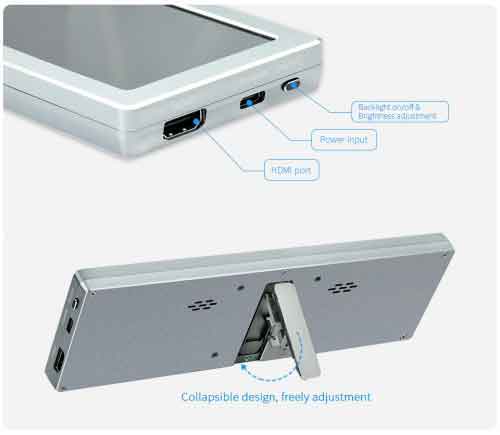
Power saving
To disable the Power saving mode and keep the display lighting.
- Open the lightdm.conf file
sudo nano /etc/lightdm/lightdm.conf
- Modify the lightdm.conf file, find the xserver-command lin.
#xserver-command=X
Modify it to
xserver-command=X -s 0 -dpms
- -s # - disable the display saver
- dpms: diable the power saving.
- Reboot
sudo reboot