- sales/support
Google Chat:---
- sales
+86-0755-88291180
- sales01
sales@spotpear.com
- sales02
dragon_manager@163.com
- support
tech-support@spotpear.com
- CEO-Complaints
zhoujie@spotpear.com
- Only Tech-Support
WhatsApp:13246739196
- Purchase/Shipping/Refund
WhatsApp:13424403025
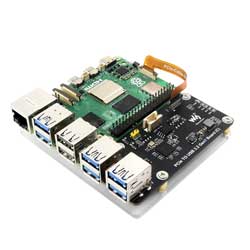
PCIe-TO-USB-3.2-Gen1-Board-C User Guide
Introduction
This PCIe To USB3.2 Gen1 Board is designed for Raspberry Pi 5. Onboard 4x USB interfaces, driver-free, plug-and-play, high-speed, support side-mounting solution.
Features
- Support PCI-E×1 Gen2 mode.
- Only support PI5B.
- Equip with original high-performance VL805 controller.
- Support USB power control.
User Guide
Hardware Connection
Please pay attention to the cable orientation as shown below: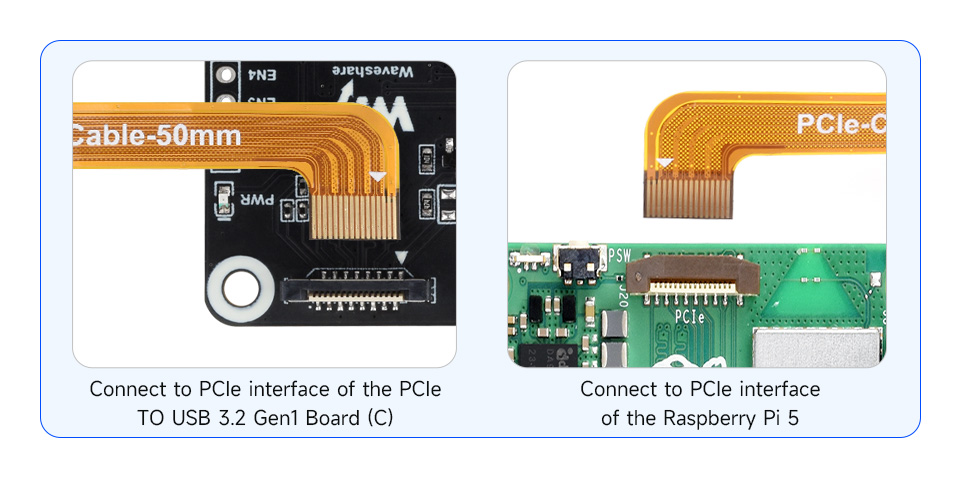
How To Use
1: Enable PCIE interface:
PCIE interface is not enabled on the Raspberry Pi 5 by default, you can add the following content at /boot/firmware/config.txt:
dtparam=pciex1
2: PCIE gen2 is the default setting, if you want to enable PCIE gen3, you need to add the following content at /boot/firmware/config.txt:
dtparam=pciex1_gen=3
#Please note that the module only supports gen2, so it is the same to set Gen3 or Gen2 on the PI5, and the speed will not be improved.
3: Reboot PI5 after modification, and the device can be recognized.
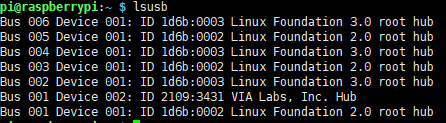
As shown below, the VL805 is recognized as our device, and the other PI5 is the RPI chip.
4: Execute "lsusb" to the USB device that has been recognized.
USB Power Supply Control
The maximum output current of the single port is 2A.
Total output current: depends on the current input by the user through the socket.
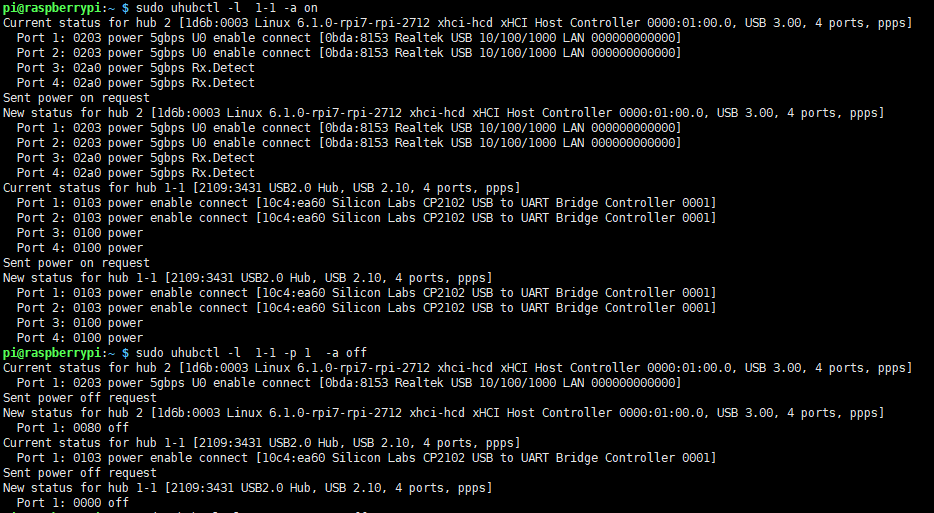
uhubctl Tool Control (Default)
1: Install uhubctl tool:
sudo apt-get install uhubctl
2: Usage:
#Close all USB power supply
sudo uhubctl -l  1-1 -a off
#Unspecified port, disable all USB power under the bus
#Open USB power supply
sudo uhubctl -l  1-1 -p 1  -a on
sudo uhubctl -l  1-1 -p 2  -a on
sudo uhubctl -l  1-1 -p 3  -a on
sudo uhubctl -l  1-1 -p 4  -a on
#-p defines port number
#-a defines the device status
#-l(Lowercase L) Specifies the USB bus, which can be viewed by lsub -t
#The port number should correspond to the USB 2.0 port number, and if there are no other USB devices connected, it should default to the corresponding command
#Close a USB power supply
sudo uhubctl -l  1-1 -p 1  -a off
sudo uhubctl -l  1-1 -p 2  -a off
sudo uhubctl -l  1-1 -p 3  -a off
sudo uhubctl -l  1-1 -p 4  -a off
#Note that the first time you use the command to close a single USB port may not be able to operate need to close all before you can!
GPIO Control
GPIO control is not supported by default. To enable this function, you need to solder the resistor 0R as shown below: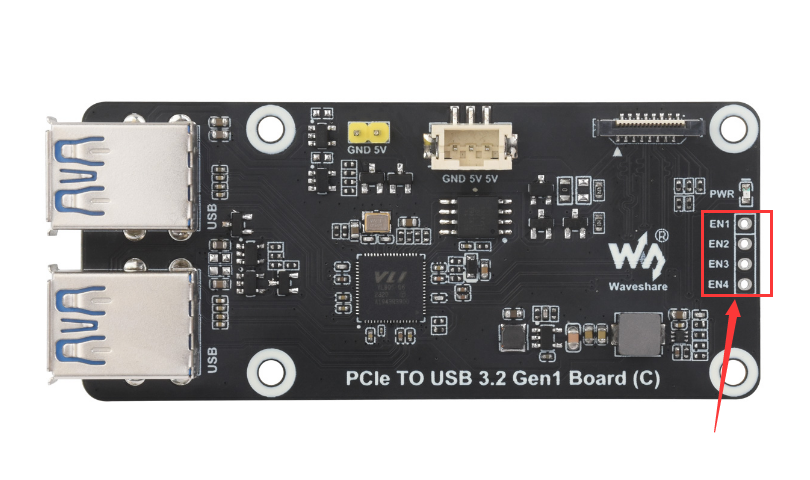
Note: when using GPIO control, uhubctl can not be used at the same time. Otherwise, GPIO control will be affected.
Resource
Support
Monday-Friday (9:30-6:30) Saturday (9:30-5:30)
Email: services01@spotpear.com