- sales/support
Google Chat:---
- sales
+86-0755-88291180
- sales01
sales@spotpear.com
- sales02
dragon_manager@163.com
- support
tech-support@spotpear.com
- CEO-Complaints
zhoujie@spotpear.com
- sales/support
WhatsApp:13246739196
Raspberry Pi 1.3inch LCD Mini Pi TFT 240x240 User Guide
RPI 1.3inch LCD Mini Pi TFT 240x240
There's two ways you can use the 1.3" 240x240 display.
- Be aware that you can only choose to do one way at a time. If you choose the hard way, it will install the kernel driver, which will prevent you from doing it the easy way.
- The easy way is to use 'pure Python 3' and Pillow library to draw to the display from within Python. This is great for showing text, stats, images etc that you design yourself. If you want to do that, skip this page and go to the Python install/usage page
- The hard way is to install a kernel module to add support for the TFT display that will make the console appear on the display. This is cute because you can have any program print text or draw to the framebuffer (or, say, with pygame) and Linux will take care of displaying it for you. If you don't need the console or direct framebuffer access, please consider using the 'pure Python' technique instead as it is not as delicate.
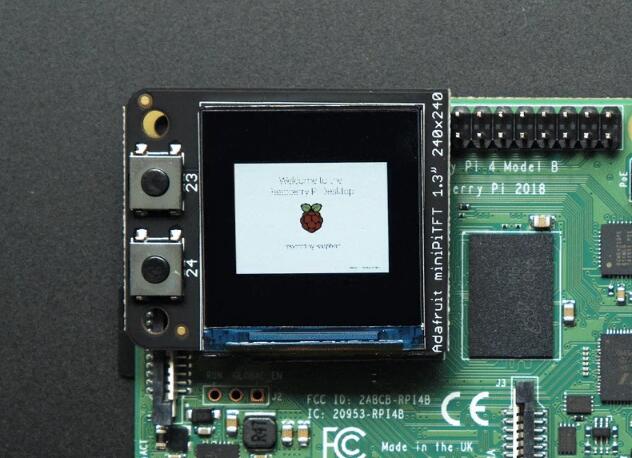
- We don't recommend using the 240x240 display for GUI/PIXEL desktop, this is only for text console usage. The display is waaay too small for a desktop
Prepare the Pi!
- Before you begin, its a good idea to get your Pi completely updated and upgraded. We assume you have burned an SD card and can log into the console to install stuff.
Run
Download: file
- sudo apt update -y
- sudo apt-get update -y
- sudo apt-get upgrade -y
- To fully update and upgrade your Pi!
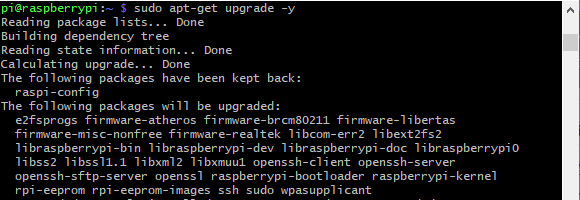
- After that is complete run
- sudo shutdown -h now
- to shutdown the Pi safely. Remove power and attach the miniPiTFT. Watch that the pins plug into the first 2x12 headers! The rounded corner and mounting hole should line up.
- Attach power to the Pi and re-log in. The PiTFT should be lit but nothing on the screen.
- Run the following at the terminal
Download: file
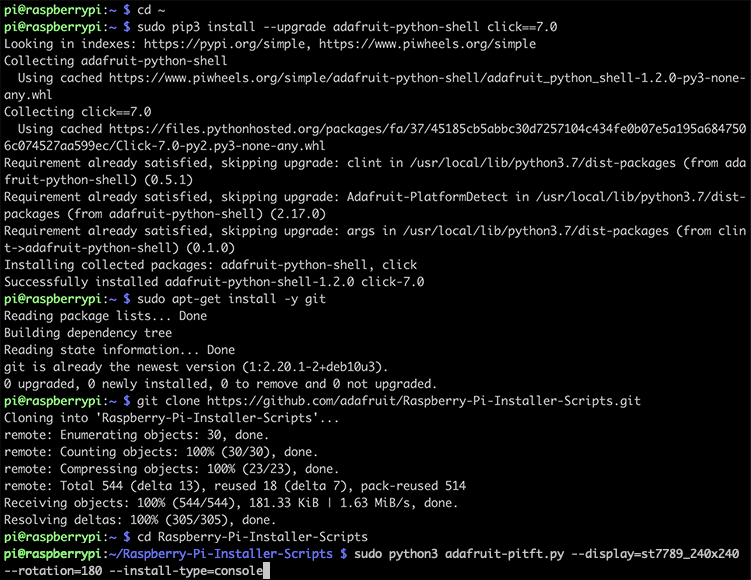
- cd ~
- sudo pip3 install --upgrade adafruit-python-shell click==7.0
- sudo apt-get install -y git
- git clone https://github.com/adafruit/Raspberry-Pi-Installer-Scripts.git
- cd Raspberry-Pi-Installer-Scripts
- sudo python3 adafruit-pitft.py --display=st7789_240x240 --rotation=0 --install-type=console
- When you get asked to reboot, reboot!
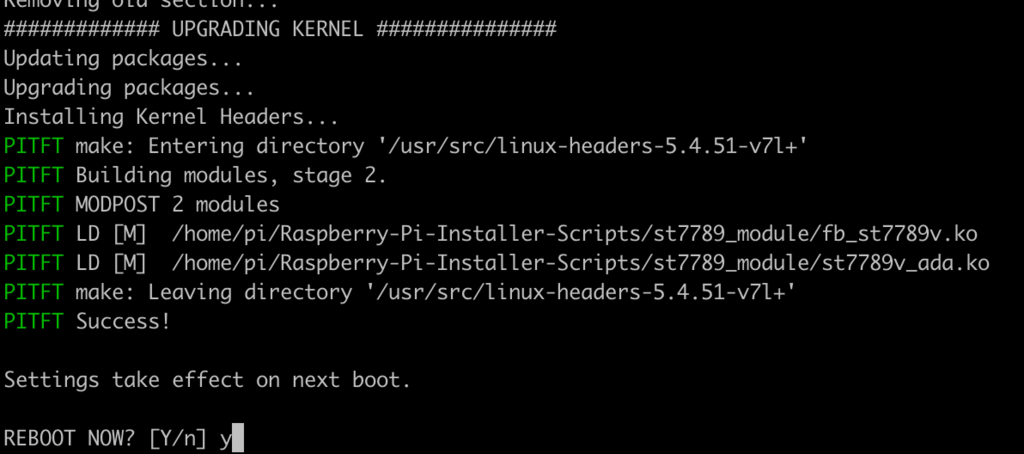
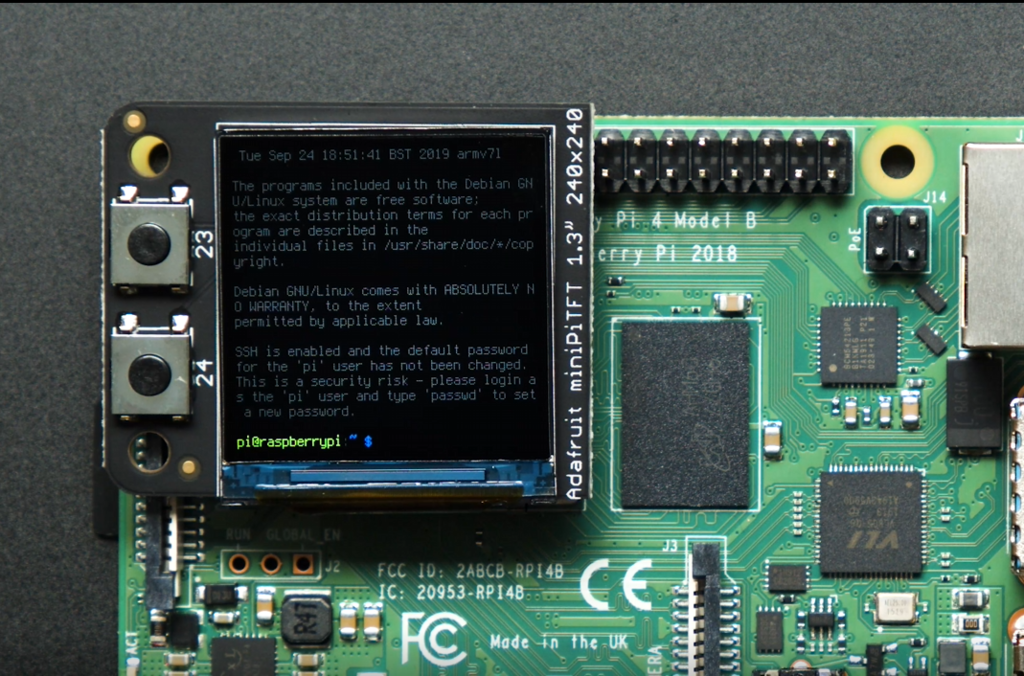
- Zat's it! You will now have the miniPiTFT with a console display on it
TAG:
Raspberry Pi Audio
Arduino IR Thermal Imaging Camera
ESP32 S3 LCD Camera Development Board 2 inch Display QMI8658 Sensor / Battery Port LVGL/HMI For Arduino
Raspberry Pi 5 Cooling
Raspberry Pi display
Raspberry Pi CM5 Mini Base IO Board NANO B Development For Compute Module 5
Serial Server
Raspberry Pi RP2040
Spotpear
Raspberry Pi DSI Scr
RDK X5 PoE Module For Power Over Ethernet/ IEEE 802.3af/at PoE For D-Robotics RDK X5
Argon Neo 5
RP2040
OLED-LCD-HAT-A
series bus servos
JETSON NANO B01
Raspberry Pi RP2040 Long-Rang
Milk-V Duo RJ45
Raspberry Pi 5 PCIE to MiniPCIe For wireless network WIFI Card USB Bluetooth
Raspberry Pi Pico
TAG:
Raspberry Pi 5 PCIe to SATA Expansion Board with EEPROM HAT+
4 inch e Paper HAT+ E Ink Spectra E6 Full-Color 600x400 Screen Display Arduino Raspberry Pi Jetson Nano STM32
EPS32 S3 1.8inch Round LCD Display Touch WIFI AIDA64 Secondary Screen Video Player Photo-Frame MP3 Arduino DeepSeek AI Voice Chat
i5-1135G7
5.79inch e Paper Module(G) Red-Yellow-Black-White 792x272 E-Ink Raspberry Pi Jetson RDK-X3 Arduino STM32
Milk-V Duo BUY
Raspberry Pi 4.3 inch DSI QLED Display MIPI 800x480Capacitive TouchScreen
lilygo
ESP32-C6 WiFi 6 ESP32-C6-Zero Super-Mini ESP32-C6FH4 WiFi 6 Bluetooth 5
Raspberry Pi USB Camera 12MP IMX378 30fps onboard dual microphones Also For Jeston / RDK
Raspberry Pi
Electronic EYE 0.71inch Round Double LCD Display Screen Arduino Raspberry Pi ESP32 Pico STM32
lilygo
Raspberry Pi 5 case
Raspberry Pi 10.85 inch e-Paper ink screen display black white 1360×480 For Arduino /Jetson /STM32 /ESP32
Raspberry Pi Game
Serial UART Bus Servo ESP32 OLED Dispaly Monitor WiFi Bluetooth
Pi5 Case
Allwinner H618
Raspberry Pi 5 Audio


