- sales/support
Google Chat:---
- sales
+86-0755-88291180
- sales01
sales@spotpear.com
- sales02
dragon_manager@163.com
- support
tech-support@spotpear.com
- CEO-Complaints
zhoujie@spotpear.com
- sales/support
WhatsApp:13246739196
Beaglebone BB Black (Industrial) User Guide
Getting Started Guide
Beagles are tiny computers that are great for learning and prototyping electronics. Read the step-by-step getting started tutorial below to start developing your Beagle in minutes.
Update the motherboard with the latest software
This step may or may not be necessary depending on how old the software image you already have, but doing this the longest step will ensure the rest goes as smoothly as possible.
Step 0. A: Download the latest software image
Download the latest Debian image from beagleboard.org/latest-images. If you don't need to use the Graphical User Interface (GUI), the "Internet of Things" image provides more free disk space.
Note: This download may take 30 minutes or more due to resizing.
Debian distributions are provided for motherboards. The file you download will have the .img.xz extension. This is a sector-by-sector compressed image of the SD card.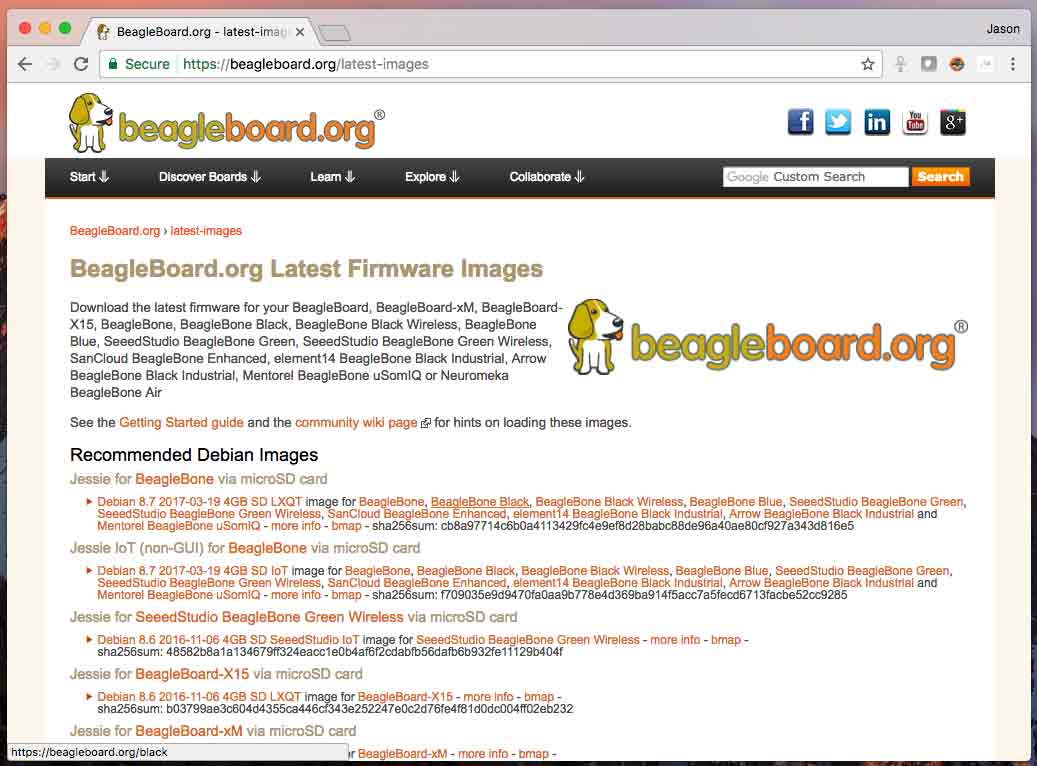
Step 0. b: Install SD card programming utility
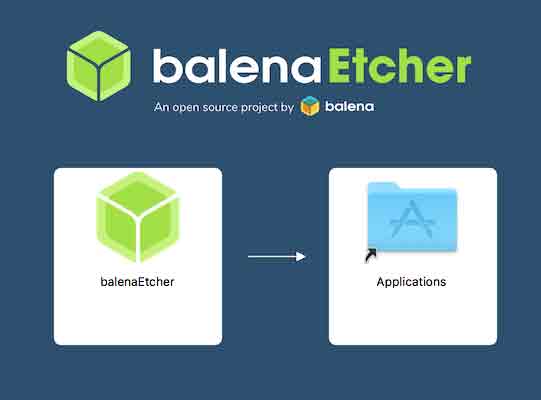
Download and install balenaEtcher .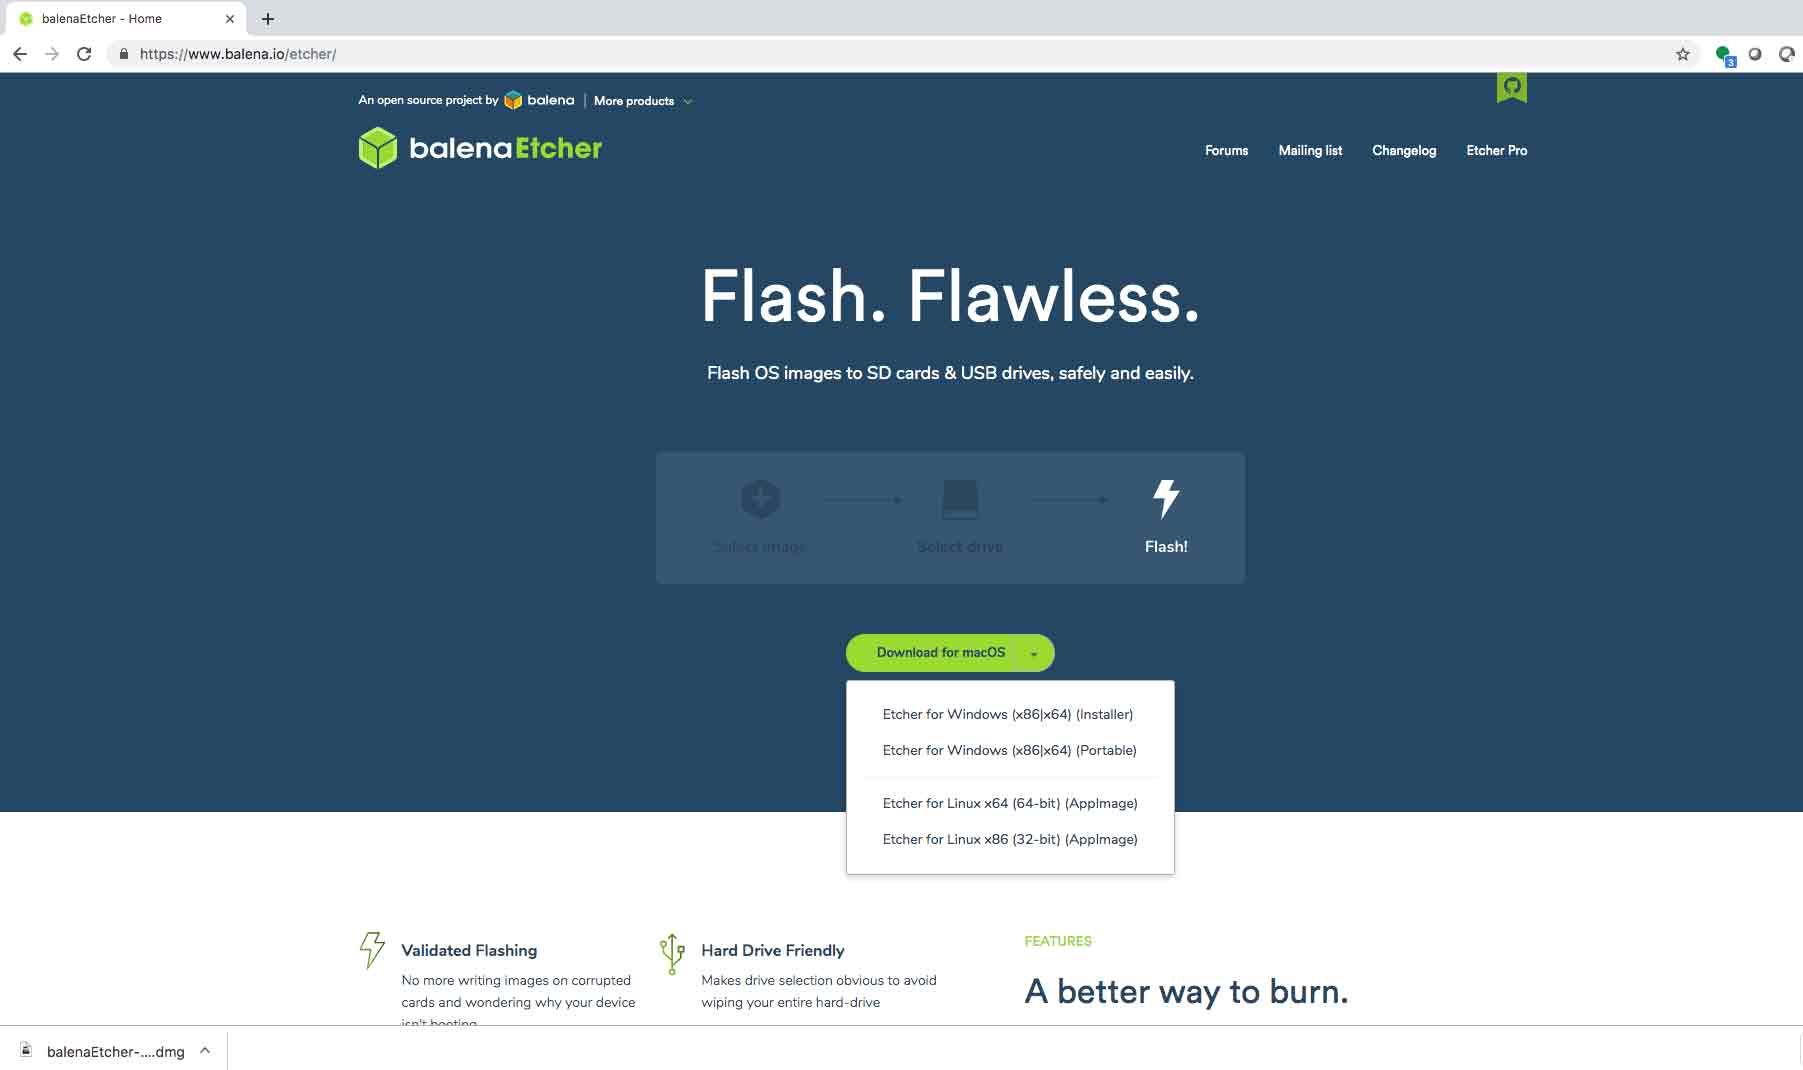
Step 0. Connect the SD card to your computer
Connect the SD card to the computer using the computer's SD slot or a USB adapter.
Step 0. d: write the image to your SD card
Use Etcher to write the image to your SD card. Etcher decompresses images on the fly before writing them to the SD card.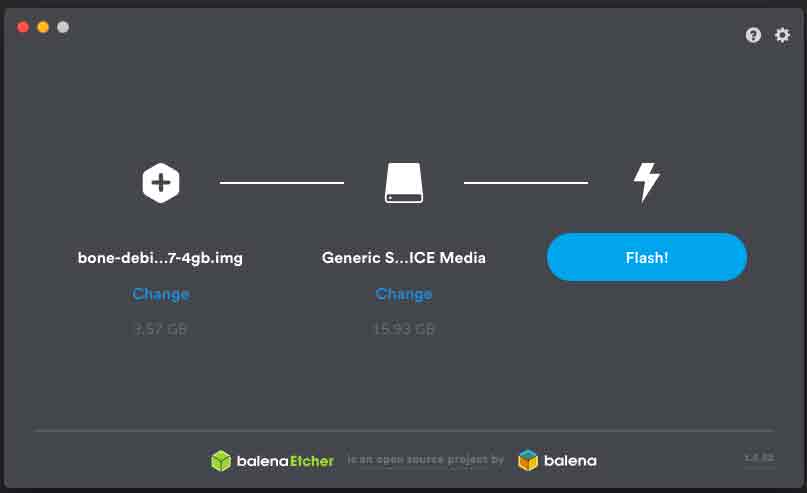
Step 0. Eject SD card
Eject the newly programmed SD card.
Step 0. Boot your board from the SD card
Insert the SD card into the (powered off) motherboard, hold down the user/boot button (if using black), and power up via the USB cable or 5V adapter.
If you use a raw beagle bone or a pocket beagle, you're done.
If using a BeagleBone Black, BeagleBone Blue, BeagleBone AI, or other board with an onboard eMMC flash, and you want to write an image to your onboard eMMC, You need to follow the instructions below: http://elinux . org/beagle board:beaglebone black _ Debian # flash _ eMMC。After flashing is complete, all 4 USRx LEDs will be solid on or off. The latest Debian flasher image automatically shuts down the board when finished. This may take 45 minutes. Shut down your motherboard, remove the SD card and apply power again to finish.
Start your Beagle
If any of the steps fail, it is recommended to update to the latest software image using the instructions above.
Step 1 Power and Start
Most Beagles include a USB cable that provides a convenient way to power and connect your Beagle to your computer. If you provide it yourself, make sure it is of high quality.
Alternatively, your Beagle may have a barrel jack. The voltage should be 5V, except the BeagleBoard-X15 and BeagleBone Blue use 12V.
If you are using your BeagleSD (micro SD) card, make sure to insert it before powering it up. Most Beagles include onboard flash memory for programming, so there is no need to insert an SD card.
You will see the Power (PWR or ON) LED light up steadily. After about a minute, you should see the other lights blink in the default configuration. Consult your motherboard's Quick Start Guide (QSG) or System Reference Manual (SRM) to locate these LEDs.
- USR0 is usually configured to flash in heartbeat mode at startup
- USR1 is typically configured to light up from boot to light during SD (microSD) card access
- USR2 is typically configured to boot to light during CPU activity
- USR3 is typically configured to go from boot to light up during eMMC access
- USR4/WIFI is usually configured to associate with a WIFI (client) network at boot (BeagleBone Blue and BeagleBone AI only)
Step 2 Enable network connection
If connected via USB, the network adapter should be present on your computer. Your Beagle should be running a DHCP server that will give your computer an IP address of 192.168.7.1 or 192.168.6.1, depending on the type of USB network adapter your computer's operating system supports. Your Beagle will reserve 192.168.7.2 or 192.168.6.2 for itself.
If your Beagle includes WiFi, an access point named "BeagleBone-XXXX", where "XXXX" varies from board to board. The access point password defaults to "BeagleBone". Your Beagle should be running a DHCP server that will give your computer an IP address in the 192.168.8.x range and reserve 192.168.8.1 for itself.
If your Beagle is connected to your local area network (LAN) via Ethernet or WiFi, It will play back to your computer with Neuropathy Points. If your computer supports mDNS, you should see that your Beagle beaglebone.local non-harrier bone board will utilize the alternate name. Multiple BeagleBone boards on the same network will add a suffix such as beaglebone-2.local.
The following table summarizes typical addresses and should be updated dynamically to indicate an active connection.
Note: You must "Load Insecure Script" or load this page without HTTPS security for auto detection to work.
| ip address | connection type | operating system | status |
|---|---|---|---|
| 192.168.7.2 | Universal Serial Bus | Windows OS | |
| 192.168.6.2 | Universal Serial Bus | Apple OS X,Linux | |
| 192.168.8.1 | Wireless LAN (abbreviation for wireless fidelity) | ALL | |
| Bigborn. Local | ALL | mDNSactivated | |
| Bigborn - 2. Local | ALL | mDNSactivated |
Step 3 Browse your Beagle
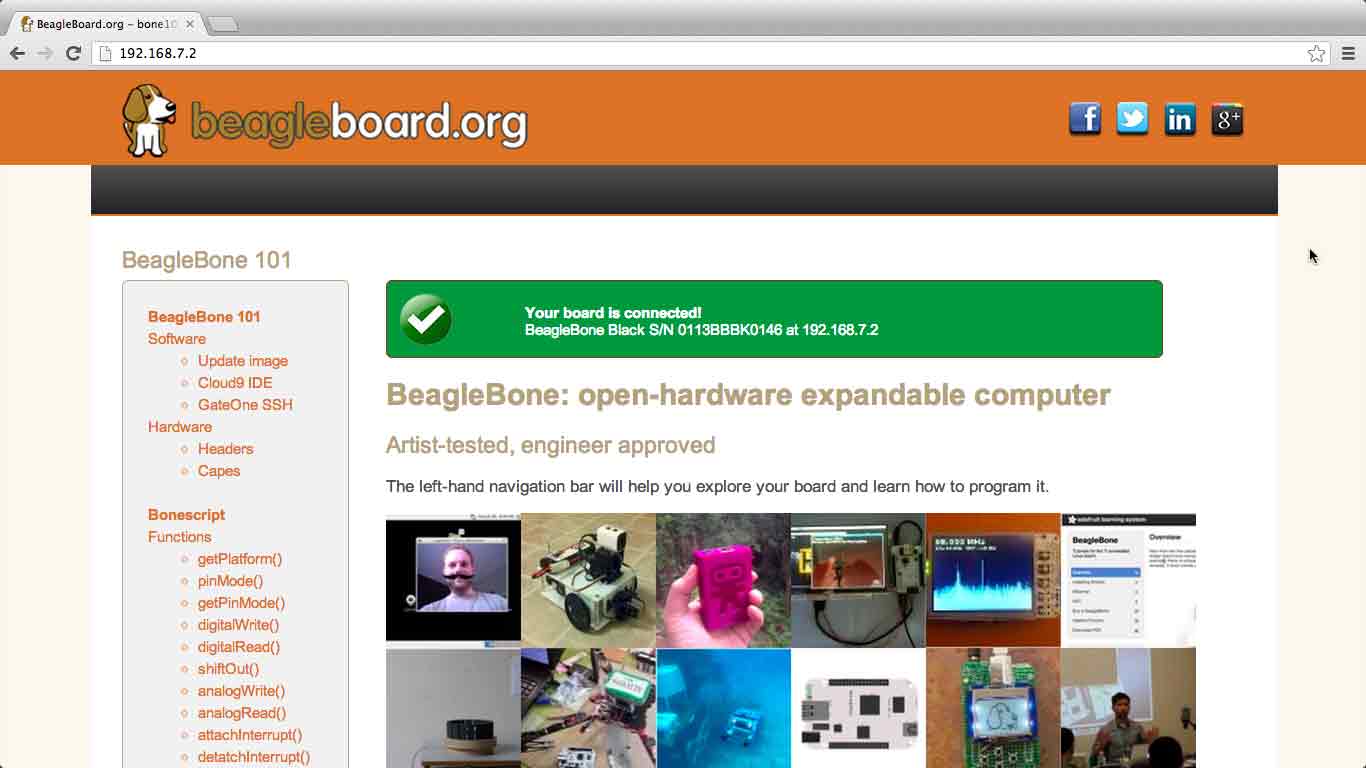
Using either Chrome or Firefox, (Internet Explorer will not work), browse to the web server running on your board. It will load a presentation showing you what the board does. Use the arrow keys on your keyboard to navigate the presentation.
- Click here to start: http://192.168.7.2
Older software mirrors require you to eject the BEAGLE_BONE drive to start the network. With the latest software image, this step is no longer necessary.
Resolve disputes
Do not use Internet Explorer.
Using a virtual machine is not recommended when using a direct USB connection. If you are using a virtual machine, it is recommended that you only use a network connection to the motherboard.
When using "ssh" with the provided image, the username is "debian" and the password is "temppwd".
With the latest image, it should no longer be necessary to install drivers to allow your operating system to access your Beagle over the USB network. If you are running an older image, an older OS, or need additional drivers for serial access to an older motherboard, links to older drivers are provided below.
| OS | USB Drivers | Reviews |
|---|---|---|
| Windows (64-bit) | If in doubt, try the 64-bit installer first.
| |
| Windows (32-bit) | ||
| Operating system | Install both sets of drivers. | |
| Linux operating system | mkudevrule.sh | Driver installation is not required, but you may find some udev rules helpful. |
Note: Additional FTDI USB-to-Serial/JTAG information and drivers are available at www.ftdichip.com/Drivers/VCP.htm
Note: Additional USB to Virtual Ethernet information and drivers are available at www.linux-usb.org/gadget/andjoshuawise.com/horndis
Access beagleboard.org/support get additional debugging tips.
Other currently available software images
Some of the starting images below involve multiple steps to produce an SD card image, or otherwise alter some of the steps above, so be sure to read all instructions on their pages. Choose your desired starting point, download or make an SD card image, and follow the steps above.
At launch, not all of these distributions support the BeagleBone Black, but it should be soon.
Texas Instruments Releases: Robotics,Linux OS,Boot Software (No OS)- Linux: Debian, angstrom, ubuntu, ArchLinux, Gentoo, sabayon, buildroot, Nerves, fedora
- Other: OMAP,freebsd
- project
Hardware Documentation
Time to read the manual and check the design materials: BeagleBoard, BeagleBoard-xM, BeagleBoard-X15, BeagleBone, BeagleBone Black, BeagleBone Black Wireless, BeagleBone Blue, PocketBeagle, and BeagleBone AI
Additional links to various version design materials can be found at beagleboard.org/hardware/design
Book
For a complete list of BeagleBone books, see beagleboard.org/books。
Bad to the Bone
Text suitable for high school graduate or freshman level, consider using "Bad to the Bone"
BeagleBone Cookbook
Without a background in programming and electronics, consider the "BeagleBone Cookbook", a simpler method for a wider audience
Exploring BeagleBoneand Embedded Linux Primer
For a deeper dive into the details, consider "Explore the BeagleBone", which can be thought of as the missing software manual, and utilize the "Embedded Linux Primer" as a companion textbook to provide a solid foundation for embedded Linux, suitable for running Any hardware for Linux.


