- sales/support
Google Chat:---
- sales
+86-0755-88291180
- sales01
sales@spotpear.com
- sales02
dragon_manager@163.com
- support
tech-support@spotpear.com
- CEO-Complaints
zhoujie@spotpear.com
- Only Tech-Support
WhatsApp:13246739196
- Purchase/Shipping/Refund
WhatsApp:13424403025
- HOME
- >
- ARTICLES
- >
- Common Moudle
- >
- ESP
ESP32-S3-AI-Kit-(C) User Guide
【Deepseek Xiaozhi AI Guide】
Note:This step is only necessary during the initial setup
】Video
】Power
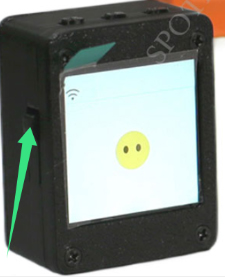
[] ON: Press the power button for 1 second to turn on the device
[] OFF: Press and hold the power button for 5 seconds (while the screen remains black) to force poweroff
】Connect to WIFI
[] Press the BOOT button rouse(The middle button of the three buttons at the top of the screen)
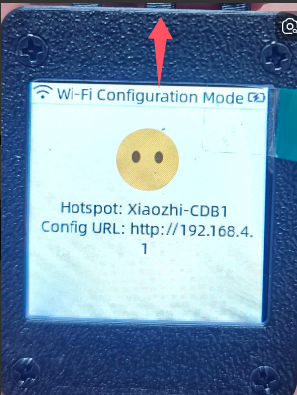
The device will automatically open an AP named Xiaozhi-CDB1, Connect to this AP with your phone and wait for a moment. The network page will pop up, automatically searching for hotspots in the current environment. Select your hotspot and enter your password to complete the network. After the network is completed, the screen will get the device code.
Note: Some mobile phones will automatically disconnect the hotspot and use the 5G network once they find that the hotspot cannot connect to the Internet. At this time, you need to connect to the AP again. If the network configuration page does not pop up after connecting to the AP, please enter 192.168.4.1 on the mobile browser to open it.
】Enter the settings backend
[] Click console/【控制台】
[] Click manage devices/【管理设备】
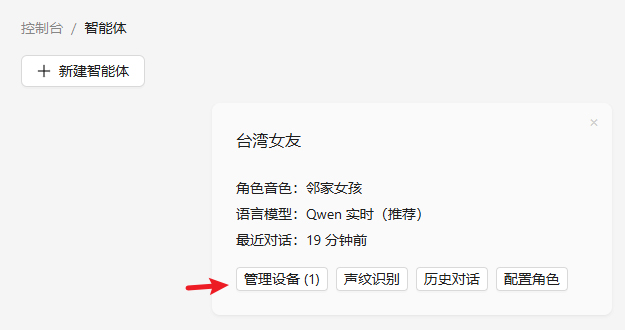
[] Click add device/【添加设备】
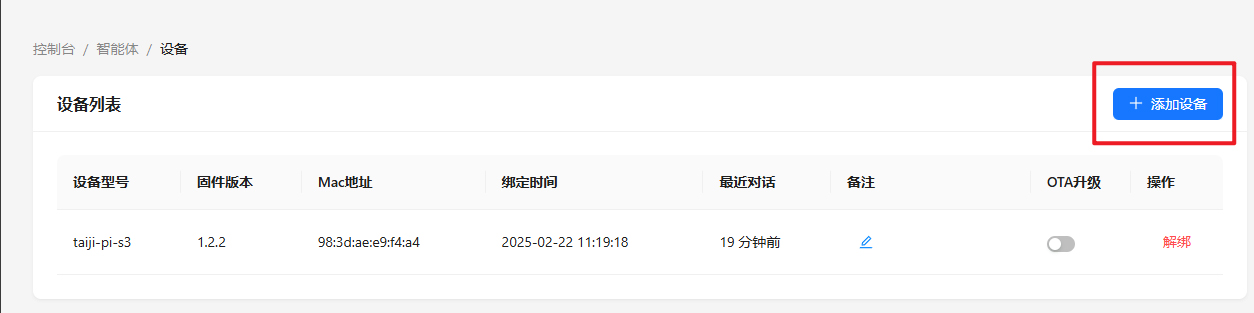
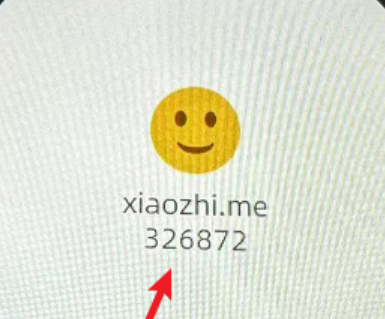
[] Enter the device code on the screen
[] Restart the device.
wait for connection, and after successful connection, as shown in the figure

Say “HI,ESP”, You can start the conversation now
】Set English answer and DeepSeek
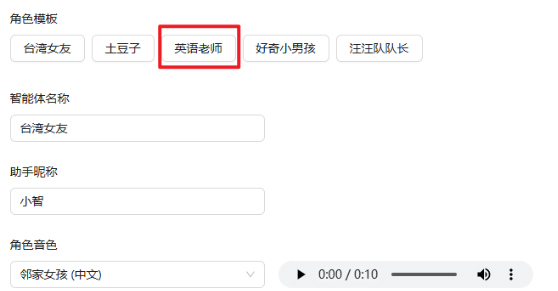
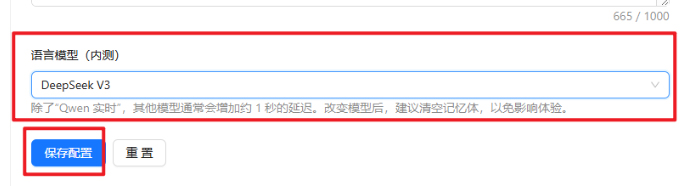
[] Click【配置角色】->【英文老师】->【语言模型】Choose Deepseek V3->【保存设置】

[] Restart the device
Restart the device and it will be ready for use later
【Source code compilation】
Note: Beginners skip. For developers compiling tutorial
】1、Environment Installation:ESP-IDF download and installation
】2、Compiler intelligence
】2.1、Download source code
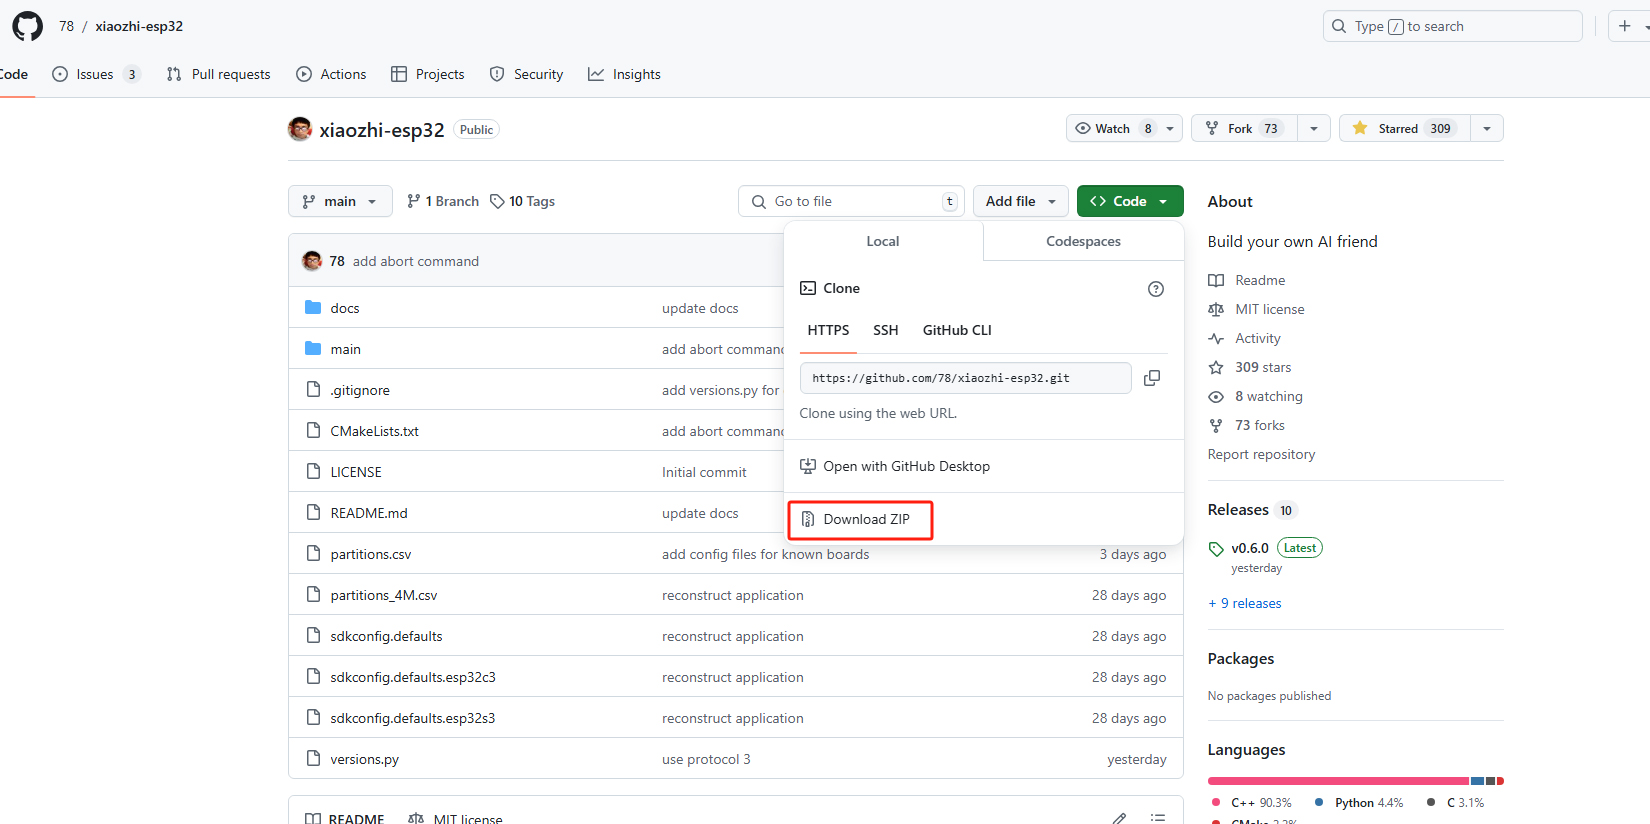
[] Go to the Shrimp Brother code home page:https://github.com/78/xiaozhi-esp32
tap Code - Download ZIP
After downloading, unzip it to any directory for later use
Go to the terminal and open IDF5.3 or double-click ESP IDF5.3 Powershell on the desktop
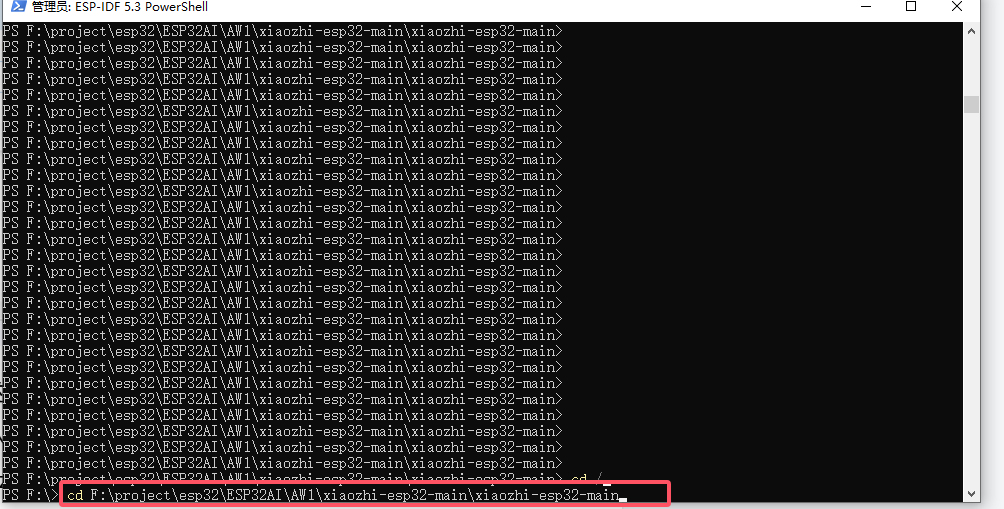
The directory I extracted is different from yours, so enter the directory you just extracted: cd F:\project\esp32\ESP32AI\AW1\xiaozhi-esp32-main\xiaozhi-esp32-main
】2.2、Set chip type
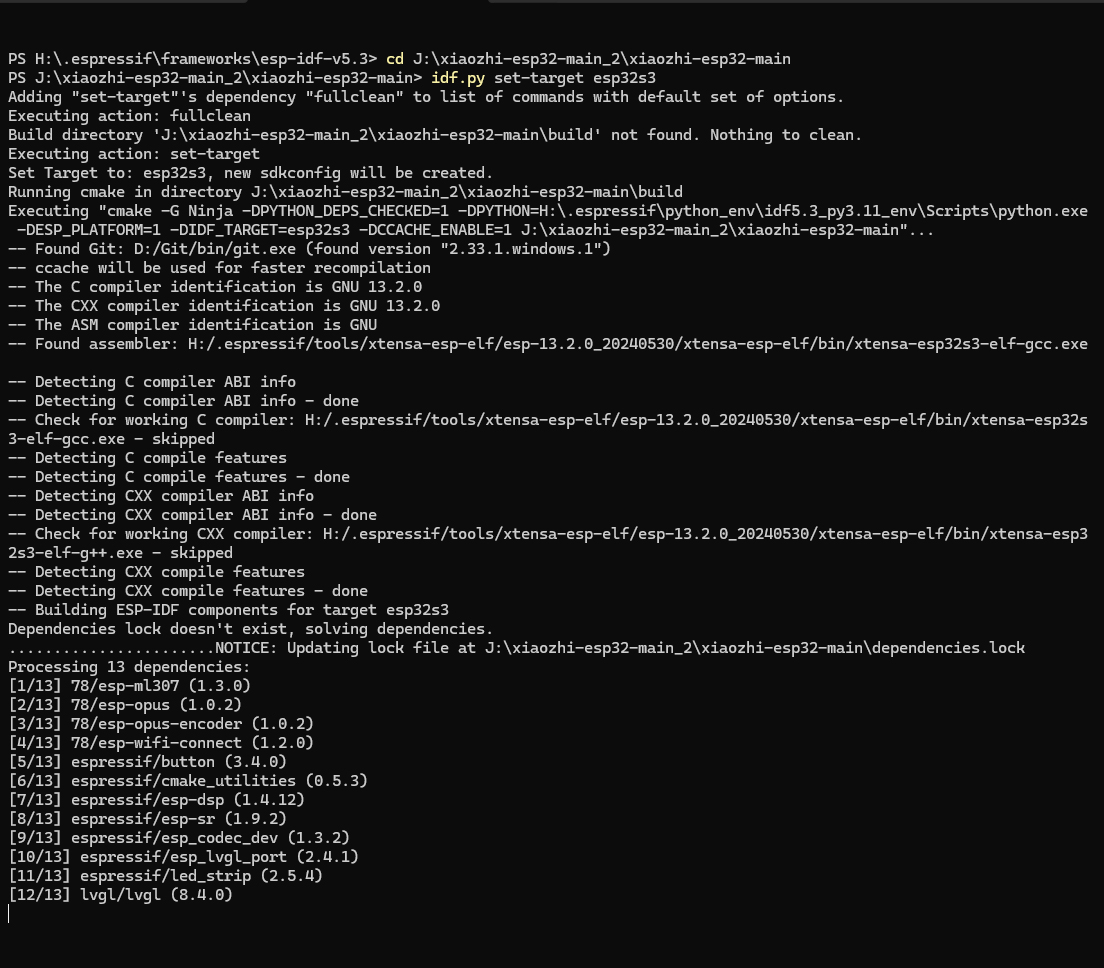
[] Type the following command again to set the chip to S3
[] idf.py set-target esp32s3
】2.3、Change the compiler board subtype
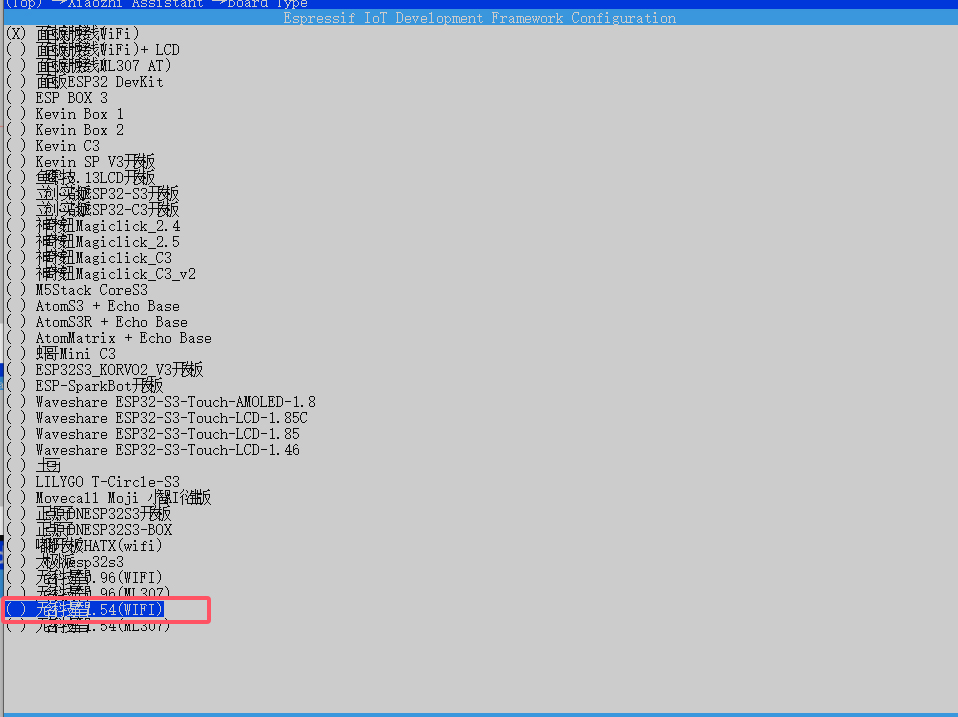
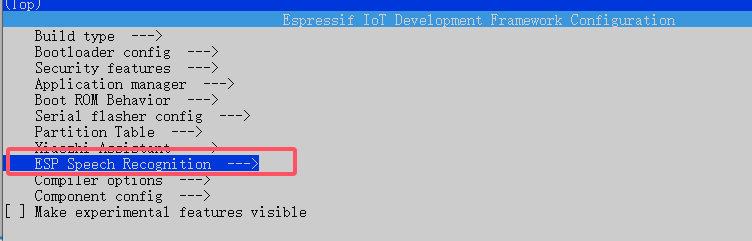
[] Need input idf.py menuconfig

[] Enter the Xiaozhi Assistant option (press Enter to enter the option)
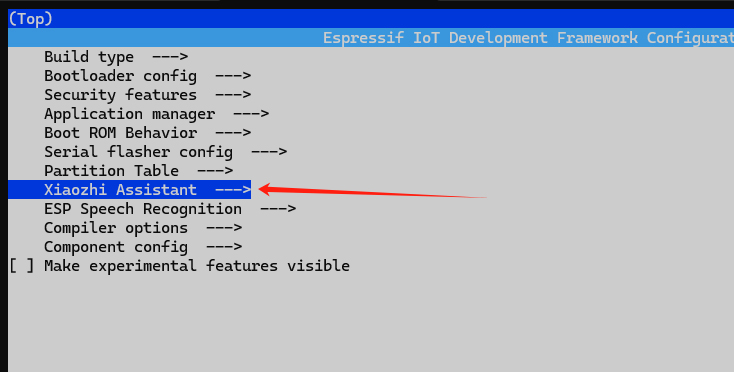

[] Press Esc to return
[] Modify English

[] Modified wakeword

[] Select the board firmware to be compiled and press the 'S' key on the keyboard to save it. Then exit from menuconfig
】2.4、Start compiling
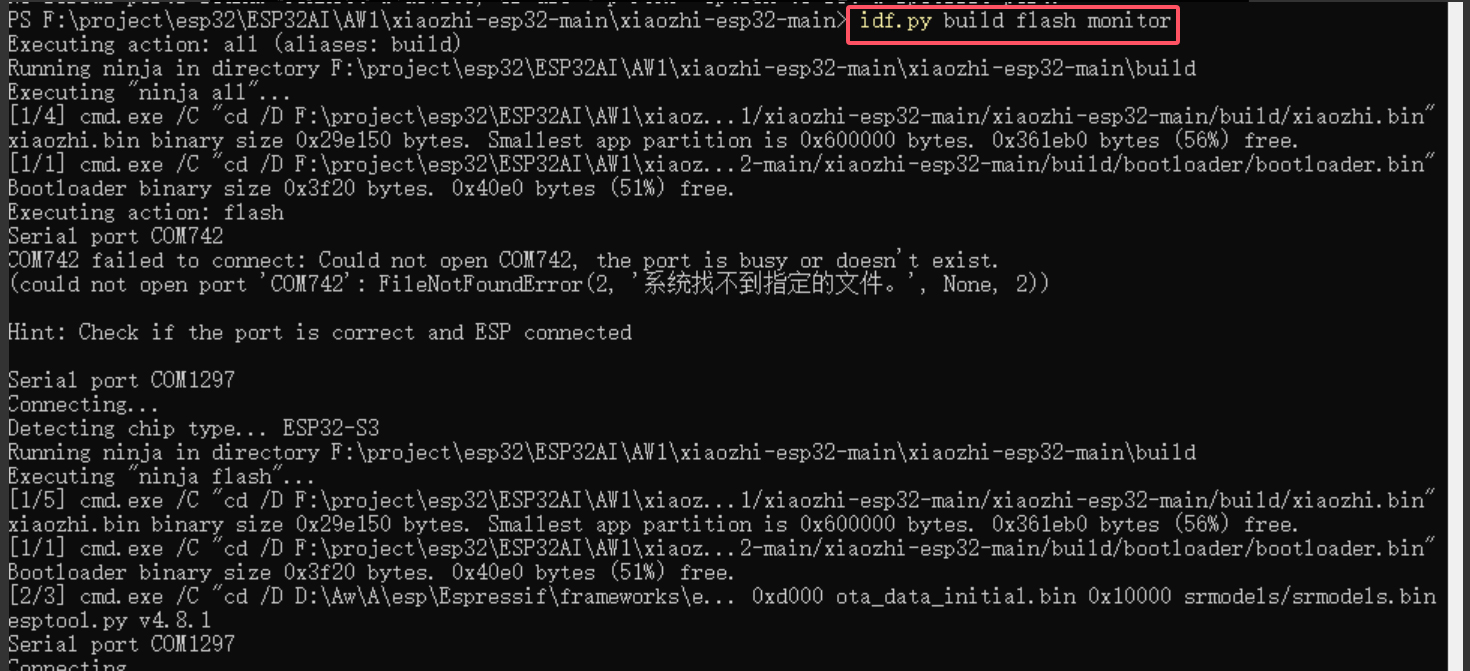
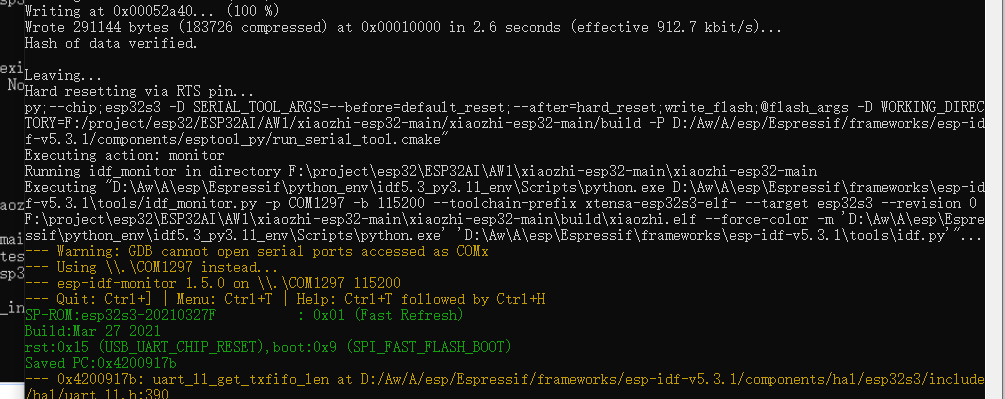
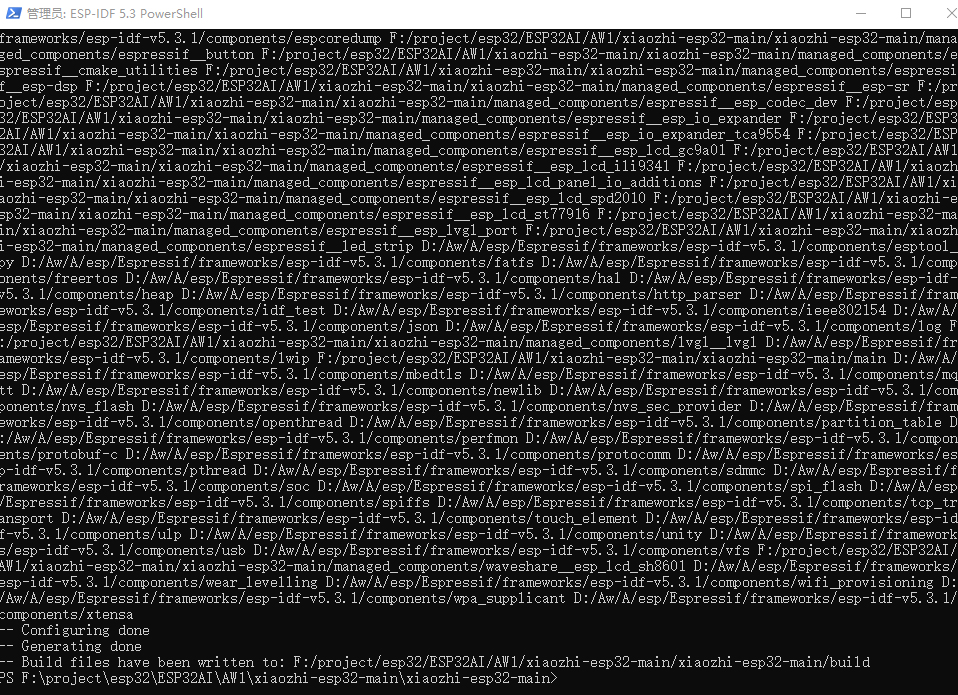
[] Enter idf.py build again to compile

[] This compiler appears to pass

[] Enter after compiling ,"idf.py build flash monitor" Download and display logs