- sales/support
Google Chat:---
- sales
+86-0755-88291180
- sales01
sales@spotpear.com
- sales02
dragon_manager@163.com
- support
tech-support@spotpear.com
- CEO-Complaints
zhoujie@spotpear.com
- Only Tech-Support
WhatsApp:13246739196
- Purchase/Shipping/Refund
WhatsApp:13424403025
- HOME
- >
- ARTICLES
- >
- Milk-V
- >
- Milk-V Duo
Milk-V Duo linux Compile kernel Tutorial
[] Preparatory work
Local environment windows11 64 bit
Compilation environment: VMware Ubuntu 22.04.4.2 LTS
(If you don't have Ubuntu installed, you need to install one locally or in a virtual machine.)
Prepare an SD card
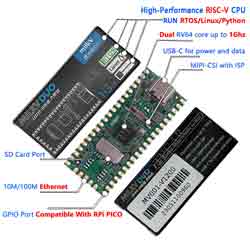
milk-v duo
[] Installation:
sudo apt-get update
sudo apt install dialog python3-dev make git bc gcc flex bison ninja-build libssl-dev rsync pkg-config device-tree-compiler squashfs-tools parted dosfstools
Installation cmake
sudo apt-get install cmake
Create a development environment directory:
mkdir duo && cd duo
[] Download the development package cvi_mmf_sdk.zip:
wget -c https://link.zhihu.com/?target=https%3A//codeload.github.com/sophgo/cvi_mmf_sdk/zip/refs/heads/v4.1.0 -O cvi_mmf_sdk.zip
Then decompress:
unzip cvi_mmf_sdk.zip
mv cvi_mmf_sdk-4.1.0/ cvi_mmf_sdk/
[] Download tool chain:
wget https://link.zhihu.com/?target=https%3A//sophon-file.sophon.cn/sophon-prod-s3/drive/23/03/07/16/host-tools.tar.gz
Then decompress:
tar xvf host-tools.tar.gz
Move to the development package:
mv host-tools/ cvi_mmf_sdk/
[] Start compiling in a single step as follows:
cd cvi_mmf_sdk/
source build/cvisetup.sh
defconfig cv1800b_sophpi_duo_sd
clean_all
build_all
pack_sd_image
Note: If you are prompted that libssl.so.1.1 is missing during compilation, install it as follows.
wget
http://security.ubuntu.com/ubuntu/pool/main/o/openssl/libssl1.1_1.1.1-1ubuntu2.1~18.04.23_amd64.deb
(If the link fails, you can download it yourself here http://security.ubuntu.com/ubuntu/pool/main/o/openssl/)
sudo dpkg -i libssl1.1_1.1.1-1ubuntu2.1_18.04.21_amd64.deb
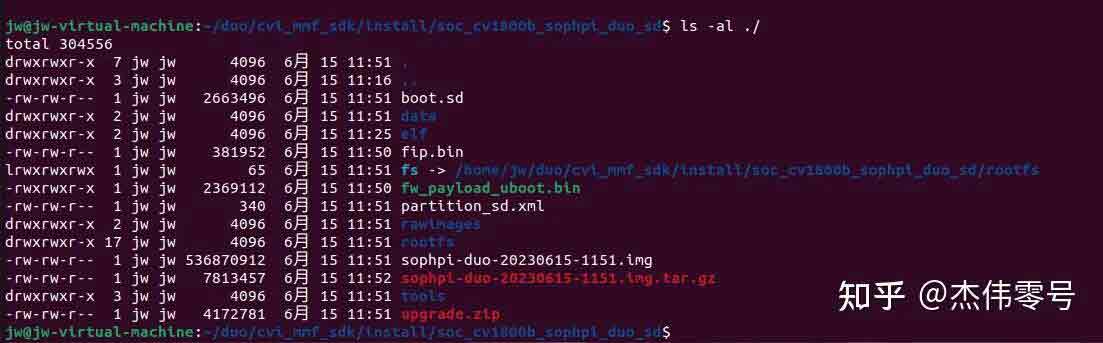
After the final compilation is completed, an install folder will be generated under the folder.
install/soc_cv1800b_sophpi_duo_sd The folder directory is as follows:
[] Write system to SD card:
cd install/soc_cv1800b_sophpi_duo_sd/
You can find the *.img file. SD card and insert it into the computer.
Write image to SD card using command line.
sudo dd if=./sophpi-duo-*.img of=/dev/sdx bs=32M status=progress oflag=direct
("sophpi-duo-*.img" and "sdx" Change it to your name.)
Or copy the *.img file. Use the software to directly burn the image to the SD card, refer to Milk-V Duo Image writing
[] Start the system:
The SD card is plugged into the board, connected to the board's serial port 0 by TTL serial port (no power supply is needed), and then the serial port is opened on the computer with serial debugging tools, and the board is connected to the computer with TYPEC cable, and the system can be entered after a while.
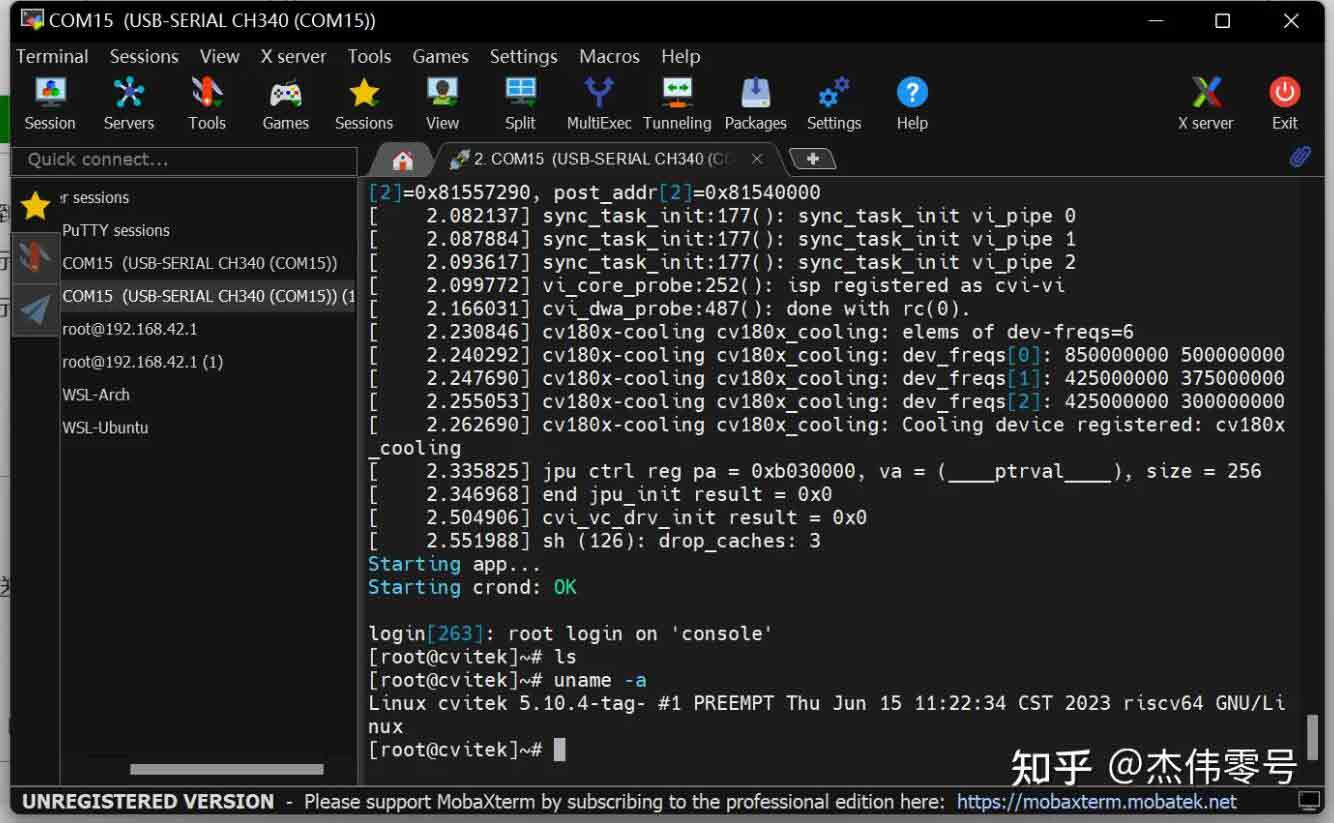
Note that RNDIS protocol is not added to this version of the system kernel, so the DUO development board cannot be recognized in the device manager after it is plugged into USB!