- sales/support
Google Chat:---
- sales
+86-0755-88291180
- sales01
sales@spotpear.com
- sales02
dragon_manager@163.com
- support
tech-support@spotpear.com
- CEO-Complaints
zhoujie@spotpear.com
- sales/support
WhatsApp:13246739196
Raspberry Pi Pico-ResTouch-LCD-2.8 User Guide
Overview
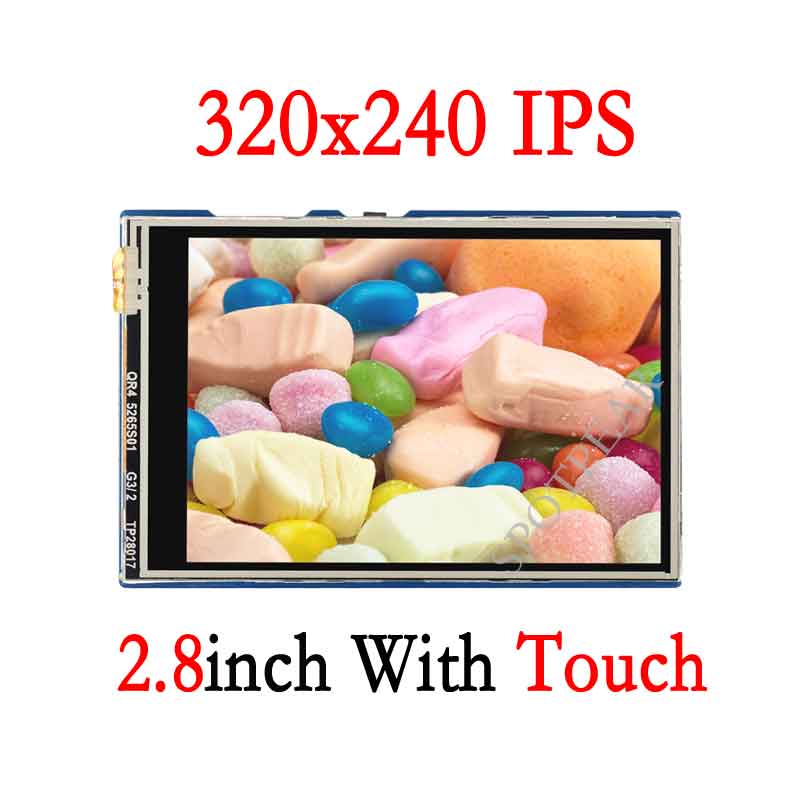
2.8inch Touch Display Module For Raspberry Pi Pico, 262K Colors, 320×240 Pixels, SPI Interface
Features
- 320×240 resolution, IPS screen, 262K colors, clear and colorful displaying effect
- Dedicated touch controller, bringing more smooth touching effect than AD-controlled solutions
- MicroSD card slot for storing images and direct displaying them easily
- Programmable backlight control, power saving
Specifications
- Operating voltage: 5V
- Resolution: 320×240 pixels
- Communication interface: 4-wire SPI
- Display size: 57.60 × 43.20mm
- Display panel: IPS
- Pixel size: 0.18 × 0.18mm
- Driver: ST7789
- Dimensions 70.20 × 50.20mm
- XPT2046
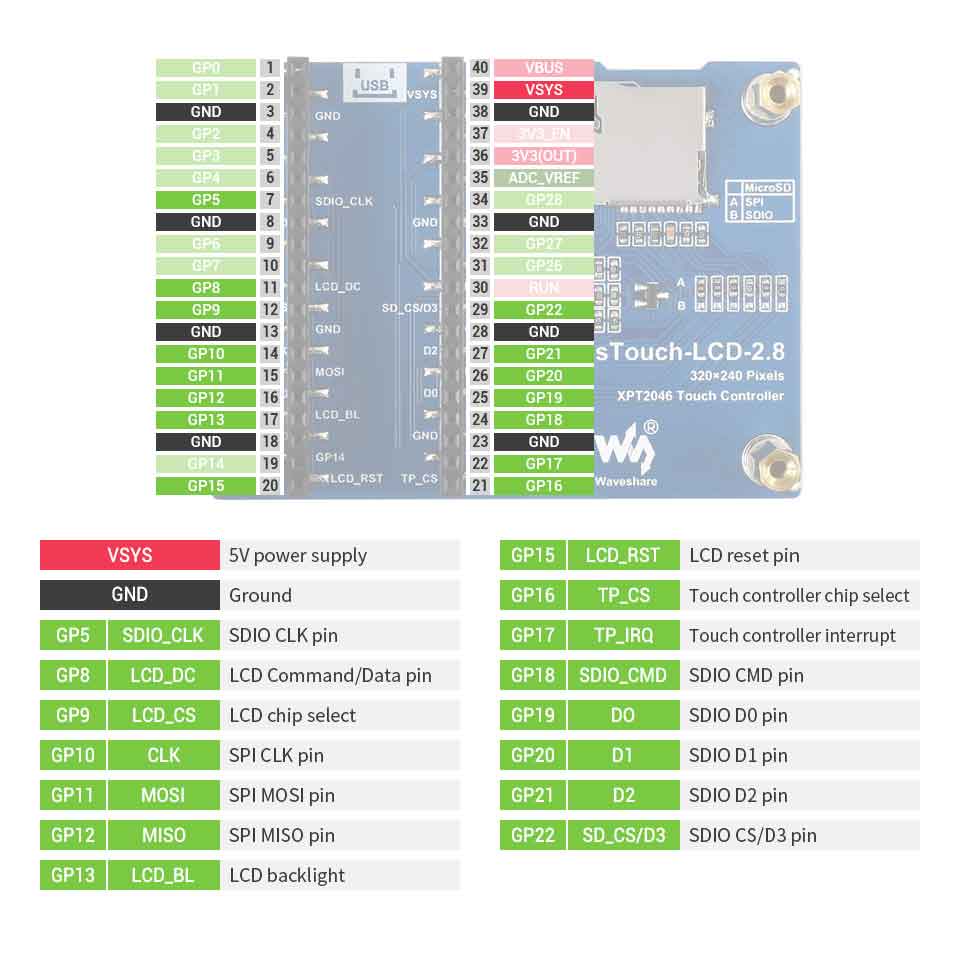
Pinout
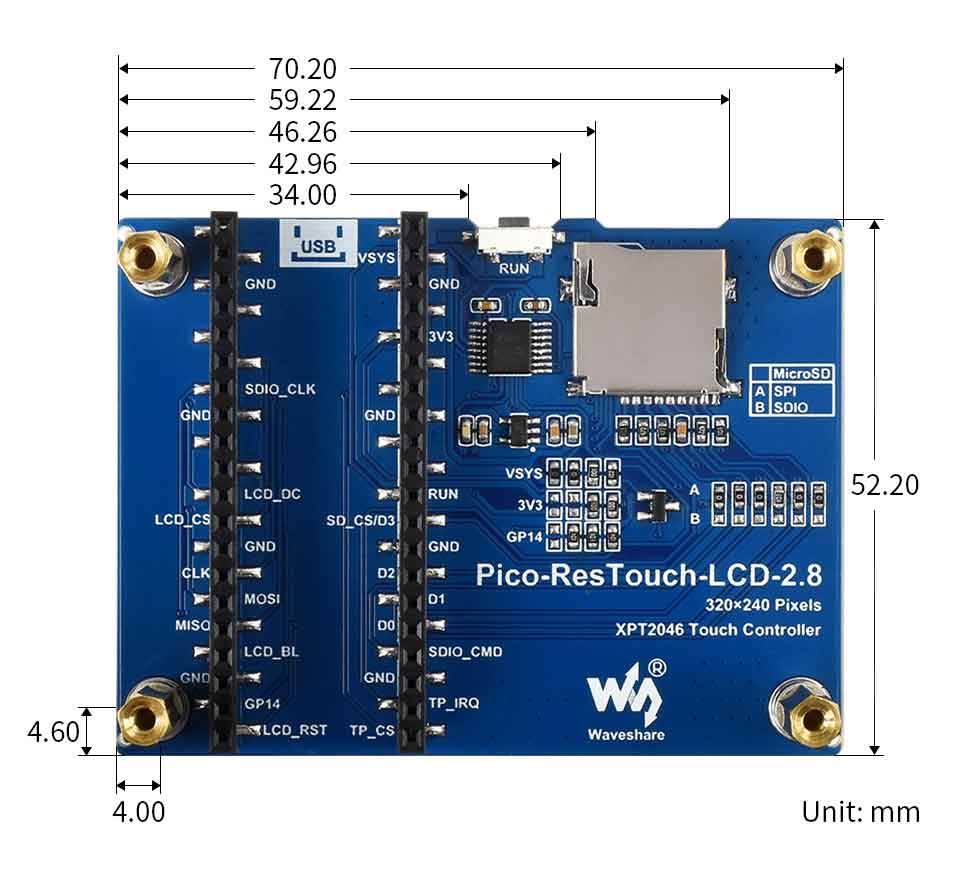
Dimension

Hardware connection
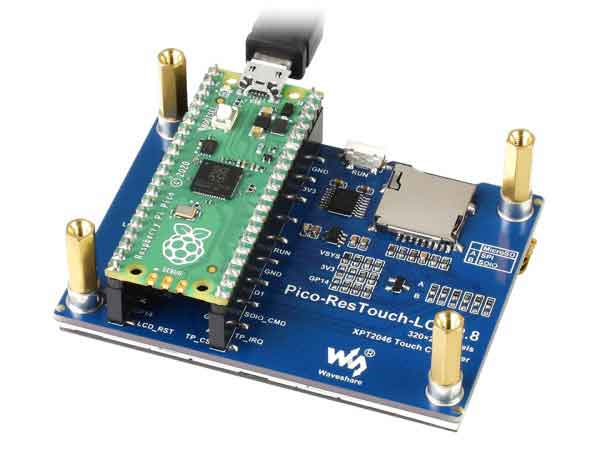
Please take care of the direction when you connect Pico, an USB port is printed to indicate . You can also check the pin of Pico and the LCD board when connecting.
You can connect display according to the table.
| LCD | Pico | Description |
| VCC | VSYS | Power input |
| GND | GND | GND |
| SDIO_CLK | GP5 | SCK pin of SDIO interfacem clock input for slave device. |
| LCD_DC | GP8 | Data/Command pin (High: data; Low: command) |
| LCD_CS | GP9 | Chip select pin of LCD (Low active) |
| LCD_CLK | GP10 | CLK pin of LCD communication, clock input for slave device |
| MOSI | GP11 | SPI MOSI pin |
| MISO | GP12 | SPI MISO pin |
| LCD_BL | GP13 | LCD backlight control |
| LCD_RST | GP15 | LCD reset pin (Low active) |
| TP_CS | GP16 | Touch controller chip select (Low active) |
| TP_IRQ | GP17 | Touch controller interrupt pin (Low active) |
| SDIO_CMD | GP18 | SDIO CMD pin |
| D0 | GP19 | SDIO D0 pin |
| D1 | GP20 | SDIO D1 pin |
| D2 | GP21 | SDIO D2 pin |
| SD_CS/D3 | GP22 | SDIO CS/D3 pin |
Connection

Setup environment
Please refer to Raspberry Pi's guide:https://www.raspberrypi.org/documentation/rp2040/getting-started/
Download Demo codes
Open terminal and run the following command:
wget -P ~/pico/ https://www.waveshare.com/w/upload/f/fc/Pico-ResTouch-LCD-X_X_Code.zip
cd ~/pico
unzip Pico-ResTouch-LCD-X_X_Code.zip
Run the Demo codes
This guides is based on Raspberry Pi.
C examples
Open a terminal and enter the directory of C codes:
cd ~/pico/Pico-ResTouch-LCD-X_X_Code/c/build/
cmake ..
make -j4
sudo mount /dev/sda1 /mnt/pico && sudo cp main.uf2 /mnt/pico/ && sudo sync && sudo umount /mnt/pico
Codes Analysis
C
The example will display strings, figures, image and finally the touch pad function. We use three drawing functions in main part and set the TP_DrawBoard() to loop for releasing the features.
GUI_Show();
LCD_Show_bmp(Bmp_ScanDir , Lcd_ScanDir);
TP_DrawBoard();
Note that if you want to test the LCD_ShowBMP example, you need to copy the picture from the PIC folder to the root directory of a micro SD card, insert the SD card into the slot in the backside of the LCD. Then run the examples.可
- The micro SD card should in FAT format, the resolution of pictures used should be the same as the LCD, for 2.8inch LCD, it is 240×320,and 480×320 for 3.5inch LCD. 24bit BMP.
The LCD controller is ST7789, we need to intialize the controller at the first, which is done in LCD_Driver.c file
And being called in lcd_test.c file,
System_Init();//System intialize, configure serial port and SPI interface...<br/>
  LCD_SCAN_DIR Lcd_ScanDir = SCAN_DIR_DFT; //Set the scanmode <br/>
  LCD_Init( Lcd_ScanDir, 200);//Initialize LCD panel, confirm the scan mode and the brightness<br/>
GUI functions are all be saved in LCD_GUI.c file, you can call them to draw the display
- Draw point
void GUI_DrawPoint(POINT Xpoint, POINT Ypoint, COLOR Color,
                   DOT_PIXEL Dot_Pixel, DOT_STYLE DOT_STYLE)
- Dran line (dotted or solid)
void GUI_DrawLine(POINT Xstart, POINT Ystart, POINT Xend, POINT Yend,
                  COLOR Color, LINE_STYLE Line_Style, DOT_PIXEL Dot_Pixel)
- Draw rectangle (empty of filled)
void GUI_DrawRectangle(POINT Xstart, POINT Ystart, POINT Xend, POINT Yend,
                       COLOR Color, DRAW_FILL Filled, DOT_PIXEL Dot_Pixel)
- Draw circle (empty of filled)
void GUI_DrawCircle(POINT X_Center, POINT Y_Center, LENGTH Radius,
                    COLOR Color, DRAW_FILL  Draw_Fill , DOT_PIXEL Dot_Pixel)
- Dispaly character
void GUI_DisChar(POINT Xpoint, POINT Ypoint, const char Acsii_Char,
                 sFONT* Font, COLOR Color_Background, COLOR Color_Foreground)
- Dispaly string
void GUI_DisString_EN(POINT Xstart, POINT Ystart, const char * pString,
                      sFONT* Font, COLOR Color_Background, COLOR Color_Foreground )
- Display number
void GUI_DisNum(POINT Xpoint, POINT Ypoint, int32_t Nummber,
                sFONT* Font, COLOR Color_Background, COLOR Color_Foreground )
- Display time
void GUI_Showtime(POINT Xstart, POINT Ystart, POINT Xend, POINT Yend,
                  DEV_TIME *pTime, COLOR Color)
In the example, we read the BMP picture from SD card by SPI interface and display it.
In lcd_test.c file, we use two functions for display picture:
SD_Init();//Initialize SD card
LCD_Show_bmp(bmp_scan_dir,lcd_scan_dir);//Display BMP picture
These functions are written in LCD_Bmp.c, actually read the picture data in the BMP format with a specific file name from the SD card and then call the display function written by ourselves to "express" the data as an image again
In LCD_Touch.c file:
TP_Init( Lcd_ScanDir );//Initialize touch panel and set the scan mode
TP_GetAdFac();//Calibrate the display
TP_Dialog();//Clear
TP_DrawBoard();//Enable the drawing board
There will be five colors on the right side of the screen, the default color is black, touch them to select the pen color; click the AD button, and follow the on-screen prompts to click the red + sign to calibrate the screen; click the CLEAR button in upper right corner to clear the drawing board
The touch experiment uses four sets of calibration values by default, which can meet the brush operations in four directions. There are five color choices on the right, and the default brush size is 9 pixels.
The function for touching are saved in the LCD_Touch.c file
There are five fonts available.
   Width 5,Height 8    font8
   Width 7,Height 12    font12
   Width 11,Height 16    font16
   Width 14,Height 20    font20
   Width 17,Height24    font24
- If you need characters in different sizes and fonts, you can generate the font library you want by the font extraction software provided in the Resources
- In fact, you can use the Image2Lcd software to convert a picture to arrays and display them by the functions in example
- Datasheet of chips are provided, you can read them for more information.


