


- sales/support
Google Chat:---
- sales
+86-0755-88291180
- sales01
sales@spotpear.com
- sales02
dragon_manager@163.com
- support
tech-support@spotpear.com
- CEO-Complaints
zhoujie@spotpear.com
- Only Tech-Support
WhatsApp:13246739196
- Purchase/Shipping/Refund
WhatsApp:13424403025
NanoCluster-Basic-Package Application Development
K3s Deployment
1. Introduction
K3s is a lightweight version of Kubernetes. It is easy to install and requires only half the memory of Kubernetes, making it suitable for resource-constrained environments, especially for use cases like edge computing, IoT, and others.
2. Deployment Guide
2.1. Prepare the Environment
First, ensure that the network of the cluster is working correctly and that it can access the internet. You can SSH into each machine in the cluster to execute the subsequent installation commands. Make sure that the IP addresses of the master node and worker nodes are fixed, and that they can access each other over the network.
2.2. Install K3s (Master Node)
The installation of K3s is very simple. Just run the following command on the master node:
If the download is slow, you can speed up the installation by using the following command:
This command will automatically download and install K3s. After the installation is complete, check if the K3s service is running with the following command:
If it shows active (running), K3s has started successfully.
2.3. Install K3s (Worker Nodes)
When installing K3s on the worker nodes, you need to connect them to the master node. Run the following command on the worker node to install K3s:
In the command above, replace 主节点IP with the master node's IP address, and MasterNodeIP with the token obtained from the master node. You can retrieve the token by running the following command on the master node:
After installation is complete, verify that the worker node has successfully joined the cluster by running:
If the worker node appears in the list with a status of Ready, it means the worker node has successfully joined the cluster.
2.4. Deploy an Application
We will create a configuration file to run a K3s container.
The file content is as follows:
Then, use this configuration file to start a container:
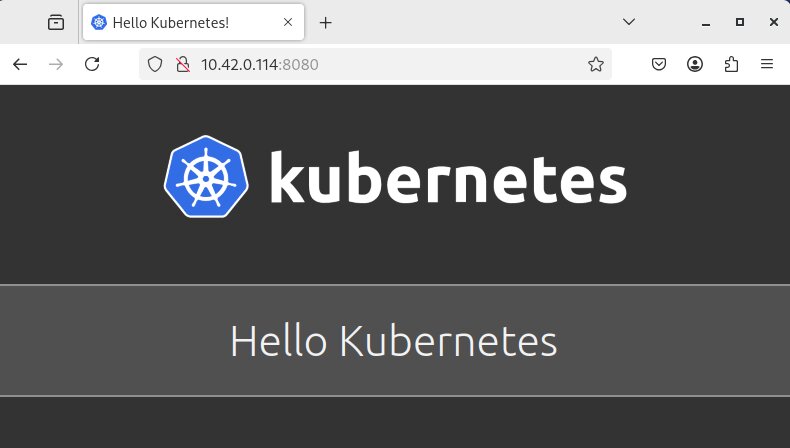
Check the status of the pods:
Finally, access the application via a browser at 10.42.0.114:8080
distcc Deployment
1. Introduction
distcc is a distributed C/C++ compilation system that speeds up the compilation process by distributing compilation tasks across multiple machines. It allows you to leverage the computing power of multiple computers to compile code faster, making it especially useful for large codebases or resource-constrained environments.
2. Deployment Guide
2.1. Server
For Debian-based systems, you can install distcc directly using the package manager:
Start the distcc service:
2.2. Client
Set up the DISTCC_HOSTS environment variable to specify the available worker nodes. You can add the following to your .bashrc
Then, you can try compiling a simple program to check if distcc is correctly distributing the compilation tasks:
3. Compilation Testing
To test whether distcc effectively accelerates the compilation process, we used OpenSSL for the compilation test. OpenSSL is a widely-used C library with a large codebase, making it a good candidate to test the effectiveness of distributed compilation.
You can use distccmon-text to check the current distribution of compilation tasks:
3.1. Compilation Performance Comparison
In the testing process, we compiled the OpenSSL project using both single-machine compilation and distributed compilation (5 machines). Below are the results for each method:
Single-Machine Compilation (without distcc)
Distributed Compilation (using distcc)
As seen, the compilation time using distcc for distributed compilation is significantly reduced, from 18 minutes to about 6 minutes. The acceleration effect of distributed compilation is evident, and it also helps alleviate the load on individual machines.
Nomad Playbook
1. Introduction
nomad-playbook is an automated deployment script written with Ansible, designed to quickly set up a cluster environment based on HashiCorp Nomad and Consul. This project supports one-click deployment of a single-server Nomad/Consul cluster, using Podman (or optionally Docker) as the container runtime. It is ideal for rapid deployment and testing of portable HomeLab or small edge computing clusters.
2. Links
- GitHub project: https://github.com/caiodelgadonew/nomad-playbook

[Tutorial Navigation]
- K3s Deployment
- 1. Introduction
- 2. Deployment Guide
- 2.1. Prepare the Environment
- 2.2. Install K3s (Master Node)
- 2.3. Install K3s (Worker Nodes)
- 2.4. Deploy an Application
- distcc Deployment
- 1. Introduction
- 2. Deployment Guide
- 3. Compilation Testing
- Nomad Playbook
- 1. Introduction
- 2. Links