- sales/support
Google Chat:---
- sales
+86-0755-88291180
- sales01
sales@spotpear.com
- sales02
dragon_manager@163.com
- support
tech-support@spotpear.com
- CEO-Complaints
zhoujie@spotpear.com
- Only Tech-Support
WhatsApp:13246739196
- Purchase/Shipping/Refund
WhatsApp:13424403025
- HOME
- >
- ARTICLES
- >
- Common Moudle
- >
- ESP
ESP32 Arduino IDE Tutorial
一、1.Steps to install Arduino IDE
Download Arduino IDE : https://www.arduino.cc/en/software
二、Import ESP32 chip package
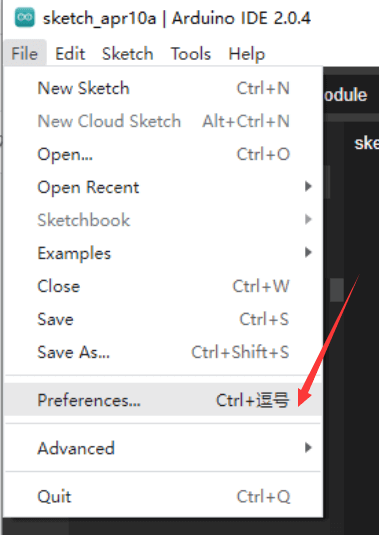
2.1. Open Arduino IDE and click File, then click Preferences
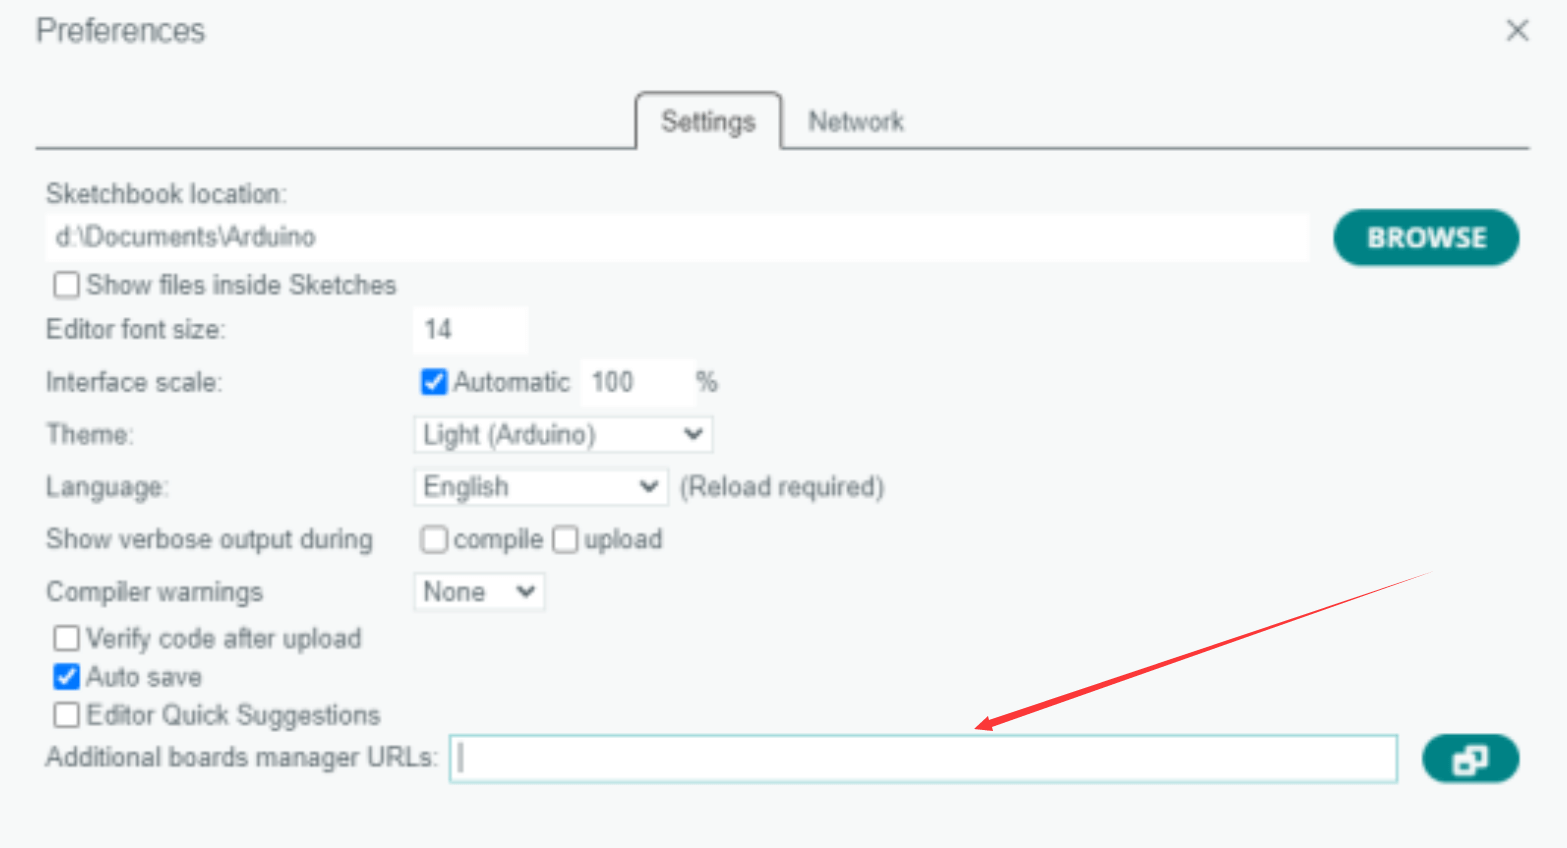
After clicking, the following page will appear. Copy the link
https://dl.espressif.com/dl/package_esp32_index.json
And paste it in the location shown in the screenshot below
2.2. Click Tools
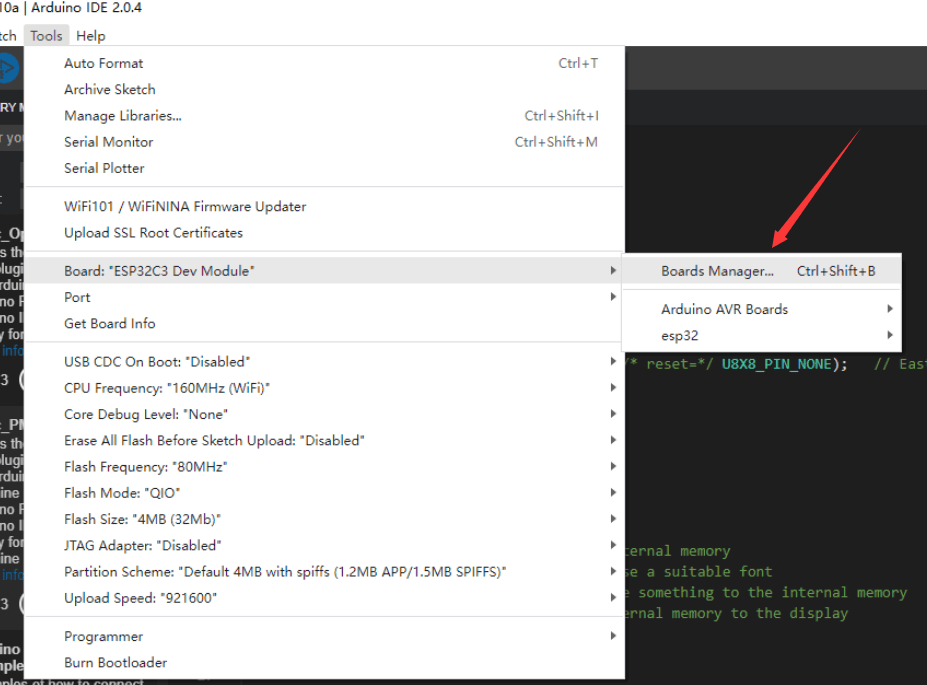
Search for "esp32" in the search bar, and click "INSTALLED". A pop-up window will appear, then click OK and wait for installation to complete
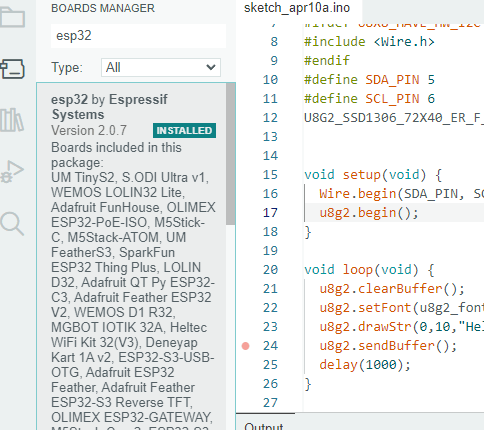
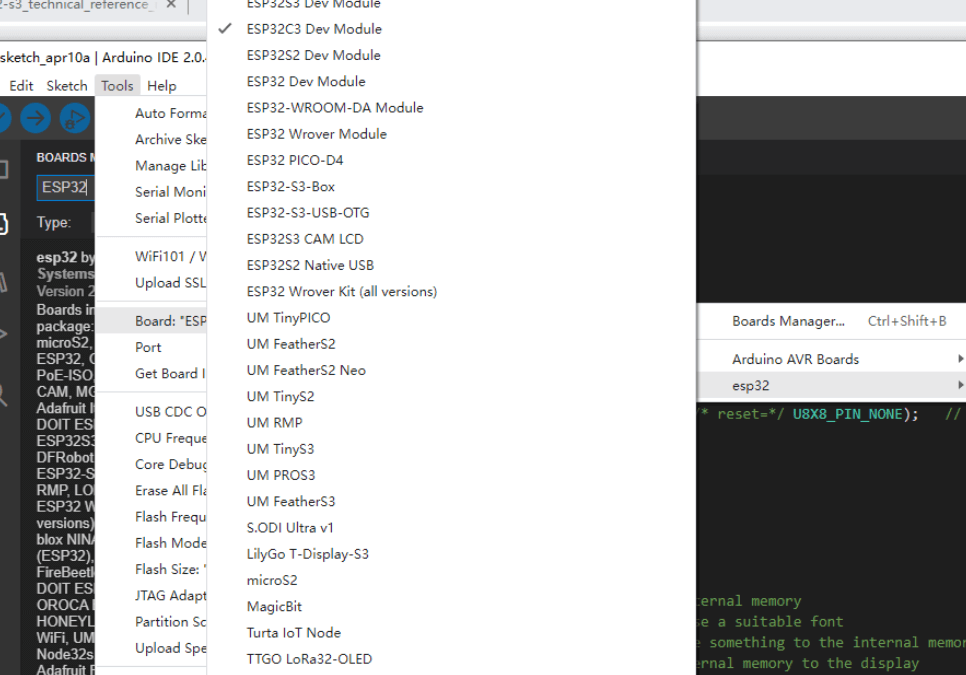
After installation, you can use the ESP32 series of chip packages. For example, you can choose the ESP32 -C3 series
三. Import required libraries
3.1. Click Sketch
3.2. Click "include library"
3.3. Click "manage Libraries"
3.4. Search for "U8g2"
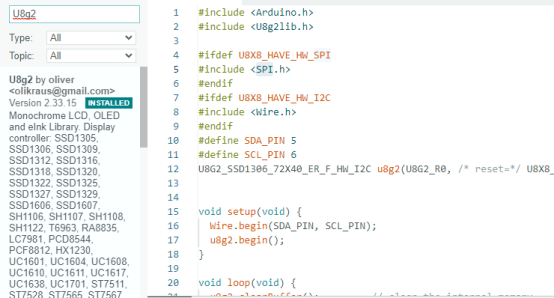
3.5.Click "INSTALLED" to install
3.6. Repeat steps 4-5 to install the following libraries:
OneBitDisplay
BitBang_I2C
SparkFun_SCD4x_Arduino_Library
AnimatedGIF
thinger.io
Adafruit NeoPixel