- sales/support
Google Chat:---
- sales
+86-0755-88291180
- sales01
sales@spotpear.com
- sales02
dragon_manager@163.com
- support
tech-support@spotpear.com
- CEO-Complaints
zhoujie@spotpear.com
- sales/support
WhatsApp:13246739196
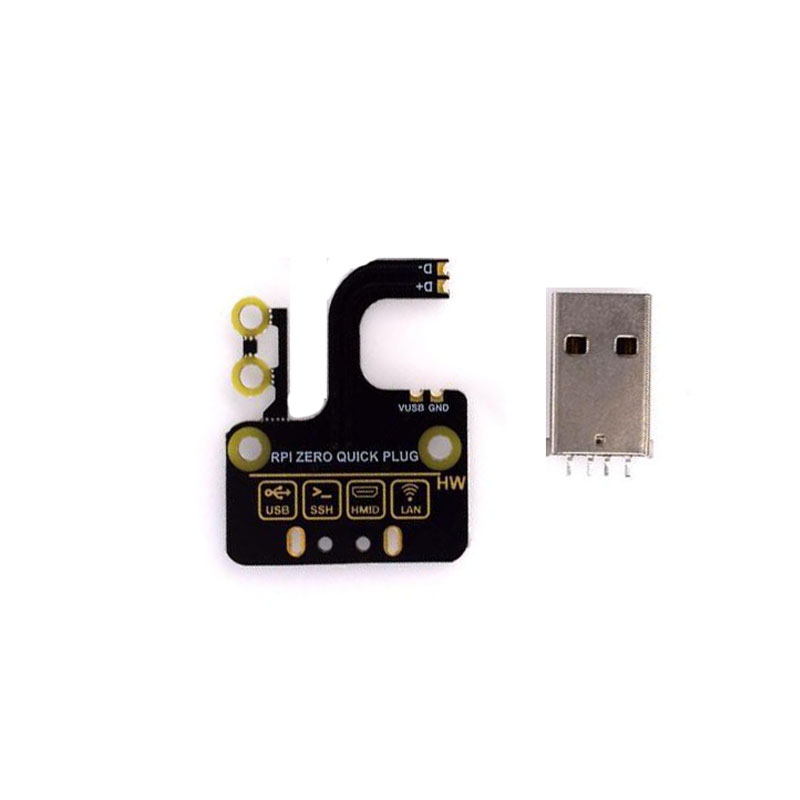
Raspberry Pi Zero USB Adapter User Manual User Guide
GUIDE (USE RASPBERRY PI ZERO)
ACCESS RASPBERRY PI VIA SSH1 Download newest Raspbian image from Raspberry Pi website
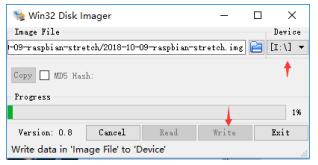
2 Write the image to SD card with Win32DiskImager software
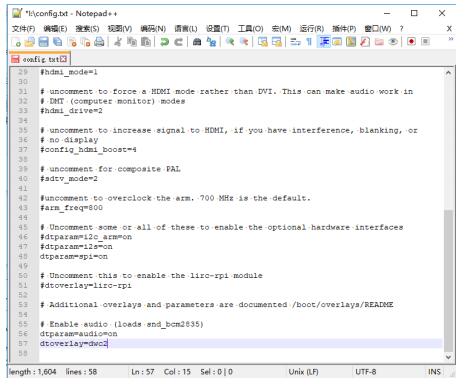
3 After writing, append this line: dtoverlay=dwc2 to config.txt, which is in root
directory of SD card.
4 Edit cmdline.txt file. Note that, all the statements in this file are set in the same
line, do not change the format. Find rootwait, and inset this statement following it: modules-load=dwc2,g_ether
5 created a new txt file on root directory (BOOT) and named it ssh.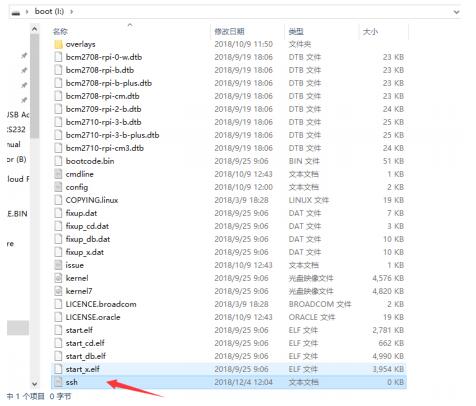
6 Insert the card to your Raspberry Pi and connect to PC. 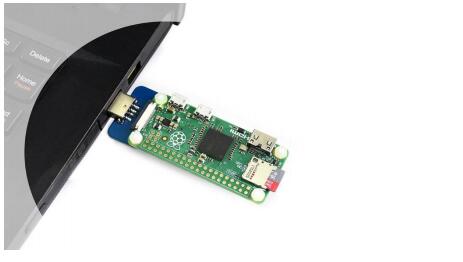
7 After booting(The green indicator will flash during booting, open Devices
Manager. If the Raspberry Pi is designed as a COM device instead of RNDIS, you
should first install the RNDIS driver
- https://www.waveshare.com/w/upload/7/7c/RPI_Driver_OTG.zip
7.1 Download the driver and extract it
7.2 right click the COM devices (The one Raspberry Pi recognized as) -> Update
Drive->Browser my computer for driver software then choose the driver and
update.
8 After installing, you can find that one RNDIS Gadget is recognized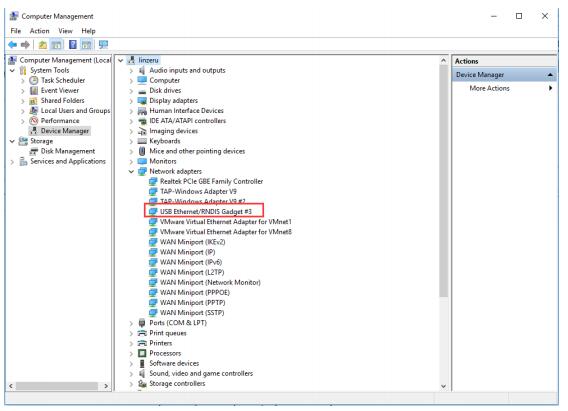
9 Access Raspberry Pi via SSH with Putty software, IP: raspberrypi.local Port: 22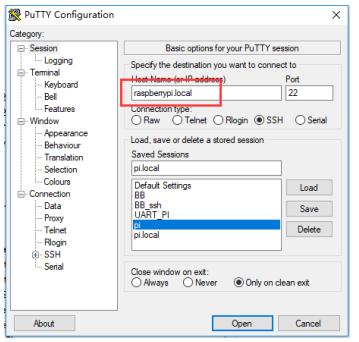
10 If there is error information prompt, search Bonjour software online and install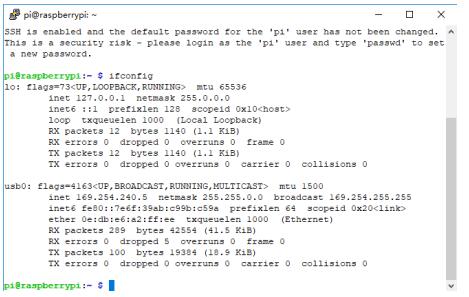
SHARE NETWORKIGN WITH PC
There is a method that you can share network of your PC with Raspberry Pi.
1. Open Control Panel -> Network and Internet -> Network and Sharing
Center->Change adapter settings
2. Find the network your PC connect, right lick->Properties->Sharing. Check option
that Allow other network users to connect through this computer’s Internet
connection. Then select shared network 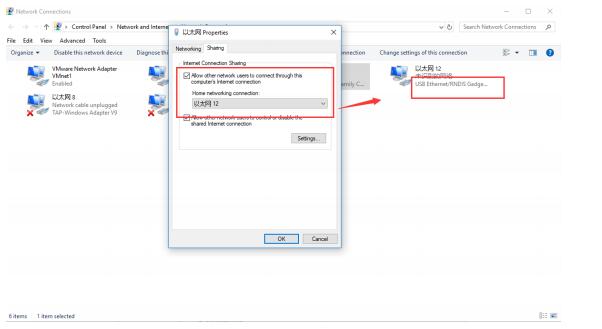
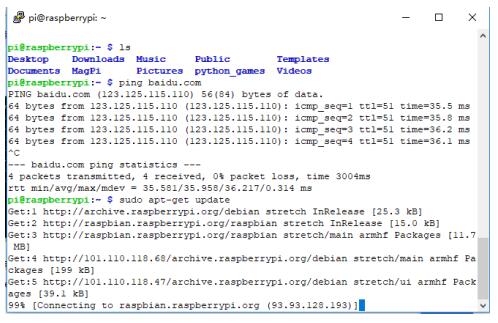
3. Then try to ping a website on your Raspberry Pi.