- sales/support
Google Chat:---
- sales
+86-0755-88291180
- sales01
sales@spotpear.com
- sales02
dragon_manager@163.com
- support
tech-support@spotpear.com
- CEO-Complaints
zhoujie@spotpear.com
- Only Tech-Support
WhatsApp:13246739196
- Purchase/Shipping/Refund
WhatsApp:13424403025
Raspberry Pi Variable-Frequency-Fan User Guide
Introduction
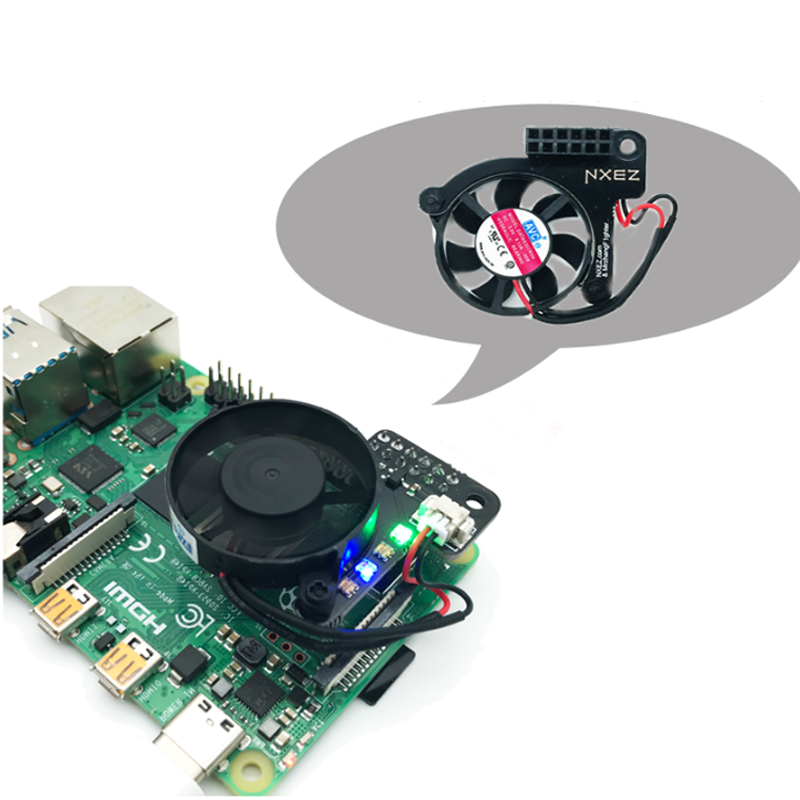
Raspberry Pi Variable-Frequency-Fan, for Raspberry Pi 4B/3B+/3B/3A+/2B
Features
- Fan speed can be controlled by programming PWM mode
- Four RGB LEDs can be programmed to achieve status indication and other special effects
- Provides open source program control code, and the heat dissipation solution makes Raspberry Pi run more stable, perform better
- Real-time monitoring of the Raspberry Pi's CPU temperature
- Start the fan when the CPU temperature reaches the set value
- Multiple temperature threshold settings, corresponding to different fan operating speeds
- Multiple sets of temperature threshold settings, matching different RGB LED colors, allowing you to easily understand the real-time temperature and heat dissipation effect
- Real-time monitoring of the working frequency of the Raspberry Pi
- When the working frequency of the Raspberry Pi reaches the maximum frequency limit, regardless of whether the heat dissipation temperature threshold is reached or not, the fan runs at full speed, which is more intelligent in response to heat
- The program is based on Python, which is convenient for DIY
Install fan
When the Raspberry Pi is not powered on, connect the fan to pins 1 to 12 of the Raspberry Pi, as shown in the figure.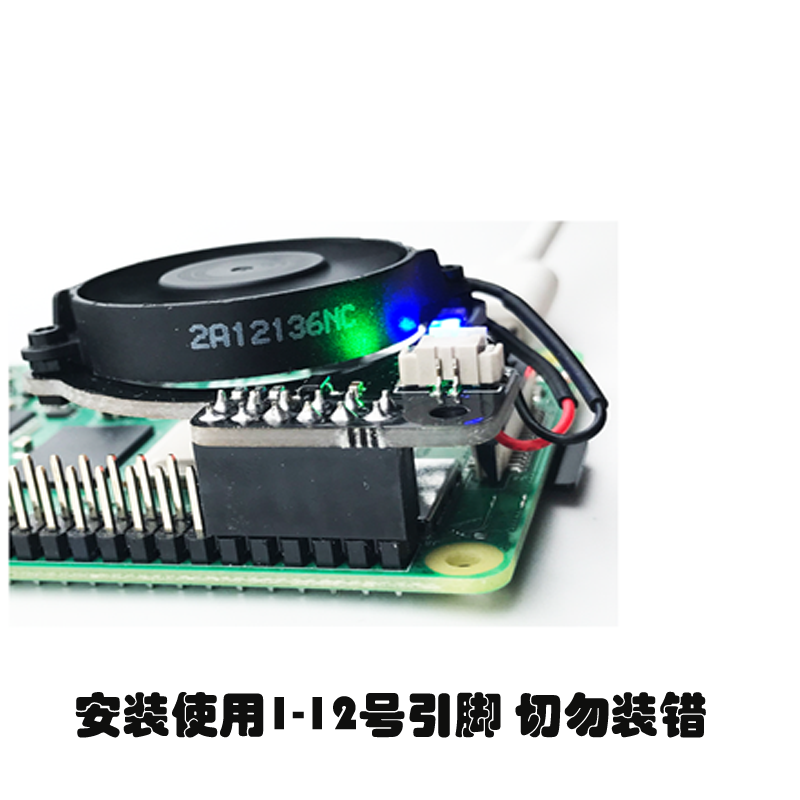
If the pins are installed incorrectly, the hardware may be damaged. So be sure to confirm the location and power on the Raspberry Pi again.
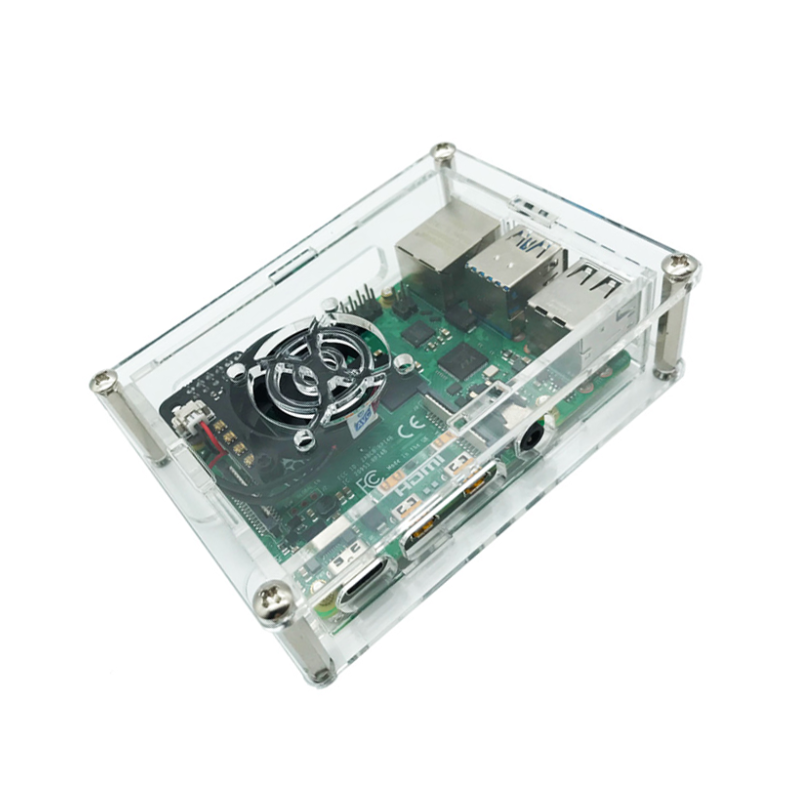
If you use it with a casing, please confirm whether the casing is compatible with the fan and Raspberry Pi. For example, the following case is compatible with Raspberry Pi 4B and fans. After assembly, the effect is as follows.
Enable SPI of Raspberry Pi
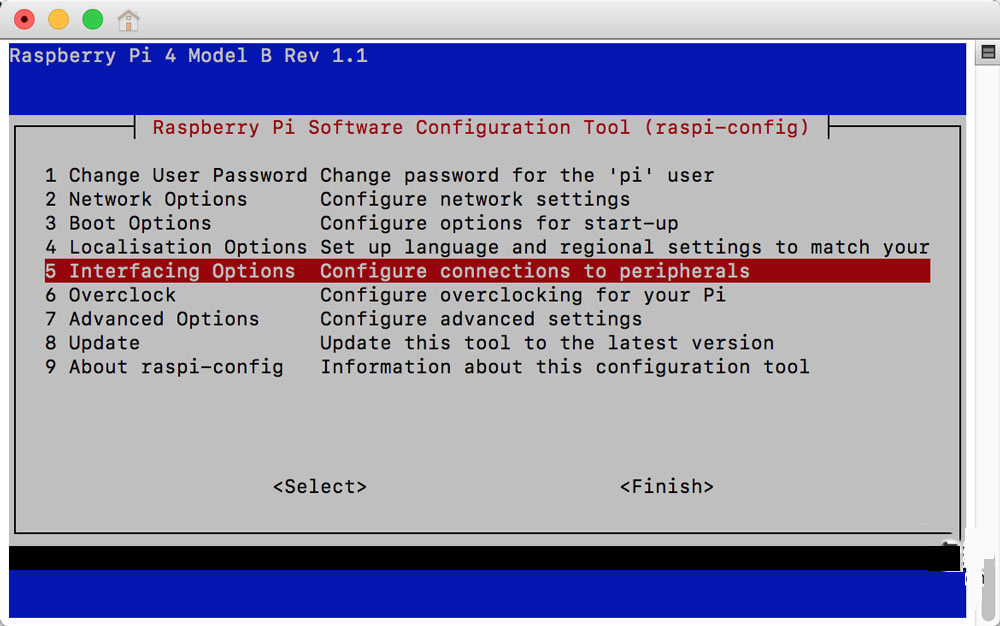
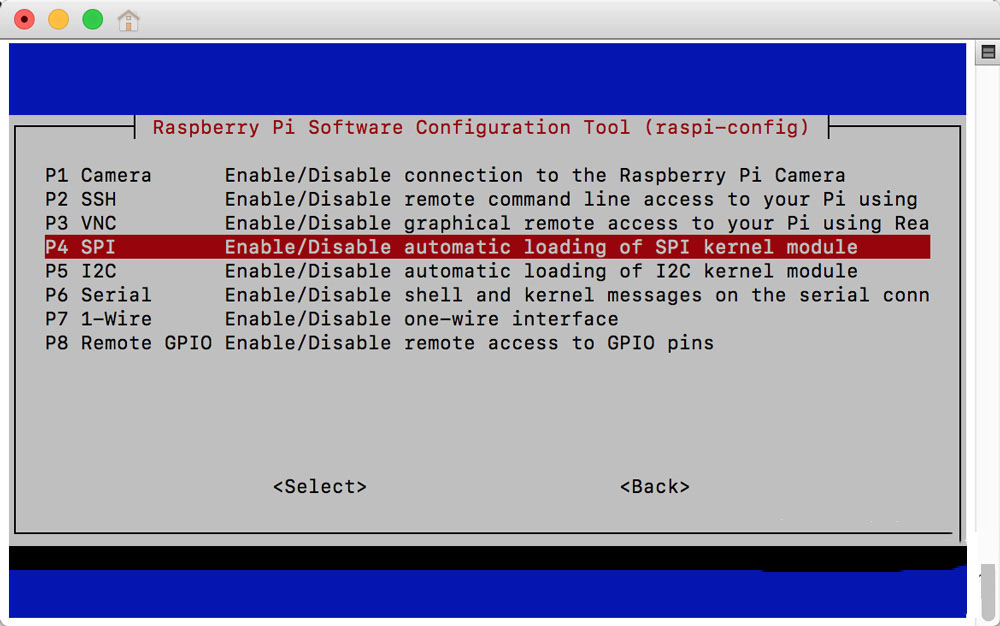
Run the following command in the terminal to enter the configuration interface.
sudo raspi-configSelect Interface Options-SPI to enable SPI. Restart the Raspberry Pi after completion.
Install Python library
The fan driver we provide includes intelligent fan speed control and RGB LED status display. RGB LED relies on apa102-pi library to drive. Therefore, in order to use the complete fan function, this library needs to be installed in advance. Of course, if you don't need the LED status display function, you don't need to install it, and just remove the code related to LED control from the driver code we provide.
Run the following command in the terminal.
sudo apt install -y python3-pip python3-rpi.gpio
sudo pip3 install apa102-pi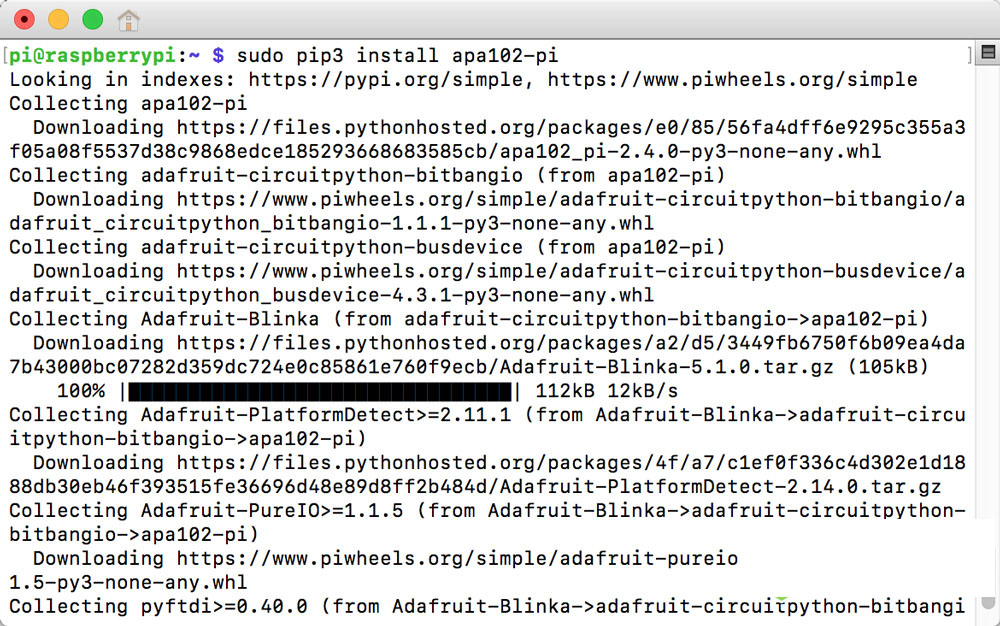
Fan driver
The fan driver is open source and can be run after downloading to the Raspberry Pi. Enter the following commands in the terminal.
sudo apt install -y git
cd ~
git clone https://github.com/nxez/rpi-fan
cd rpi-fan
We have prepared two source codes, rpi-fan.py is a fully functional version. rpi-fan-lite.py is a simplified version, without the RGB LED driver.
Enter the following command in the terminal to run
sudo python3 rpi-fan.pyor
sudo python3 rpi-fan-lite.pyTo run in the background, add & after the command, for example:
sudo python3 rpi-fan.py &Set up to run
Edit the rc.local file.
sudo nano /etc/rc.localAdd a line before exit 0 (the path of the script should be modified according to the actual situation):
sudo python3 /home/pi/rpi-fan/rpi-fan.py &Appendix: Source code description
Taking the full version as an example, the following describes the configurable variables in the source code. If you encounter fan stalls, you can increase the value of speed_base appropriately according to the situation.
# The calculation formula of fan running speed, speed = base speed + (current temperature-temperature threshold) * speed unit increment.
speed = speed_base + (current_temp - threshold_temp) * speed_step

# Fan base speed, range 0 ~ 100。
speed_base = 70
# Rate unit increment.
speed_step = 1.5
# The temperature threshold for starting the fan, the default is 40 degrees.
threshold_temp = 40

# The color value displayed by the RGB LED. Different CPU temperatures correspond to different colors. The default sequence is blue, green, yellow, magenta, and red.
# The value uses RGB color value, from 0x000000 to 0xFFFFFF, the brightness of the color can also be reflected by changing the color value.
c_temp = [0x000008, 0x000800, 0x080800, 0x080008, 0x080000]

# The following settings are used to match the temperature and the LED color. Modify the upper c_temp and the lower temp adjustment to match, and you can set more temperature levels and LED colors by yourself.
c_temp_i = 4
if temp < 60:
    c_temp_i = 3
if temp < 55:
    c_temp_i = 2
if temp < 50:
    c_temp_i = 1
if temp < 40:
    c_temp_i = 0