- sales/support
Google Chat:---
- sales
+86-0755-88291180
- sales01
sales@spotpear.com
- sales02
dragon_manager@163.com
- support
tech-support@spotpear.com
- CEO-Complaints
zhoujie@spotpear.com
- Only Tech-Support
WhatsApp:13246739196
- Purchase/Shipping/Refund
WhatsApp:13424403025
Tang Nano FPGA Demo Code
1. Preface
Basic guide to use Tang FPGA.
2. Tang Nano
- The onboard downloader is ch552
Github: https://github.com/sipeed/Tang-Nano-examples
3. Tang Nano 1K
Github: https://github.com/sipeed/TangNano-1K-examples
4. Tang Nano 4K
Github: https://github.com/sipeed/TangNano-4K-example
- Keyflag Blink(github)
- HDMI display project(github)
- Display camera content on HDMI(github)
- Run GBA on Nano 4K :https://github.com/Martoni/GbHdmi
- Litex on Tang Nano 4K : https://github.com/litex-hub/litex-boards
Other example
- Blink by Cortex-M3:Github
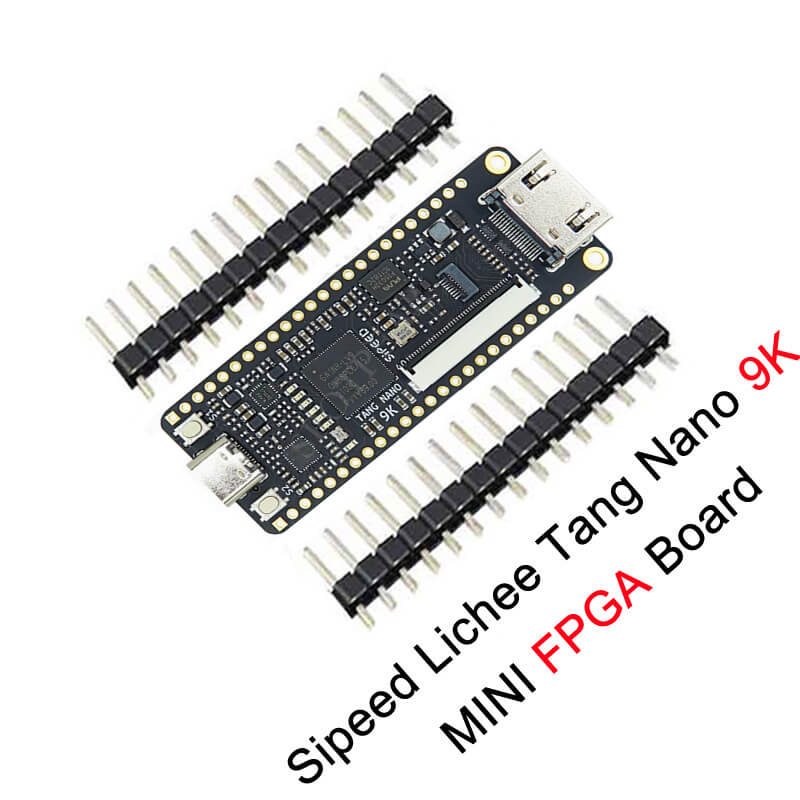
5. Tang Nano 9K
Github: https://github.com/sipeed/TangNano-9K-example
】FPGA drives 1.14-inch SPI screen
】HDMI display : Examples of PicoRV(as follows)
[] Environment
Python
Gowin IDE
[] Steps
[] Program FPGA
-> Open picotiny project by picotiny.gprj file in TangNano-9K-example\picotiny\project directory
->Tick Use MSPI as regular IO in Project->Configuration->Place&Route->Dual-Purpose Pin which can be found in the top menu bar
->Right-click Place&Route which is in Process interface and choose Clean&Rerun All
->Download the generated .fs file to the Embedded Flash of Nano 9K
Then we can use the FPGA like a mcu.
[] Download firmware
Execute the following command in TangNano-9K-example\picotiny directory
The COM13 at the end of command line refers to the serial port number of the development board in the system.
For example, if it is allocated COM14 in your system, you need change it into COM14.
There is a countdown shows - Waiting for reset - when you succeed execute the command, in which time it's required to press the S1 button of the development board to complete the programming.
The succeed done log is as below:
Then we can use serial port tools to execute command and use HDMI to display the code interface.
[] End
Other knowledge like cross-compile is not mentioned here, so you should learn to use it by yourself.
】Litex on Tang Nano 9K : https://github.com/litex-hub/litex-boards
Partner tutorials:
】Lushay Labs are willing to make series around ethernet, graphics and GPU basics, and in the future there is 2 processor project.
】Those who are interested in these projects can read the following guides provided by Lushay Labs.
- Installation & Getting Started
- Debugging & UART
- OLED 101
- Creating a Text Engine
- Data Conversion & Visualization
- Reading from the External Flash
- Generating Random Numbers
- Sharing Resources
- I2C, ADC and Micro Procedures
- Our First CPU
- Read HDMI EDID
Other Blogs
6. Tang Nano 20K
Github: https://github.com/sipeed/TangNano-20K-example
7. Troubles
Here are the most common troubles or questions we gathered: Tang Solutions