


- sales/support
Google Chat:---
- sales
+86-0755-88291180
- sales01
sales@spotpear.com
- sales02
dragon_manager@163.com
- support
tech-support@spotpear.com
- CEO-Complaints
zhoujie@spotpear.com
- Only Tech-Support
WhatsApp:13246739196
- Purchase/Shipping/Refund
WhatsApp:13424403025
Chapter 1 of KitiBot-Microbit: LED Matrix User Guide
Chapter 1 LED Matrix
Instruction of Graphic Programming Website
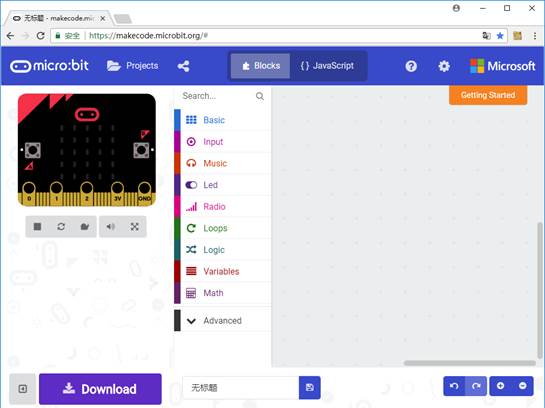
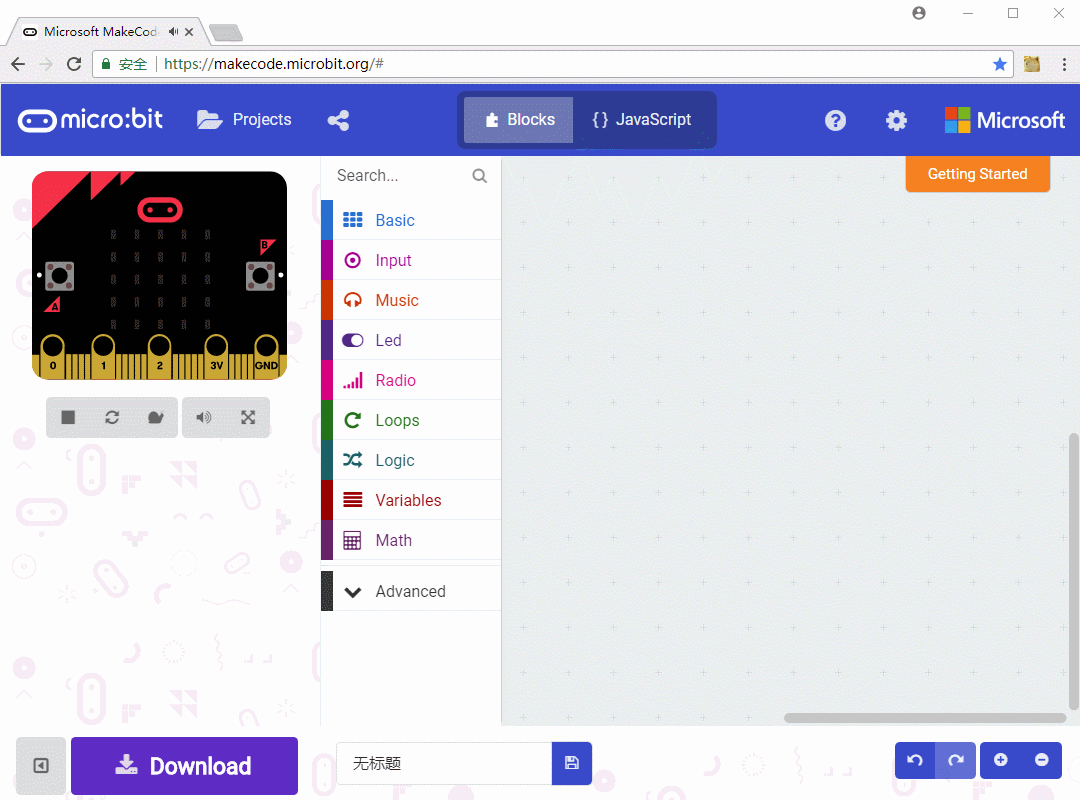
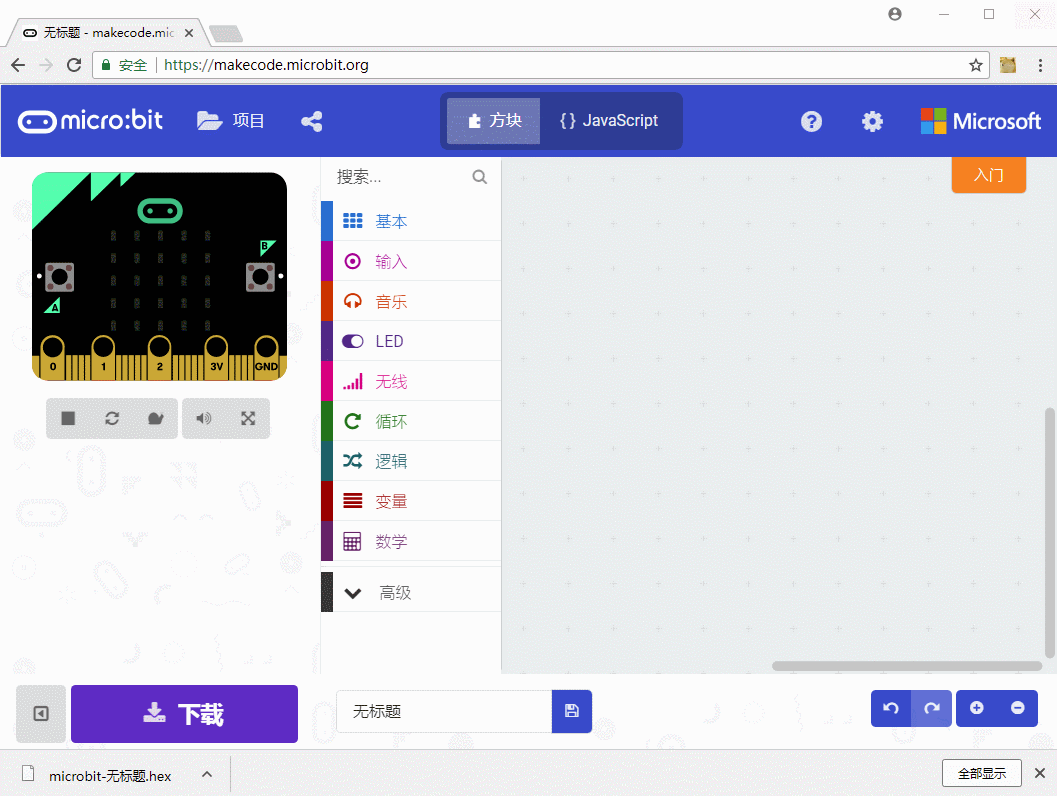
Open makecode webiste on browser, we recommend to use Chorme. The page will be like the figure below after opening. There are four areas, the top one is menu bar, the center one is Blocks area, left one is simulate demonstration area and the right one is block operation/programming area.
We first learn some basic blocks
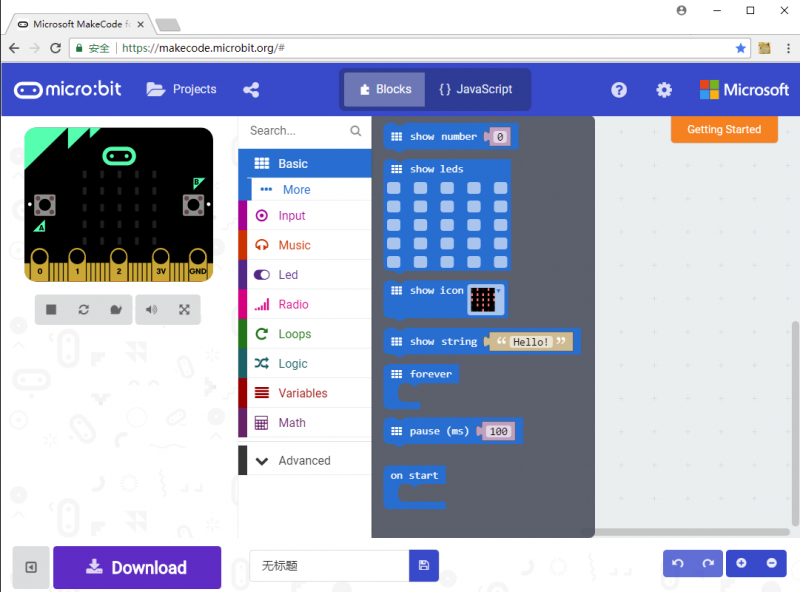
Basic blocks are mainly used for some basic operation to control LED matrix of micro:bit.
There is a 5x5 LED matrix on front side of micro:bit, which is made by 25 red LEDs. The matrix can be used to display numbers, strings and icons.
 :the program included in this block will run at first after start.
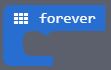 :The program included in this block will run all the time after start.
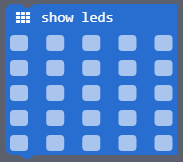 : Will display LEDs as defined, click little blocks to light on/of corresponding LEDs
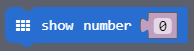 : Display numbers, if the numbers larger than 10, it will rolling-display
 : Rolling-display strings
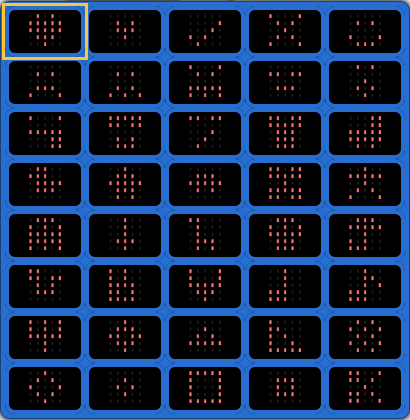
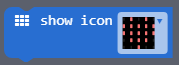 : Display icon, click the little triangle for more icons.
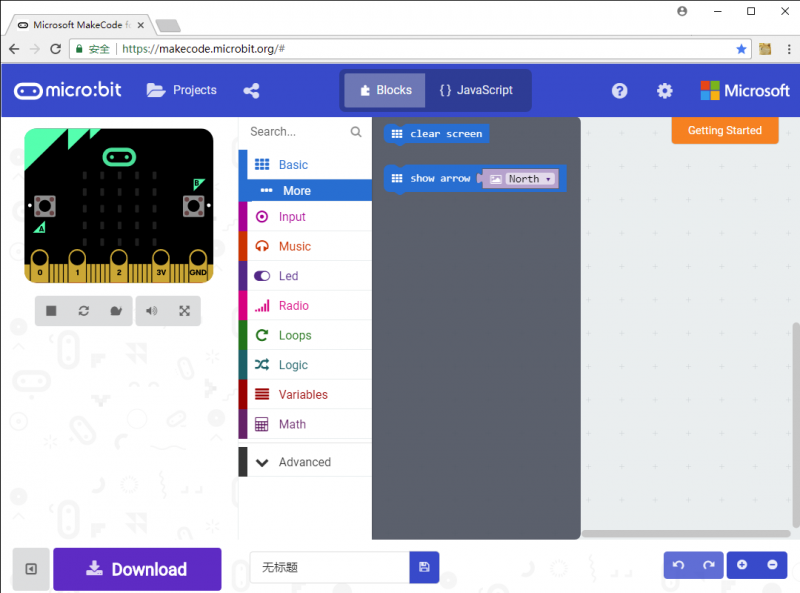
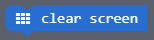 :Clear the screen by turning off all LED
 :Display arrows, click the little triangle for more arrows
Lighting LED
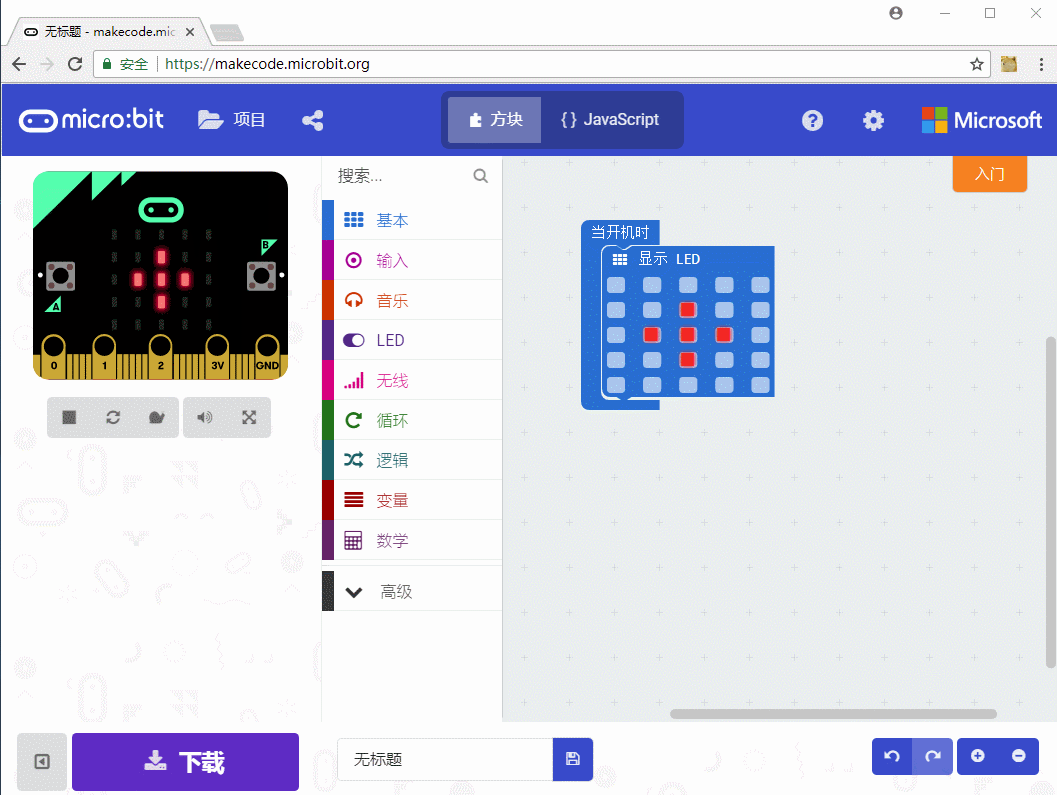
Let's try to light LEDs. Drag "show leds" block to the right side and put it on "on Start" block. Click leds to light them as you want. You can see that the micro:bit board on simulate demonstration area will light as you do.
Then we try to flash the program to micro:bit to see actual effect. Connect your micro:bit to PC, the micro:bit will be recognized as an U drive.
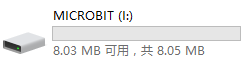
Click Download to flash program to the U drive. You can also download it to other path, and then copy the hex file to micro:bit. It is very easy to do.
Heart Beating
This demo displays a big heart icon first, and wait for 100ms, then display a small heart icon for 100ms. Put this demo to the forever block, it will keep the loop: big heart to small heart, looks like heart beating.
4. Display Strings
Analysis: Create a new progect, and drag the blocks which you don't need to left (delete). Use the String blocks to display string "hello!:. and set it display for per second.
With demos above, you can study how to use micro:bit to program. And we will describe more functions of micro:bit in next chapters and show you how to control the KitiBot.