


- sales/support
Google Chat:---
- sales
+86-0755-88291180
- sales01
sales@spotpear.com
- sales02
dragon_manager@163.com
- support
tech-support@spotpear.com
- CEO-Complaints
zhoujie@spotpear.com
- Only Tech-Support
WhatsApp:13246739196
- Purchase/Shipping/Refund
WhatsApp:13424403025
- HOME
- >
- ARTICLES
- >
- Common Moudle
- >
- ESP
ESP32 S3 3.5 inch LCD User Guide
【Tutorial】
】Distribution Network
The weather clock of this device needs to be networked.
After powering on, the device will automatically open an AP named My-Ap, and the password is 12345678. Connect to this AP with your mobile phone, and the network configuration page will pop up after a while, automatically searching for hotspots in the current environment. Select your hotspot and enter the password to complete the network configuration. After the network configuration is completed, the screen will obtain an IP address, which can be viewed on the WIFI page in the settings.
Note: Some mobile phones will automatically disconnect the hotspot and use the 5G network once they find that the hotspot cannot connect to the Internet. At this time, you need to connect to the AP again. If the network configuration page does not pop up after connecting to the AP, please enter 192.168.4.1 on the mobile browser to open it.
】The second control method: Web control
After successfully connecting to the Internet, enter the settings page, click WiFi, enter the WiFi page, scroll to the bottom to find the current connected IP address, and enter the IP address of this device in the computer browser to enter the web control page.
】Operation of each function
[] Clock: Displays the current time
[] Weather: None
[] MJPEG playback: Swipe left or right on the screen to switch to the next or previous file.
[] Album: Swipe left or right on the screen to switch to the next or previous file.
[] Music playback: Divided into playback page and menu/list page. By default, the menu/list page will automatically scan and list the mp3 files in the music directory on the TF card. Click the corresponding name to play and go to the playback page. Click anywhere on the screen on the playback page to display the menu/list page. If there is no action after 3 seconds, the menu/list page will be automatically hidden.
[] Settings: All settings are performed on the settings page. In order to extend the life of the flash, the changes made on the settings page will be saved to the flash when exiting the settings page.
】User Guide Detailed instructions for each function
[] MP3 music playback function
Put MP3 files with a sampling rate of 48000 or less and a speed of less than 320kbps into the music directory of the TF card (restart the device each time you insert the card back into the device after copying it, the same applies below).
[] Electronic photo frame function
Put a 320*480 JPEG file into the pic directory of the TF card.
[] MJPEG playback function mjpeg conversion tool download
Use the mjpeg conversion tool to convert the video to be played into a 320*480 MJPEG file with an FPS of 25 and a video quality of 7, and copy the file to the mjpeg directory of the TF card.
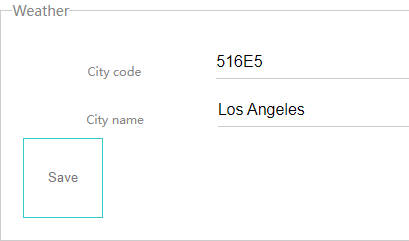
[] Real-time weather display function
Configure the city code in the web page and use it. Enter the city name on the web page and click Save to automatically generate the city code. However, it takes time to refresh. After the screen exits the weather interface, enter the weather interface again. After the network refresh is successful, the corresponding city weather will be obtained.
【Environmental Installation】
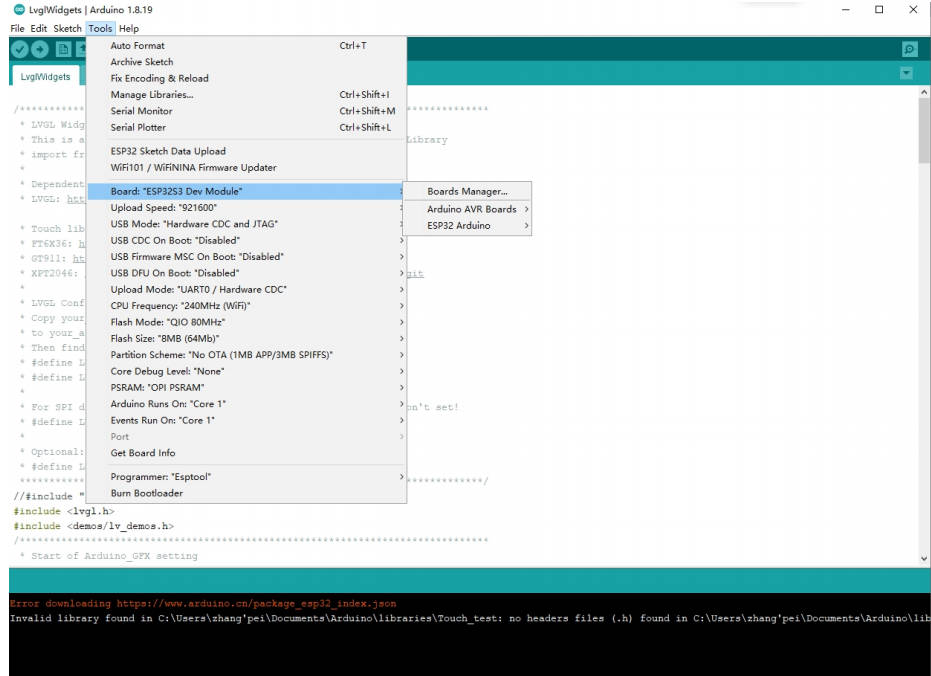
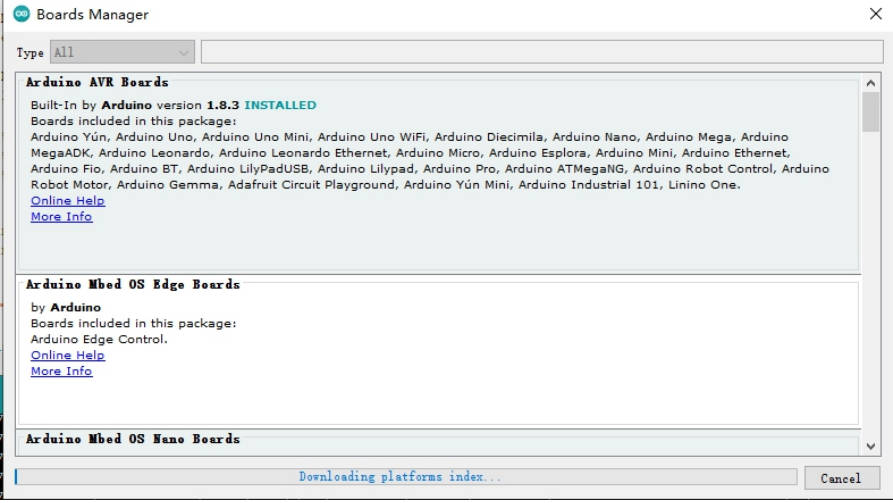
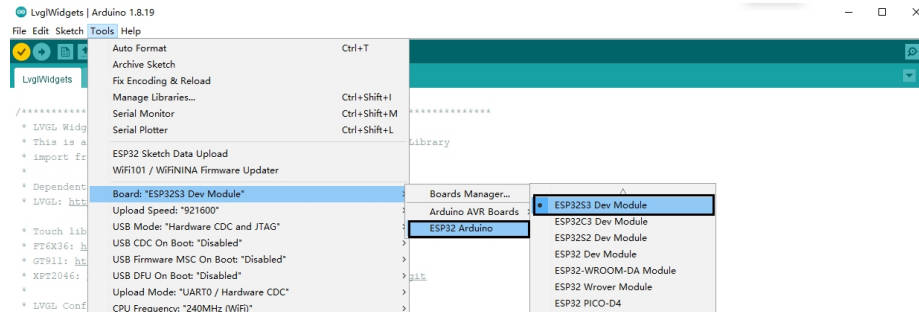
】Installing using Arduino IDE
】This is how to install Arduino-ESP32 directly from the Arduino IDE.

【Sample program usage】
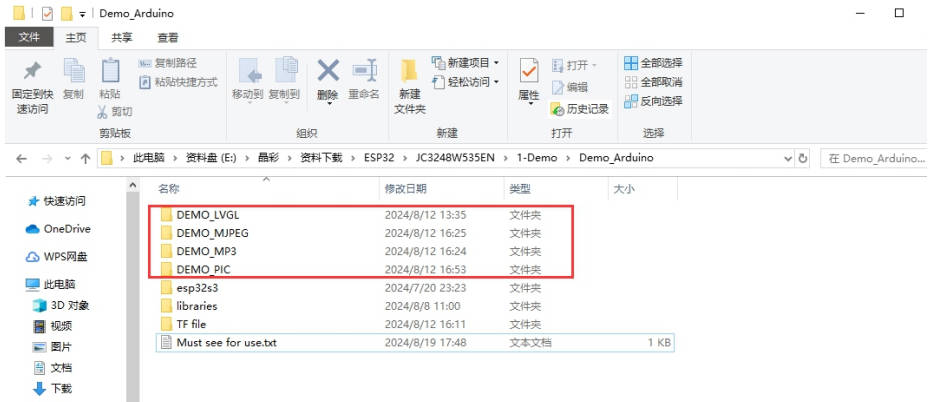
Currently, we only provide a preliminary explanation and introduction to the examples displayed on the screen. Click to download the sample program, as shown in the figure:
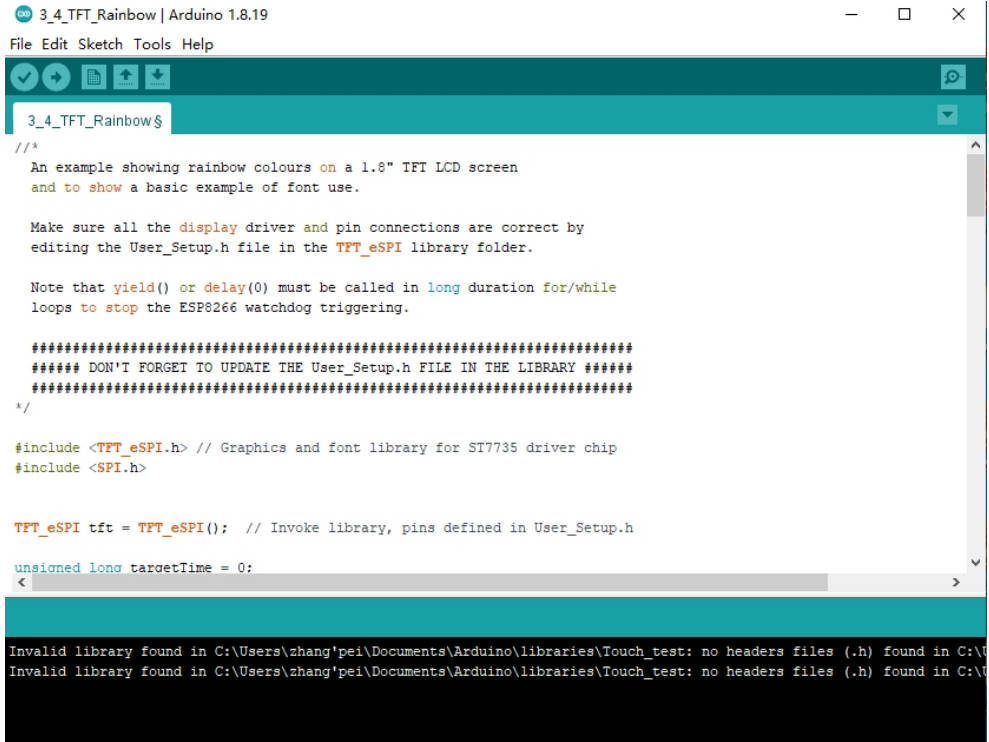
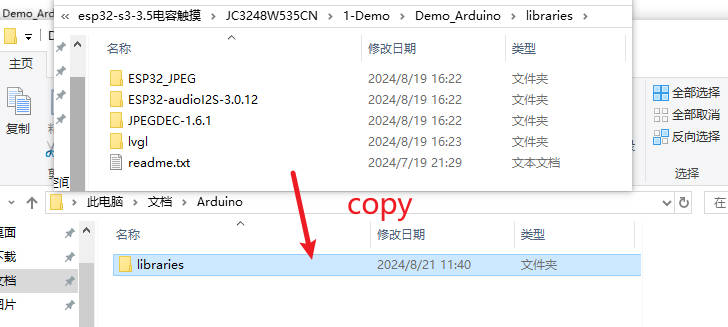
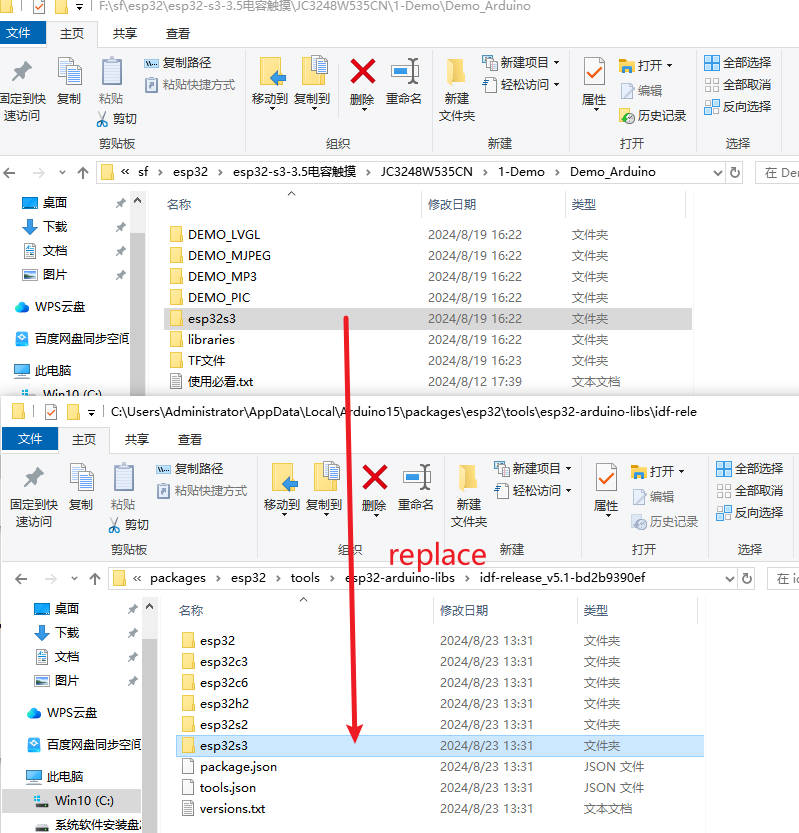
2. Copy the library in libraries to the Arduino library directory. 【Arduino-check-library-path】
About the use of touch and LVGL
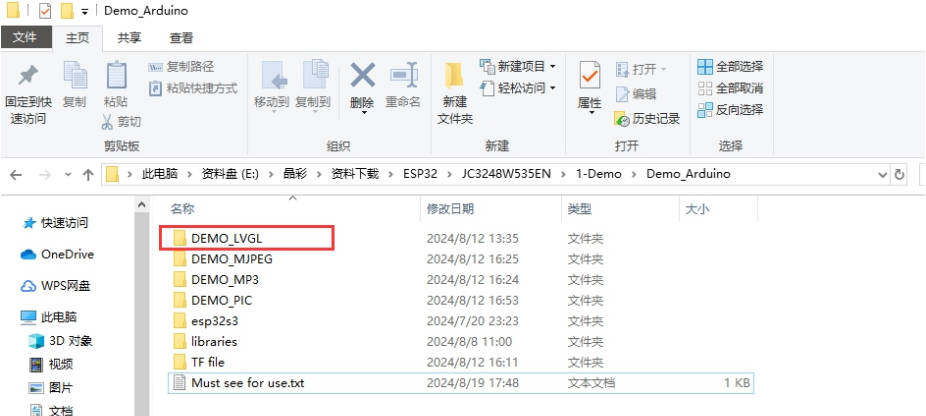
Select DEMO_LVGL example
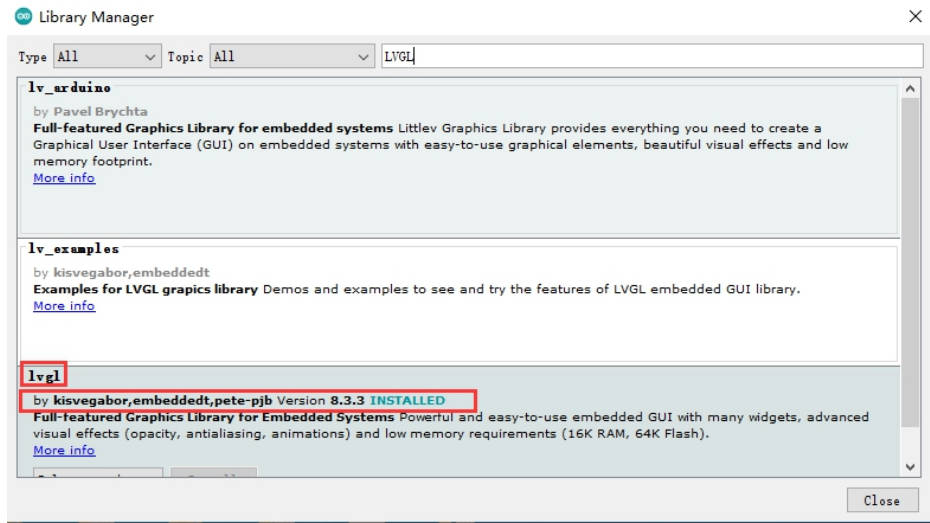
Download the required library file LVGL library
【Resource】
【Restore factory firmware】
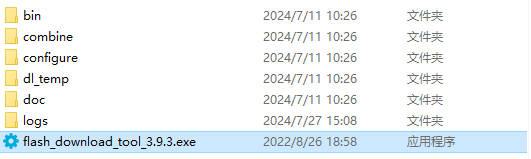
】Firmware Download
】Download and open the burning software
】How to use
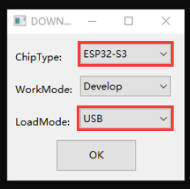
Just burn the factory firmware, as shown in the picture
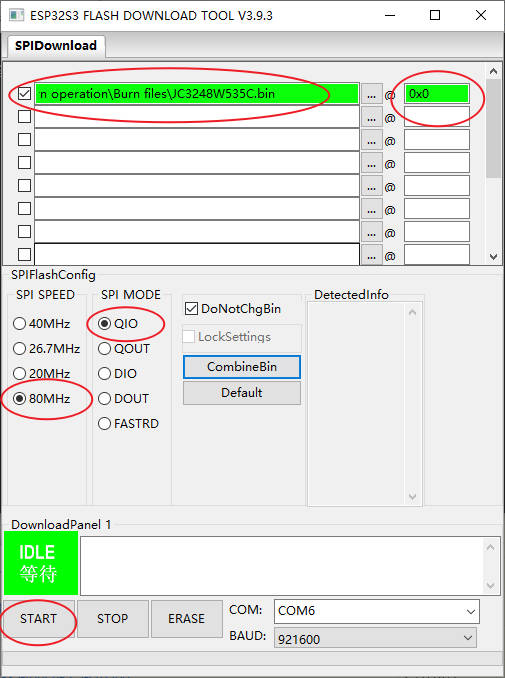
If the following effect appears, it means the burning is successful and you can power on again.
【After-sales】
Monday-Friday (9:30-6:30) Saturday (9:30-5:30)
Mobile: +86 13434470212
Email: services01@spotpear.com
