- sales/support
Google Chat:---
- sales
+86-0755-88291180
- sales01
sales@spotpear.com
- sales02
dragon_manager@163.com
- support
tech-support@spotpear.com
- CEO-Complaints
zhoujie@spotpear.com
- Only Tech-Support
WhatsApp:13246739196
- Purchase/Shipping/Refund
WhatsApp:13424403025
- HOME
- >
- ARTICLES
- >
- Common Moudle
- >
- Camera
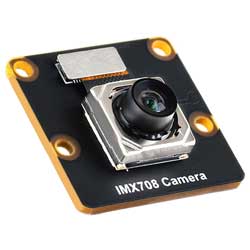
IMX708-120-Camera-B User Guide
Specifications
| Category | Parameter |
|---|---|
| Sensor | Sony IMX708 |
| Pixel | 11.9MP (4608 x 2592) |
| Focus Method | I2C controller, supports autofocus |
| CMOS Size | 7.4mm |
| Focus Range | 15cm ~ ∞ |
| Aperture | F2.2 |
| Focal Length | 3.08mm |
| Diagonal Field of View (FoV) | 120° |
| IR Cut Filter | Built-in |
| Operating Temperature | 0°C ~ 50°C |
| Supported Devices | Compatible with all Raspberry Pi motherboards |
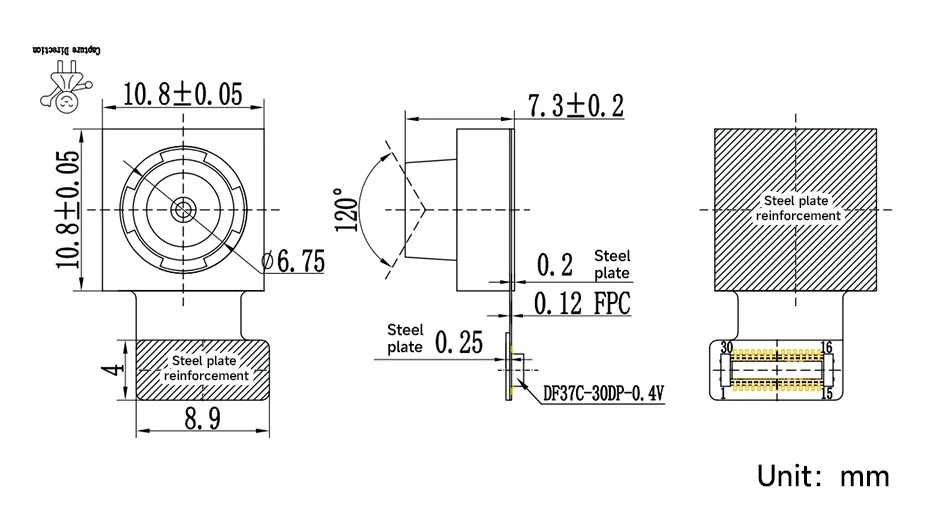
Dimensions
- IMX708-120 Camera Module Dimensions
- IMX708-120 Camera (B) Dimensions
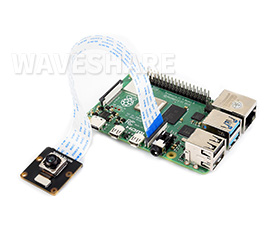
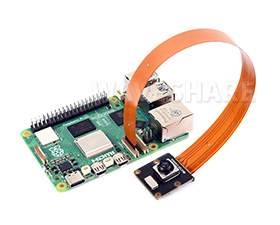
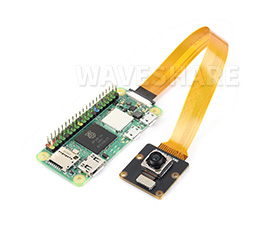
Working with Raspberry Pi
The IMX708 camera only supports the Raspberry Pi series of motherboards. When using it, select the appropriate cable connection based on the motherboard.
Hardware Connection
Software Environment Configuration and Testing
Update System
To ensure the camera works properly, please use the Bookworm version of the Raspberry Pi system and update it with the following commands:
sudo apt-get update -y
sudo apt-get upgrade -y
If using only one camera, connect it to the CAM1 port.
Configure the config.txt File
Use the nano tool to open and edit the /boot/firmware/config.txt file:
sudo nano /boot/firmware/config.txt
Find the line camera-auto-detect=1 and change it to camera_auto_detect=0
At the end of the file, add the line dtoverlay=imx708. If multiple cameras are connected, you can specify the cam0 or cam1 parameter, for example:
dtoverlay=imx708,cam0
dtoverlay=imx708,cam1
After configuration, save the file and reboot the system with sudo reboot.
Test the Camera
After configuration, reboot the system and use the command sudo rpicam-hello --list-camera to check if the camera is detected.
If a screen is connected, you can preview the camera with sudo rpicam-hello -t 0.
For more information about rpicam commands, please refer to Raspberry Pi Camera Software Documentation.
Resources
Support
Monday-Friday (9:30-6:30) Saturday (9:30-5:30)
Email: services01@spotpear.com