- sales/support
Google Chat:---
- sales
+86-0755-88291180
- sales01
sales@spotpear.com
- sales02
dragon_manager@163.com
- support
tech-support@spotpear.com
- CEO-Complaints
zhoujie@spotpear.com
- Only Tech-Support
WhatsApp:13246739196
- Purchase/Shipping/Refund
WhatsApp:13424403025
- HOME
- >
- ARTICLES
- >
- Common Moudle
- >
- ESP
Pico-DALI2 User Guide
Introduction
Product overview
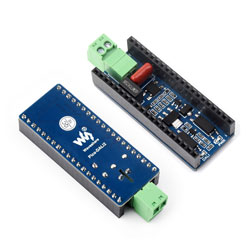
This is a DALI adapter board, with ESP32-S3-Pico/ESP32-C6-Pico motherboard. You can use it to control the lighting of DALI devices easily, and DIY a smart home system with simple processing.
Features
- Interface is compatible with most Pico boards
- Compact size
- The product is a universal DALI adapter board, with specific control functions managed through the motherboard
- ESP32-S3-Pico/ESP32-C6-Pico motherboard demos are available
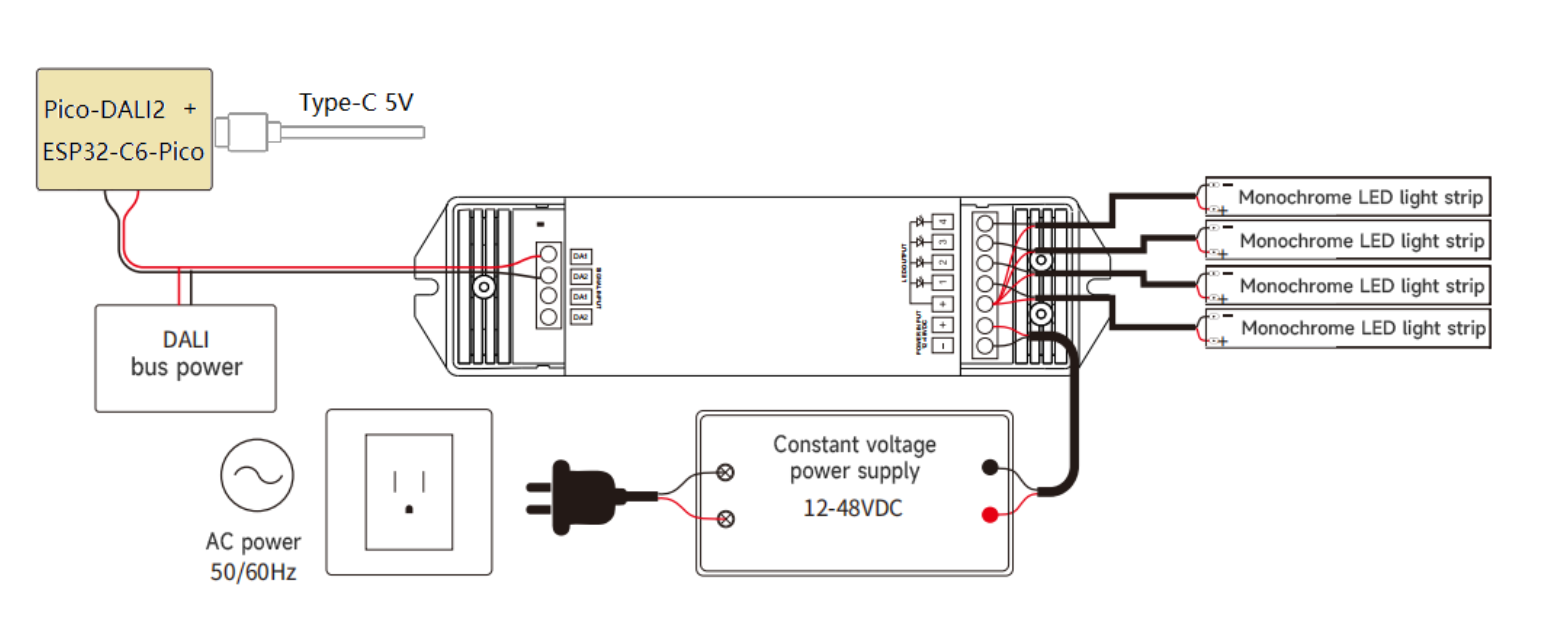
Product Connection
Resource Introduction
Environment Setting
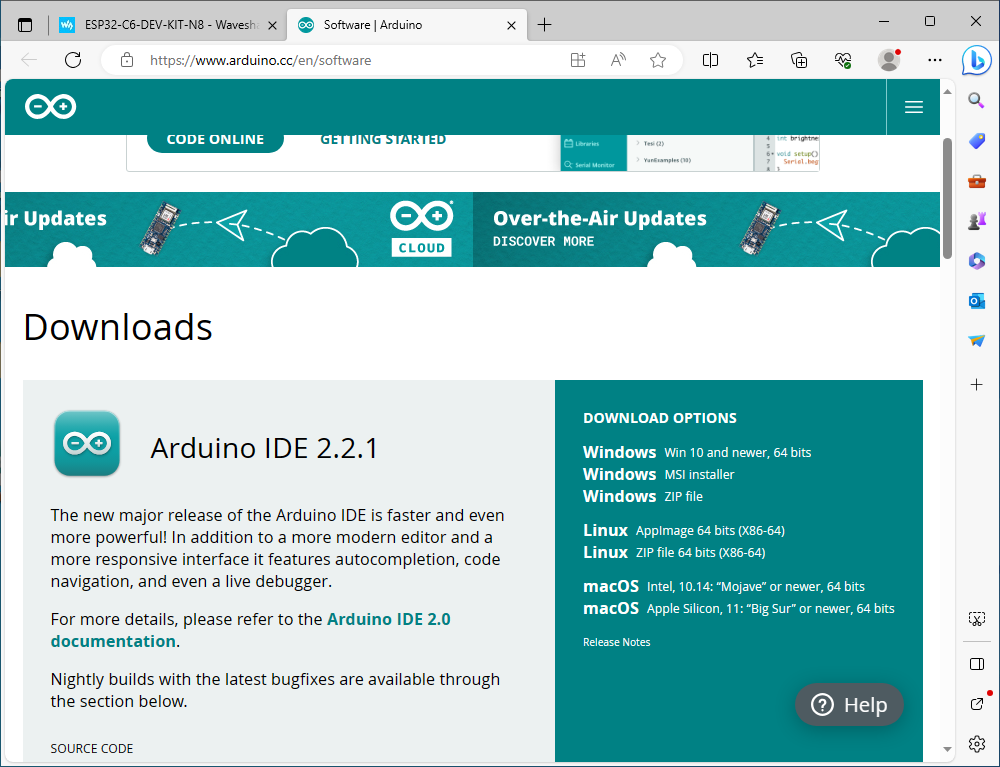
- Install Arduino IDE
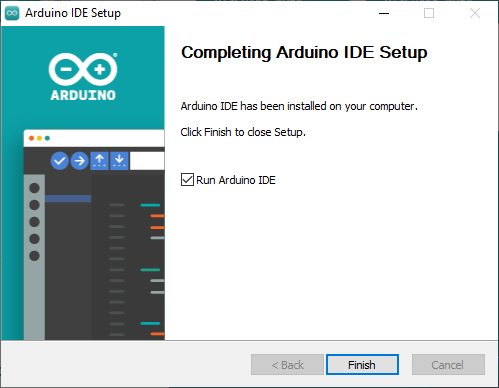
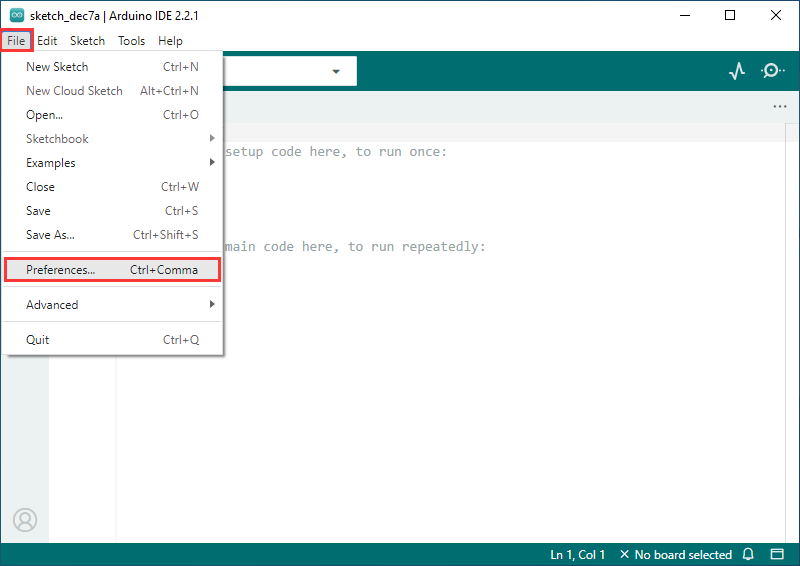
- Open Arduino IDE after installation
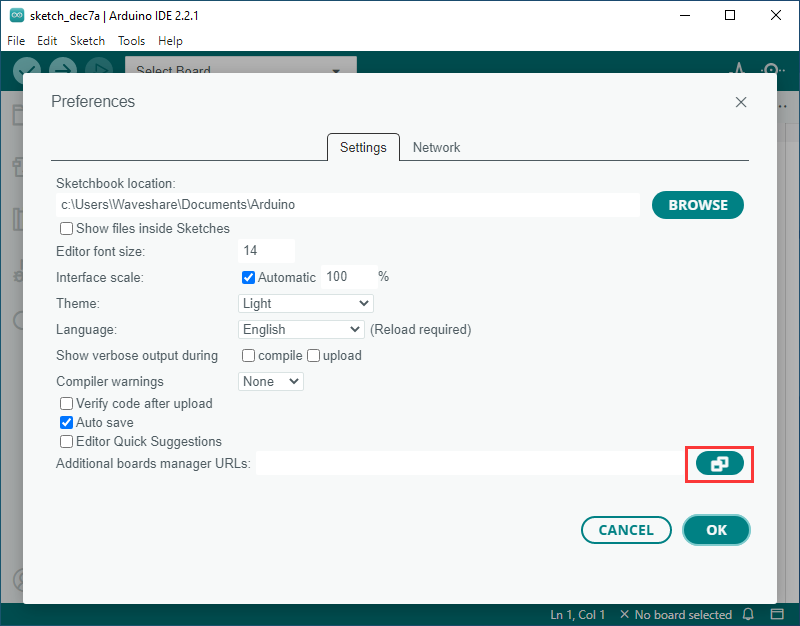
- Enter Preferences page
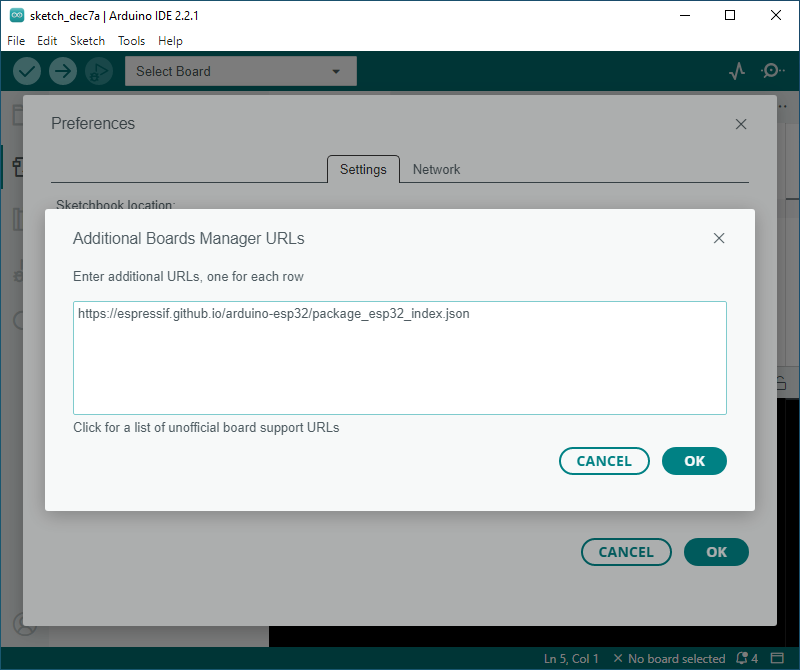
- Add one JSON link
https://espressif.github.io/arduino-esp32/package_esp32_index.json
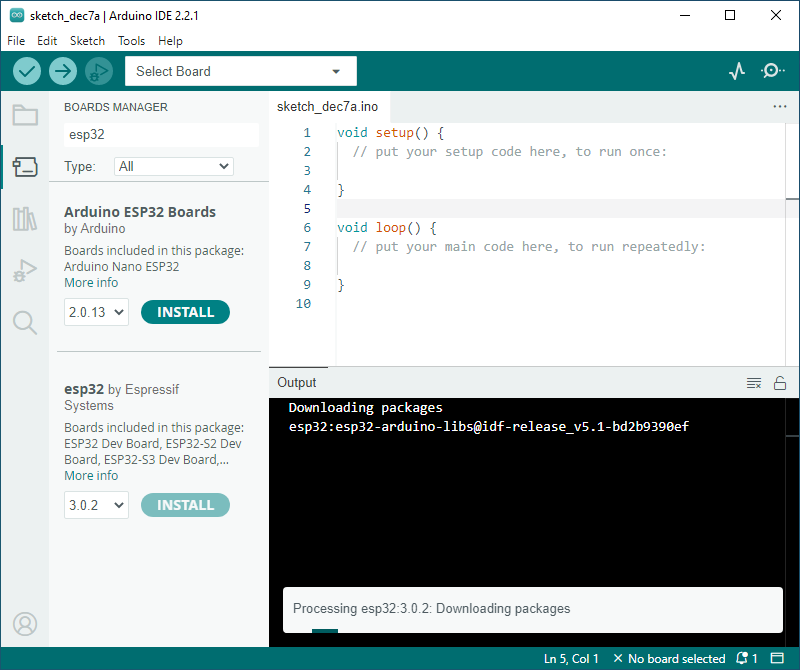
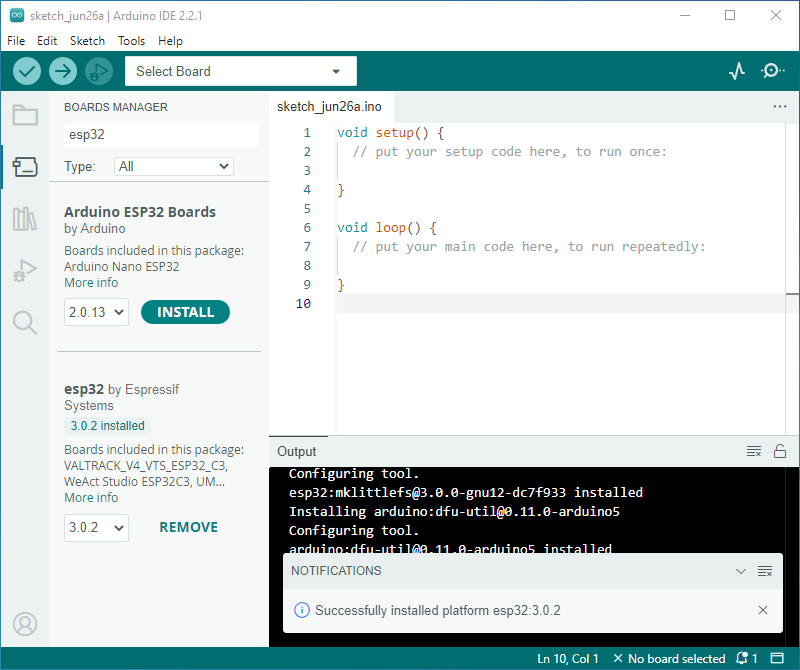
- Enter development board manager, search for esp32, select Version 3.0.2 from esp32 by Espressif Systems below, and click INSTALL (if unable to install properly, you can try using a phone hotspot)
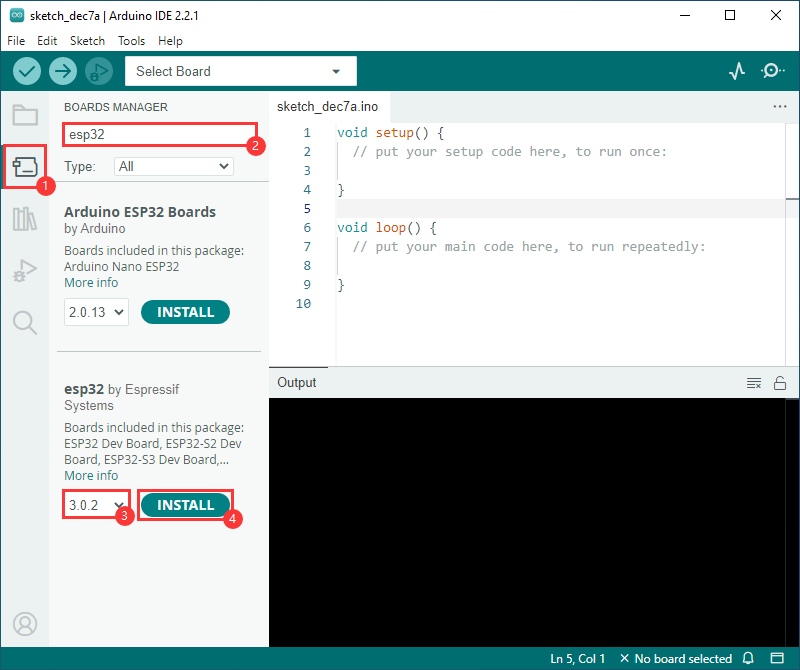
- Restart Arduino IDE after installation
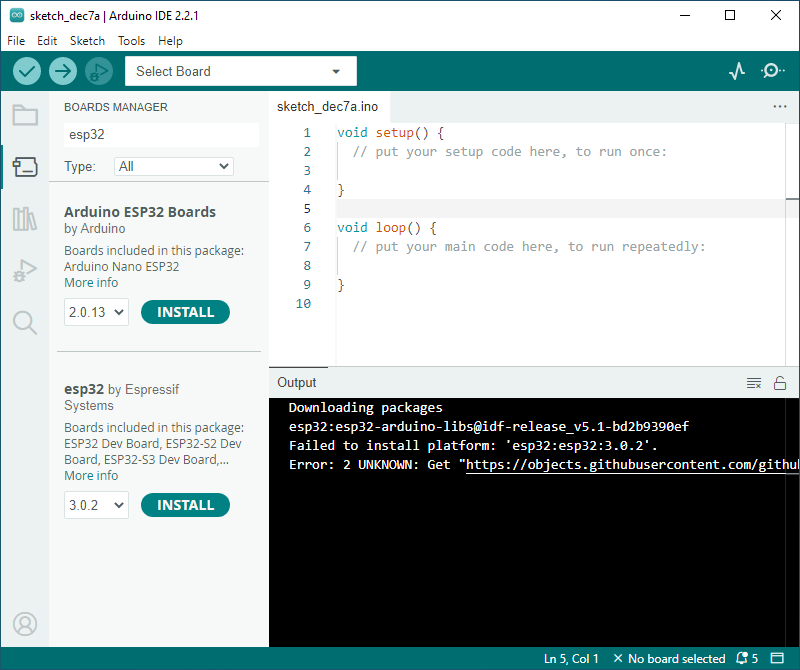
Click to expand if installation fails
- Installation of Version 3.0.2 failed
- Download Resource files
Link: https://drive.google.com/file/d/148TjmwMdjqJjDl9GTHsibB_Hl6eUMEuI/view?usp=drive_link
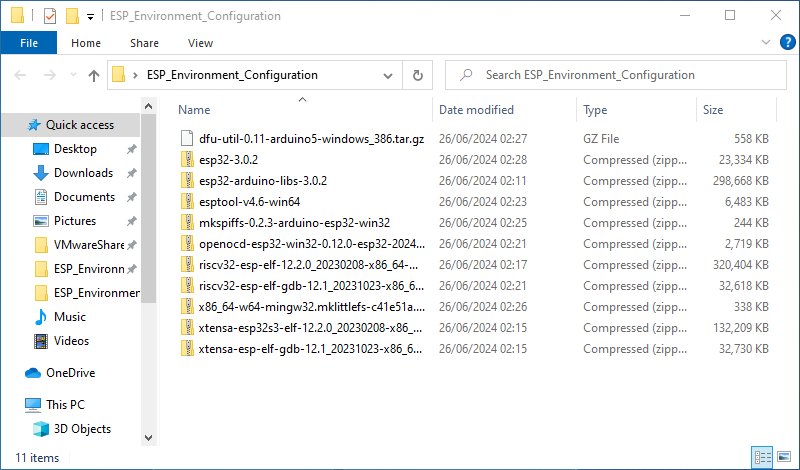
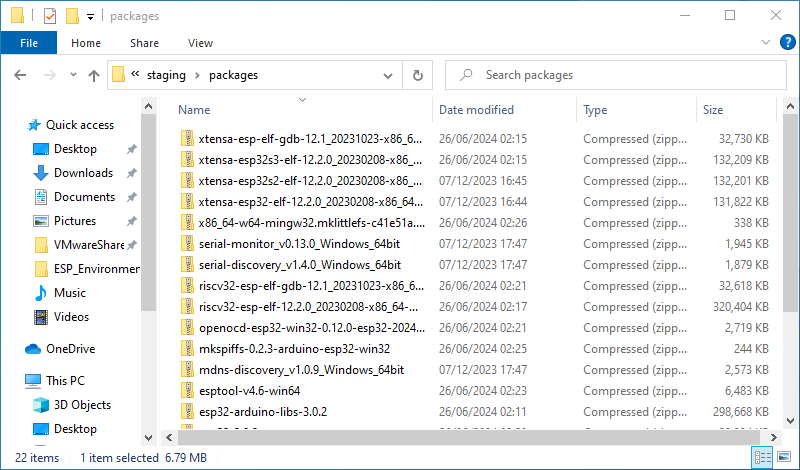
- Enter from resource manager at the path "c:\Users\Waveshare\AppData\Local\Arduino15\staging\packages" (Waveshare is the computer username and hidden files need to be displayed)

- Uncompress the downloaded file above to the packages folder
- Perform installation operation again

- Restart Arduino IDE after installation

Demos
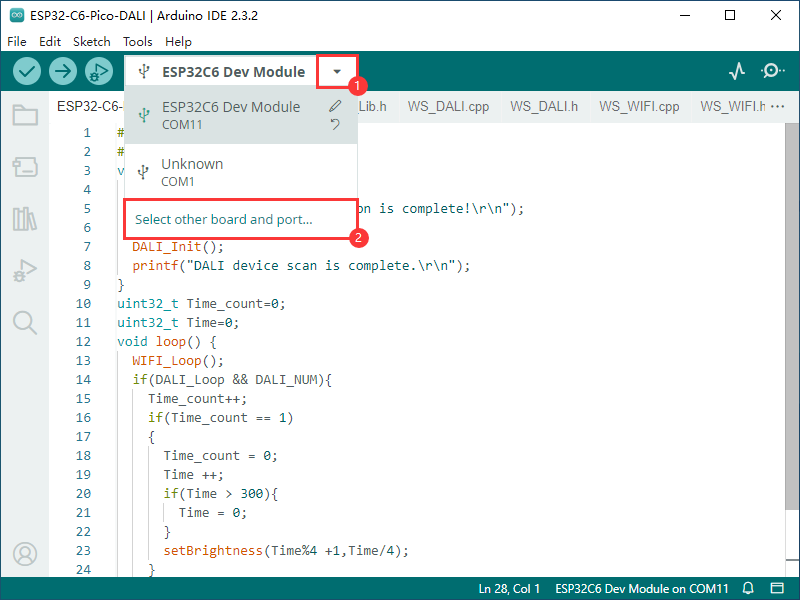
- Select the product model according to the motherboard used
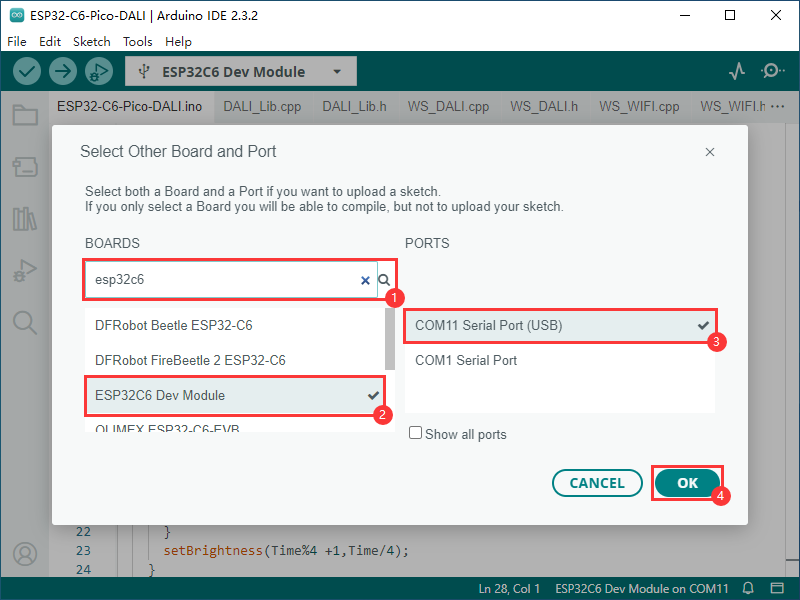
- Select the model and port (If you use ESP32-S3-Pico, select the model ESP32S3 Dev Module. If you use ESP32-C6-Pico, select the model ESP32C6 Dev Module. For the following demonstration, select ESP32-C6-Pico as the motherboard)
- Compile and burn the demo
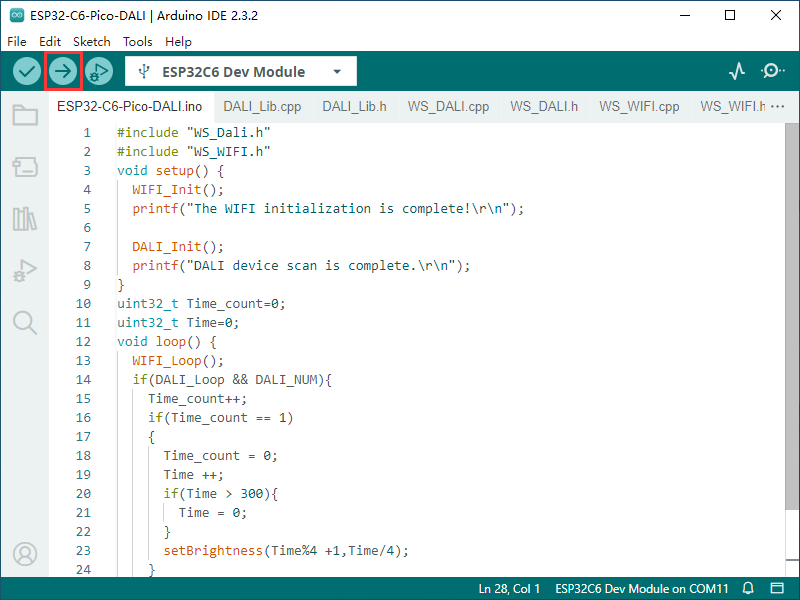
- Burning is successful. If the device is connected normally, the device can be identified and controlled to brighten sequentially starting from the lowest brightness
Resources
Document
Demo
FAQ
Support
Monday-Friday (9:30-6:30) Saturday (9:30-5:30)
Email: services01@spotpear.com
TAG:
Raspberry Pi 11.6 inch LCD HDMI /Type C Display In-Cell Capacitive TouchScreen 1768x828 For Jetson Nano/mini Computer PC
Argon ONE V3 Case with FAN IR For Raspberry Pi 5
Industrial Grade Isolated USB TO RS232/485 (B) Serial UART Converter FT232RNL For Wall/Rail-Mount
ESP32-S3 MAX AI Camera 3.5inch LCD Dual MIC Development Board Display 320x480 3.5 inch TouchScreen Voice Interruption Object Recognition
Magnetic Encoder Servo Motor 35KG.CM 24V 360° RS485 High Precision And Large Torque RSBL35-24-HS
Cortex-A53
Raspberry Pi 7.5 inch e-Paper link (H) RYBW 800x480 For Arduino / Jetson Nano / STM32
Raspberry Pi 5 Audio Jack
Code
Development Board
ESP32 C3 Round LCD Development Board Electronic EYE 0.71 inch Display Watch Screen GC9A01 160x160
ADXL354CZ EVAL BOARD
Raspberry Pi 5 8 inch DSI LCD Captive TouchScreen MIPI Display 1280x800 Industrial One-Body Tablet PC With 5MP Front Camera
Mini TV
Computer Desktop Monitor Display
waveshare
1.85inch LCD TouchScreen Display 360×360 ST77916 For Arduino /Raspberry Pi /ESP32 /Pico /STM32
Serial UART Bus Servo ST3020 TTL 25KG.CM Magnetic-Encoder High precision and Large torque
raw display
Jetson Nano Development Board