- sales/support
Google Chat:---
- sales
+86-0755-88291180
- sales01
sales@spotpear.com
- sales02
dragon_manager@163.com
- support
tech-support@spotpear.com
- CEO-Complaints
zhoujie@spotpear.com
- Only Tech-Support
WhatsApp:13246739196
- Purchase/Shipping/Refund
WhatsApp:13424403025
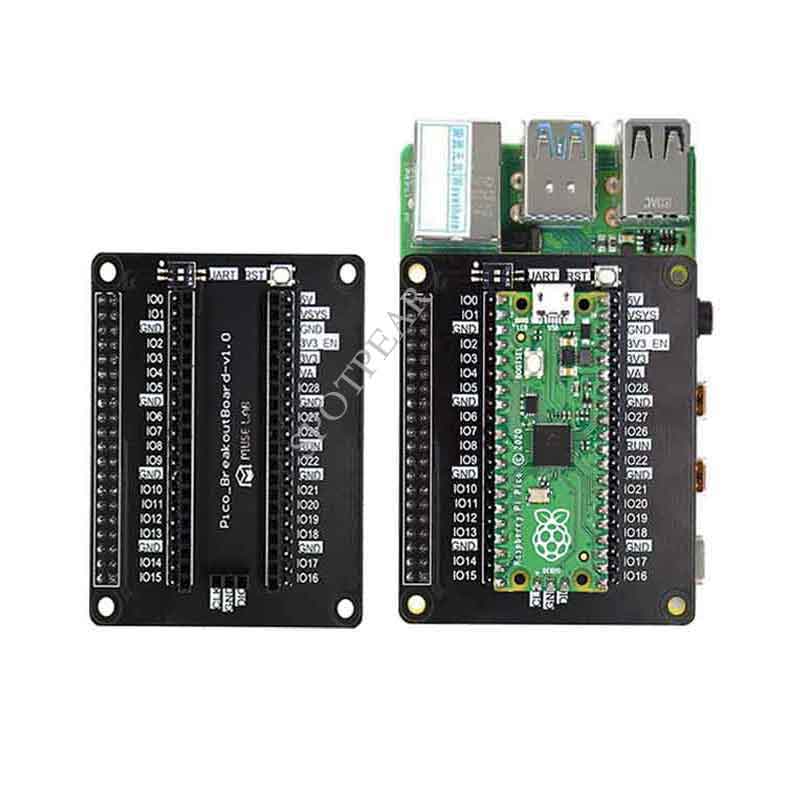
Raspberry Pi Pico-BreakoutBoard User Guide
User Guide
Serial port
The serial port and Pico wiring of the on-board DAPLink are described as follows
| DAPLink | Pico |
|---|---|
| GND | GND |
| PA9/UART1_TX | GP17/UART0_RX |
| PA10/UART1_RX | GP16/UART0_TX |
In the Linux environment, you can use the minicom or picocom serial tool to open the serial port for debugging. Examples are as follows:
$sudo apt install minicom
$minicom -b 115200 -o -D /dev/ttyACM0

$sudo apt install picocom
$picocom -b 115200 /dev/ttyACM0
SWD Download
Pico's onchiprom program implements a U disk drag and drop burning function. You can drag and drop the uf2 file to the virtual U disk to achieve burning. However, in some development scenarios, if you need to frequently modify the code burning test, you need to Power off the Pico repeatedly, press and hold the button and power on again, and wait for the USB enumeration to complete before dragging and burning. The process is a bit cumbersome. In fact, programming and debugging can be achieved through Pico's SWD interface. With openocd open source debugging software, there is no need to power on and off the Pico again. You only need to enter a command to complete the programming. The specific process is described as follows
- Installation openocd
$ cd ~/pico
$ sudo apt install automake autoconf build-essential texinfo libtool libftdi-dev libusb-1.0-0-
dev
$ git clone https://github.com/raspberrypi/openocd.git --recursive --branch rp2040 --depth=1
$ cd openocd
$ ./bootstrap
$ ./configure --enable-cmsis-dap
$ make -j4
$ sudo make install
- The corresponding script has been encapsulated in this warehouse. After importing the environment variables, you can call the burning target file in any path. Note that the burning format suffix is hex or bin instead of dragging and burning the uf2 file.
$cd pico-lab/tools
$source env.sh
$dfw xxx.hex/xxx.bin
Compilation instructions
$cd tools && source env.sh && cd -
$cd software/infones
$mkdir -p build && cd build
$cmake ..
$make -j
$dfw infones/pico_infones.bin
$dreset