- sales/support
Google Chat:---
- sales
+86-0755-88291180
- sales01
sales@spotpear.com
- sales02
dragon_manager@163.com
- support
tech-support@spotpear.com
- CEO-Complaints
zhoujie@spotpear.com
- Only Tech-Support
WhatsApp:13246739196
- Purchase/Shipping/Refund
WhatsApp:13424403025
Raspberry Pi How to start up RGB Cooling HAT User Guide
1. How to start up RGB Cooling HAT
If you don't want to enter commands to install any library files in the system, you can directly write the image file we provided into SD card.
RGB Cooling HAT has been activated by default in our image.
For Yahboom_RGB_cooling_HAT image
User name: pi
Password: yahboom
The path of program we provide:
WiringPi code: /home/pi/RGB_cooling_HAT/
Python code: /home/pi/RGB_cooling_HAT_Python/
Part1-Download and write image file
1.1 Click the location as shown in the figure below, and download image we provided.

1.2 After download is complete, you will get a Yahboom_RGB_Cooling_HAT.zip file.
You need to extract this zip file by software, such as 7z software.
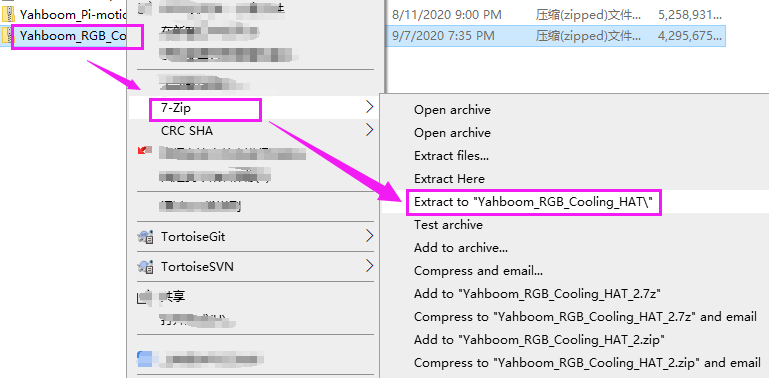
1.3 Then, you will get Yahboom_RGB_Cooling_HAT.img file. You need to write this .img file into SD card.

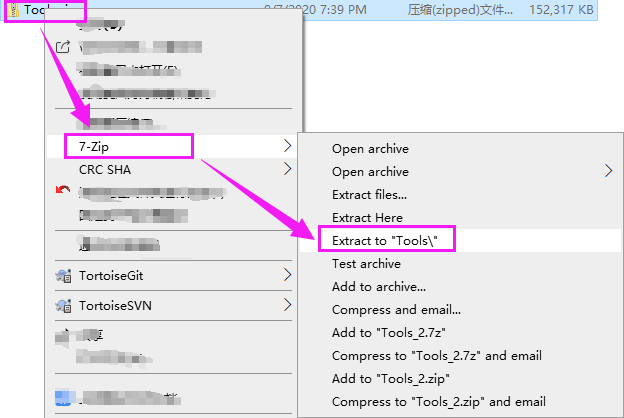
1.4 Before writing image file, you need to format SD card.
Click [Tools] to download tools we need. And extract this Tools.zip file.
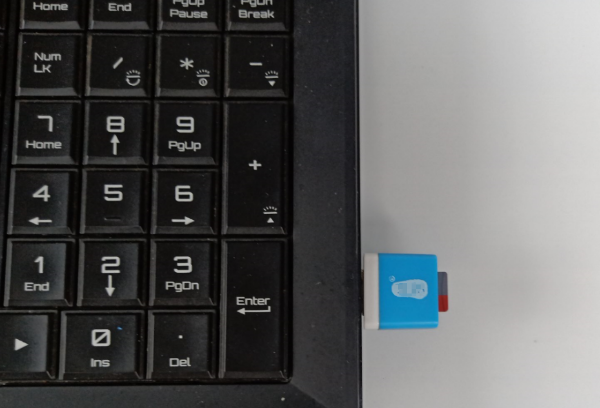
1.5 Insert SD card into computer by card reader.
For MAC
You can directly format the SD card using the tool that comes with the computer. After the format is completed, we can see the real memory of the SD card is displayed on the computer.
For Windows
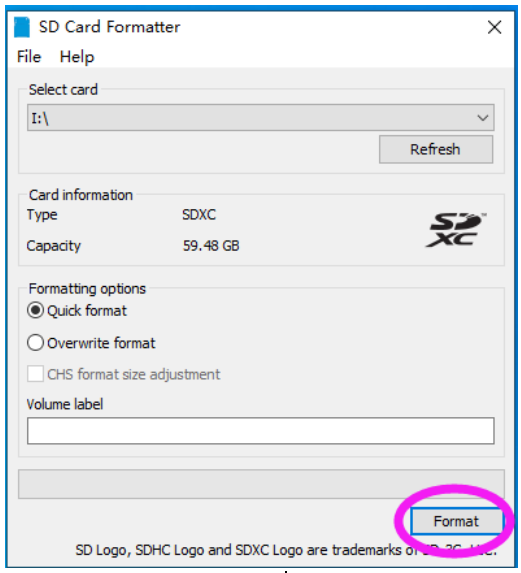
Double click “Formatter.exe” to install format tools.
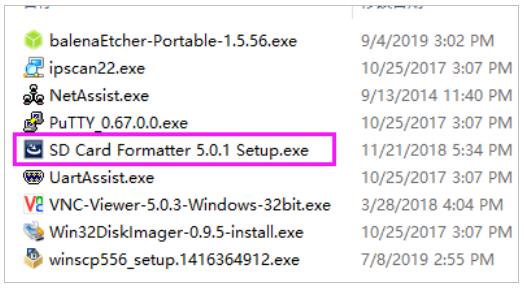
Format SD card by this software.
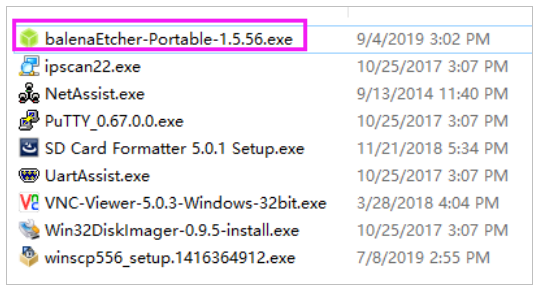
1.6 Write image file into SD card by balenaEtcher software.
For Windows
1) Double click “balenaEtcher .exe” to open it.
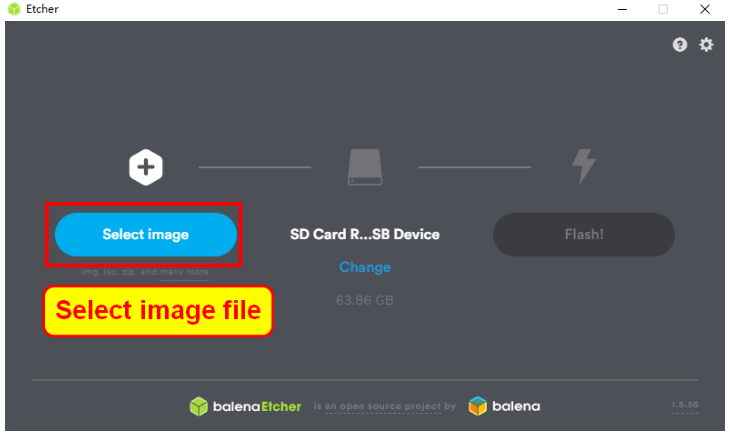
2) Select image file and click “Flash”.
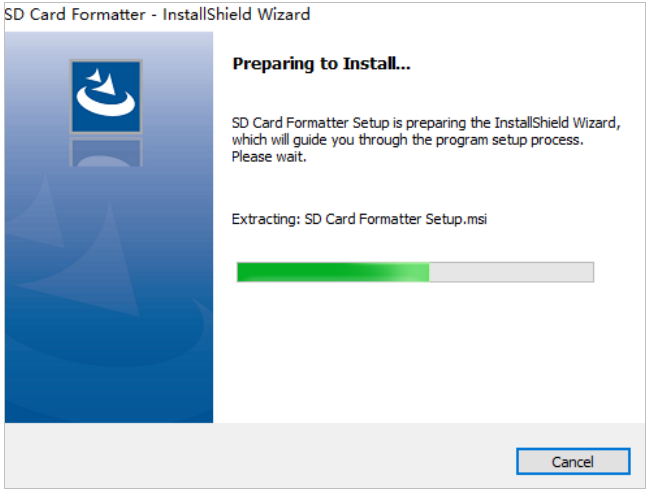
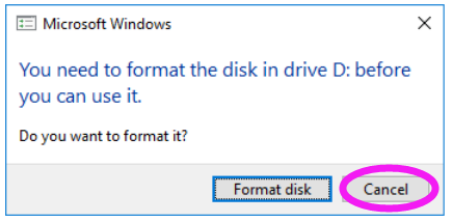
3) After the Etcher is complete. If Windows prompts you to use the following dialog, please click “Cancel” (according to this description).
For MAC
1) Do not insert a SD card on your MAC.
2) Download and install and start the Etcher software on your PC.
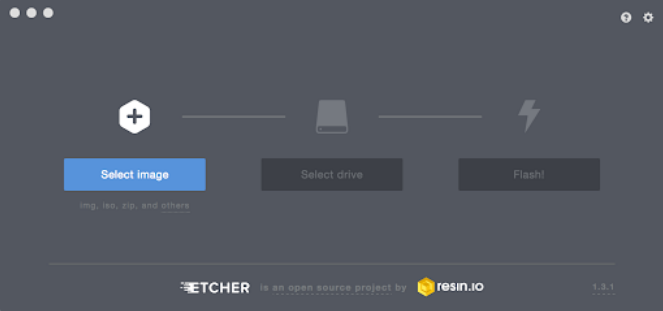
3) Click "Select Image" and select the compressed image file you downloaded earlier.
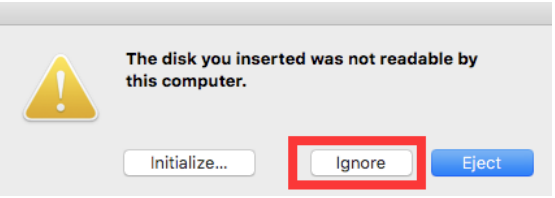
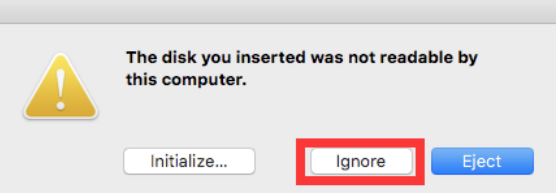
4) Insert the SD card. If your Mac displays this window, click “Ignore”.
5) If you are not connected to another external drive, Etcher will automatically select the SD card as the target device. Otherwise, click "Select Drive" and select the correct device.
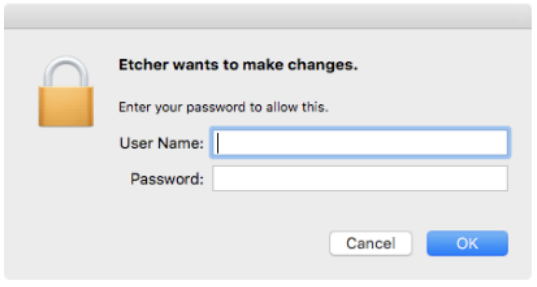
6) Click on "Flash!" Your Mac may prompt you for a user name and password before allowing Etcher to continue.
7) After the Etcher is finished, if Mac prompts you to use the following dialog, please click “Ignore” (according to this description).
8) Physically remove the micro SD card from the computer.
Part 2- Make your Raspberry Pi connect to WIFI.
1) Connect the keyboard, mouse, and display to the Raspberry Pi.
2) After waiting for the system to start successfully, you will see the interface as shown below on the display screen.
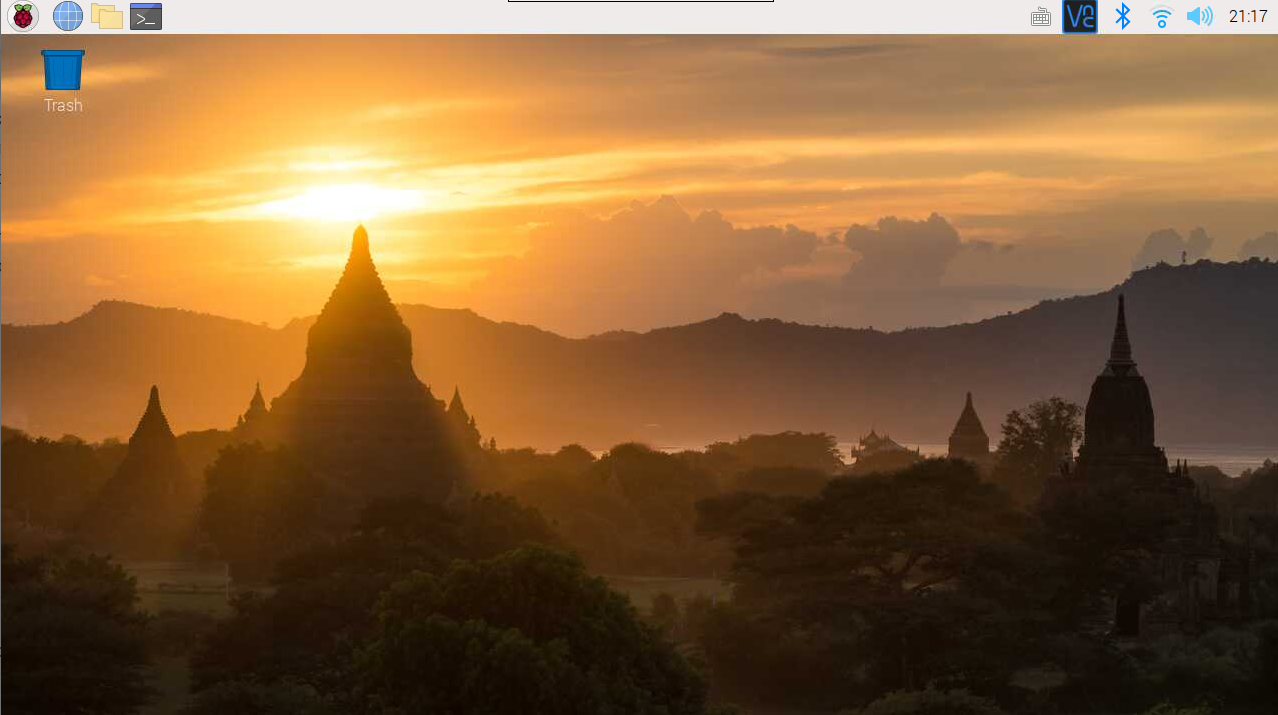
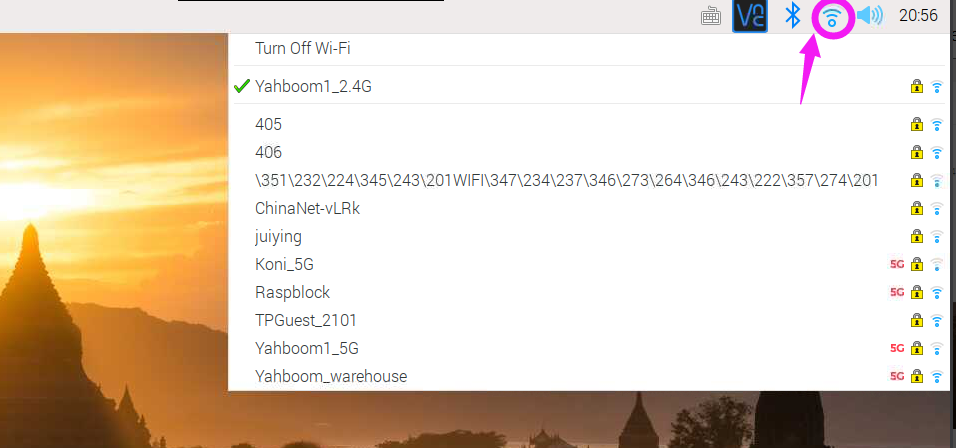
3) Click on the upper right corner to connect to WIFI or insert a network cable.
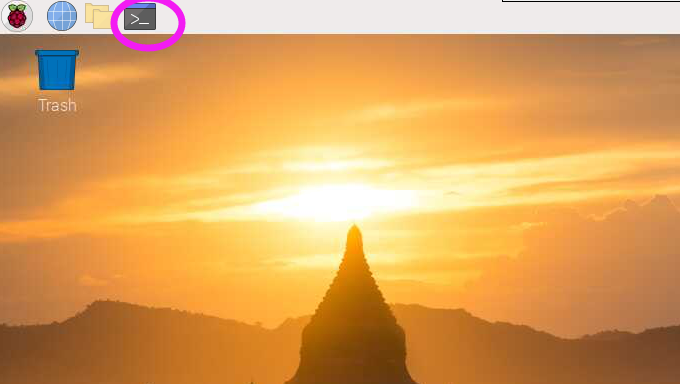
4) Click the place shown below to open the command terminal.
5) Input following command to check your IP address.
ifconfig
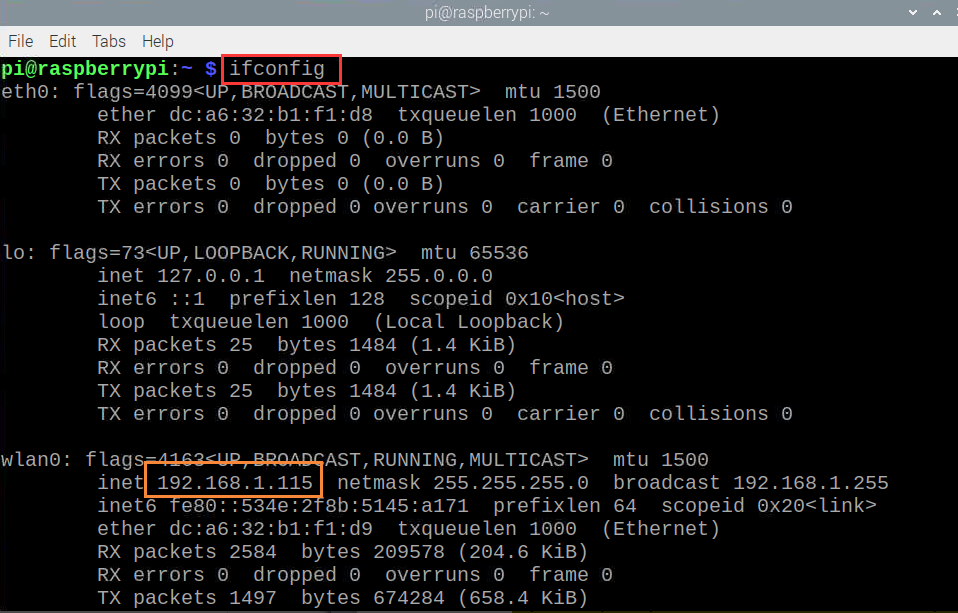
If your Raspberry Pi connect to wired network, you should see information described by the "eth0" option.
If your Raspberry Pi connect to wireless network, you should see information described by the "wlan0" option.
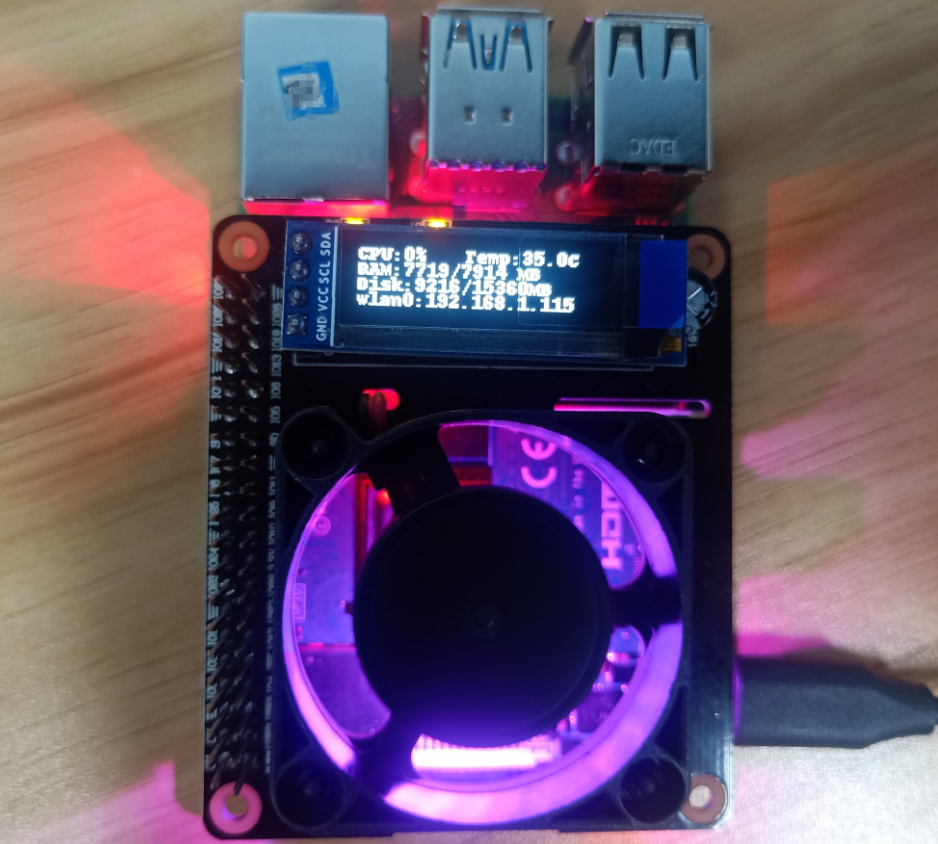
For example, as shown in above, the IP address of "wlan0" is "192.168.1.115".
4.6 You need to record this IP address and restart Raspberry Pi.

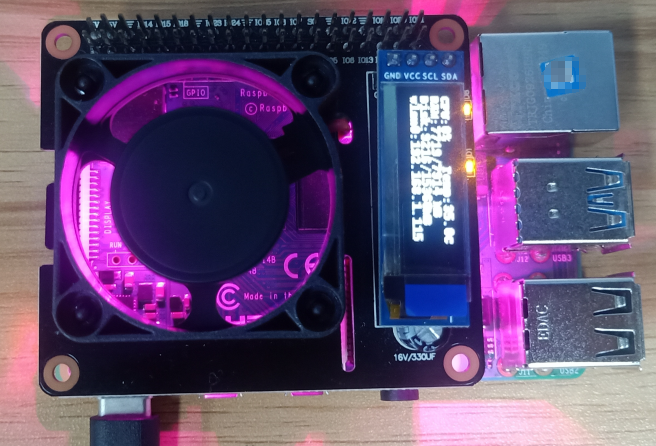
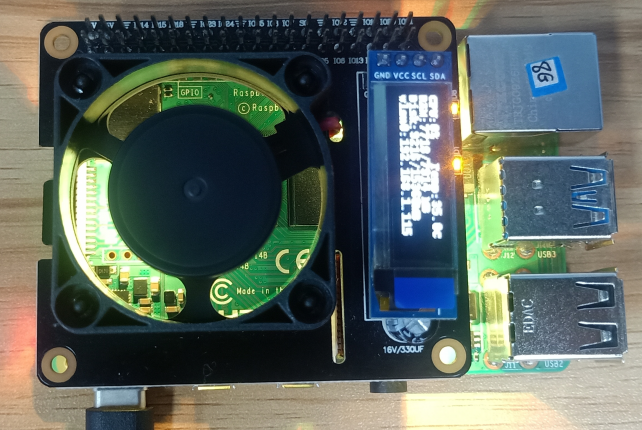
4.7 After restart is complete, you will see IP address on OLED of RGB_Cooling_HAT. It will start work normally. As shown below.