- sales/support
Google Chat:---
- sales
+86-0755-88291180
- sales01
sales@spotpear.com
- sales02
dragon_manager@163.com
- support
tech-support@spotpear.com
- CEO-Complaints
zhoujie@spotpear.com
- Only Tech-Support
WhatsApp:13246739196
- Purchase/Shipping/Refund
WhatsApp:13424403025
- HOME
- >
- ARTICLES
- >
- Raspberry Pi
- >
- Raspberry Pi LCD
- >
- GPIO-SPI
Converting MP4 video into gif User Guide
【Mp4 to gif steps】
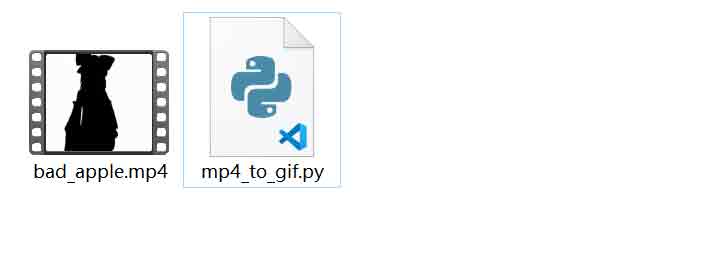
1.Prepare mp4 files and python scripts provided by us:
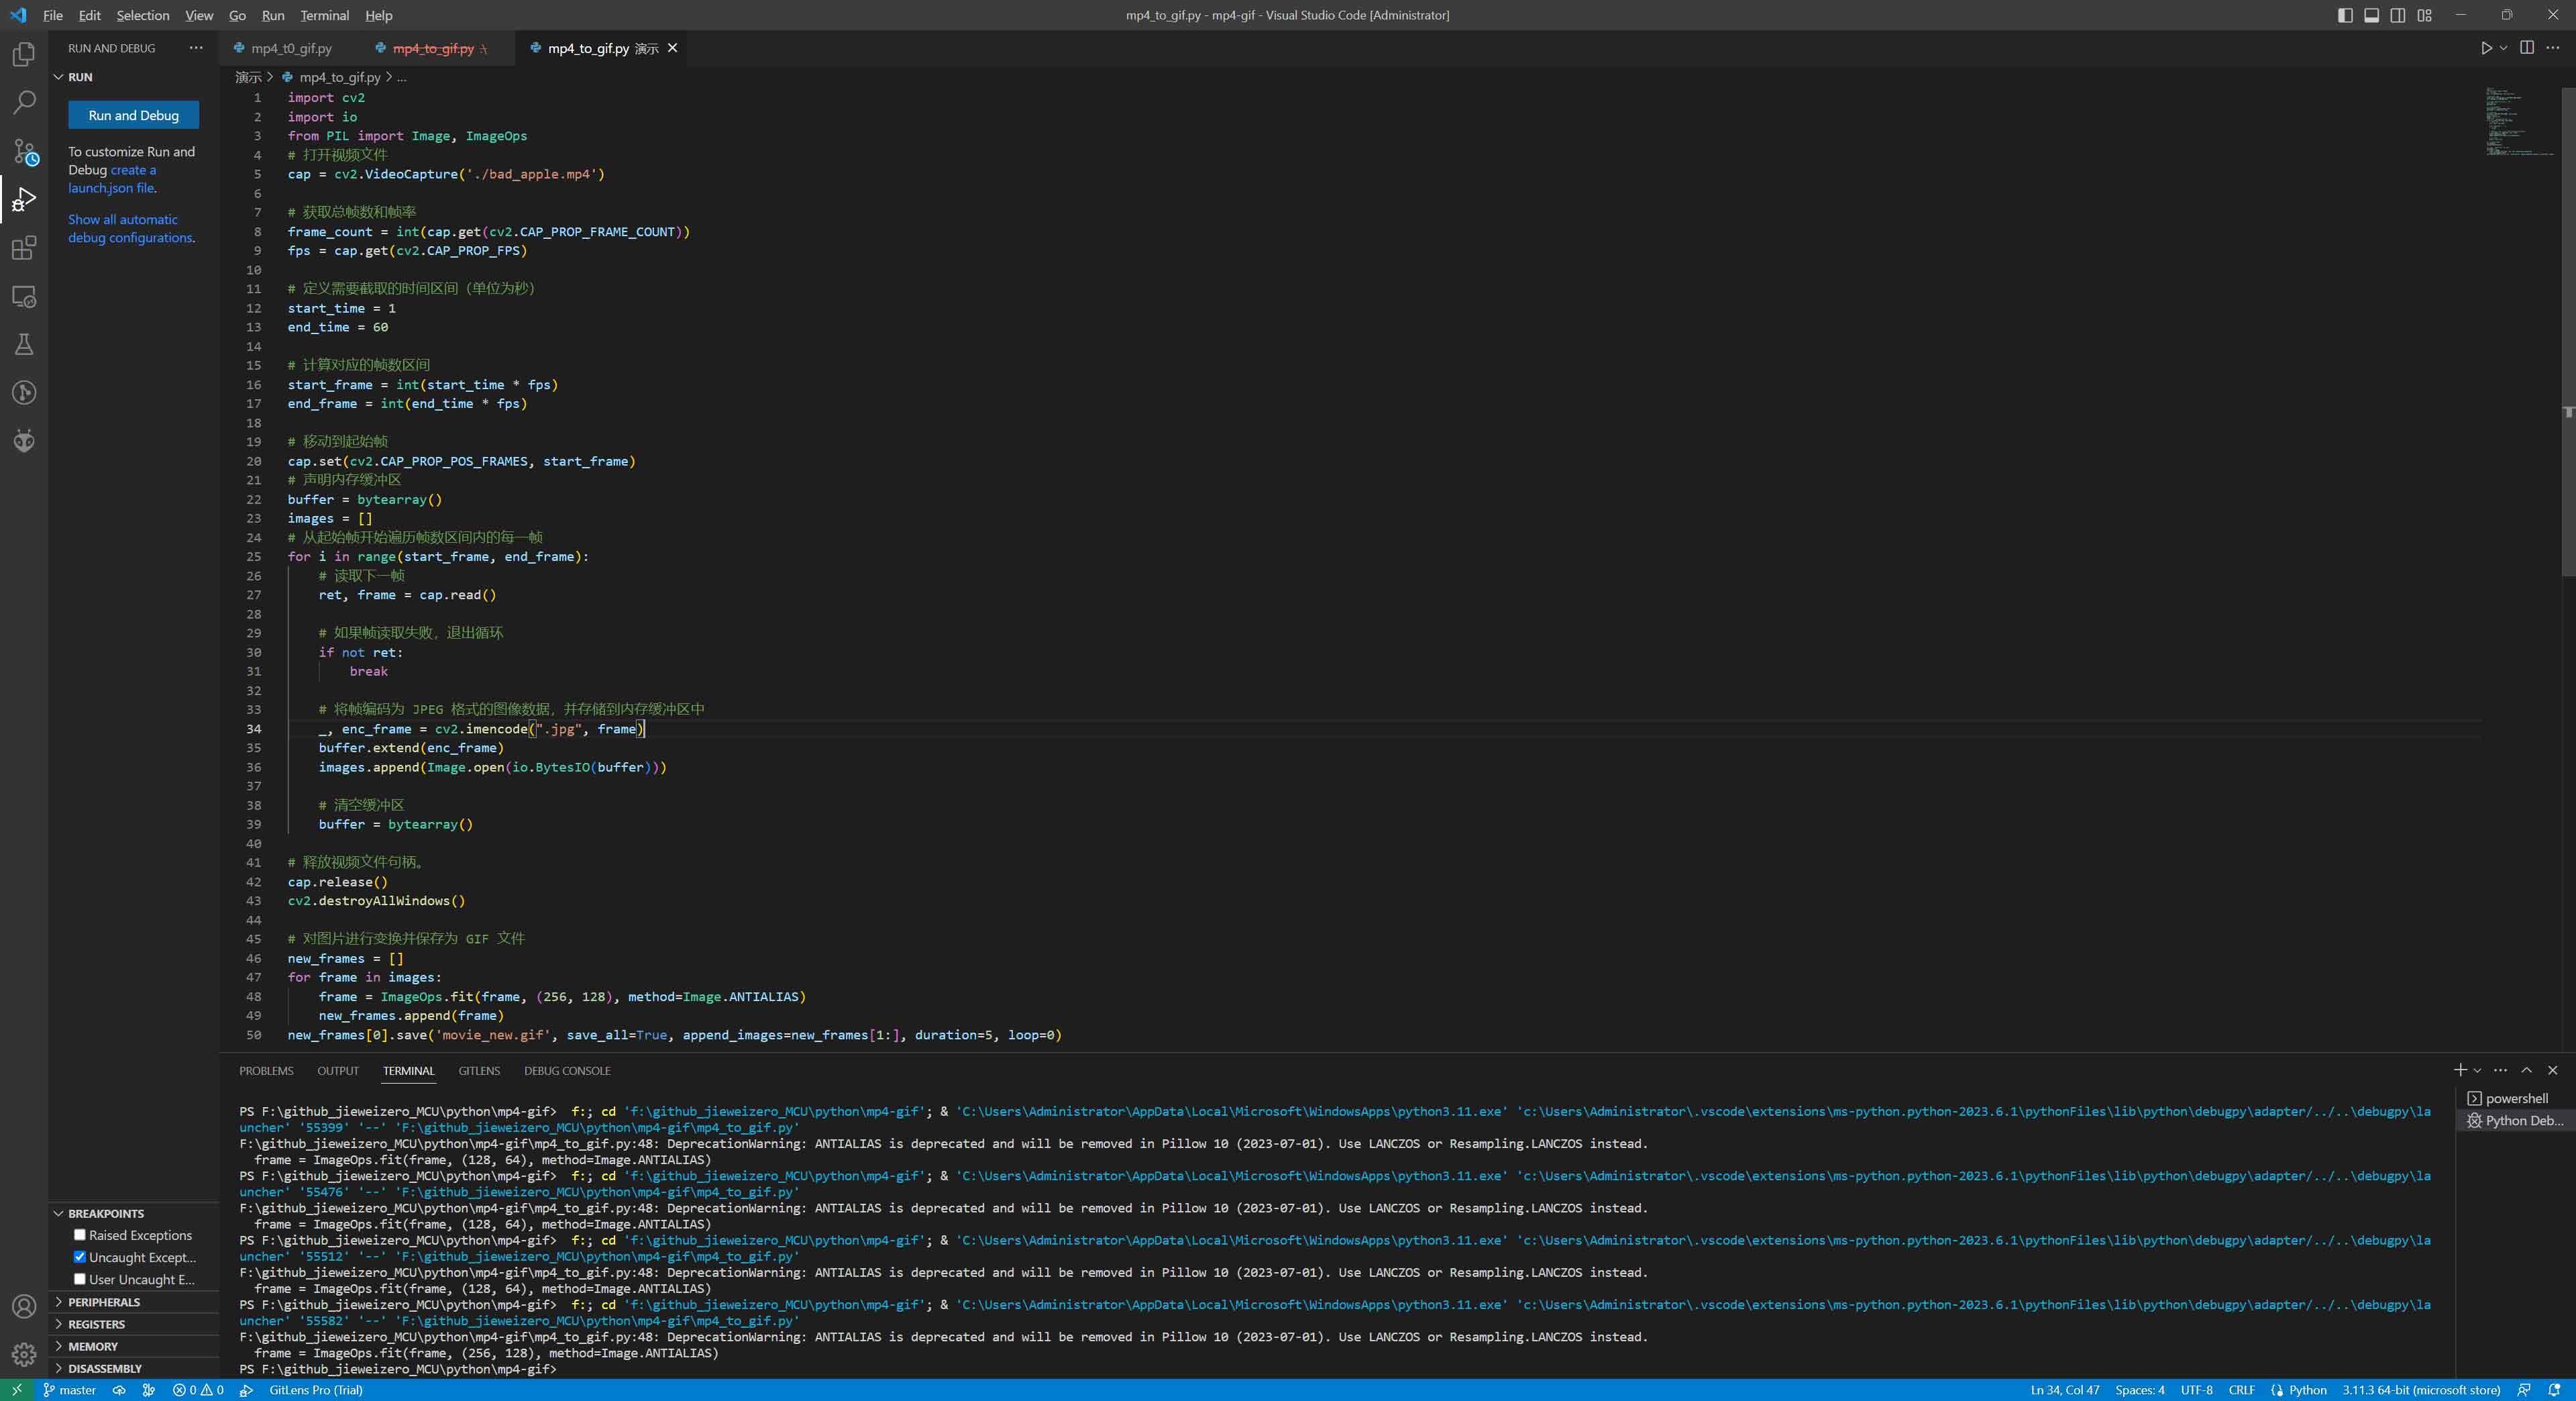
2.Open python file and check the modified source code:
3.Find the code that defines the video path and modify the path to your own video path:

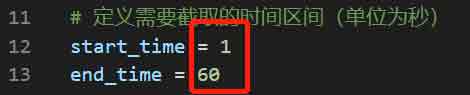
4.Find the time interval code that defines the interception of mp4 frames, and modify the time interval customized for your video (as shown below, the interception start time is 1 second and the interception end time is 60 seconds):
5.Find the code that defines the size of gif, and customize the value of the modified size (the value on the left is width and the value on the right is height):

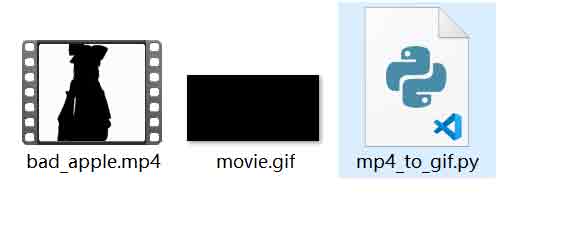
6.Find the code that defines the storage path of gif files, and modify it to your customized path and name:

7.After configuring your own parameters, click Run python file and wait for a while to generate a gif file (Note: when the file duration is too long or the gif generation is too large, the program will crash, so the time interval and picture size should be set reasonably):
python3 mp4_to_gif.py
8.Python file running effect:
【Code】
import cv2
import io
from PIL import Image, ImageOps
# Open the video file
cap = cv2.VideoCapture('./bad_apple.mp4')
# Get the total frame number and frame rate.
frame_count = int(cap.get(cv2.CAP_PROP_FRAME_COUNT))
fps = cap.get(cv2.CAP_PROP_FPS)
# Defines the time interval (in seconds) to be intercepted.
start_time = 1
end_time = 60
# Calculate the corresponding frame number interval
start_frame = int(start_time * fps)
end_frame = int(end_time * fps)
# Move to the start frame
cap.set(cv2.CAP_PROP_POS_FRAMES, start_frame)
# Declare a memory buffer
buffer = bytearray()
images = []
# Traverse every frame in the frame number interval from the start frame.
for i in range(start_frame, end_frame):
# Read the next frame
ret, frame = cap.read()
# If the frame reading fails, exit the loop.
if not ret:
break
# Encode the frame into JPEG image data and store it in the memory buffer.
_, enc_frame = cv2.imencode(".jpg", frame)
buffer.extend(enc_frame)
images.append(Image.open(io.BytesIO(buffer)))
# Empty the buffer
buffer = bytearray()
# Release the video file handle.
cap.release()
cv2.destroyAllWindows()
# Transform the picture and save it as a GIF file.
new_frames = []
for frame in images:
frame = ImageOps.fit(frame, (256, 128), method=Image.ANTIALIAS)
new_frames.append(frame)
new_frames[0].save('movie_new.gif', save_all=True, append_images=new_frames[1:], duration=5, loop=0)