- sales/support
Google Chat:---
- sales
+86-0755-88291180
- sales01
sales@spotpear.com
- sales02
dragon_manager@163.com
- support
tech-support@spotpear.com
- CEO-Complaints
zhoujie@spotpear.com
- Only Tech-Support
WhatsApp:13246739196
- Purchase/Shipping/Refund
WhatsApp:13424403025
- HOME
- >
- ARTICLES
- >
- Common Moudle
- >
- Camera
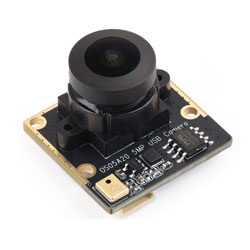
OS05A20 5MP USB Camera (B) User Guide
Specifications
| Type | Parameter | OS05A20 5MP USB Camera (B) | OS05A20 5MP USB Camera (C) |
|---|---|---|---|
| Pixels | 5MP | ||
| Sensor Chip | OS05A20 | ||
| Interface Type | USB2.0 Type-C | ||
| Camera Specifications | Sensor Size | 1/2.7 inch | |
| Aperture (F) | 2.0 | 2.4 | |
| Focal Length (EFL) | 3.65mm | 3.25mm | |
| Field of View (FOV) | 175°(D) × 151.9°(H) × 83.6°(V) | 91.7°(D) × 83.4°(H) × 52.8°(V) | |
| Distortion | < -32% | < -1.22% | |
| Focus Type | Fixed Focus | Fixed Focus | |
| Lens Thread | M12 | M12 | |
| Shutter Type | Rolling Shutter | ||
| Image Capability | Supported Format | MJPG | |
| Still Image Resolution | 2592 × 1944 | ||
| Video Frame Rate | 30 FPS 2592 × 1944 | ||
| Audio | Onboard Single Microphone | ||
| Signal-to-Noise Ratio | 74dB | ||
| Operating Voltage | 5V ± 5% | ||
| Operating Temperature | -10°C ~ 60°C | ||
| Module Dimensions | 25 × 24 (mm) | ||
Interface Definition
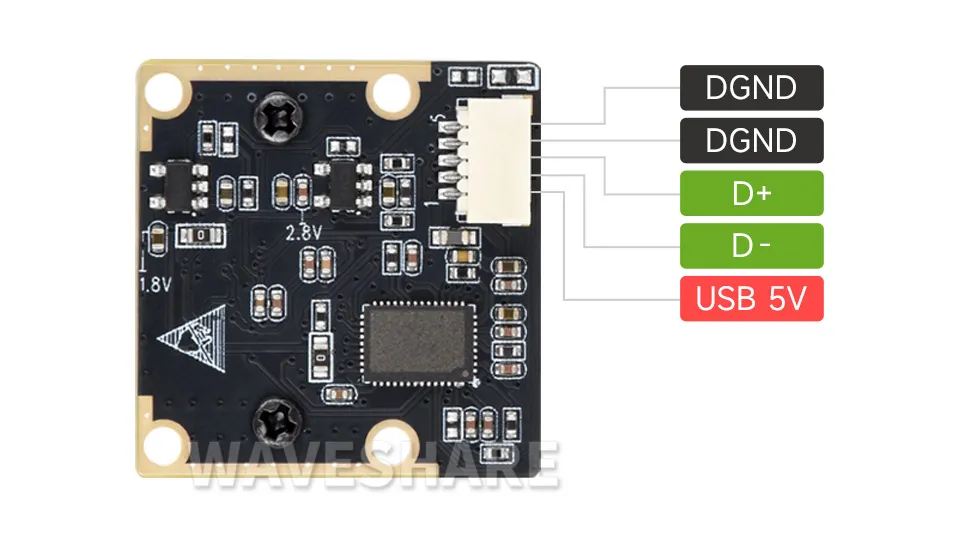
Dimensions
OS05A20 5MP USB Camera (B)
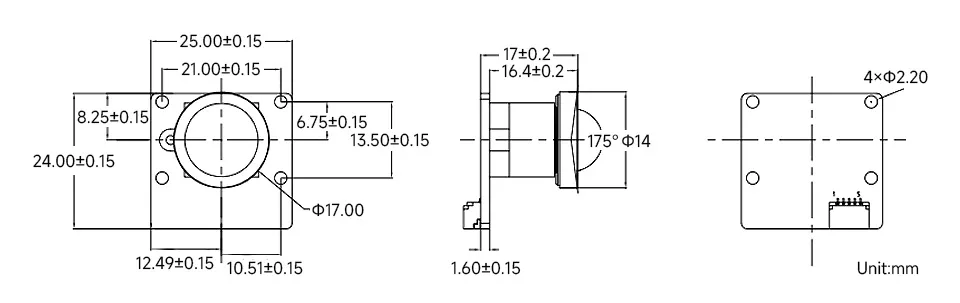
Working with Windows PC
Test Software
Most current Windows 10 systems come with a built-in camera application. You can directly open this default Windows camera app for testing. If you are using Windows 7 or cannot find the camera application on your system, you can download and install the AMCAP test software we provide from the Resources and Documents.
Testing Steps
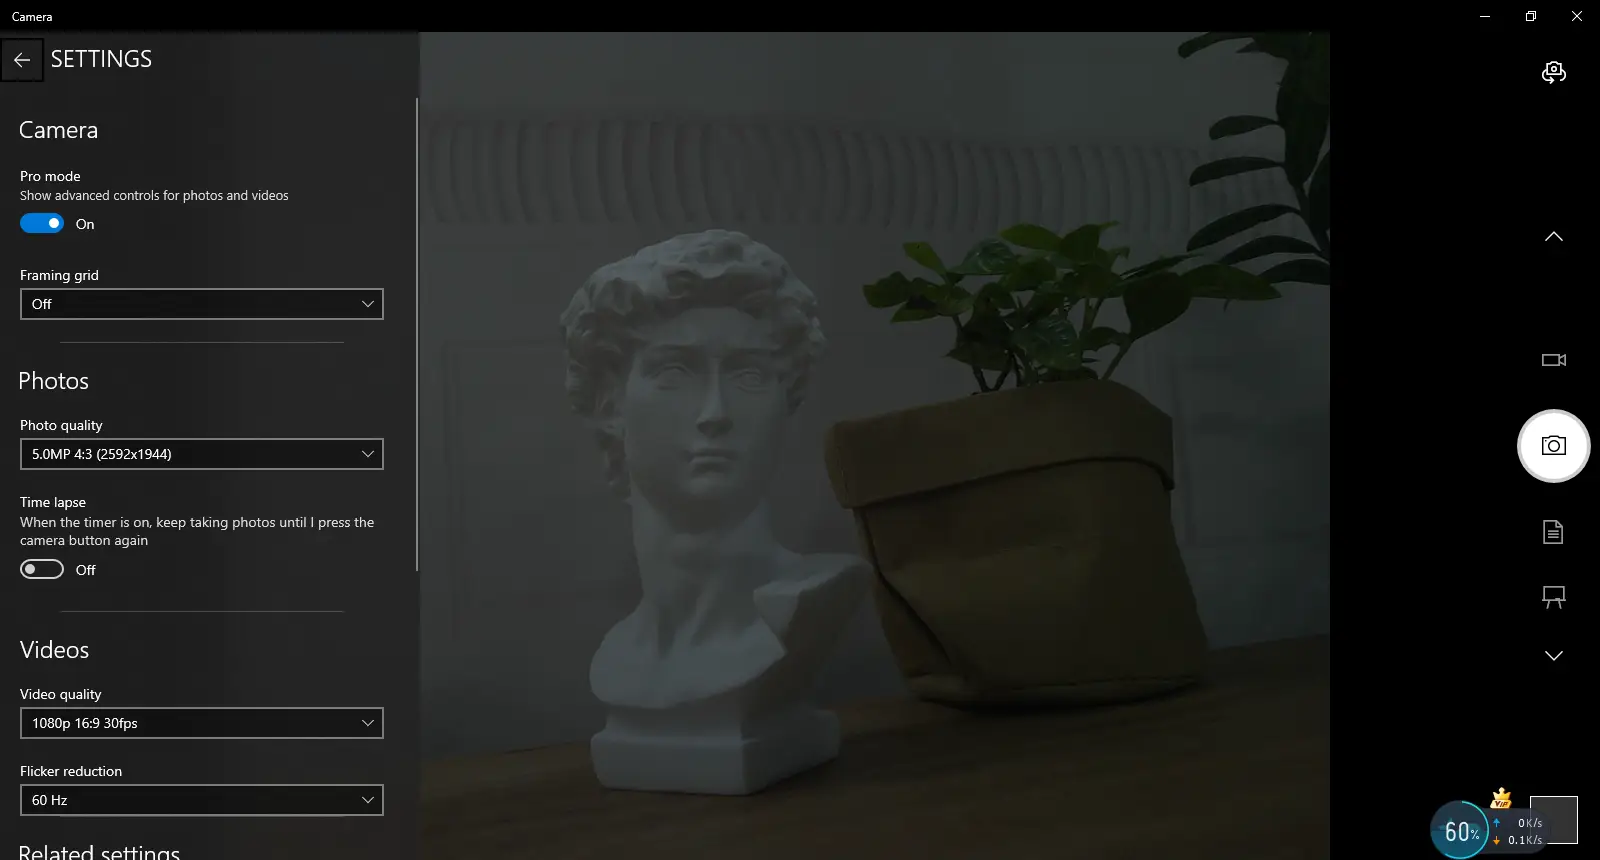
Windows Built-in Camera Application
- Search for "Camera" and open the app.
- Click the gear icon in the top-left corner to open the settings interface, where you can set the resolution for photos or videos.
- Click the video or photo icon on the right to switch between recording and capturing modes.
Amcap Software
- Download and install the Amcap software.
- Click the "Options" menu, then select "Video Capture Pin..." or "Still Capture Pin..." to configure image and video parameters.
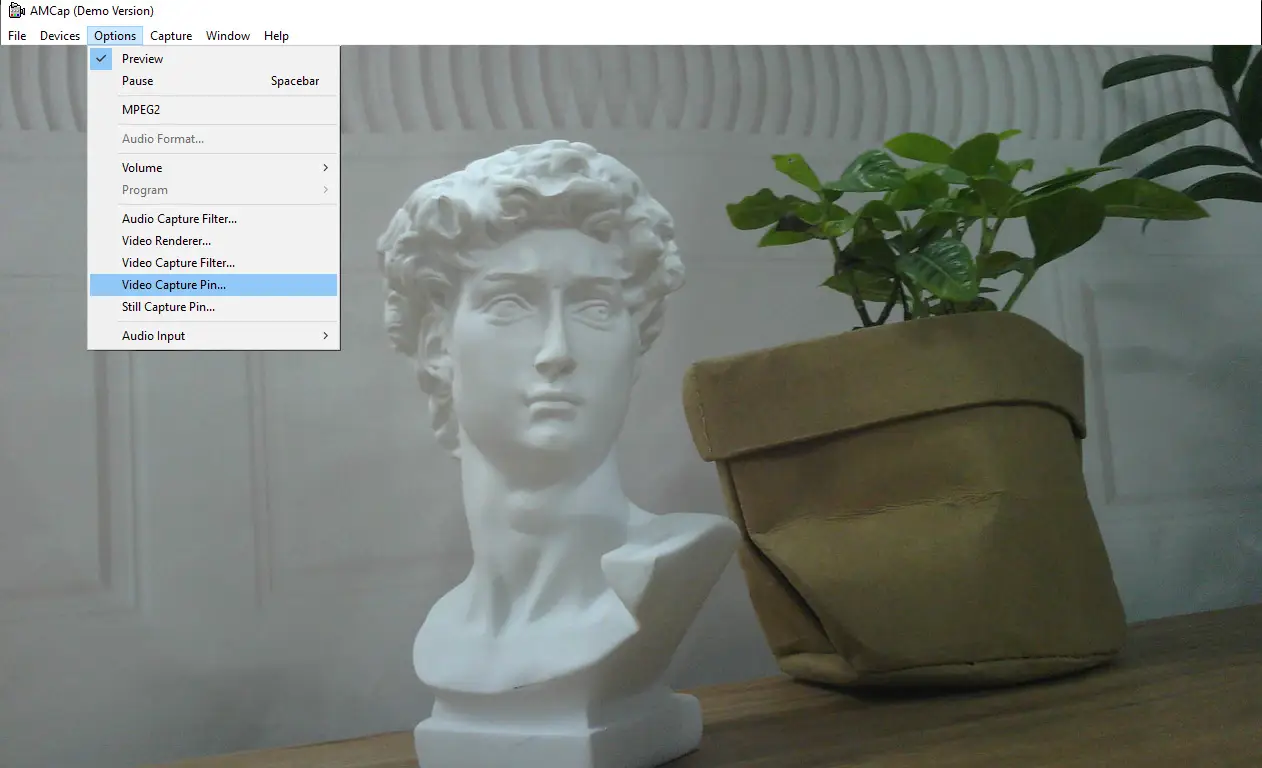
Working with Linux Embedded Board
Software Environment
On Linux embedded boards such as Raspberry Pi, Jetson Nano, and RDK series, most systems come with default support for the UVC protocol. You can use OpenCV for image preview testing. To properly preview the image, please connect a display to the board.
Testing Steps
Open a terminal and enter the following command to install OpenCV:
sudo apt-get install python3-opencvDownload the example and test.
wget https://files.waveshare.com/wiki/common/Usb_camera_examples.zipunzip Usb_camera_examples.zipcd Usb_camera_examplessudo python3 Usb_camera_examples.py
Resources
1. Examples
2. Software Tools
Support
Monday-Friday (9:30-6:30) Saturday (9:30-5:30)
Email: services01@spotpear.com