


- sales/support
Google Chat:---
- sales
+86-0755-88291180
- sales01
sales@spotpear.com
- sales02
dragon_manager@163.com
- support
tech-support@spotpear.com
- CEO-Complaints
zhoujie@spotpear.com
- Only Tech-Support
WhatsApp:13246739196
- Purchase/Shipping/Refund
WhatsApp:13424403025
A7670E Cat-1-HAT User Guide
Resource
Documents
- Schematic
- A7600_Series_TCPIP_Application Note
- A7600_Series_MQTT(S)_Application Note
- A7600_Series_HTTP(S)_Application Note
- A7600_Series_LBS_Application Note
- A7600_Series_Audio_Application Note
- A7600_Series_SSL_Application Note
- A7600_Series_FTP(S)_Application Note
[Note]: The AT commands of A7670X are compatible with A7600X.
Codes
Software
For newest documents
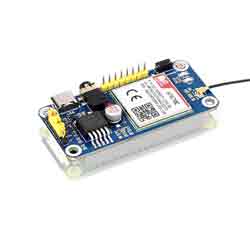
Overview
The A7670E Cat-1 HAT is an LTE Cat-1 module, which supports wireless communication modes including LTE-TDD, LTE-FDD, GSM, GPRS, and EDGE, with up to 10Mbps downlink rate and 5Mbps uplink rate.
It supports Windows/Linux operating systems and multiple network protocols. The module size is the same as the SIM7000/SIM7070 series, and the AT commands are mostly compatible with the SIM7600 series.
It is suitable for LoT applications like remote information processing, monitoring devices, POS, industrial routers, remote diagnosis, and so on.
Features
- Standard Raspberry Pi 40PIN GPIO extension header, supports Raspberry Pi series boards.
- Supports protocols including TCP/IP, HTTP(s), MQTT(s), FTP(s), and SSL.
- Supports dial-up, telephone calls, and SMS.
- Supports LBS base station positioning, it is able to get the approximate position info via the mobile network.
- TTS (Text To Speech) feature, texts in Chinese/English can be converted into spoken words.
- Onboard USB interface, for testing AT Commands, network communication, and so on.
- Onboard audio jack for sound recording, making telephone calls, listening to the TTS resulting speech, etc.
- Breakout common used control pins of the A7670X module, make it easy to connect with hosts boards like Arduino/STM32.
- SIM card slot, supports 1.8V/3V SIM card.
- 2 x LED indicators, easy to monitor the operating status.
- Onboard voltage translator, the operating voltage can be configured to 3.3V or 5V via jumper.
Specification
| Frequency Band | |
| LTE Cat-1 | LTE-FDD: B1, B3, B5, B7, B8, B20 |
| 2G | GSM/GPRS/EDGE: 900/1800 MHz |
| SMS and Audio | |
| SMS | Suooirted types: MT, MO, CB, Text, PDU |
| Storage: USIM card (CB couldn't be stored on SIM card) | |
| Audio | Standard 3.5mm audio jack for audio input/output |
| Other | |
| Power supply | 5V |
| Operating voltage | 5V/3.3V (configured via jumper) |
| Operating temperature | -30°C ~ 80°C |
| Storage temperature | -45°C ~ 90°C |
| Dimensions | 65 × 30.5mm |
Setup
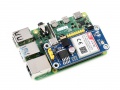
- AT7600X Cat-1/GSM/GPRS Hat has a 40PIN connector which is compatible with all the Raspberry Pi boards for easy connecting.
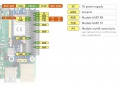
To communicate the 7670X module with the serial port, you need to set the yellow jumper of the 7670 module in B and 3V3 to PWR.
- Configure the serial port of the Pi.
To use the hardware serial port, you need to first disable the login shell function and then enable the hardware serial.
sudo raspi-config
Choose Interfacing Options -> Serial -> no -> yes.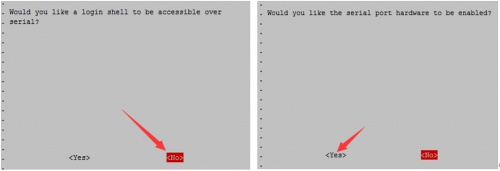
Reboot the Raspberry Pi.
sudo reboot
Testing with minicom
1. Connect the 7670x module to Raspberry Pi.
2. Open a terminal and install the minicom tool.
sudo apt-get install minicom
3. Check the actual port:
sudo ls -l /dev/serial0
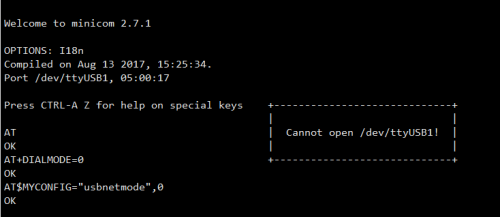
4. Run the command: sudo minicom -D /dev/ttyS0 to open the terminal and test(Please modify the ttyS0 if you get the different port with Step 3), the default baud rate is 115200.
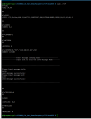
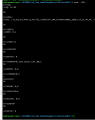
4. Send AT commands to test the module, for example:
【Note】: You can exit the minicom by pressing Ctrl+A and then press X. To configure the minicom, please press Ctrl+a and then Z.
Setup Network in Pi
- Connect the USB port of A7600C1-Cat-1 GSM GPRS-HAT to Raspberry Pi by Micro USB cable.
- RNDIS method
- Connect the USB interface of A7670X modules to Raspberry Pi or Jetson Nano by micro USB cable. Check if the ttyUSB1 port is recognized normally.
sudo ls /dev/ttyUSB*
- Configure the module by minicom.
sudo minicom -D /dev/ttyUSB1
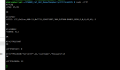
- Run the following commands and the A7670x module will reboot.
AT+DIALMODE=0
AT$MYCONFIG="usbnetmode",0
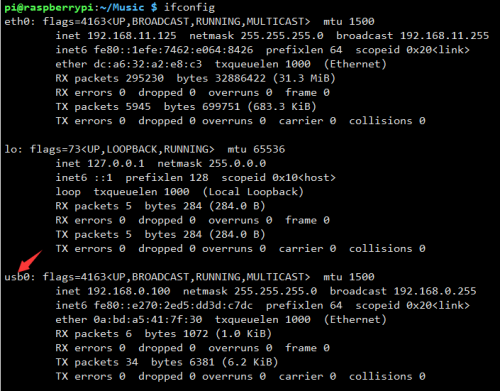
- Check if a new USBx port is recognized by ifconfig command. (It is USB0 for Pi and USB1 for Jetson Nano).
ifconfig

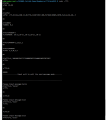
- Applay the IP address of the USBx port.
sudo dhclient -v usb0
- Test the USBx port and try to ping a website, for example, google.com.
sudo ping -I usb0 www.google.com

- If the network is not available, please configure DNS for a try.
sudo route add -net 0.0.0.0 usb0
- If you want to restore the network mode, please send the following AT command by minicom:
AT+DIALMODE=1
- If you want to use PPPD method, please refer to this guide
Examples
1. Connect the A7670X module to Raspberry Pi.
2. Download the example and unzip to /home/pi/
cd ~
wget https://files.waveshare.com/upload/f/f3/AT7600X_Cat_Hat_Demo.7z
sudo apt-get install p7zip-full
7z x AT7600X_Cat_Hat_Demo.7z   -r -o/home/pi
sudo chmod 777 -R /home/pi/AT7600X_Cat_Hat_Demo
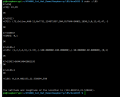
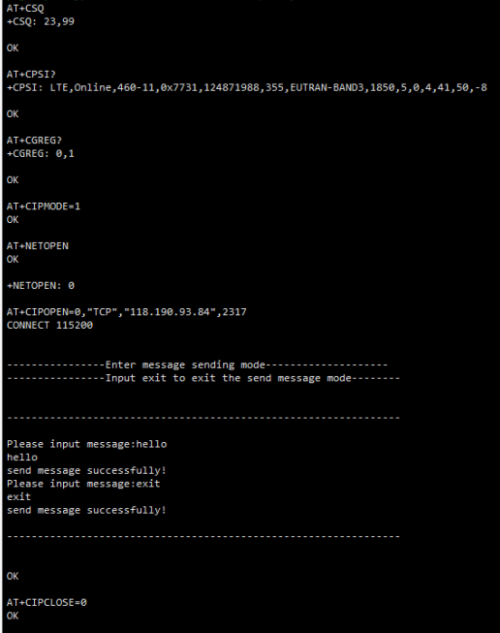
- TCP example.
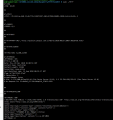
- LBS position example.
- HTTP example.
- MQTT example.
- SSL example.
- FTP example.
You need to set up the FTP server yourself.
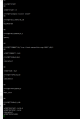
- TTS example:


Hardware connection
Set the jumpers to B area, and the 3V3 to PWR.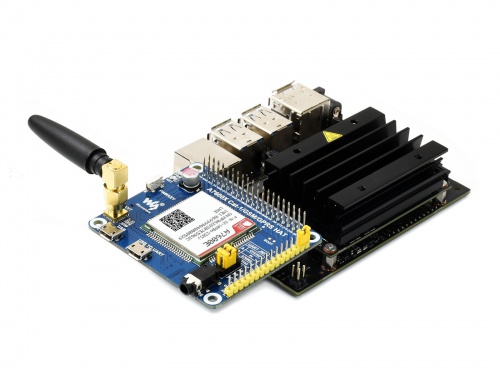
Test with minicom
1. Connect the A7600X Cat-1/GSM/GPRS HAT to Jetson Nano.
2. Open a terminal and install the minicom tool.
sudo apt-get install minicom
3. Open a minicom and test with AT commands.
sudo minicom -D /dev/ttyTHS1 -b 115200
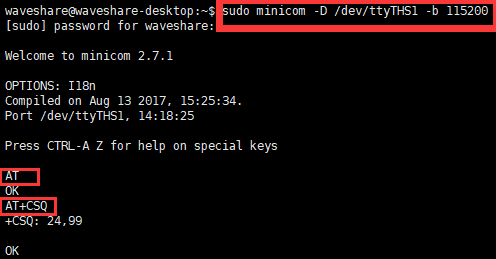
To exit the minicom, you can press Ctrl+a and then press X. To configure, you can pres Ctrl+A and then Z.
Network testing
- RNDIS method
- Connect the USB interface of A7670X modules to Raspberry Pi or Jetson Nano by micro USB cable. Check if the ttyUSB1 port is recognized normally.
sudo ls /dev/ttyUSB*
- Configure the module by minicom.
sudo minicom -D /dev/ttyUSB1
- Run the following commands and the A7670x module will reboot.
AT+DIALMODE=0
AT$MYCONFIG="usbnetmode",0

- Check if a new USBx port is recognized by ifconfig command. (It is USB0 for Pi and USB1 for Jetson Nano).
ifconfig
- Applay the IP address of the USBx port.
sudo dhclient -v usb0
- Test the USBx port and try to ping a website, for example, google.com.
sudo ping -I usb0 www.google.com

- If the network is not available, please configure DNS for a try.
sudo route add -net 0.0.0.0 usb0
- If you want to restore the network mode, please send the following AT command by minicom:
AT+DIALMODE=1
- PPPD method, please refer to the following link.
Python Example
Install libraries:
sudo apt-get python3-pip
sudo pip3 install pyserial
sudo apt-get install p7zip
Open a terminal and download the example:
cd ~
wget https://files.waveshare.com/upload/f/f3/AT7600X_Cat_Hat_Demo.7z
sudo apt-get install p7zip-full
7z x A7600X_Cat_HAT_Demo.7z   -r -o./
sudo chmod 777 -R /home/pi/A7600X_Cat_HAT_Demo
Run the examples:
sudo python TCP.py
Hardware
To communicate with other development boards like the STM32F103ZET6, you can wire the UART pins and communicate. The example we provided is based on the STM32F103ZET6.
Wxanokes
The part of the codes: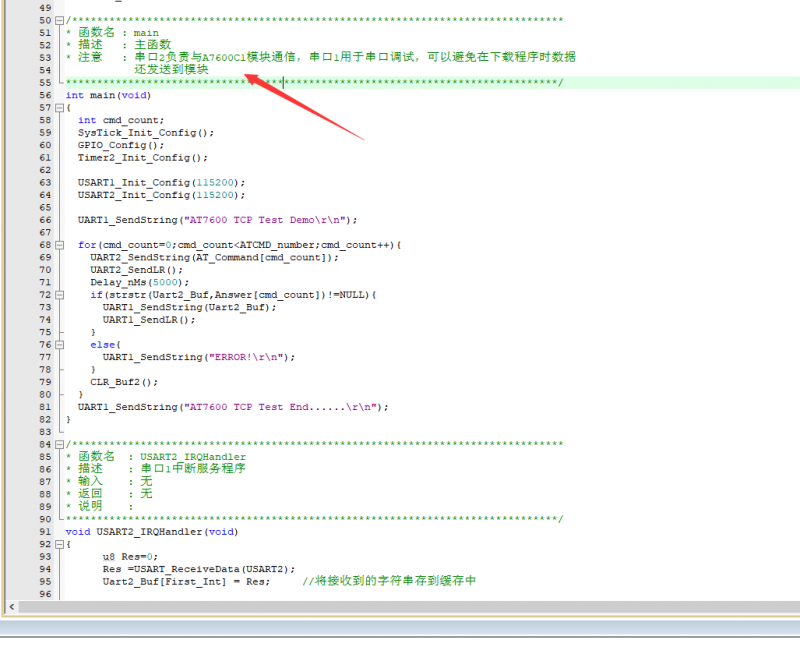
Download examples and find the corresponding codes.
Expected result: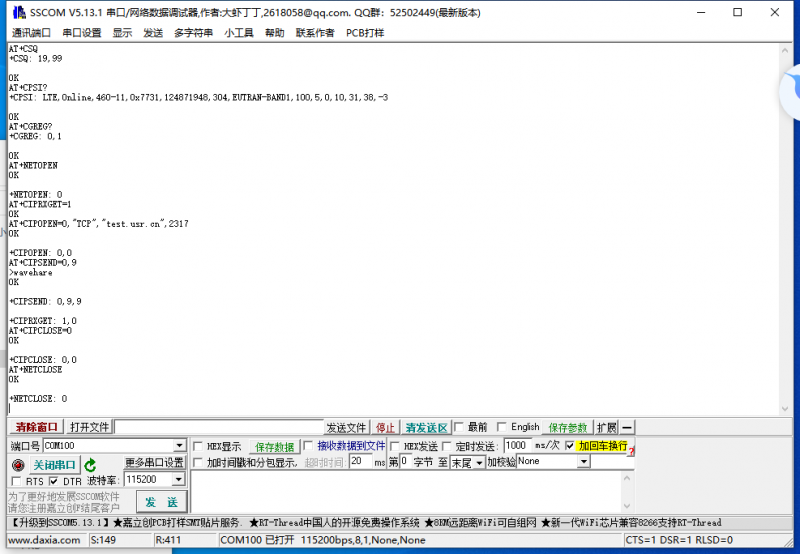
.png)
.png)
.png)