- sales/support
Google Chat:---
- sales
+86-0755-88291180
- sales01
sales@spotpear.com
- sales02
dragon_manager@163.com
- support
tech-support@spotpear.com
- CEO-Complaints
zhoujie@spotpear.com
- Only Tech-Support
WhatsApp:13246739196
- Purchase/Shipping/Refund
WhatsApp:13424403025
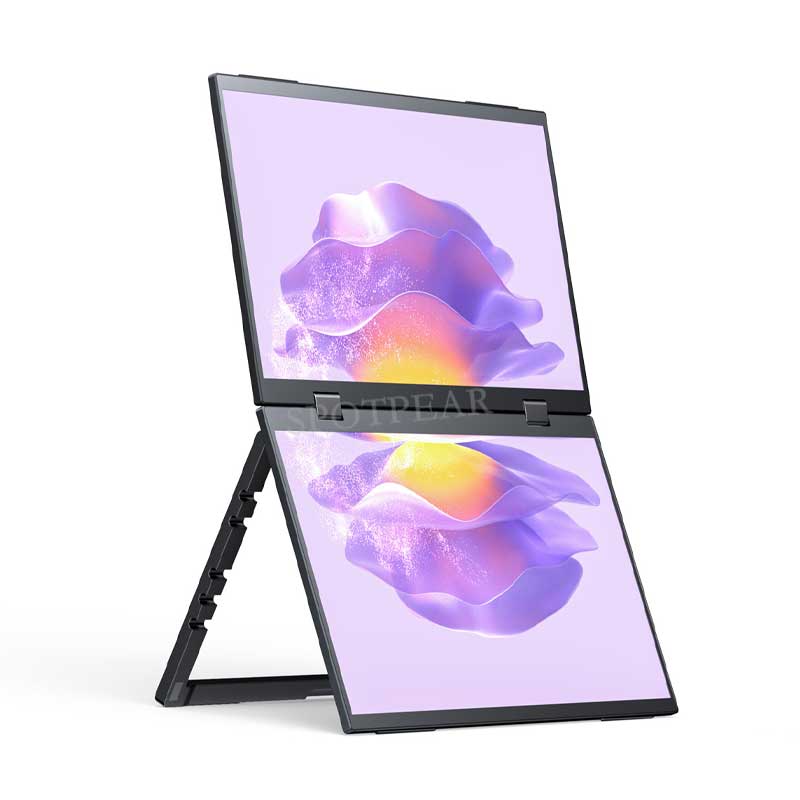
15.6inch-Dual-Monitor User Guide
Feature
•15.6-inch dual screen display with dual 1080P high-definition hardware resolution
•100% sRGB high color gamut, IPS display panel, 178° viewing angle
•Support standard HDMI and full-featured Type-C display signals
•Support Windows 11/10/8.1/8/7 when used as a computer monitor
•Support Raspberry Pi OS/Ubuntu/Kali and Retropie when working with Raspberry Pi
•Support multi language OSD menu (used for power control, adjusting brightness/contrast, etc.)
•Support HDMI/Type-C audio output, onboard 3.5mm headphone jack and 4PIN speaker output
Interface and Button Functions
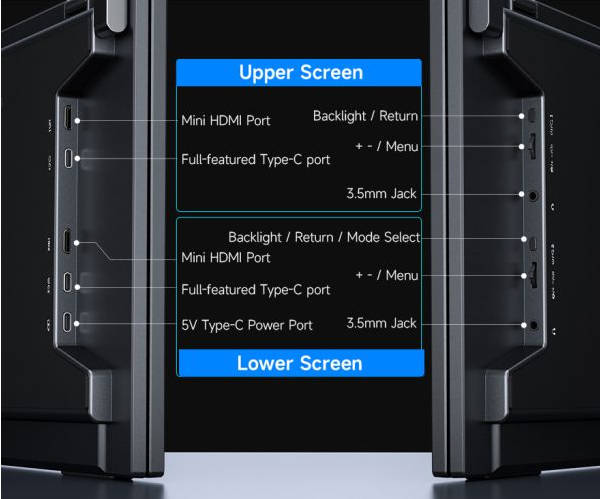
Tutorial
Working with a full-featured Type-C interface for laptop
Use the matching dual head Type-C cable to connect the full-featured Type-C interface of monitor to the full-featured Type-C interface of main control. Normally you can enter the display interface after a few seconds.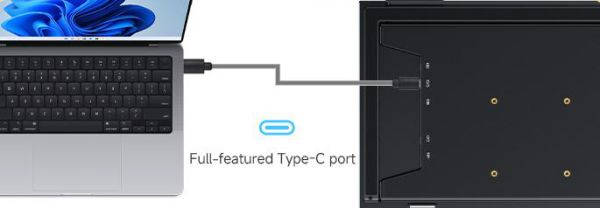
Note: Please ensure that your controller supports full-featured Type-C interface, and your phone needs to support wired screen mirroring function.
Working with a PC HDMI interface
Support Windows 11/10/8.1/8/7 systems. The way to use:
1. Use a 5V 3A power adapter to power the LCD.
2. Connect the mini HDMI interface of LCD to the HDMI interface of PC, and Windows will automatically recognize the display function.
- Note:
- Some PCs do not support HDMI device plug and play, and can generally be used normally after restarting the system.
- If the power supply to USB interface is insufficient, it will cause LCD screen to flash. By connecting an external 5V 3A power adapter to LCD power interface, it will return to normal.
Working with Raspberry Pi
Hardware Connection:
1. Use a 5V 3A power adapter to power the LCD.
2. Connect the mini HDMI interface of LCD to the HDMI interface of Raspberry Pi.
Software Setting:
For Raspberry Pi OS/Ubuntu/Kali and Retropie systems.
- 1. Connect TF card to PC, download and use Raspberry Pi Imager to burn the corresponding system image.
- 2. After image burning is completed, insert TF card into Raspberry Pi and power on Raspberry Pi, and wait for a few seconds before entering the system display interface.
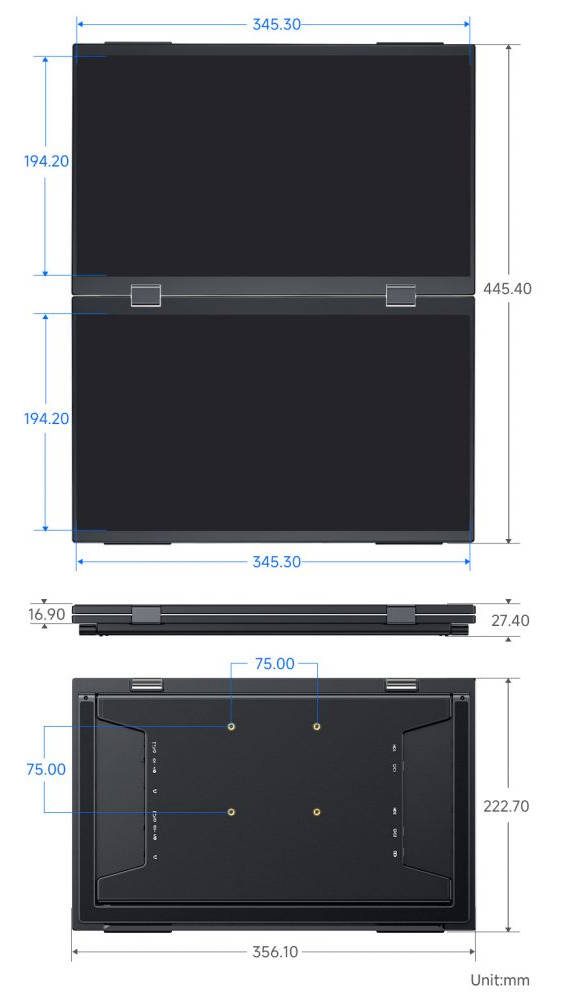
Dimension
Support
Monday-Friday (9:30-6:30) Saturday (9:30-5:30)
Mobile: +86 13434470212
Email: services01@spotpear.com