


- sales/support
Google Chat:---
- sales
+86-0755-88291180
- sales01
sales@spotpear.com
- sales02
dragon_manager@163.com
- support
tech-support@spotpear.com
- CEO-Complaints
zhoujie@spotpear.com
- Only Tech-Support
WhatsApp:13246739196
- Purchase/Shipping/Refund
WhatsApp:13424403025
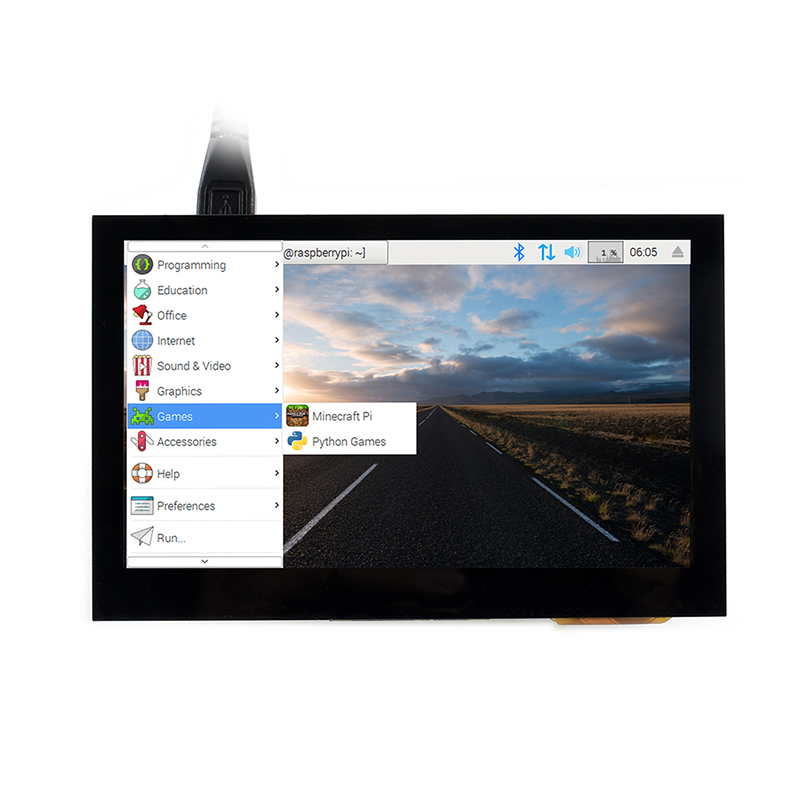
Raspberry Pi 4.3inch HDMI LCD (B) User Guide
Introduction
4.3inch, 800x480, Capacitive Touch Screen LCD, HDMI interface, Supports Multi mini-PCs, Multi Systems
Features
- IPS screen, 800x480 hardware resolution, configurable by software (up to 1920 x 1080)
- Supports popular mini PCs such as Raspberry Pi, BB Black, Banana Pi, as well as general desktop computers
- When works with Raspberry Pi, supports Raspbian/Ubuntu/Kali/Retropie/WIN10 IOT, driver free
- When work as a computer monitor, supports Windows 10/8.1/8/7, five-points touch, and driver free
- Multi languages OSD menu, for power management, brightness/contrast adjustment, etc.
- 3.5mm audio jack, speaker connector, supports HDMI audio output
How to use
Working with Windows PC
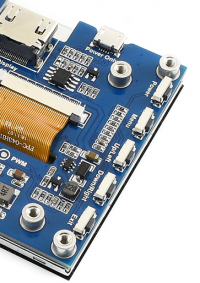
- Turn on the backlight switch on the backside of LCD
- Connect Touch interface of LCD to USB port of PC
- Connect HDMI (Display) interface of LCD to HDMI port of PC
- Connect earphone to HP interface or 8Ω 5W Speaker to Speaker interface of LCD if audio output is required.
- Hot-Plug isn't supported by some PC, you can try to restart if LCD doesn't display after connecting
Working with Raspberry Pi
- Download lastest Raspbian image from Raspberry Pi website
- Write the image to SD card. (refer to RPi Image Install about how to write image)
- After writing, open and modify the /boot/config.txt file, which located at root directory (BOOT) of SD card, append these lines to config.txt file
max_usb_current=1
hdmi_group=2
hdmi_mode=87
hdmi_cvt 800 480 60 6 0 0 0
- 【Note】There should not be spaces in both sides of equal-sign.
- If the LCD cannot work with statements above when working with Pi 4, you can comment/remove statement dtoverlay=cv4-fkms-V3D on config.txt file and try again.
- Connect Touch interface of LCD to USB port of Raspberry Pi
- Connect HDMI interface of LCD to HDMI port of Raspberry Pi
Configure orientation (Raspberry Pi)
- Display rotate
Add line below to /boot/config.txt file
display_rotate=1 #1:90; 2: 180; 3: 270
Save and reboot
sudo reboot
- Touch rotate
Raspbian doesn't support touchscreen rotate as display, therefore, we need to rotate touch separately.
- Install libinput
sudo apt-get install xserver-xorg-input-libinput
- Create xorg,conf.d directory
sudo mkdir /etc/X11/xorg.conf.d
- Copy 40-libinput-config file to the folder created
sudo cp /usr/share/X11/xorg.conf.d/40-libinput /etc/X11/xorg.conf.d/
- Append setting statements to 40-libinput-conf file
sudo nano /etc/X11/xorg.conf.d/40-libinput.conf
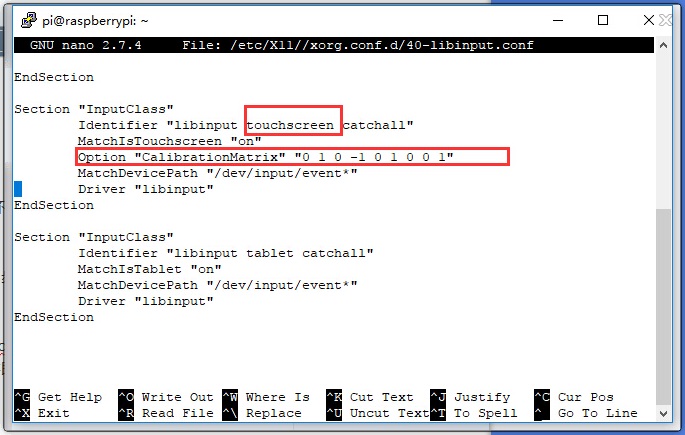
【Note】
- 90 degree: Option "CalibrationMatrix" "0 1 0 -1 0 1 0 0 1"
- 180 degree: Option "CalibrationMatrix" "-1 0 1 0 -1 1 0 0 1"
- 270 degree: Option "CalibrationMatrix" "0 -1 1 1 0 0 0 0 1"
- Save and reboot
Keys
- Power: Open/Close LCD display (backlight)
- Menu: Open menu/OK
- Up/Left: Direction
- Down/Right: Direction
- Exit: Return/Exit
TAG:
Raspberry Pi 5 PCIe to 2.5G Ethernet Adapter Board Plug and Play
ESP32-S3
ESP32-P4 DEV-KIT C6 WiFi6 MIPI DSI 7/10.1 inch Display/CSI Camera/Audio Speaker For AI Deepseek
ESP32 C3 Zero
Developer Kit
Raspberry Pi5
Milk-V Duo RJ45 Tutorial
DeepsSeek XiaoZhi AI Voice Chat ESP32-S3 1.54 inch LCD Kit N16R8 WROOM-1-N16R8 DevKitC-1 Development Board
AI Machine Vision Kit OAK-D-POE JPEG Encoder 12MP IP67 Waterproof 4TOPS OpenCV Camera
Pi5 Power
3.52 inch e-Paper HAT B E Ink Red/Black/White 360x240 Screen Display For Arduino /Raspberry Pi /Jetson Nano /STM32
Jetson Nano Development Board
Raspberry Pi Starlight Camera IR-CUT IMX462 (A) Sensor 2MP 90 Degree
Argon ONE V3 Case with FAN IR For Raspberry Pi 5
Autofocus Camera
Raspberry Pi 4 Camera
Raspberry Pi
Modbus-Series-BootLoader-Description User Guide
ESP32-C6 LCD Development Board 1.3 inch Display 1.3inch Screen ST7789 240x240 Mini TV SD-Port QST LVGL For Arduino
BPI
TAG:
Raspberry Pi UPS
ESP32-S3 Round Screen
Raspberry Pi Pico 2 RP2350 Zero
Raspberry Pi Secondary Screen
SIM7600G H Mini PCIe SIMCom 4G LTE Cat-4 Global GNSS
M12 Long Focal Length Lens 5MP 25mm Raspberry Pi High Quality Camera M12
BPI-M4 Zero
Raspberry Pi Pico
Arducam
ESP32-H2 BLE
ESP32‑S3 13.3-inch E6 Full-Color E-Ink e-Paper Display
Raspberry Pi 5
RoArm M3 5 Robotic Arm ESP32 Servo
Raspberry Pi 5
ESP32 Thermal imaging
Raspberry Pi 5 PCIe to SATA Expansion Board with EEPROM HAT+
Computer AI Deepseek Mechanical Voice Keyboard Xiaozhi LCD Screen keys Secondary Display
Luckfox Lyra Plus RK3506G2
Arduino Uno R4 Minima RA4M1 Tiny Mini R7FA4M1
Industrial RJ45 Ethernet To 16-ch Relay Module Modbus RTU TCP With Protection and guide rails