- sales/support
Google Chat:---
- sales
+86-0755-88291180
- sales01
sales@spotpear.com
- sales02
dragon_manager@163.com
- support
tech-support@spotpear.com
- CEO-Complaints
zhoujie@spotpear.com
- sales/support
WhatsApp:13246739196
Raspberry Pi 5 Box Case Ki-A PCIe to RJ45 Gigabit Ethernet All Ports To Pi's USB Side
$23.99
Brand:Waveshare
SKU:0107068
Date:2024-07-09 10:28
Part Number:
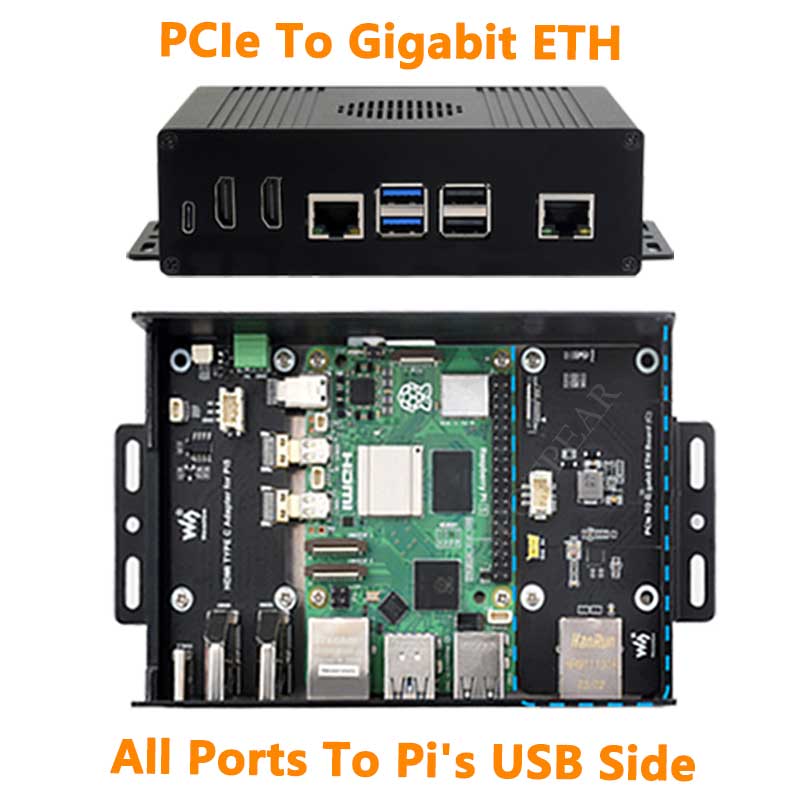
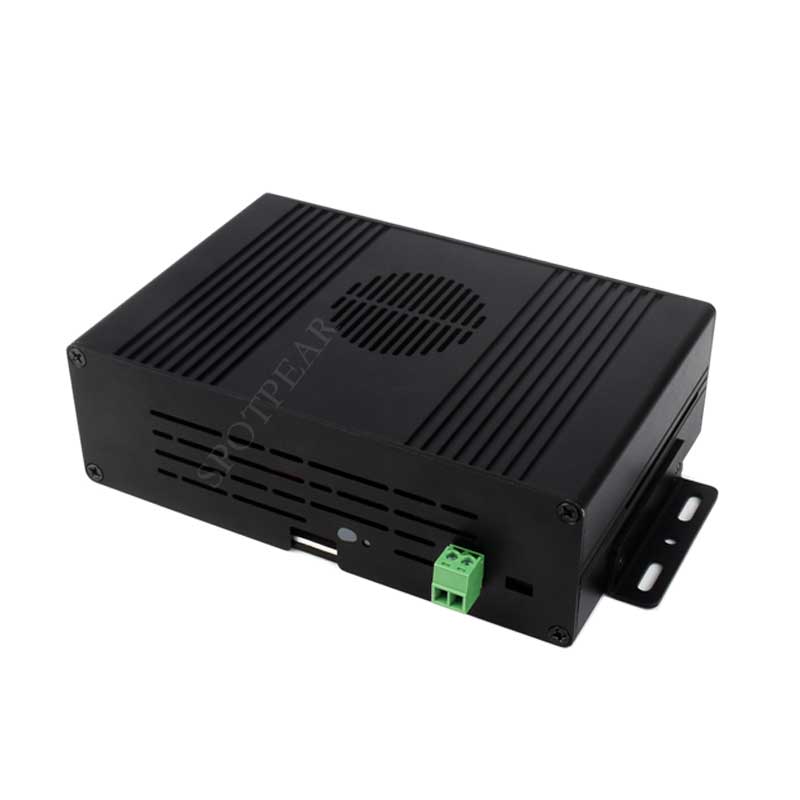
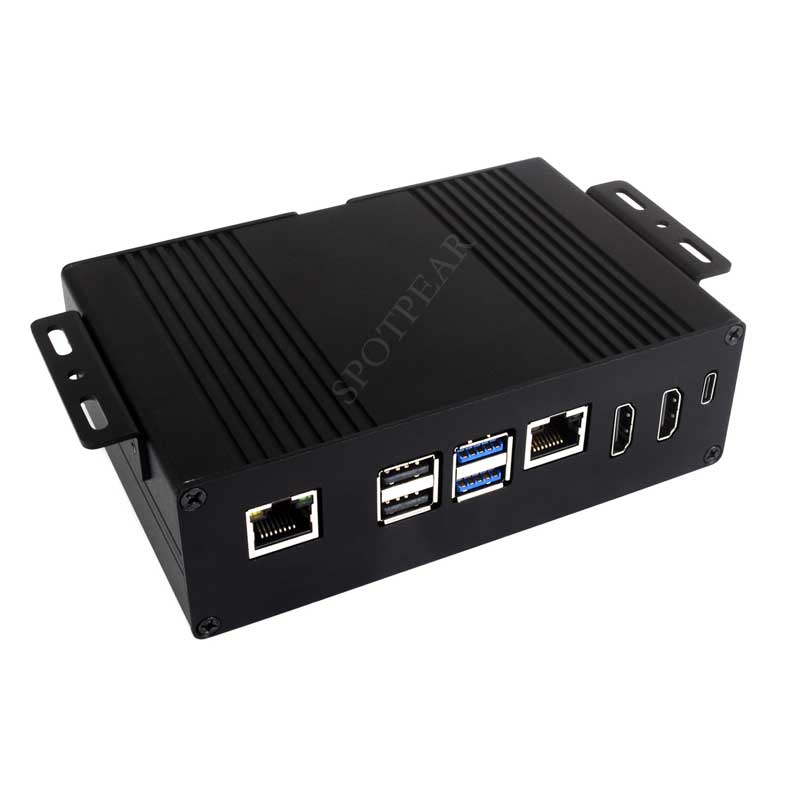
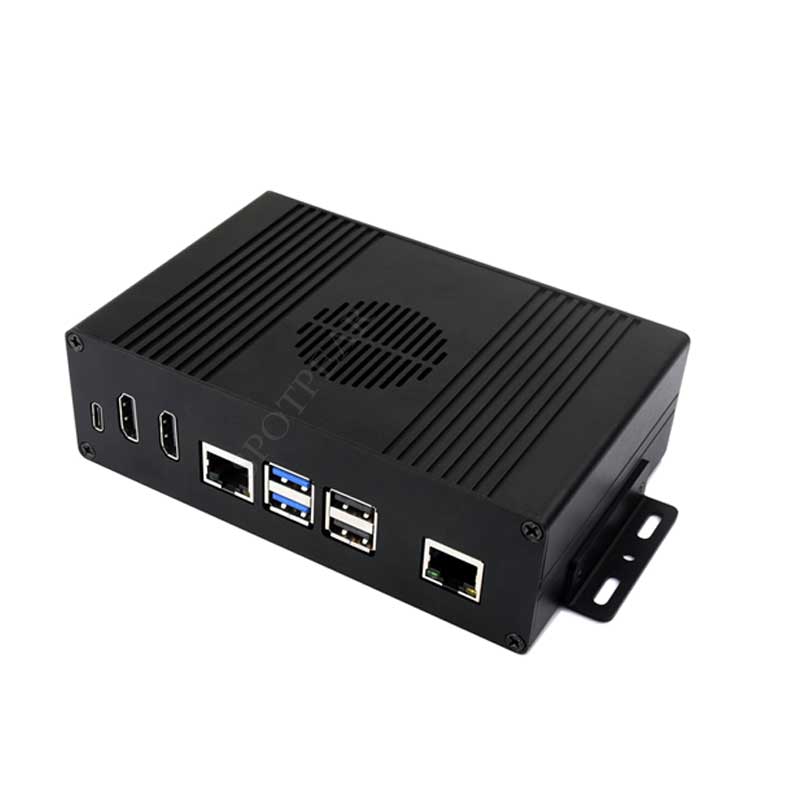
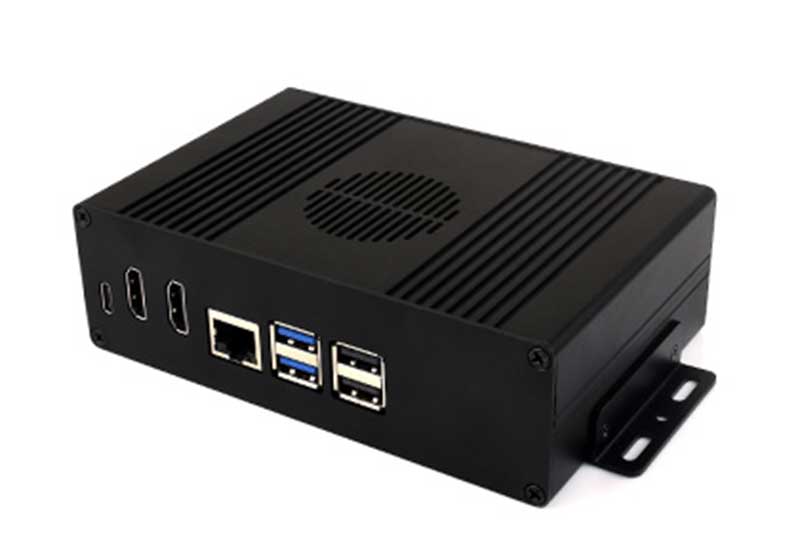
Raspberry Pi 5 shell kit A includes a PCIe to Gigabit network port, and all interfaces are converted to the same side. The Raspberry Pi 5 all-in-one computer is tailored for Raspberry Pi 5. It has a modular design and can be quickly used with simple assembly. It has a large space, rich interfaces and strong expandability.
【Product Introduction】
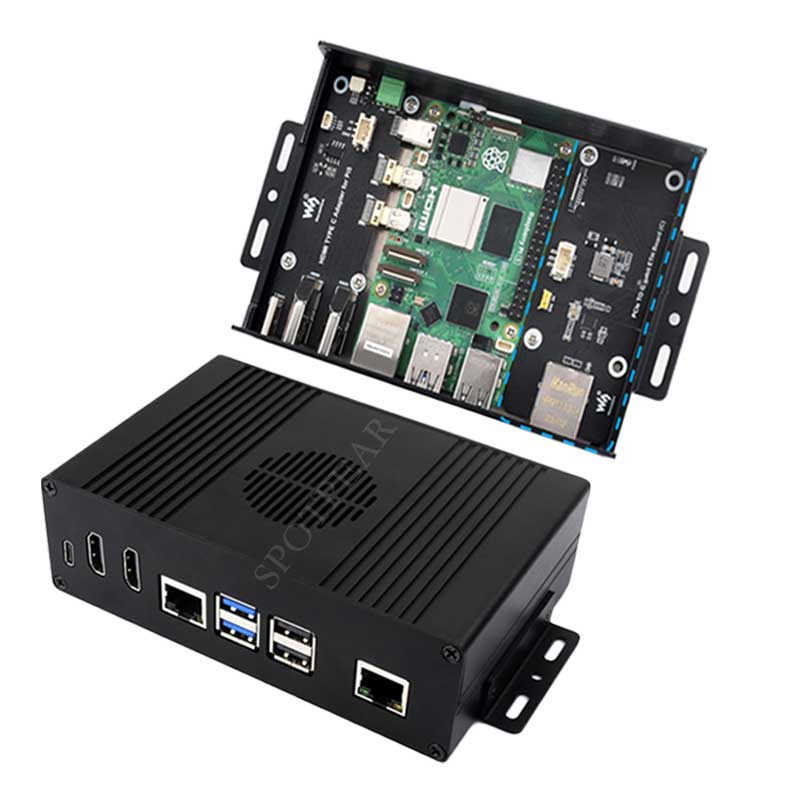
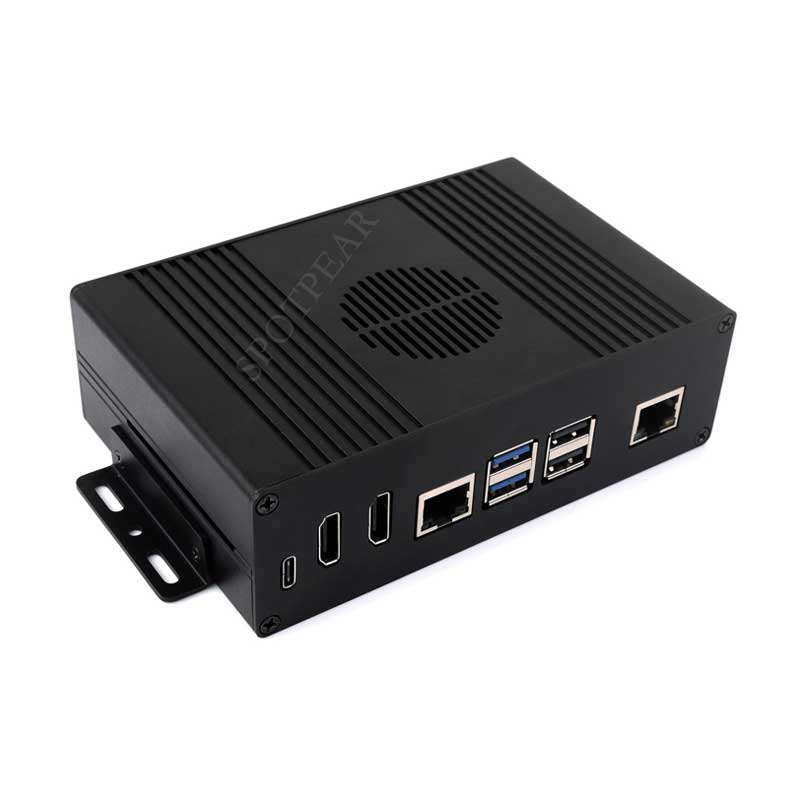
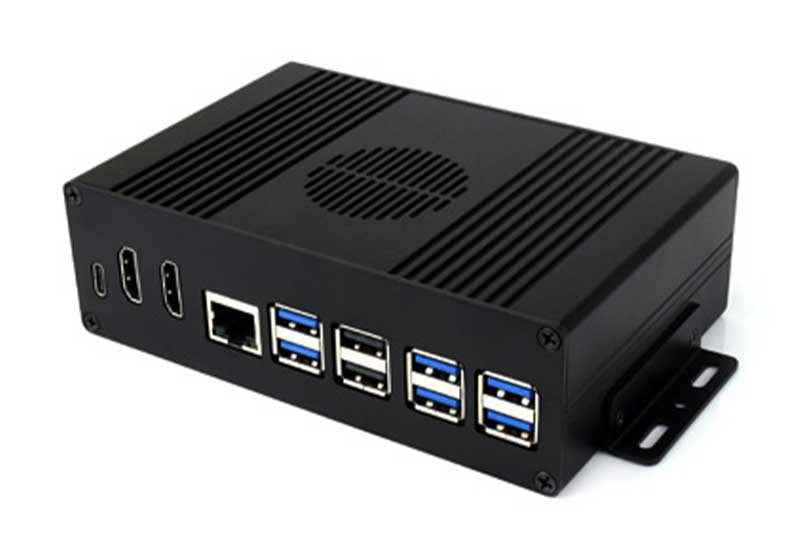
[] Raspberry Pi 5 shell kit A includes a PCIe to Gigabit network port, and all interfaces are converted to the same side. The Raspberry Pi 5 all-in-one computer is tailored for Raspberry Pi 5. It has a modular design and can be quickly used with simple assembly. It has a large space, rich interfaces and strong expandability.
【Product Details】
Raspberry Pi 5 All-in-One Computer
Designed specifically for Raspberry Pi 5
Modular design, simple assembly and quick use, large space, rich interfaces and strong expandability
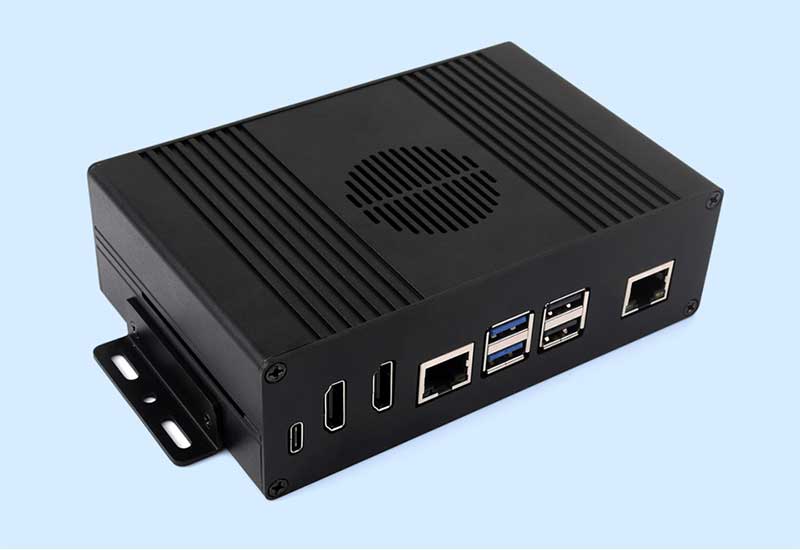

【Version Selection】
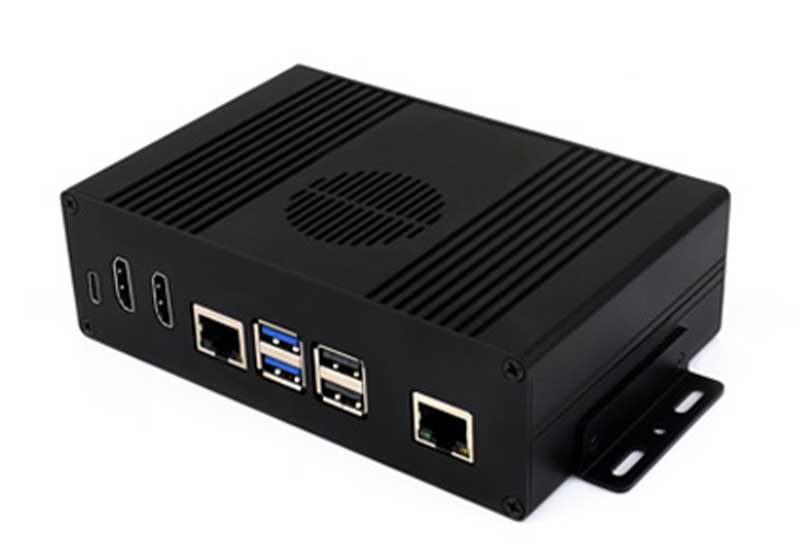
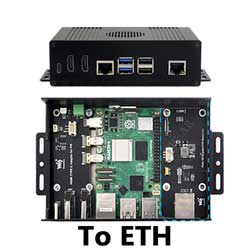
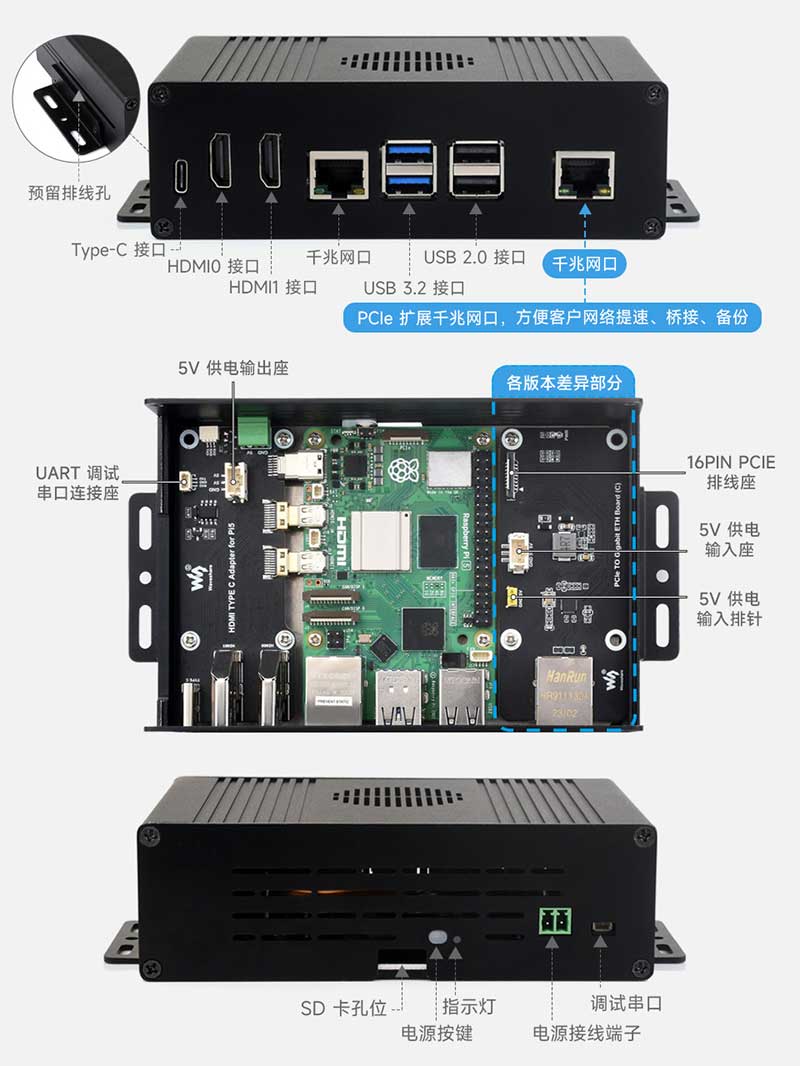
[Type A] PCIe expansion Gigabit Ethernet port
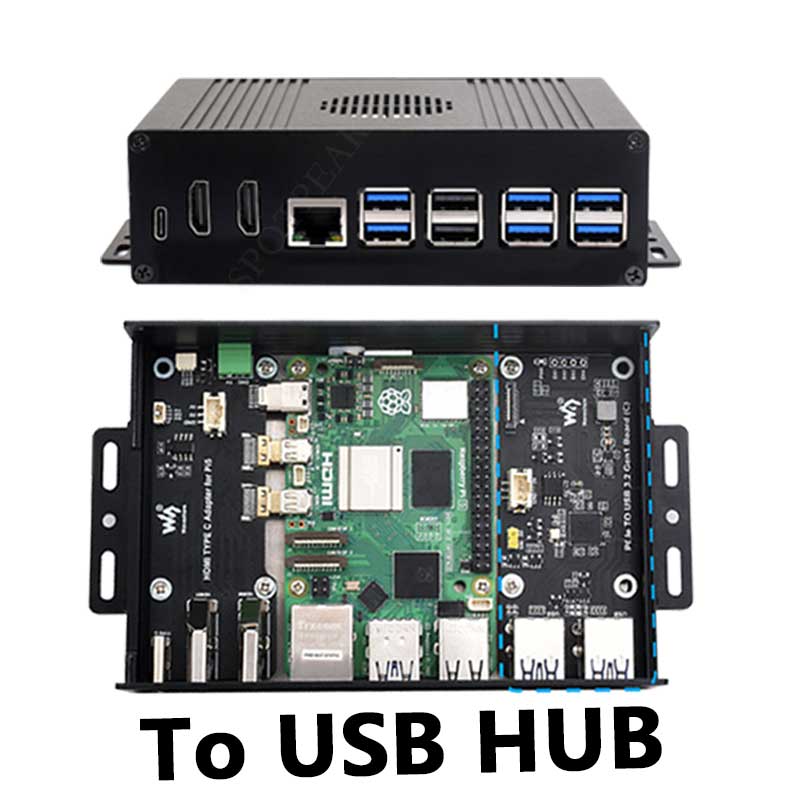
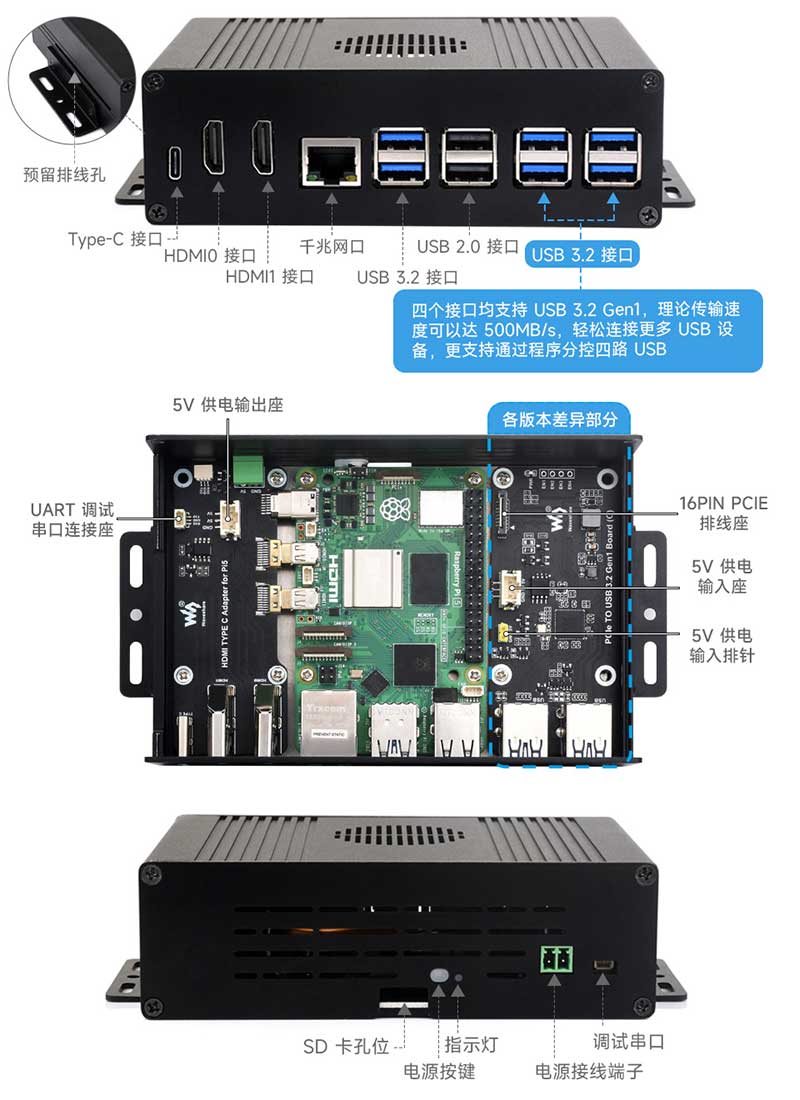
[Type B] PCIe expansion 4-way USB3.2 Gen1
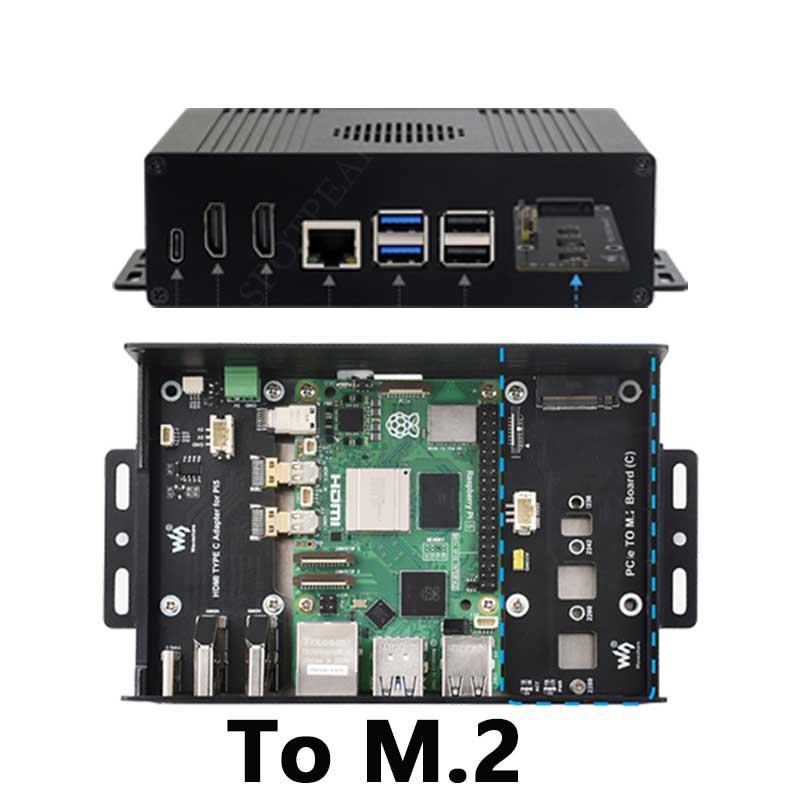
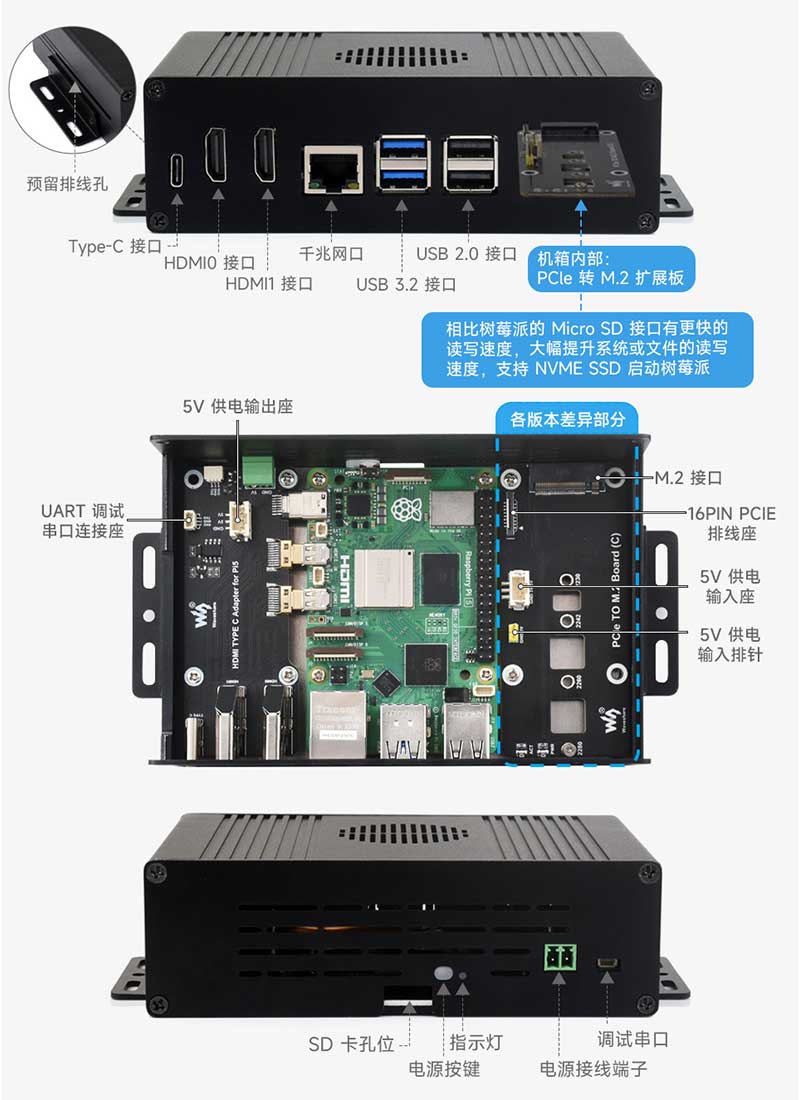
[Type C] PCIe expansion M.2
All versions do not include the Raspberry Pi 5 motherboard . Please purchase it separately if you need it.
Interface introduction of each version
[Type A] PCIe extended Gigabit Ethernet port version

[Type B] PCIe expansion 4-way USB3.2 Gen1 version

[Type C]PCIe expansion M.2 version

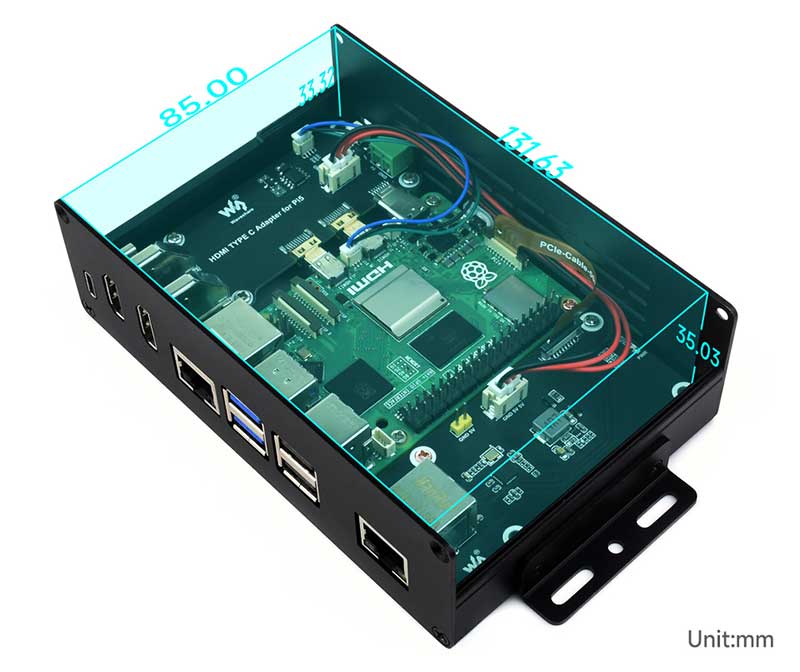
Large space and strong expandability
There is enough space inside the chassis to connect various expansion modules, such as PoE modules,
and there is still space for wiring, which is good news for people with obsessive-compulsive disorder.

Lead out Pi5 peripheral interface
to support front and rear power supply modes
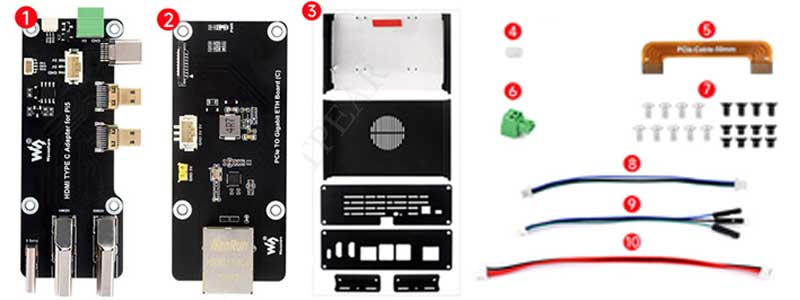
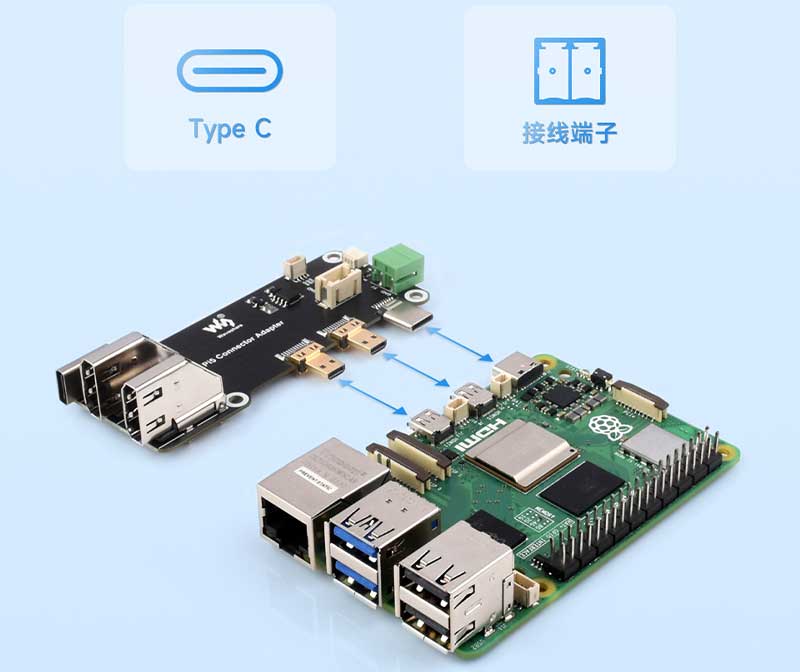
Each version comes with a Micro HDMI to HDMI adapter board, and supports the Type-C interface, HDMI and terminal blocks, so that the interface is not hidden deep in the chassis, making it convenient for other peripherals to access the HDMI interface, and supports two power supply methods: front and back.

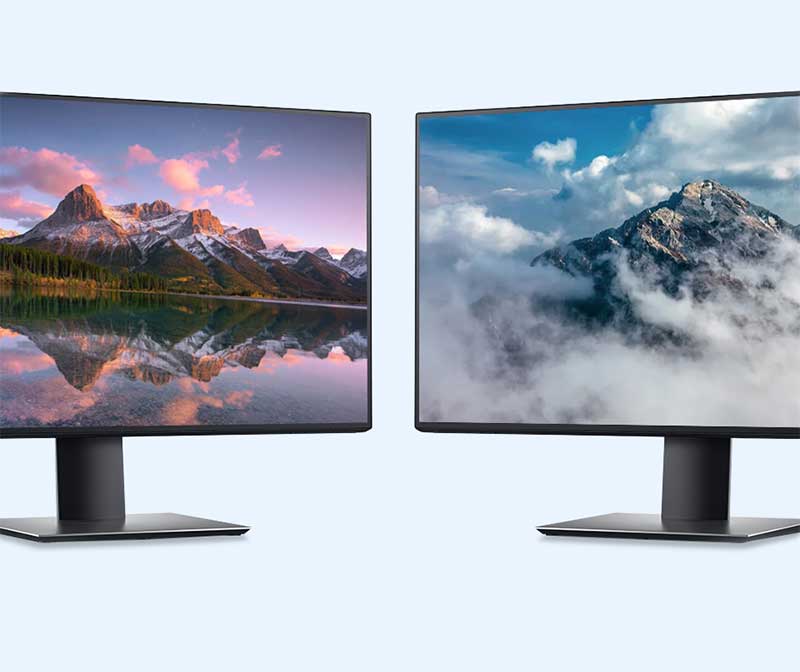
Dual 4K HD output
Each version supports dual HDMI ports and dual 4K video output

Three-dimensional air duct for efficient heat dissipation
Reserve ventilation grid and install fans for better heat dissipation
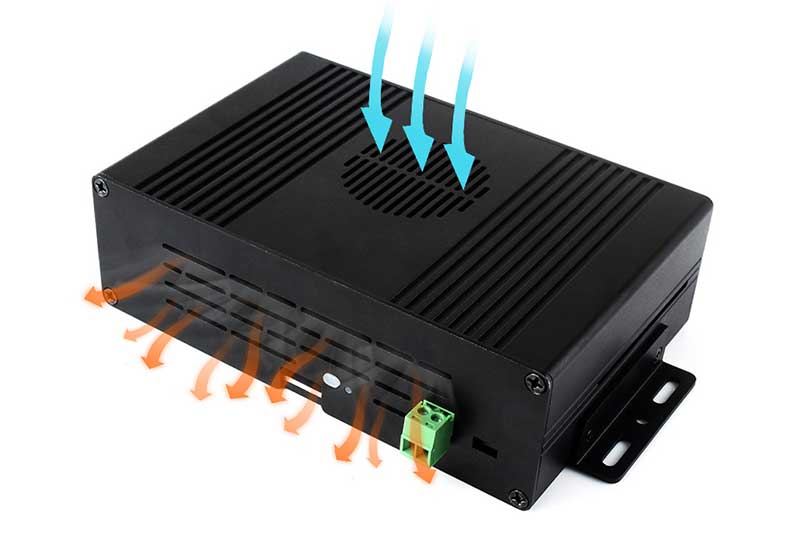

This product does not contain a fan , if necessary, please purchase it separately
Quick Installation Steps


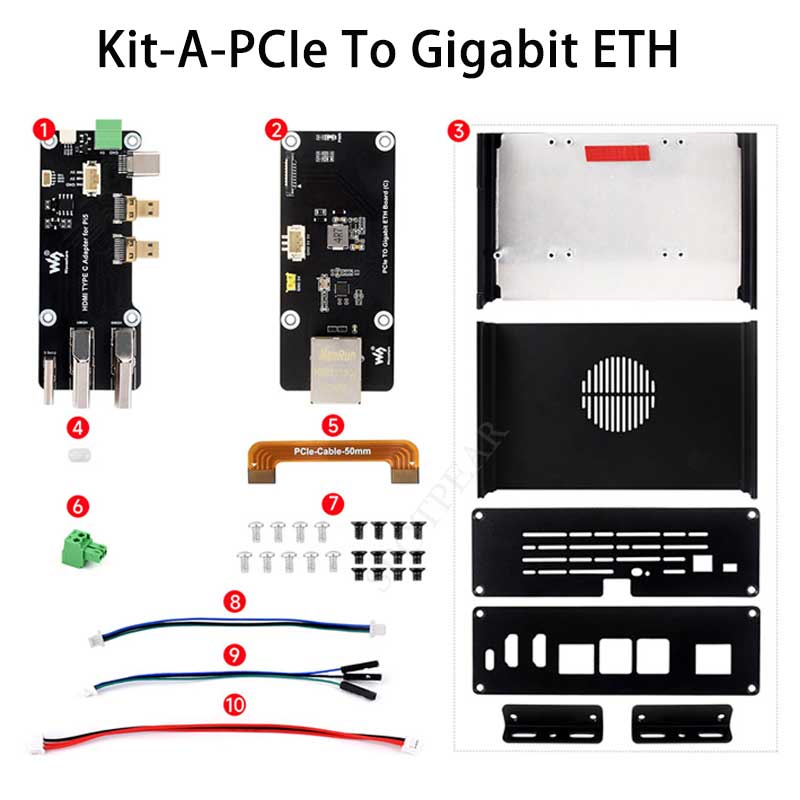
Prepare the screws shown above
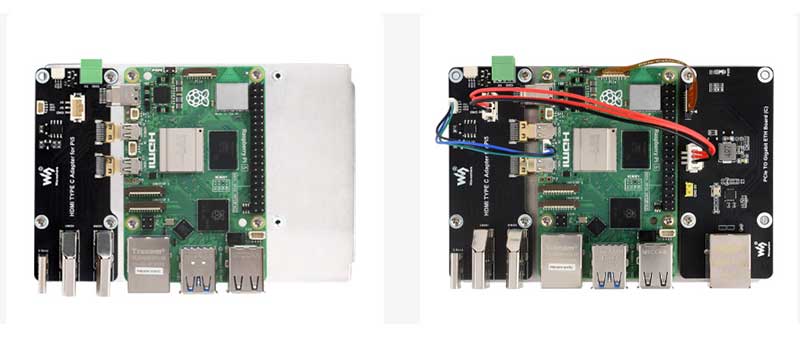

[] Connect the Raspberry Pi and HDMI converter board and fix them with 7 No. 1 screws and install them on the white aluminum alloy base.
[] According to the version you purchased, install the remaining expansion board (here we take the Gigabit Ethernet port version as an example) on the white aluminum alloy base plate with two No. 1 screws, and connect the power cord and debug serial port cable as shown in the figure. Set aside for later use.
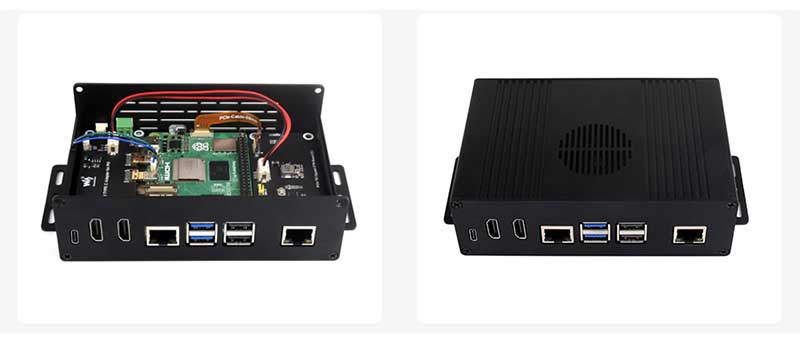
[] Fix the two brackets with all No. 2 screws and the rear panel with two No. 3 screws. Once the image is complete, place the silicone button in the designated position.
[] Push the board installed in step 2 horizontally into the bottom rail of the housing. Be careful not to let the silicone button fall off.

[] Align the front baffle with the connector and secure it with two No. 3 screws.
[] Close the top cover and secure it with four No. 3 screws to complete the installation.
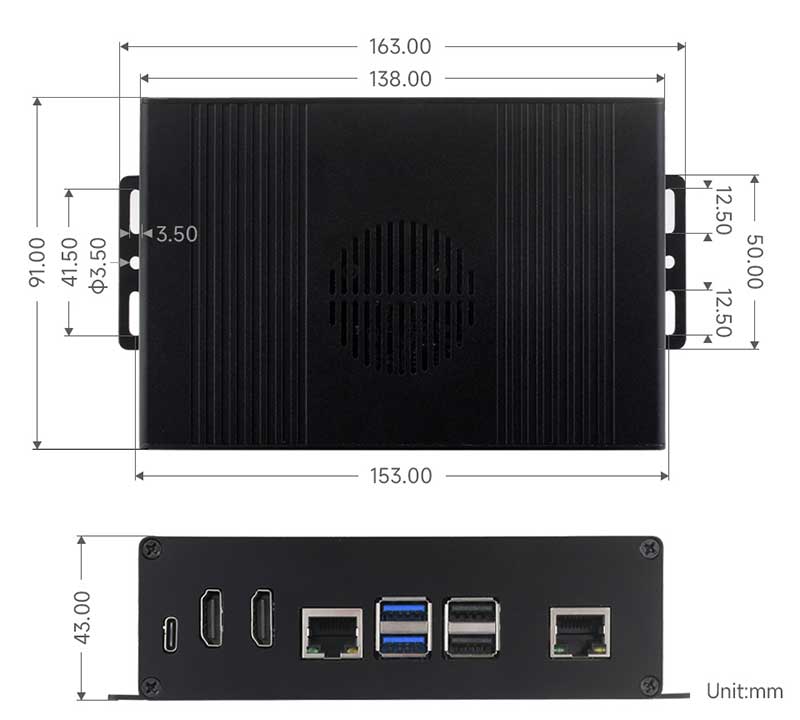
【Product Size】
TAG:
Raspberry Pi HDMI Display
7.3inch e Paper HAT(E) 6 Color 800x480 E-Ink Raspberry Pi Jetson Arduino STM32
UNO Minima RA4M1 ZERO Tiny SuperMini R7FA4M1 Board Compatible With R4 For Arduino
Raspberry Pi Display
Raspberry Pi Pico 2 RP2350 2 inch LCD Capacitive TouchScreen Development Board 240x320 Display QMI8658 6-Axis /OV5640 Camera /SD /Battery Port
Raspberry Pi 4 Model B
0.85inch LCD
Raspberry Pi 5 PCIe Gigabit Ethernet RJ45 RTL8111H M.2_M_KEY 2230/2242/2260/2280 NVMe SSD
5.79inch e Paper Ink (B) Red-Black-White display 792x272 Arduino Raspberry Pi Jetson Nano STM32
Raspberry Pi 5 8 inch DSI LCD Captive TouchScreen MIPI Display 1280x800
ESP32-S3 AI 3.97-inch e-Paper Ink Screen 3.97inch Display AIoT Development Board Deepseek
Raspberry Pi 5 USB PD Adapter
M12 Long Focal Length Lens 5MP 25mm Raspberry Pi High Quality Camera M12
USB Type-C
AS7341 Sensor
Core3566102032
SpotPear
All-metal compact UGV suspension Spring 7.5KG load DDSM115
Raspberry Pi 5
ESP32-S3 AI RLCD Total Reflection Screen 4.2 inch Development Board Deepseek
Forum:


