- sales/support
Google Chat:---
- sales
+86-0755-88291180
- sales01
sales@spotpear.com
- sales02
dragon_manager@163.com
- support
tech-support@spotpear.com
- CEO-Complaints
zhoujie@spotpear.com
- Only Tech-Support
WhatsApp:13246739196
- Purchase/Shipping/Refund
WhatsApp:13424403025
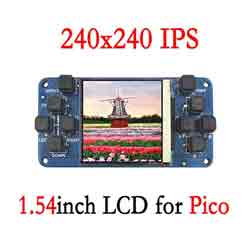
Raspberry Pi Pico 1.54inch LCD User Guide
【Resources】
】Green-1.54inch lcd
python: Pico 1.54 LCD.py
】Blue-1.54inch lcd
python: Pico 1.54 LCD.py
Method 1: C Code (Raspberry Pi platform)
1. Installation the compilation environment
sudo apt-get install cmake --fix-missing
sudo apt-get install gcc-arm-none-eabi
SDK download
git clone -b master https://github.com/raspberrypi/pico-sdk.git
cd pico-sdk
git submodule update --init --recursive
The program needs to point to the SDK path
export PICO_SDK_PATH=../../pico-sdk
(Change to your true path, Now you not need do this code , when you make program, you need this code )
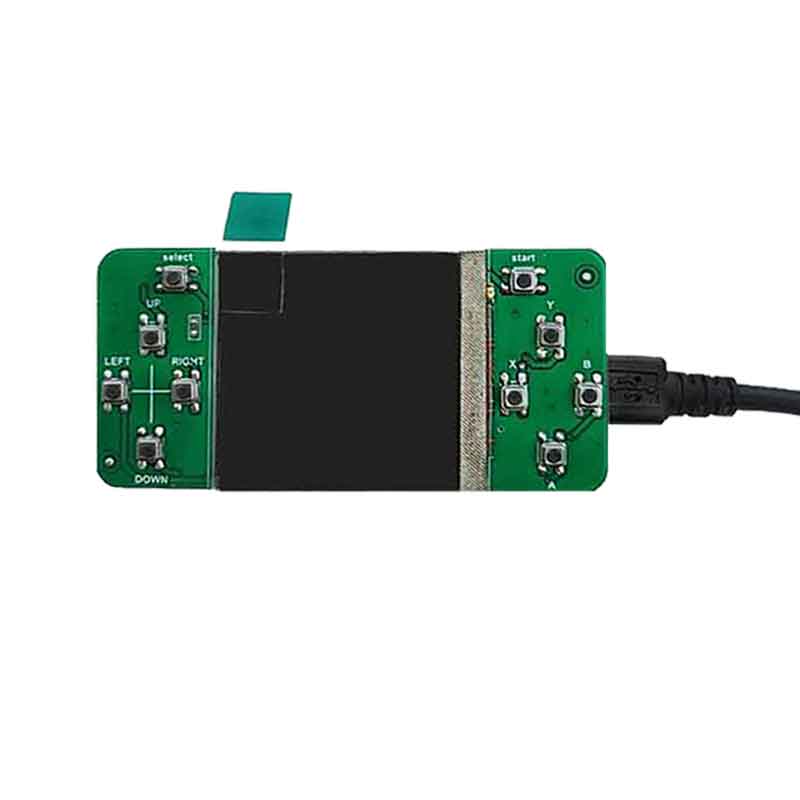
2. Connect the hardware

3. Run the program
(1)Download, compile and run the c sample program of Pico 1inch54 LCD: (Green-1.54inch lcd Download: Pico 1inch54 LCD.zip)(Blue-1.54inch lcd Download: Pico 1inch54 LCD.zip)
cd ~/Pico 1inch54 LCD /c/build
sudo rm -rf ./*
export PICO_SDK_PATH=../../pico-sdk
(Change to your true path )
cmake ..
make -j9
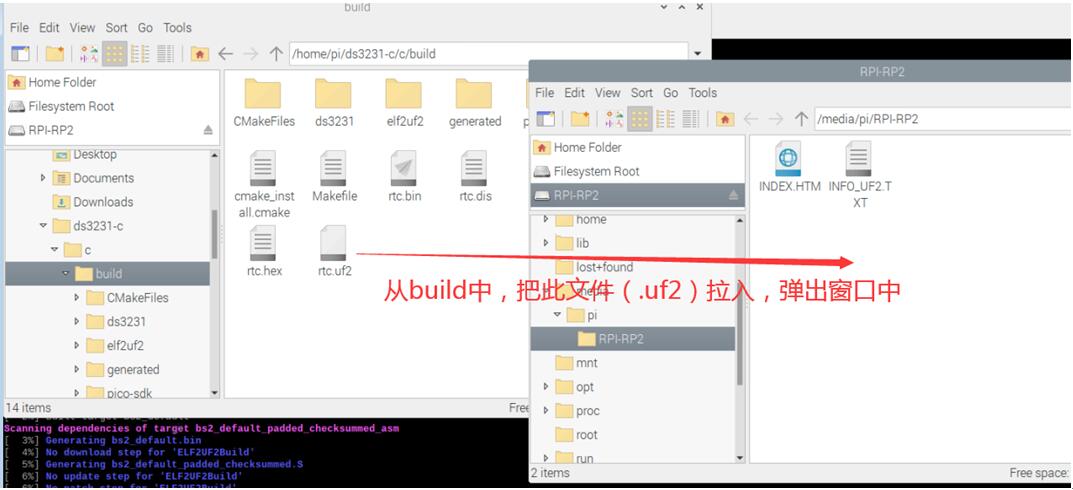
After that, the uf2 file will be generated under the build.
(2) Press and hold Pico's BOOTSEL and use the Micro USB cable to connect Pico to the Raspberry Pi's USB and then release
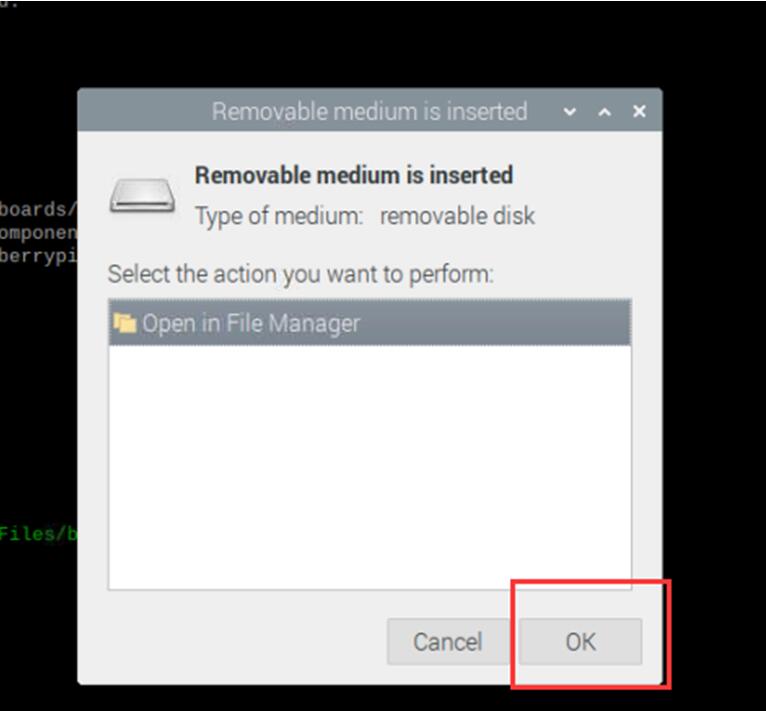
Open the build folder in the actual program folder and pull the main.uf2 file into the above window
phenomenon:
Run the screen program, the picture can be seen on the screen.
Run the screen program, the picture stays in the small square screen, press the button, the corresponding small square will be red.
Method 2: python Code (Raspberry Pi platfrom)
1.Installation Thonny IDE
Please refer to the official link
https://projects.raspberrypi.org/en/projects/getting-started-with-the-pico/2
2. Connect the hardware
(1)
(2)
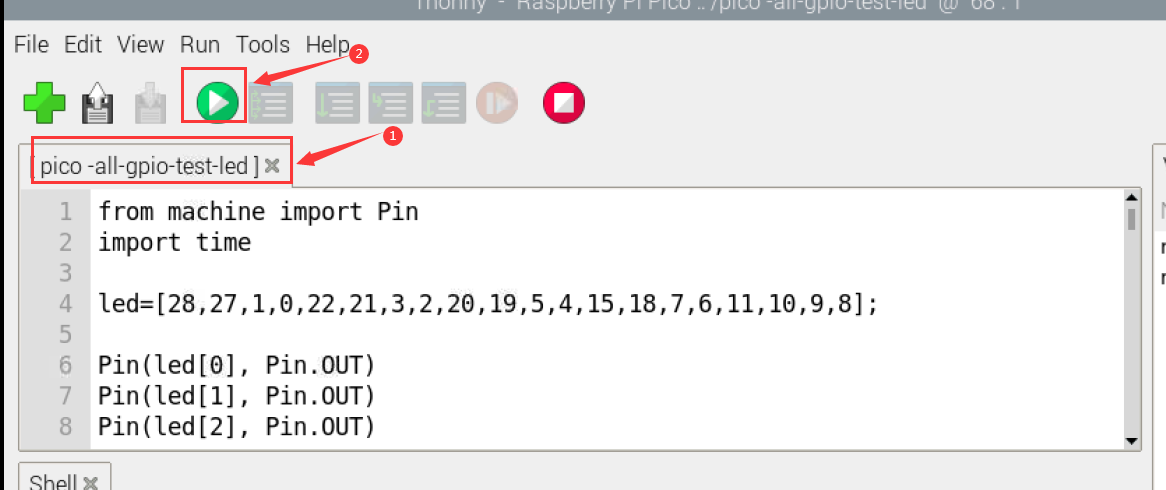
3. Run the program
(Green-1.54inch lcd Download: Pico 1.54 LCD.py)(Blue-1.54inch lcd : Pico 1.54 LCD.py)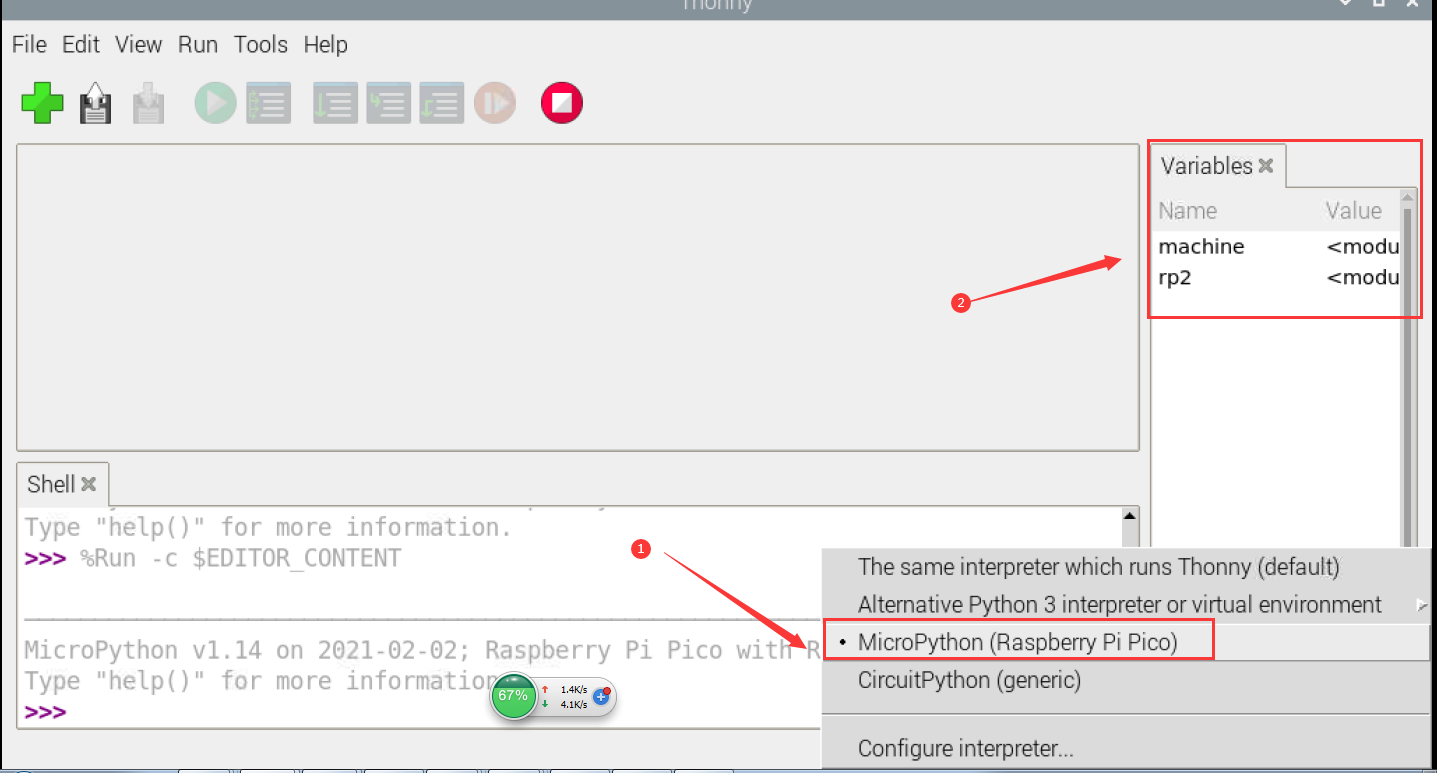
Open the software
phenomenon:
Run the screen program, the screen flashes blue, red and white once.
Run the screen program, press the button, the screen displays the corresponding button name.