- sales/support
Google Chat:---
- sales
+86-0755-88291180
- sales01
sales@spotpear.com
- sales02
dragon_manager@163.com
- support
tech-support@spotpear.com
- CEO-Complaints
zhoujie@spotpear.com
- Only Tech-Support
WhatsApp:13246739196
- Purchase/Shipping/Refund
WhatsApp:13424403025
- HOME
- >
- ARTICLES
- >
- Raspberry Pi
- >
- Raspberry Pi LCD
- >
- e-Paper
2.9inch NFC-Powered e-Paper (G) User Guide
Specifications
| Parameter | Value |
|---|---|
| Power Supply | NFC wireless power |
| Resolution | 296 x 128 |
| Dot Pitch | 0.138mm × 0.138mm |
| Display Color | Red, Black, White, Yellow |
| Refresh Time | 16s |
| Viewing Angle | > 170° |
| Overall Size | 87.5mm × 47.7mm × 12.4mm |
| Display Size | 66.89mm × 29.05mm |
Android APP Usage
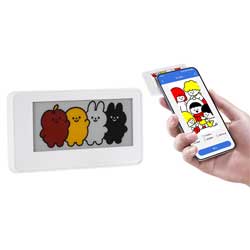
The mobile APP can be used to refresh images via the phone's NFC function. Before use, confirm that your phone supports NFC and that NFC is enabled.
APP Tested Phones
The table below lists the tested models. Models not listed do not necessarily mean they are unsupported.
| Phone Model | Test Status |
|---|---|
| Redmi K40pro+ | Normal |
| Xiaomi 14 Ultra | Normal |
| Huawei Mate 60 (Android) | Normal |
| Huawei Mate 60 (HarmonyOS, non-pure version) | Normal |
| OnePlus 13t | Normal |
| OPPO Reno12 | Normal |
| VIVO X200S | Normal |
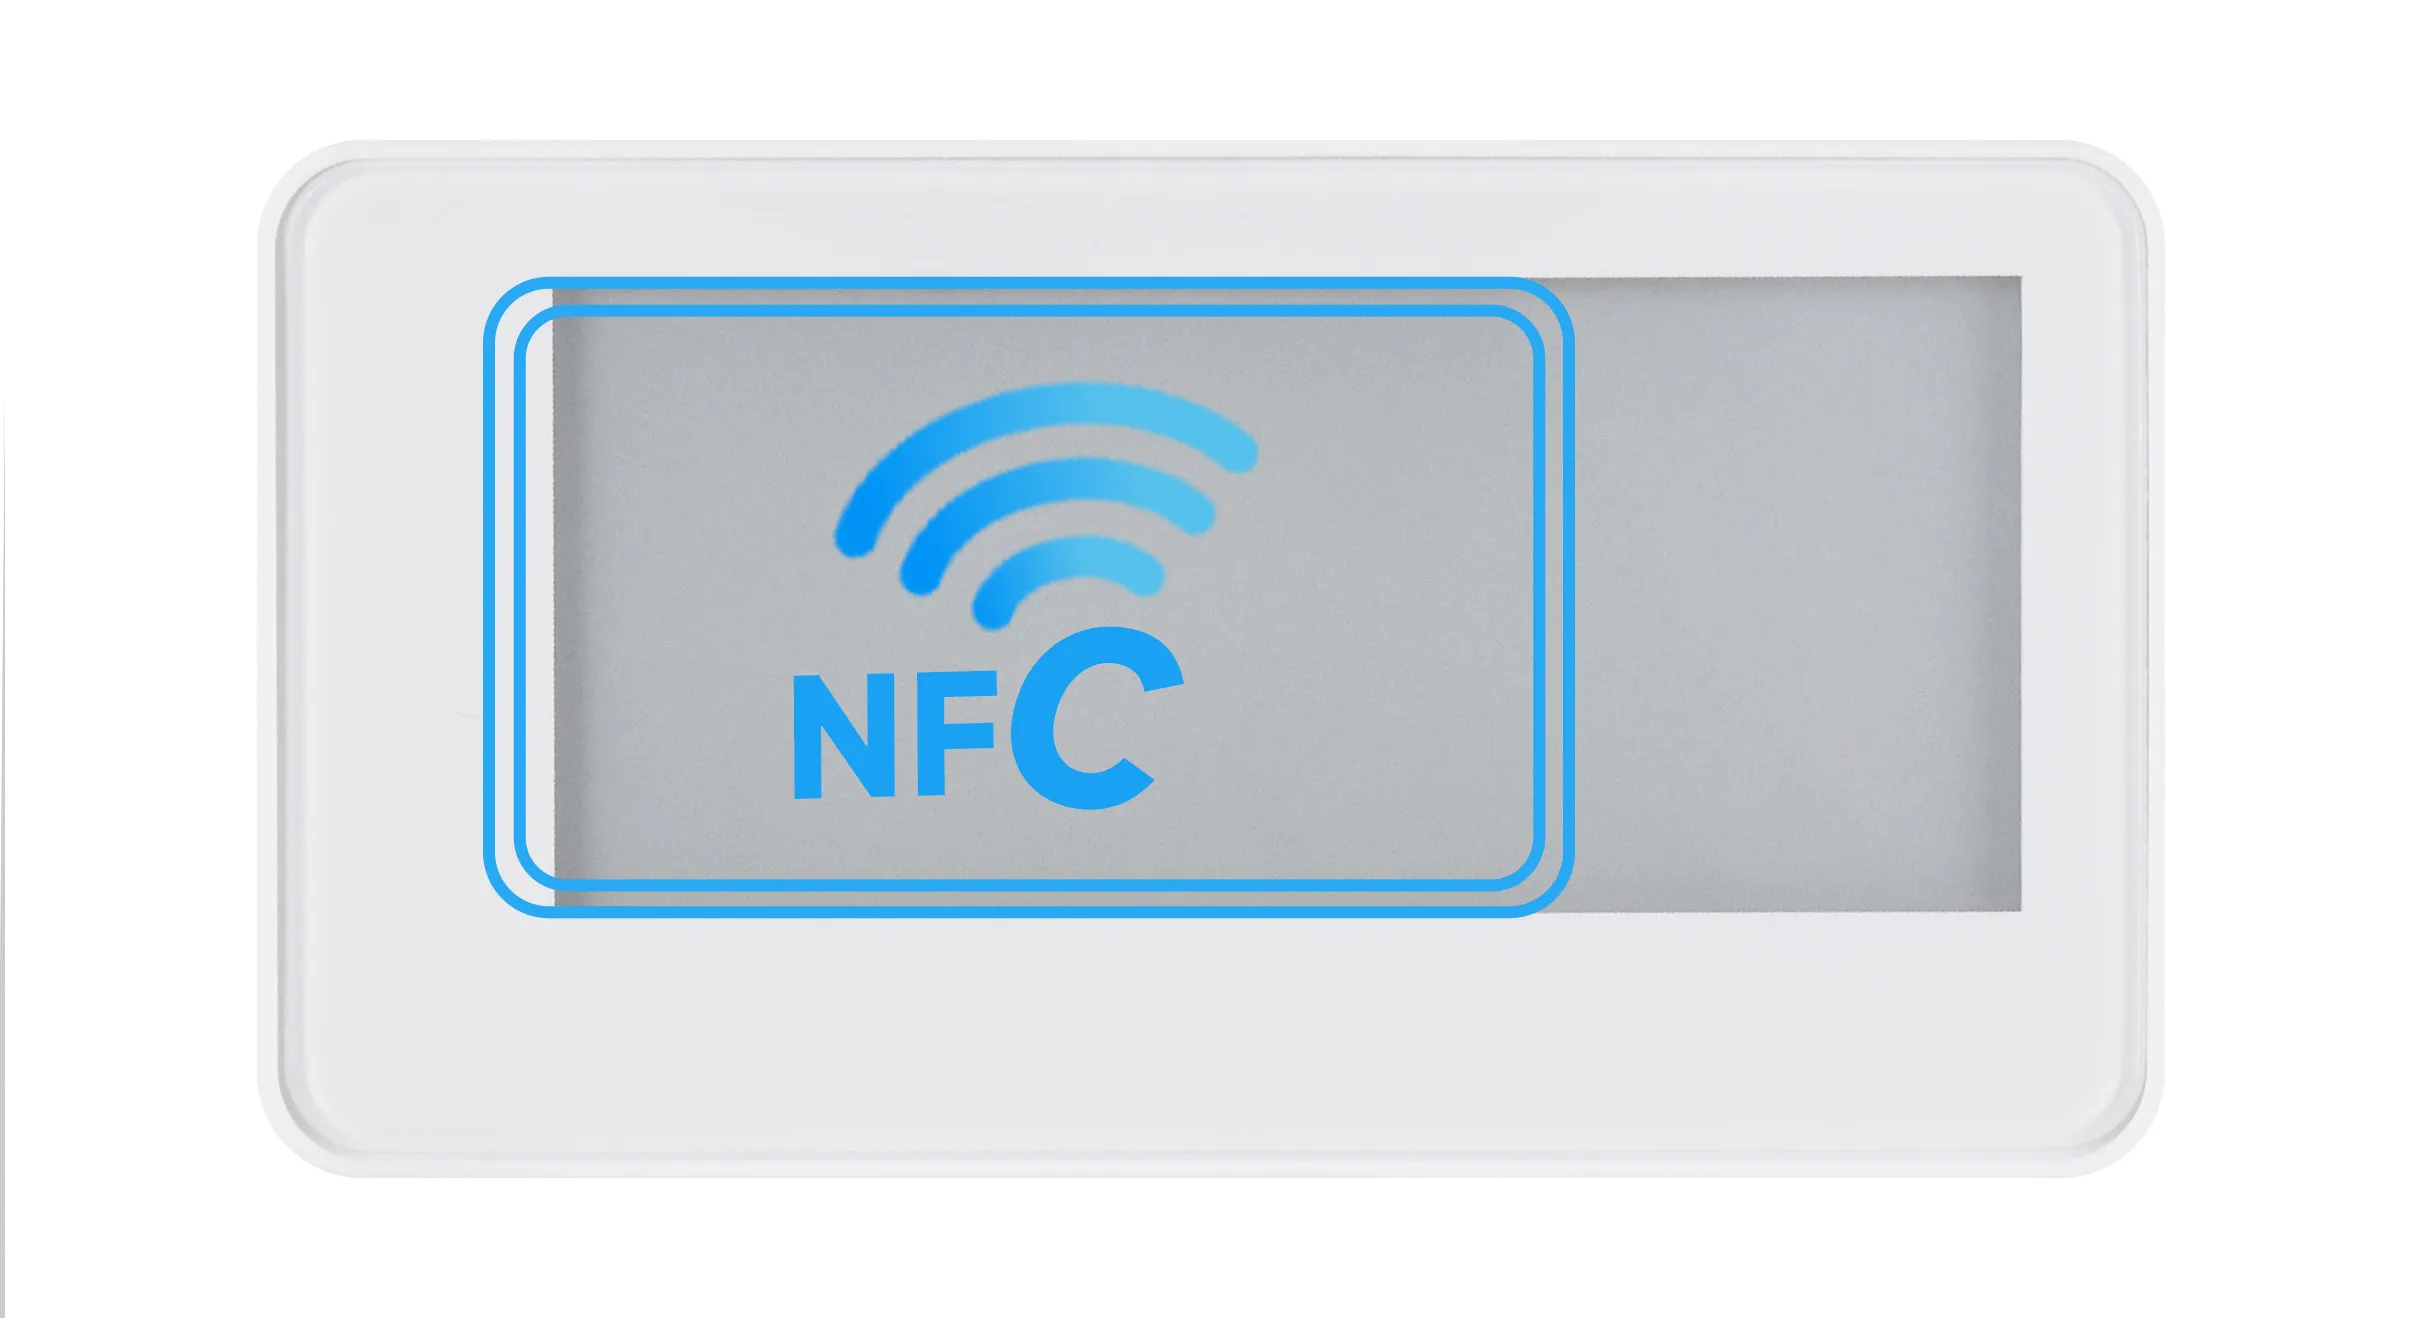
NFC Sensing Position Reference
APP Download
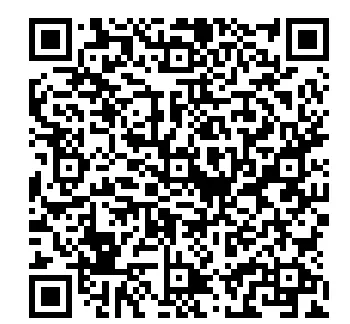
Scan the QR code below to download the APP and install it on your phone. Supports Android Android 4.0 (Ice Cream Sandwich) and above. Note: Do not use WeChat to scan; use the browser's scan function.
APP Usage Steps
Tap the "Bind Device" button to read the device information to be refreshed. After binding, the main page will display the corresponding information (using 2.13G as an example).
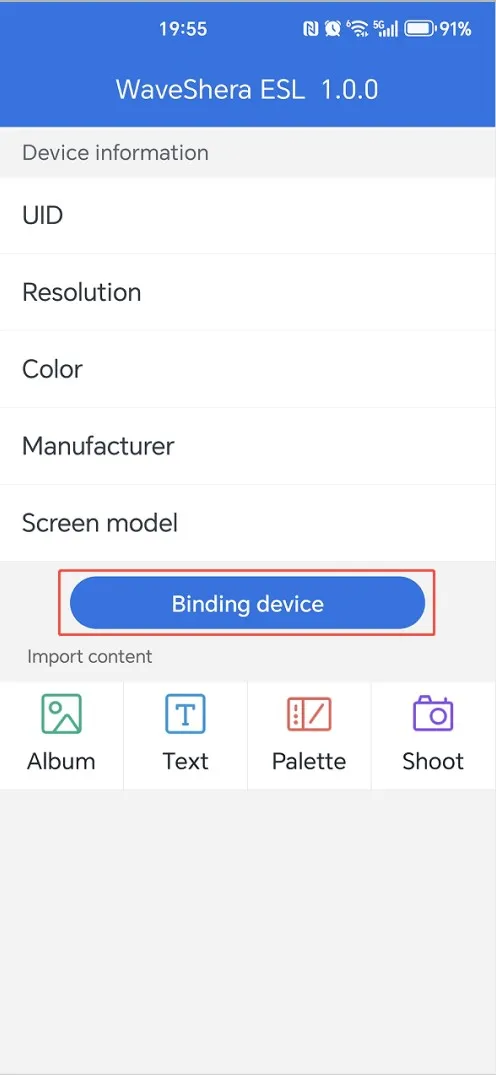
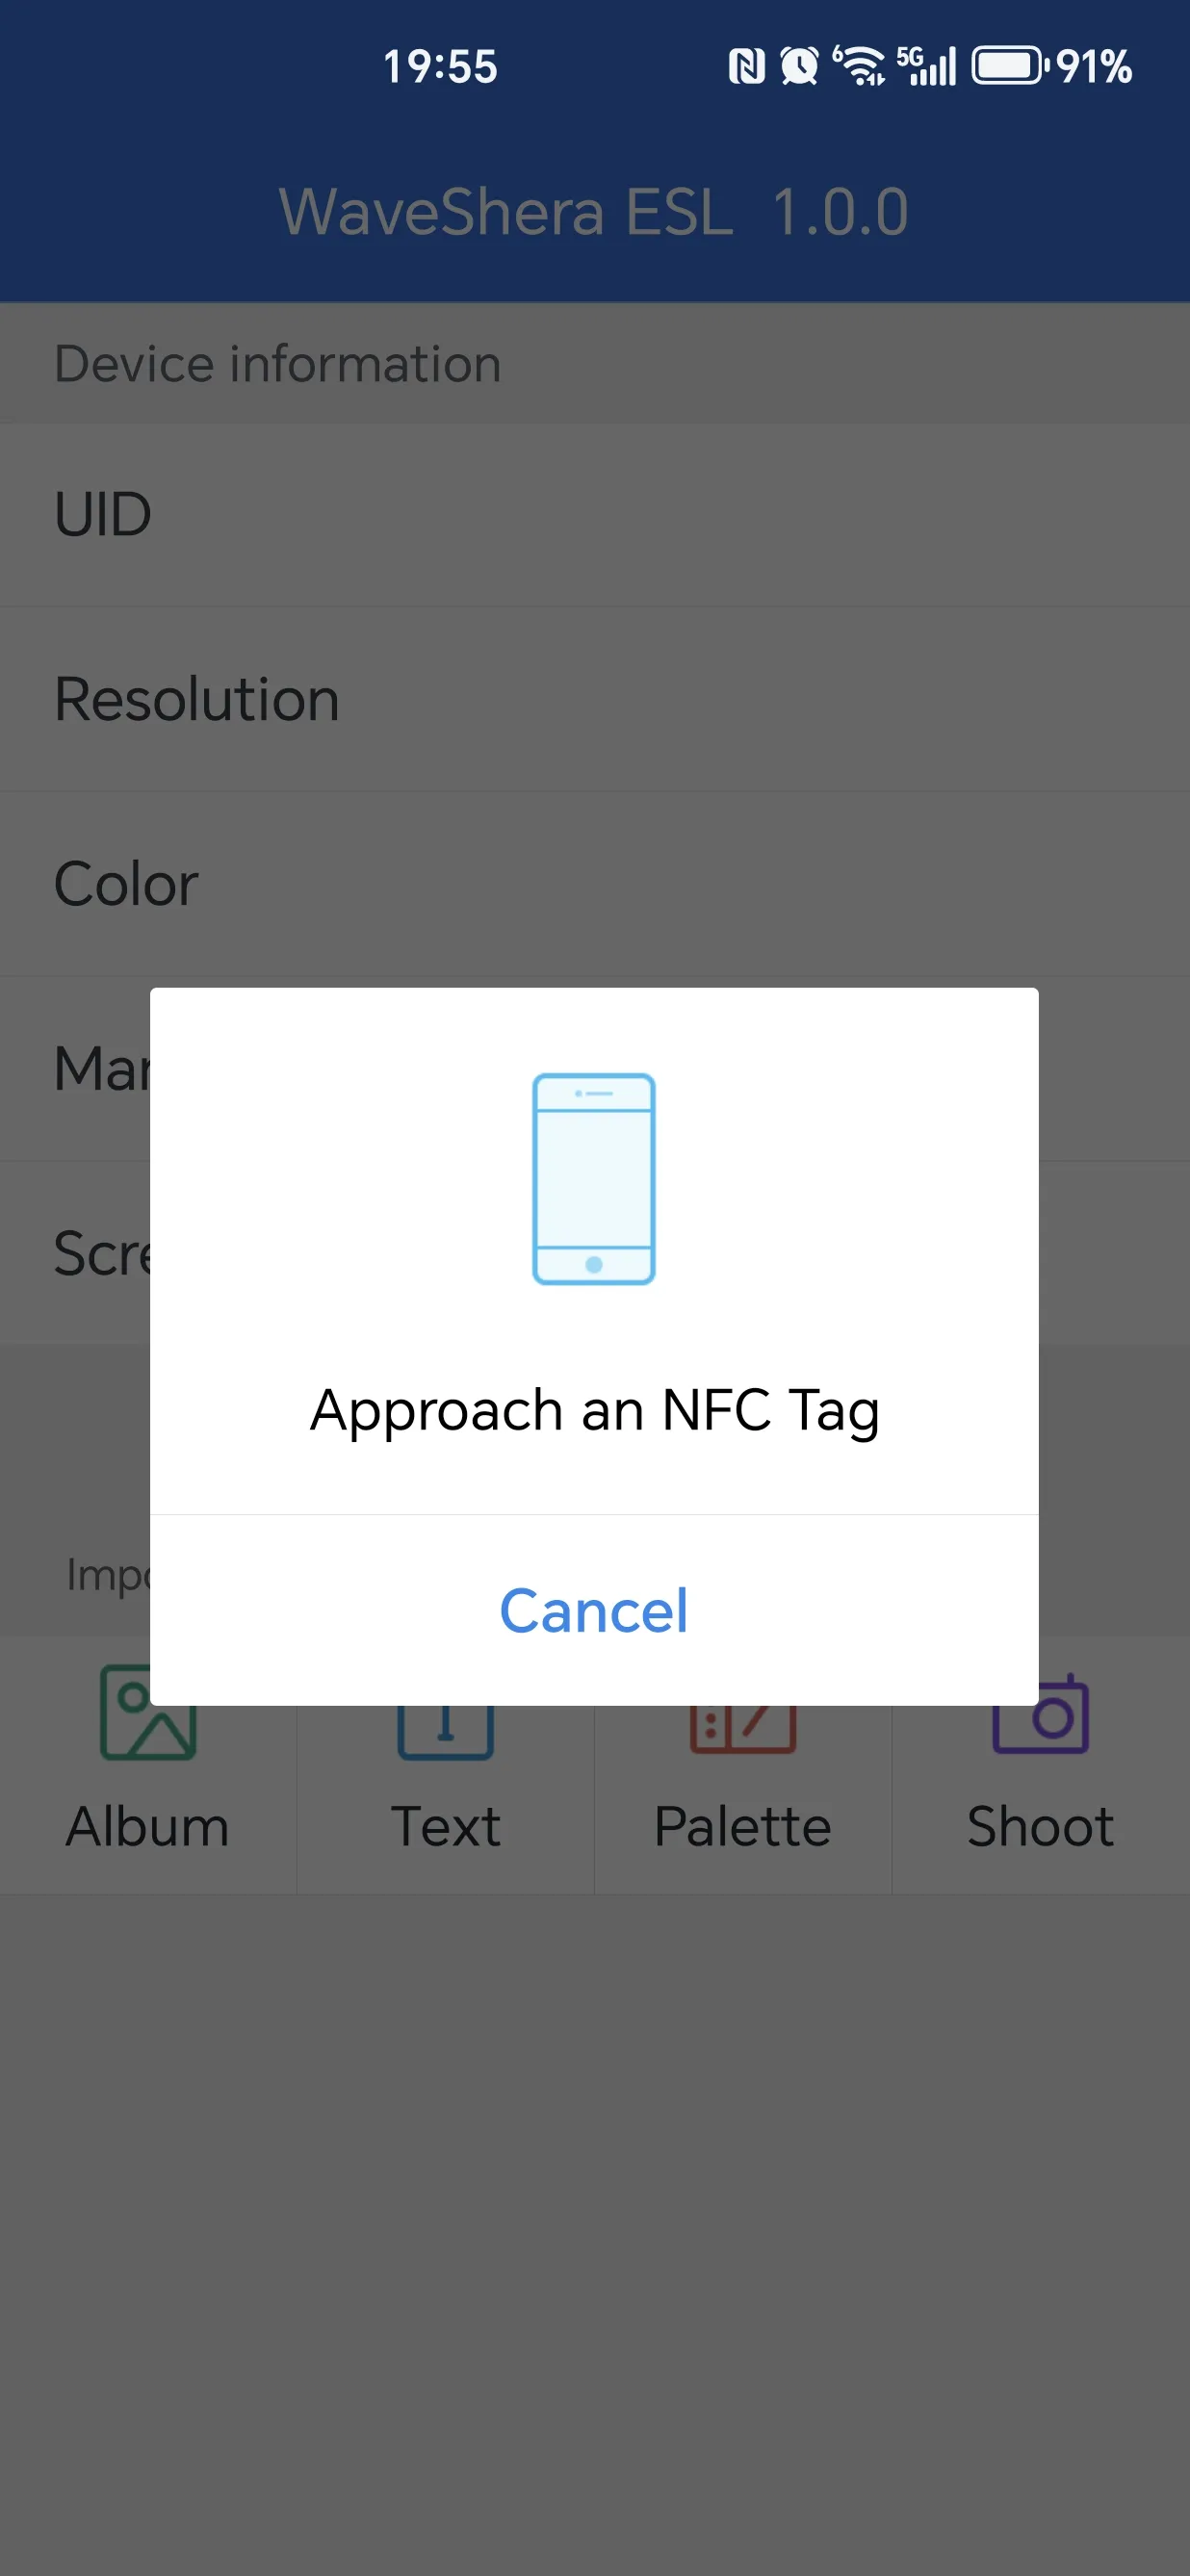
Tap the "Album" icon, enter the album and select the image to display. After confirming the selection, you will enter the image processing page.
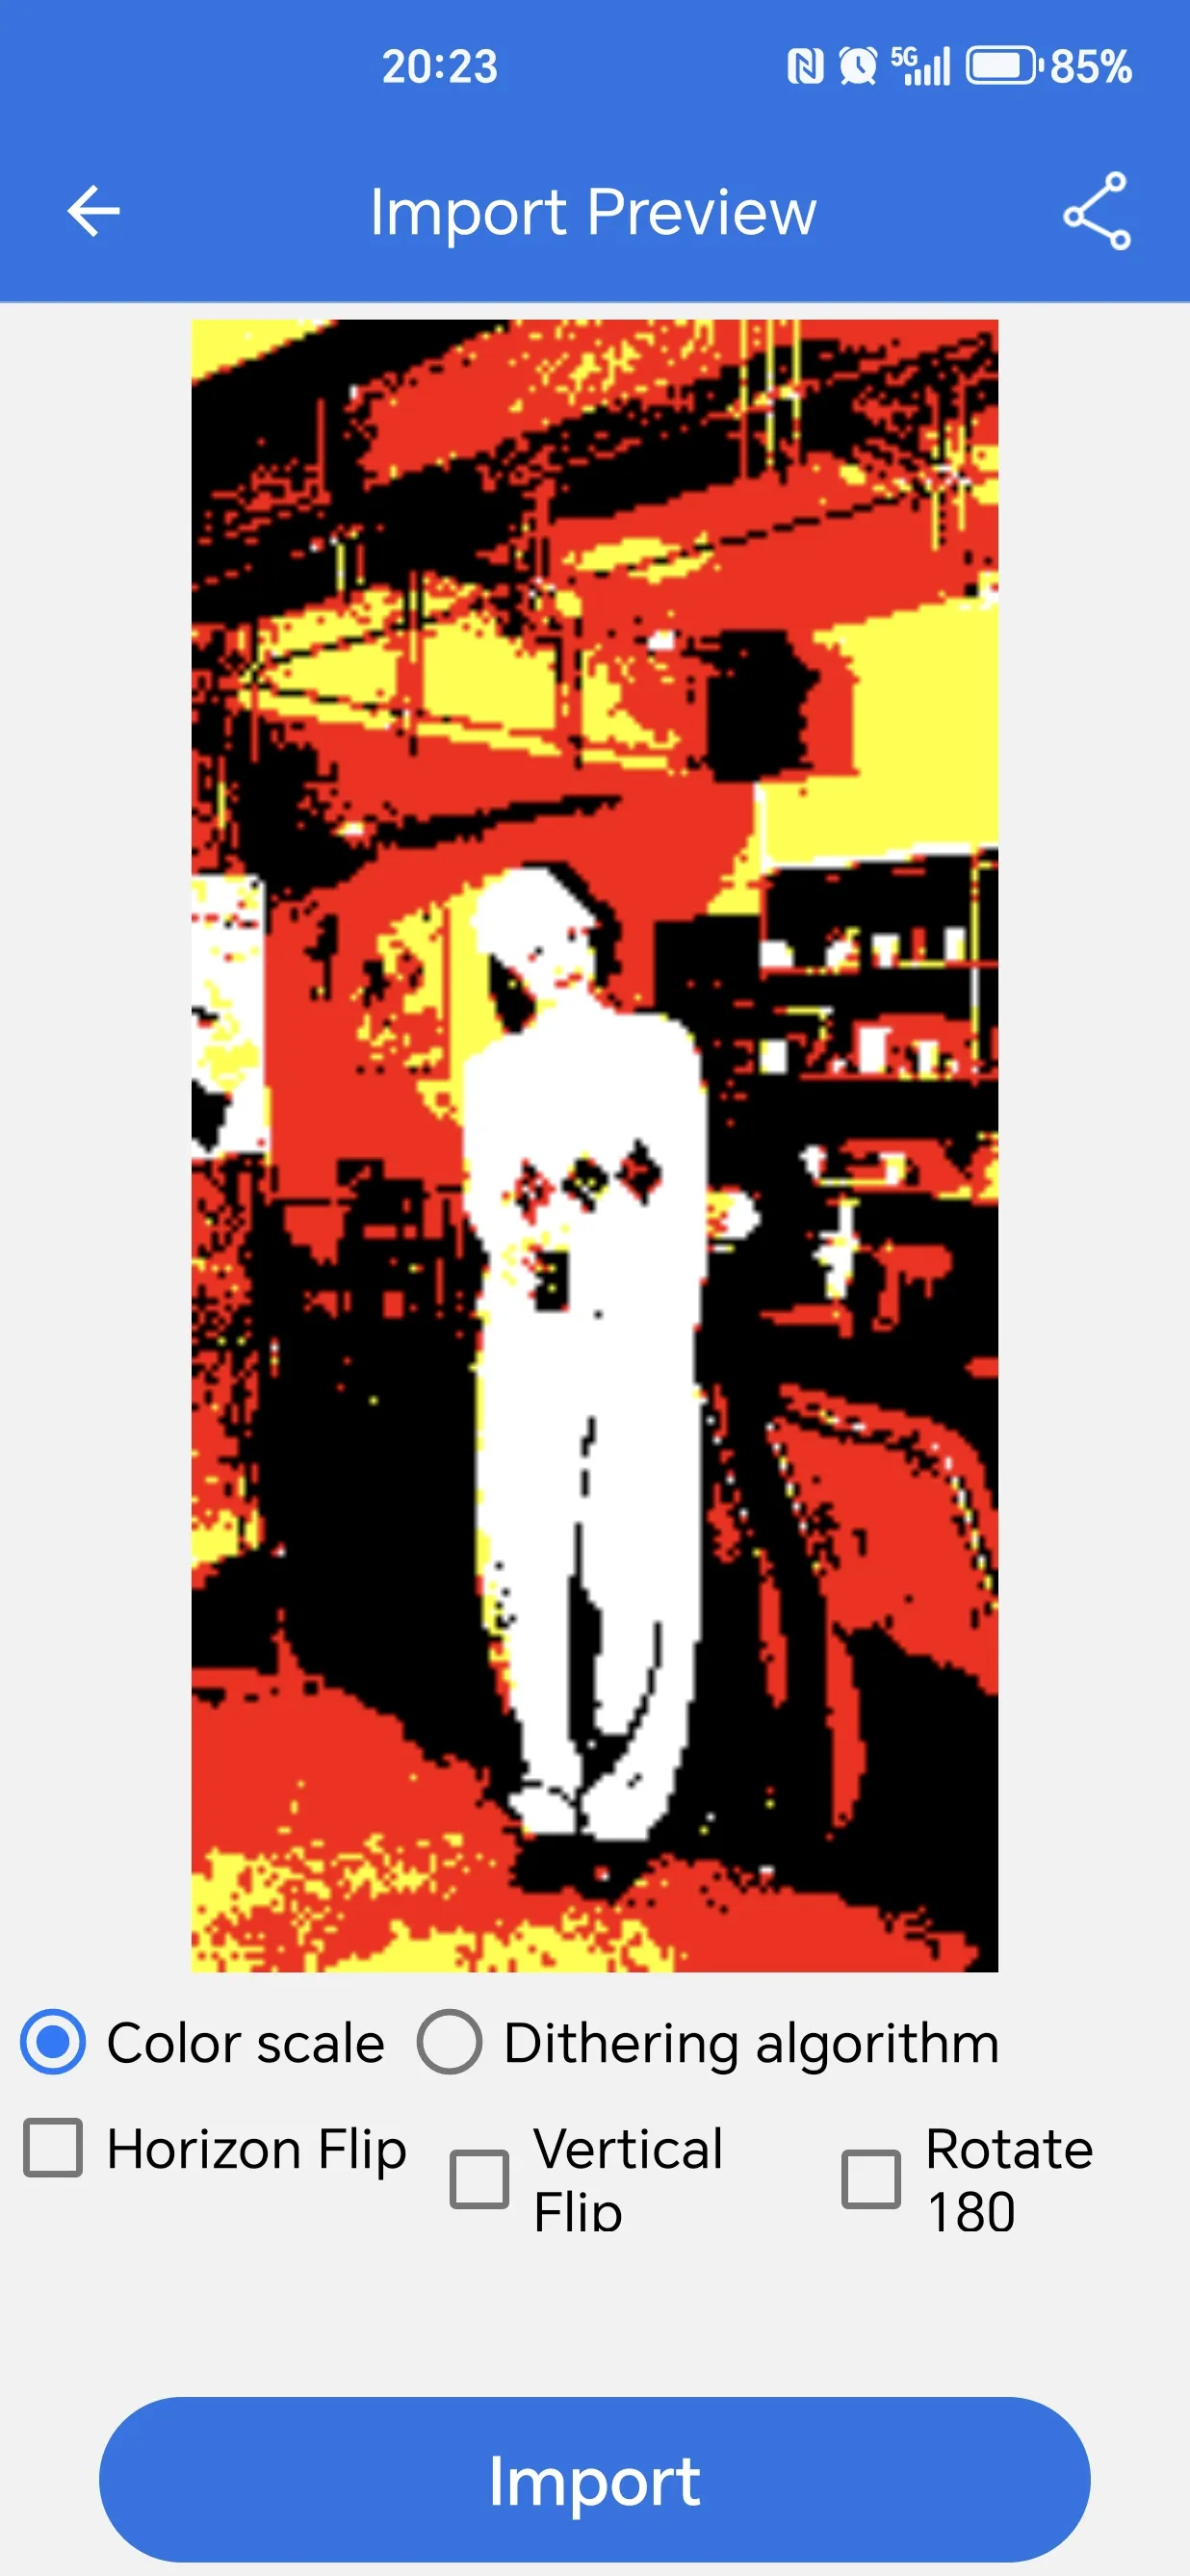
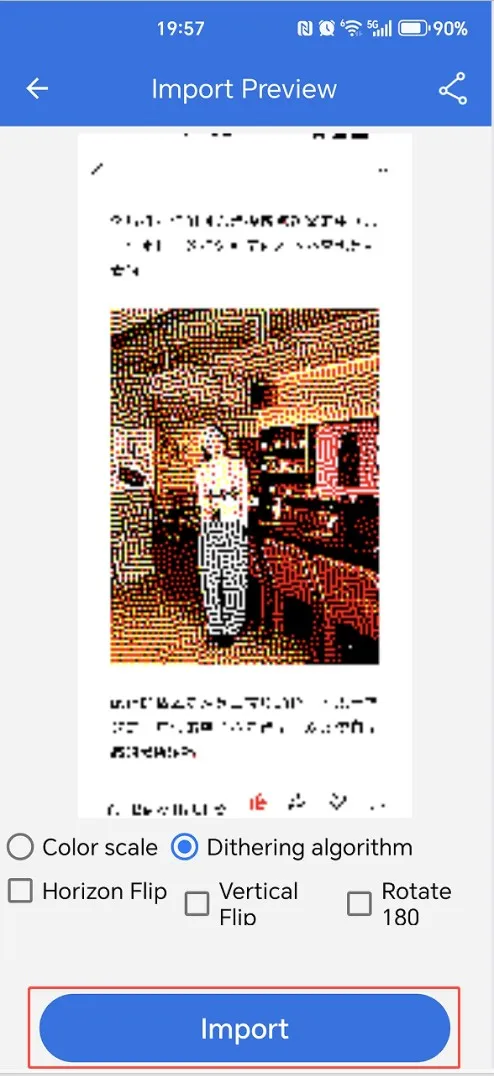
On the image processing page, select the corresponding button and tap the "Import" button to start importing the image. If the e-Paper display has not been separated from the phone after binding, first move the e-Paper away, then bring it close to the phone again.
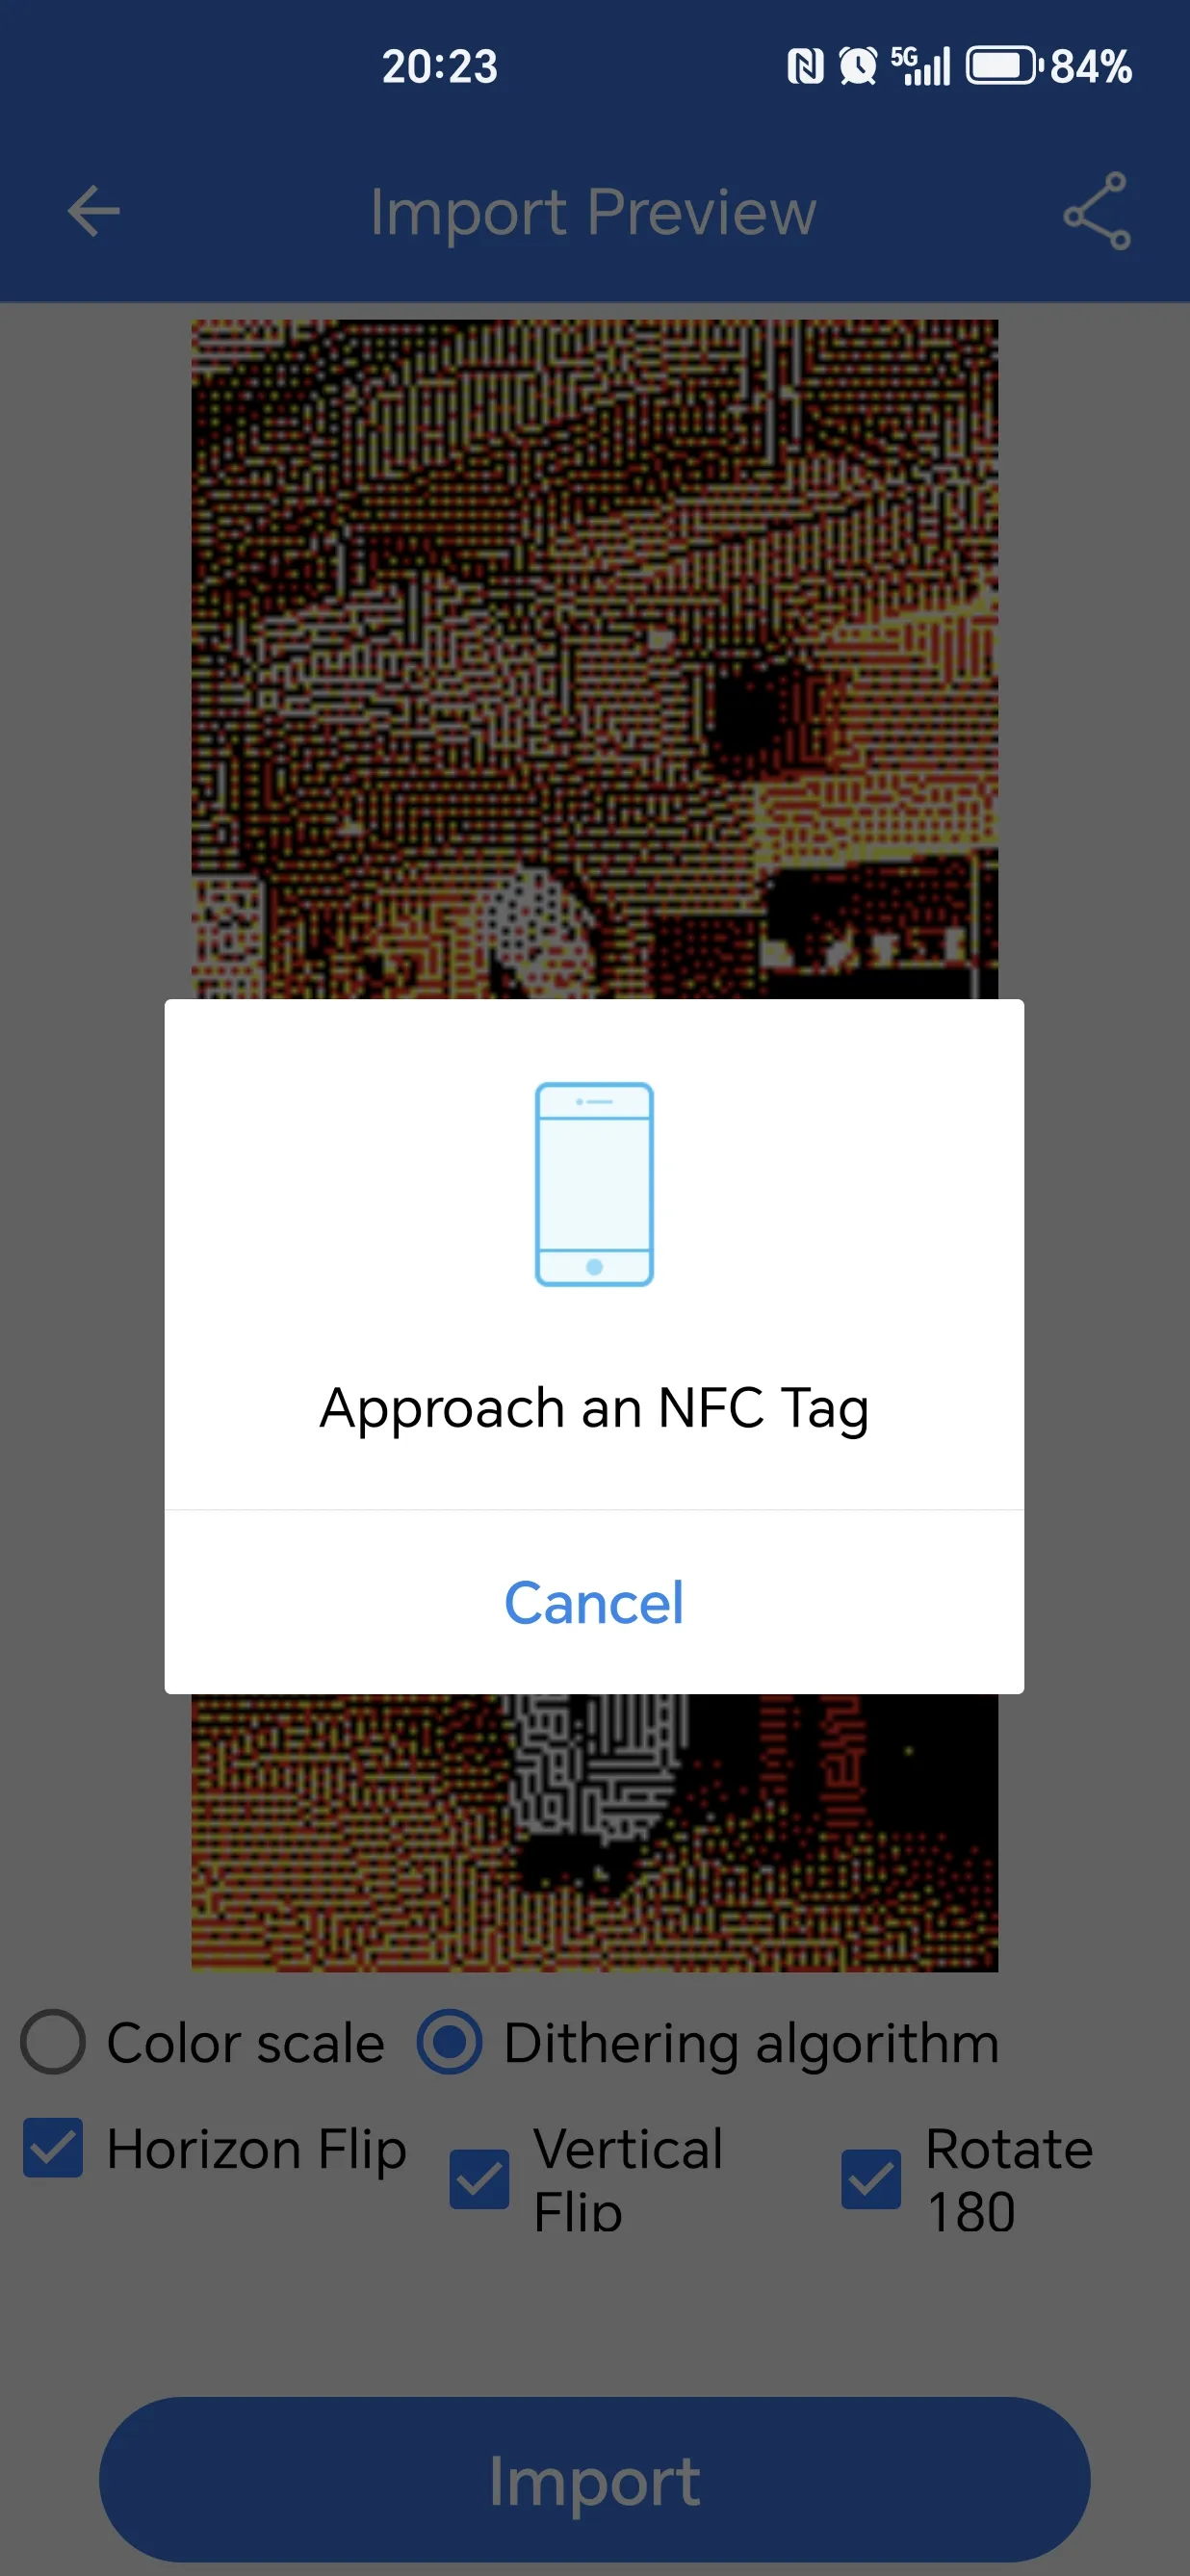
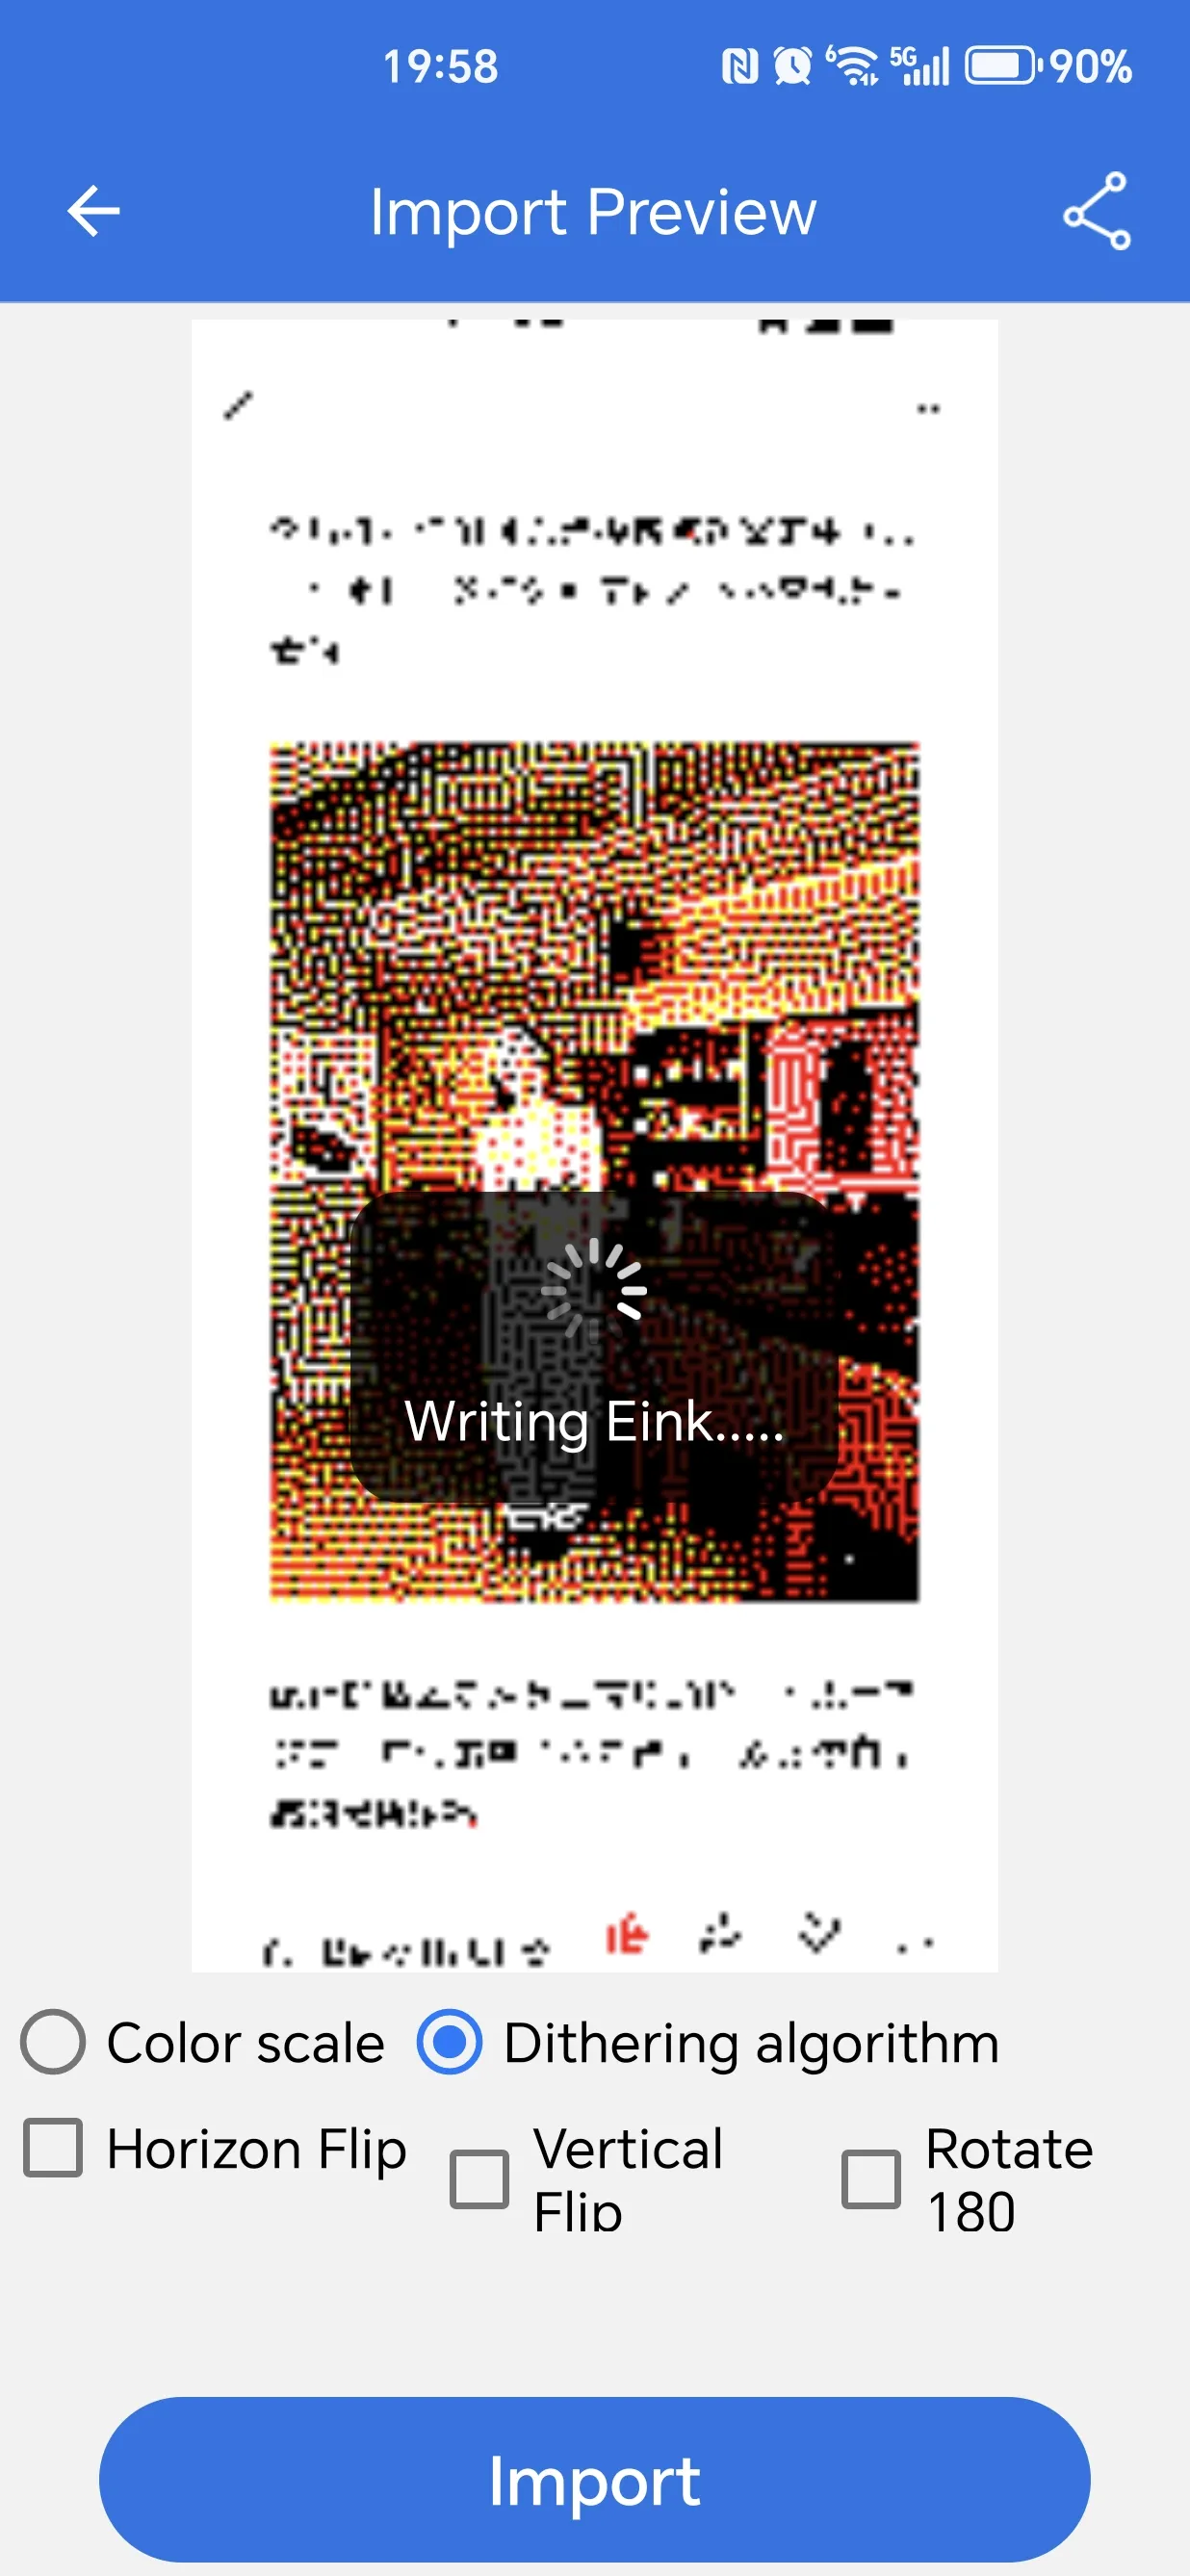
Wait for the refresh process to complete, which takes about 16 seconds.
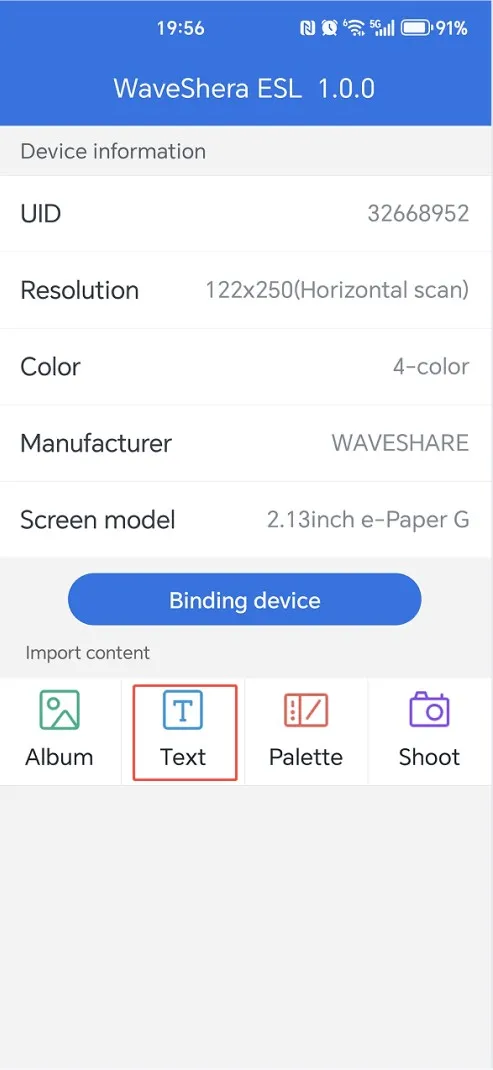
To add text, first bind the device, then select the text icon on the main page.
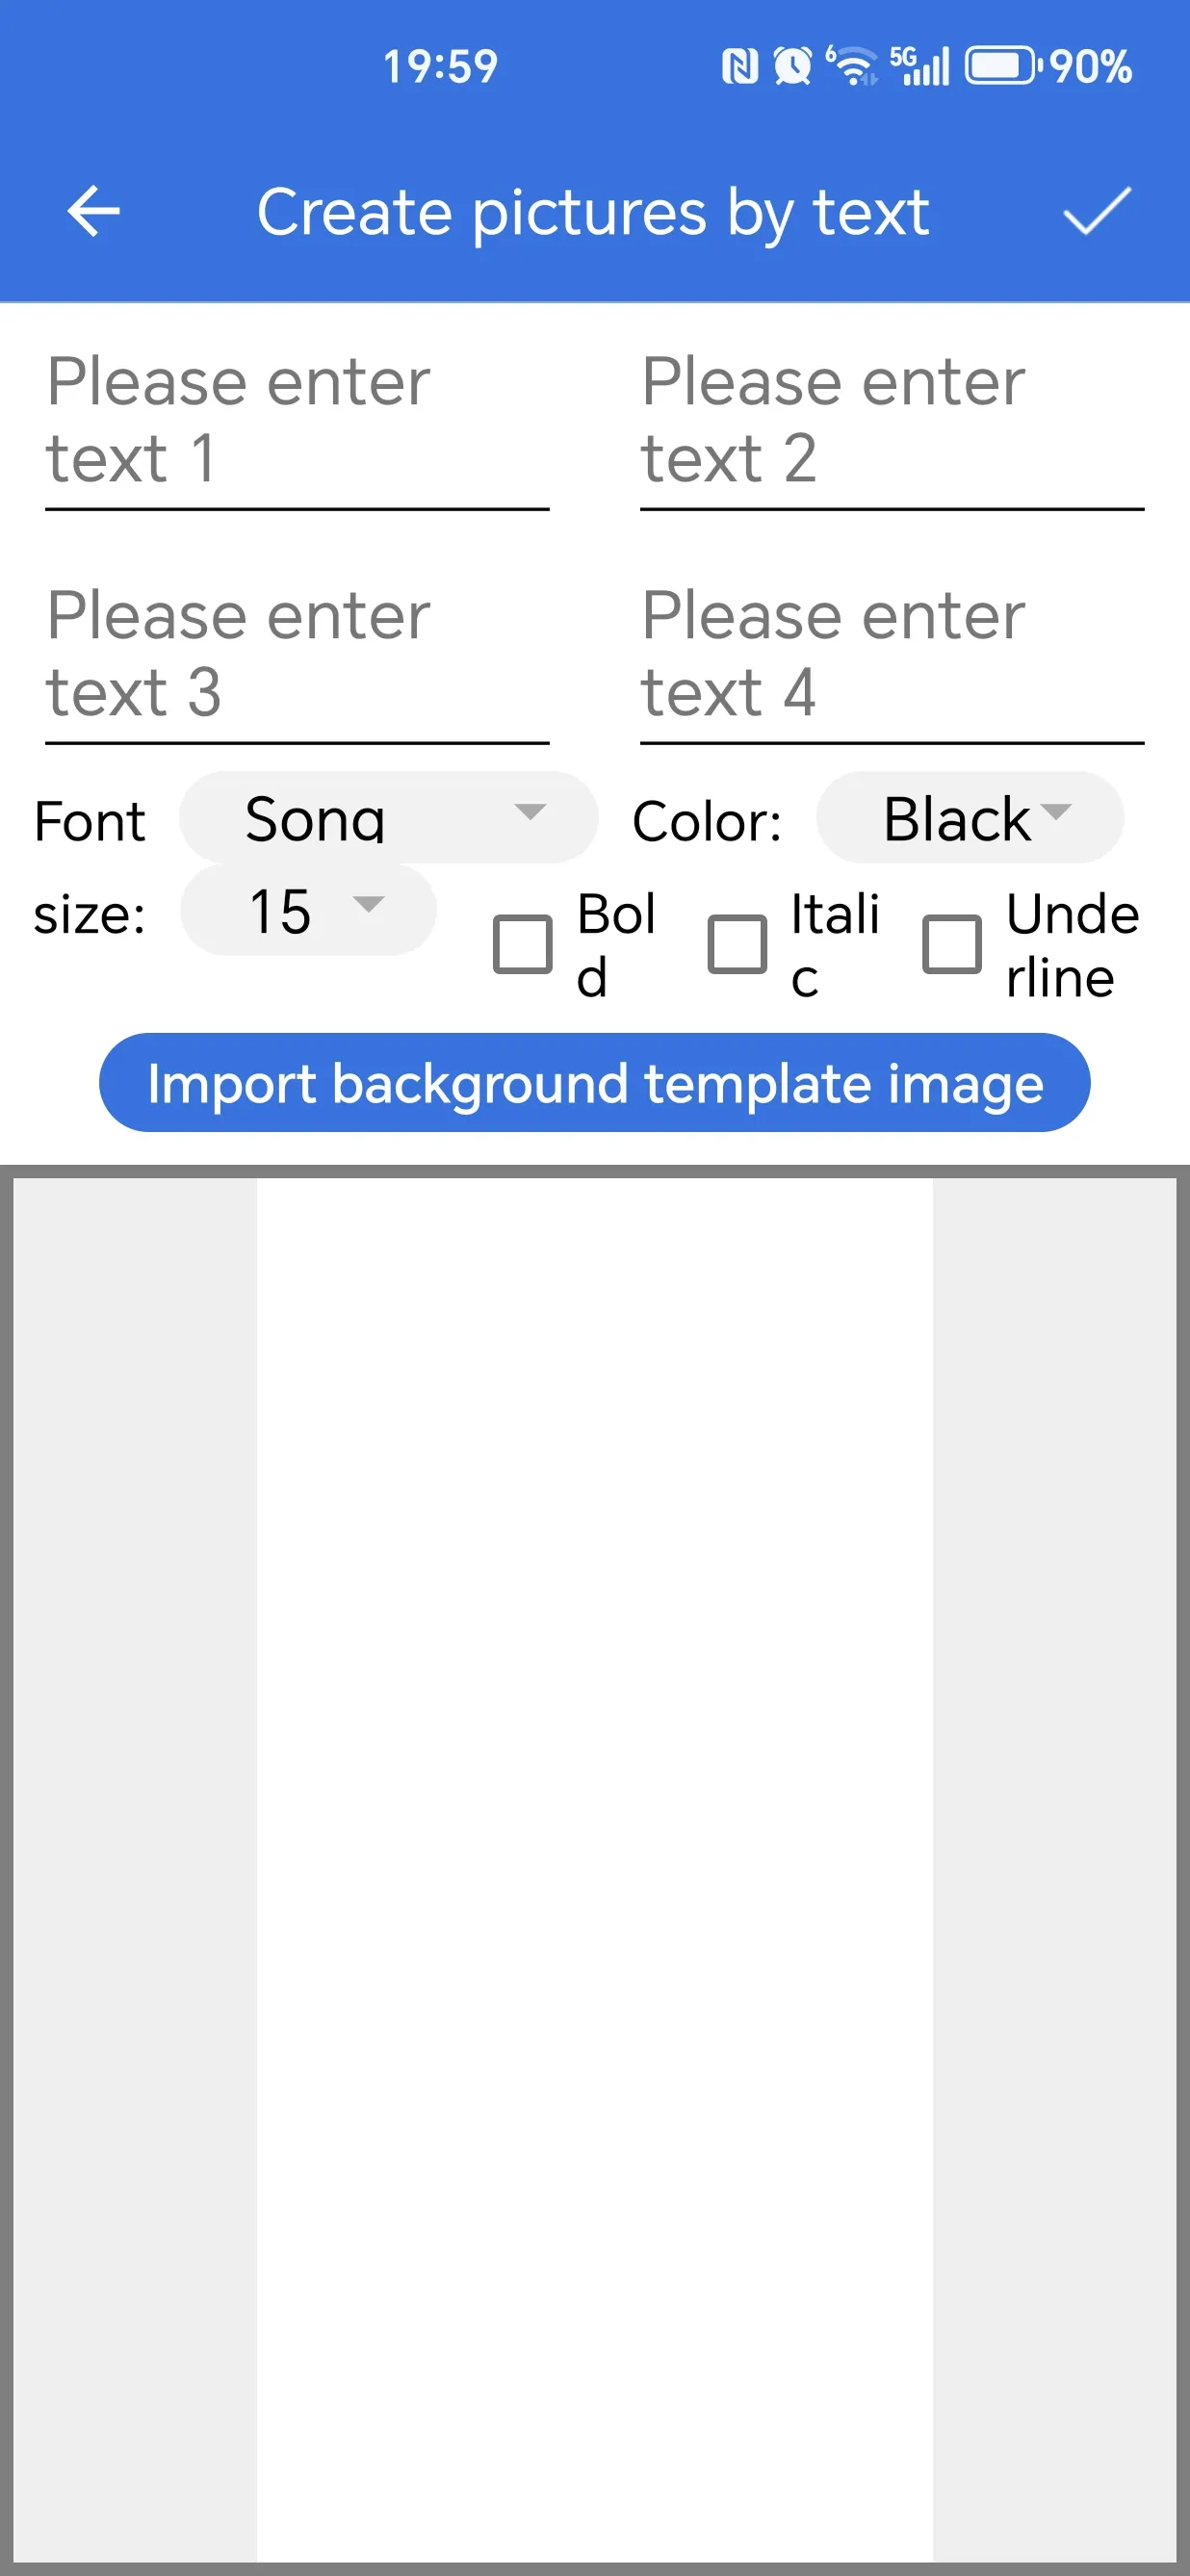
Draw text. You can select font size, color, and font, and drag the text position in the sample image below. You can also import a "background template". The background image resolution must match the e-Paper resolution. After setting, tap the "√" in the upper right corner to save the image, and proceed to step 3 (image processing page).
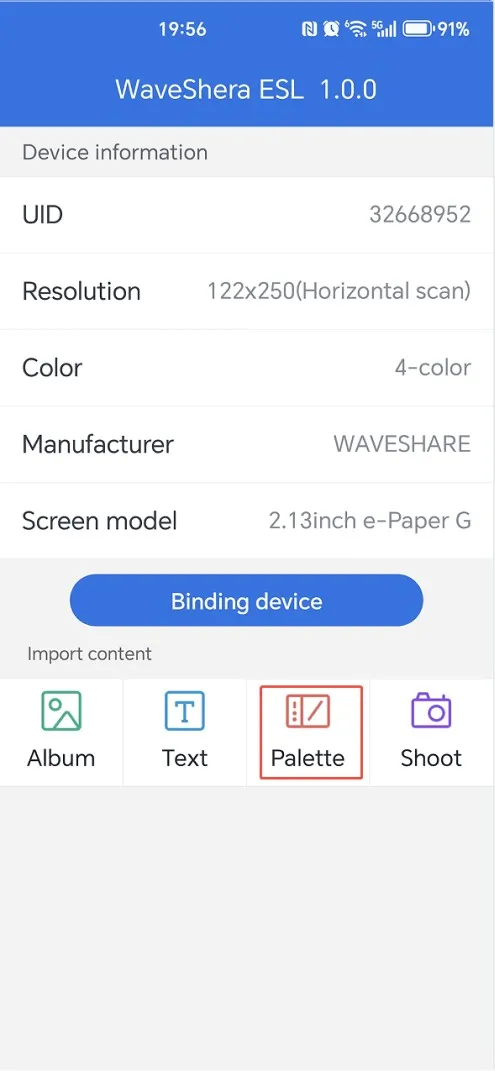
To use the drawing board, first bind the device, then select the drawing board icon on the main page.
Draw on the screen with your finger. The default brush is black with a width of 5. Tap the gear icon in the lower right corner to enter brush settings. Tap the "√" in the upper right corner to save the image, and proceed to step 3 (image processing page).
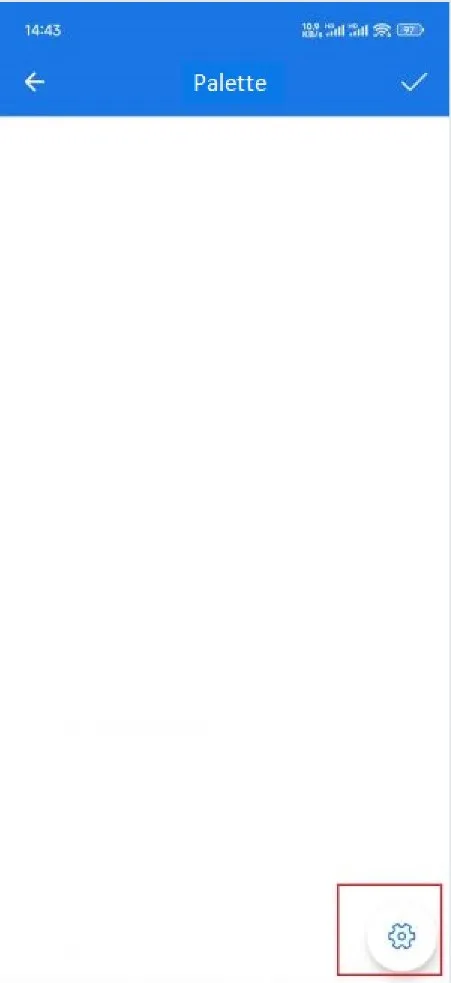
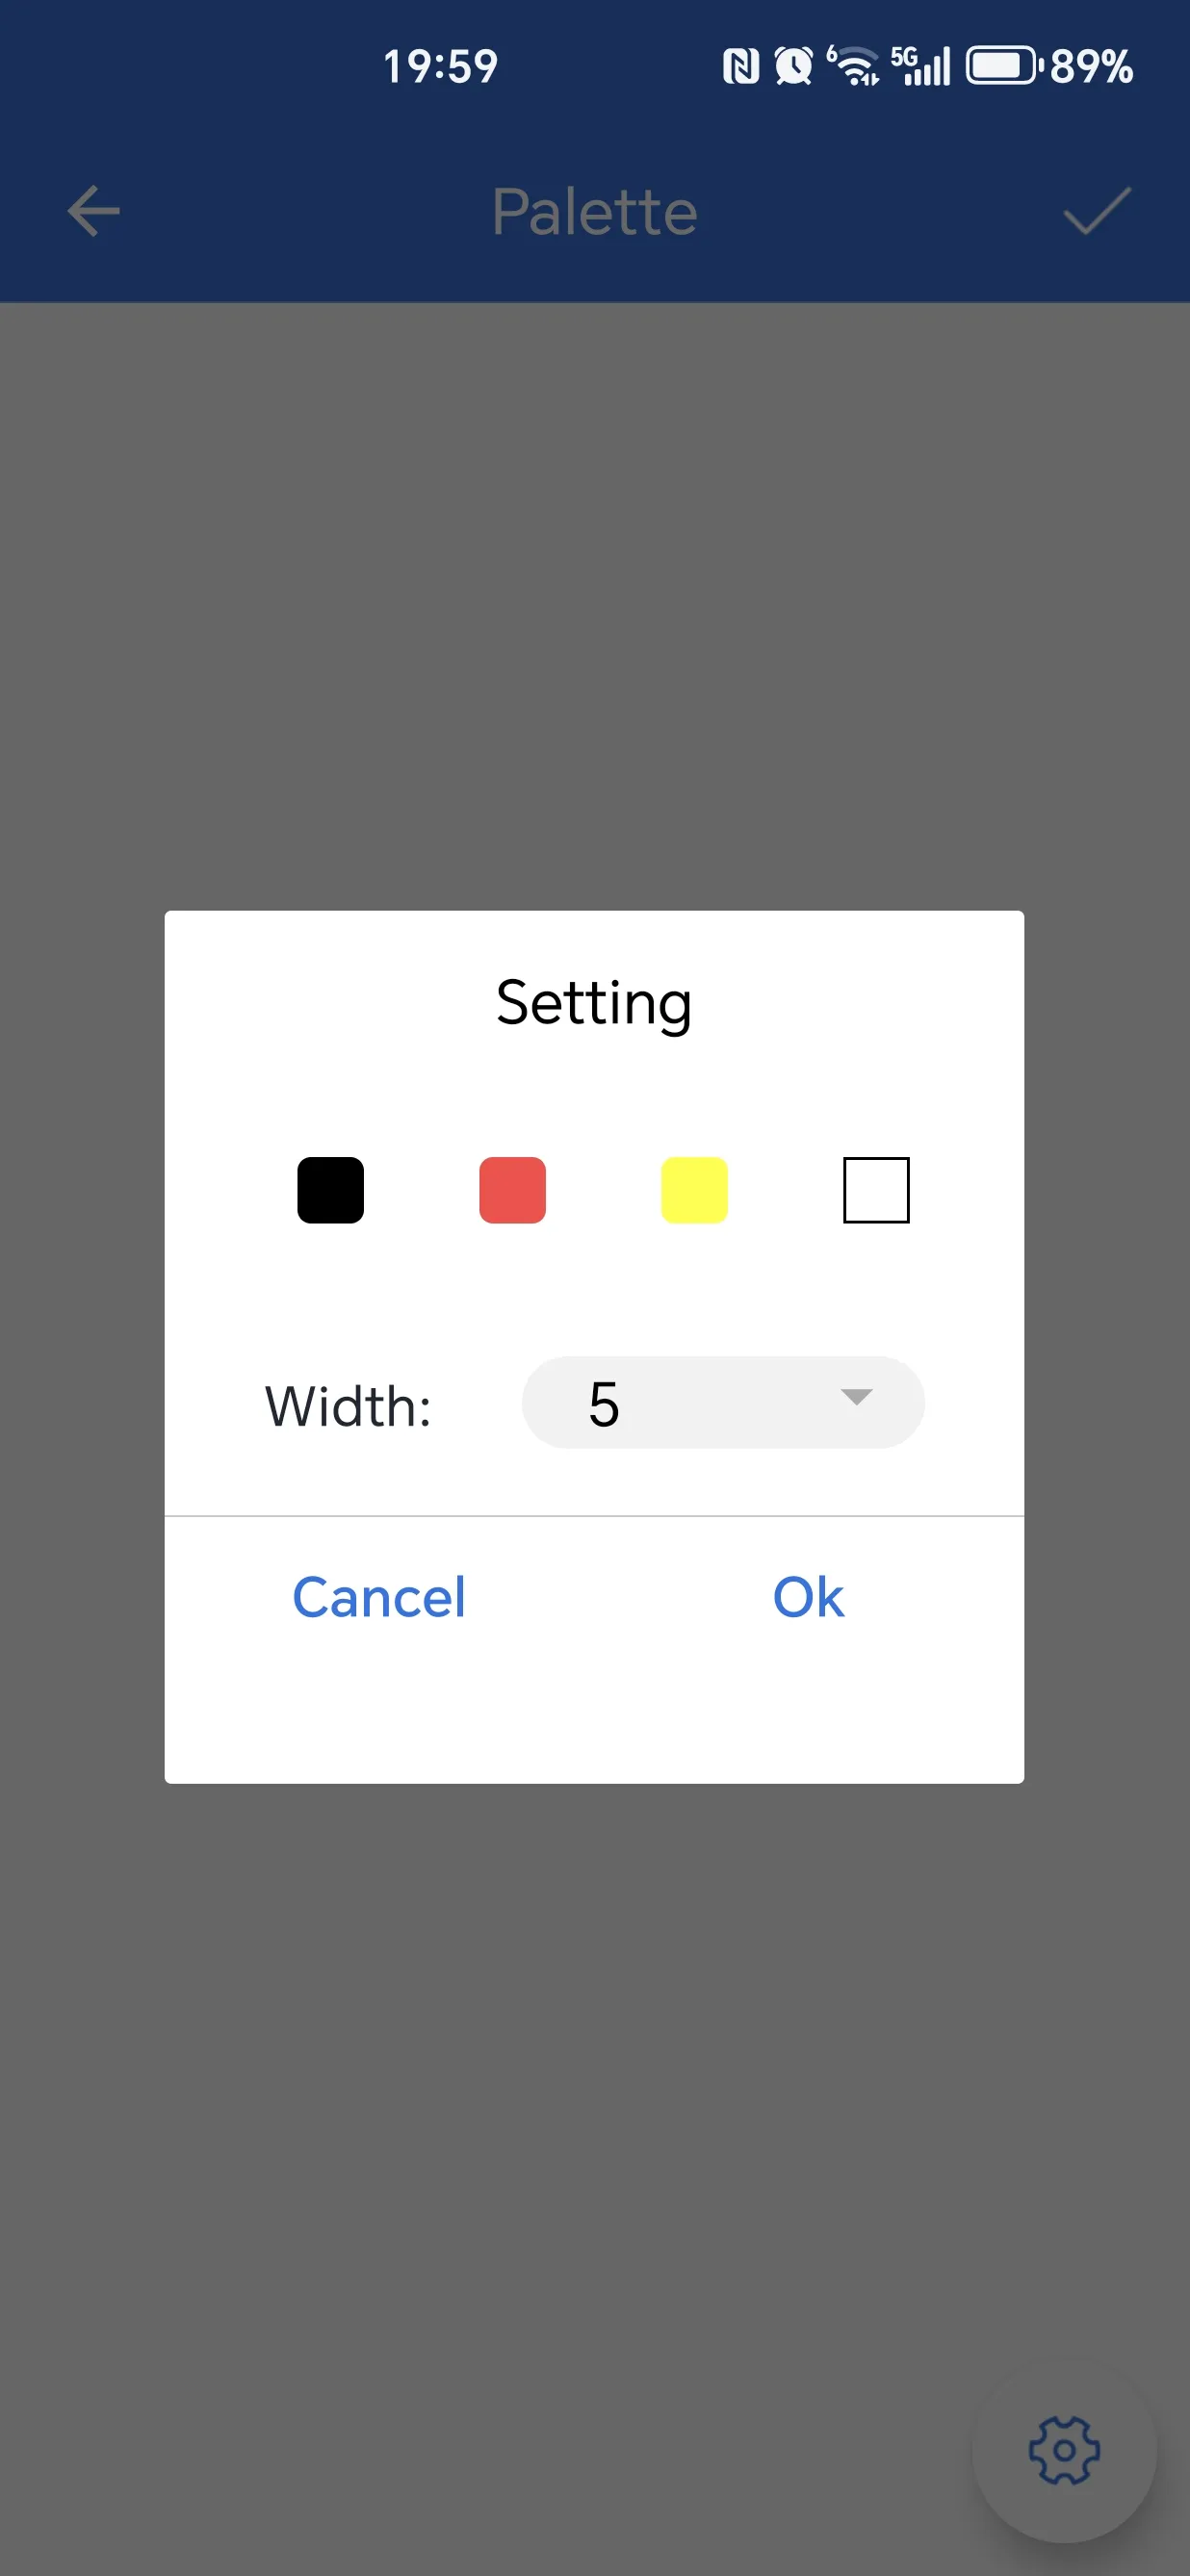
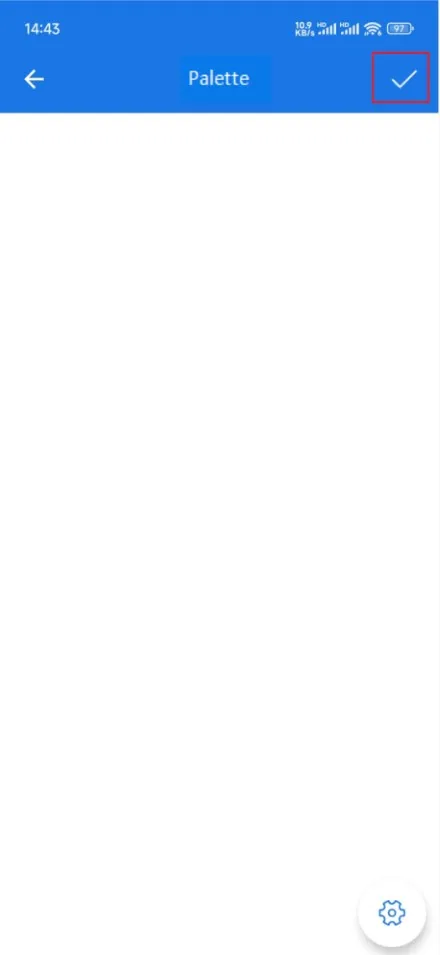
To take a photo, first bind the device, then select the camera icon on the main page.
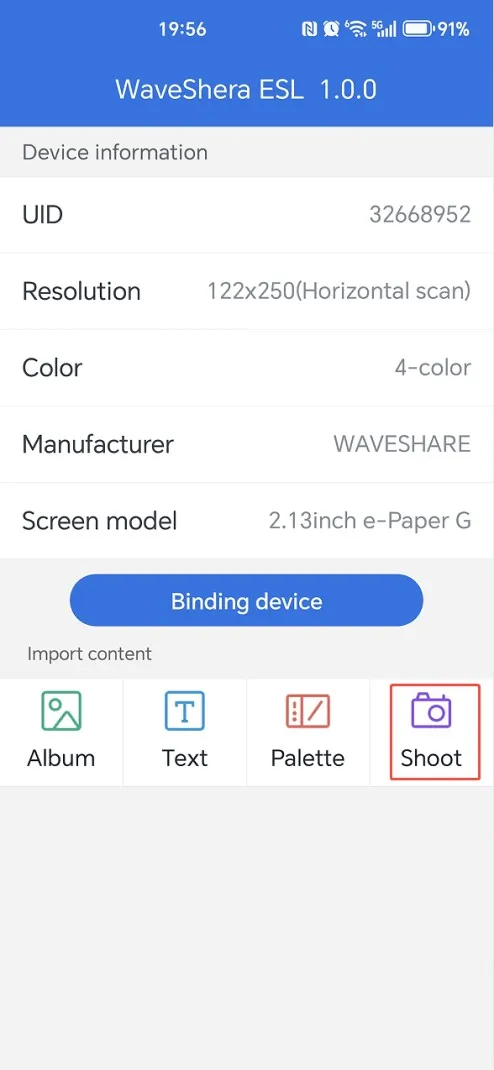
Take and crop the image, then proceed to step 3 (image processing page).
ST25R3911B NFC Board Usage
The ST25R3911B NFC Board can be used as an NFC reader/writer to refresh images on NFC-Powered e-Paper products. This page describes the process of refreshing images using this development board, including two methods: reading images from a TF card and transferring images via UART. The screenshots use the 2.13inch NFC-Powered e-Paper as an example; in practice, select the corresponding screen model.
Program Download
- The reader/writer comes with a pre-programmed firmware. If you do not need to modify the program, you can skip the download process and start testing.
- The ST25R3911 NFC Board (referred to as NFC Board) provides an SW download interface. You can connect a programmer via this interface to download the program to the driver board.
- After the program download is complete, connect the reader/writer to the PC using a Micro USB cable via its Micro USB interface.
Refresh Steps
Connect the reader/writer to a computer or 5V power supply via its USB interface using a USB cable.
Place the prepared monochrome bitmap file on a TF card, then insert the TF card into the card slot of the NFC Board.
Connect a 5V power supply to the USB interface of the NFC Board.
After the screen displays the directory, use the buttons to select the e-Paper model and the corresponding image to refresh.
- Use the buttons to navigate and select the "Update e-Paper" option.
- Select the screen model to refresh according to your screen model (the steps in the images use 2.13 as an example; pay attention to the actual screen model in use).
- Select the image transfer method.
- Read image from TF card: "Update E-paper SD"
- Select the image (the image resolution must match the screen resolution).
- Confirm the image.
- Transfer image via UART: "Update E-paper UART"
- Send a BMP format image via UART (the image resolution must match the screen resolution).
- Read image from TF card: "Update E-paper SD"
- Place the coil of the NFC Board near the center of the NFC-Powered e-Paper.
- Wait for the refresh to complete.
Select Update Image Select Screen Model 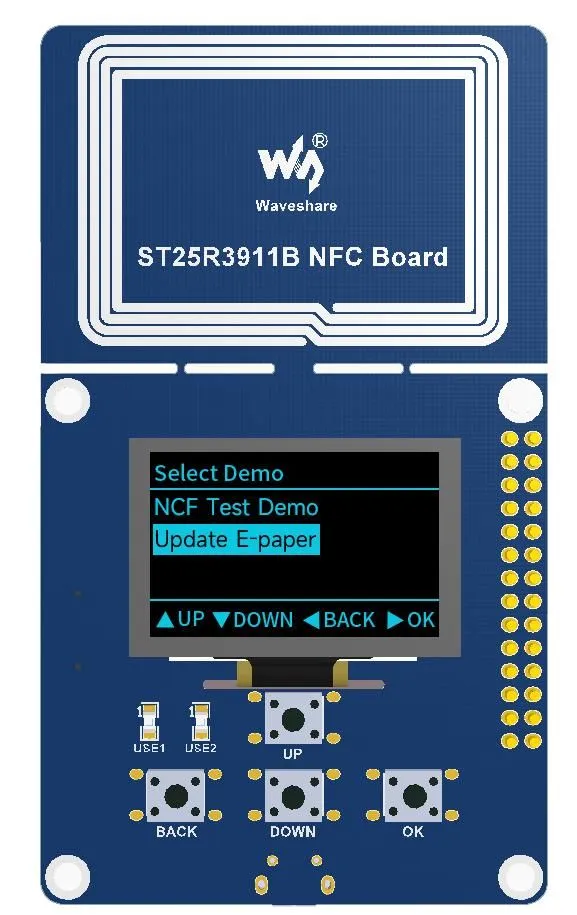
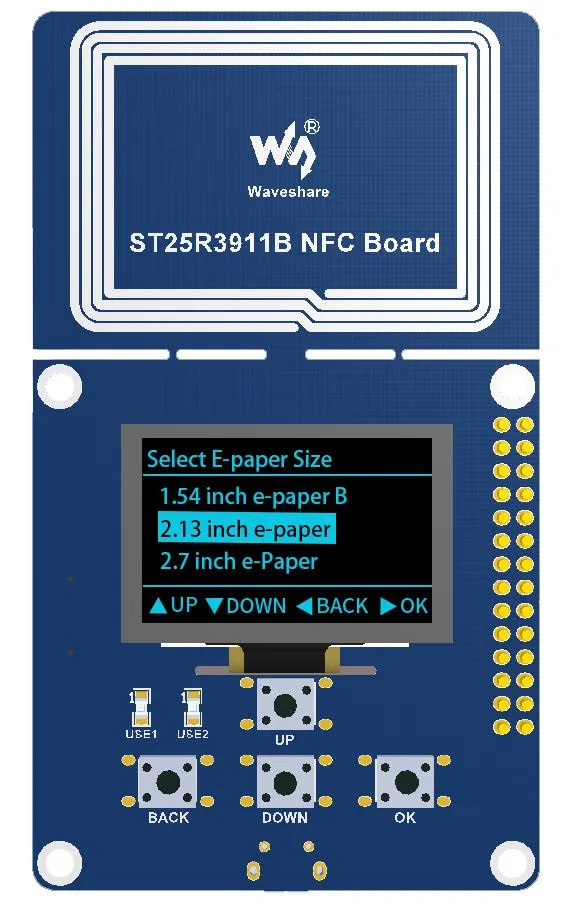
Select TF Card Method Select Image Confirm Selection Read Image from TF Card 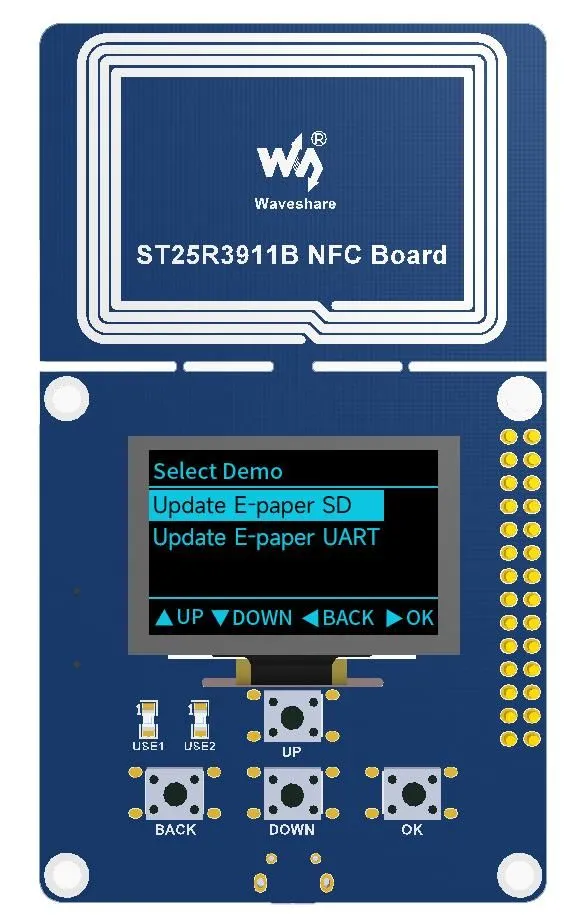
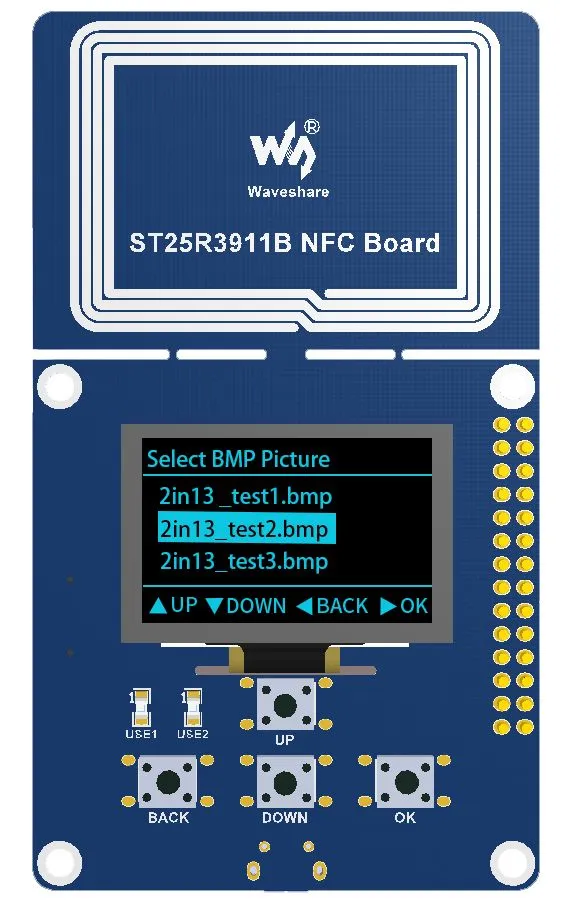
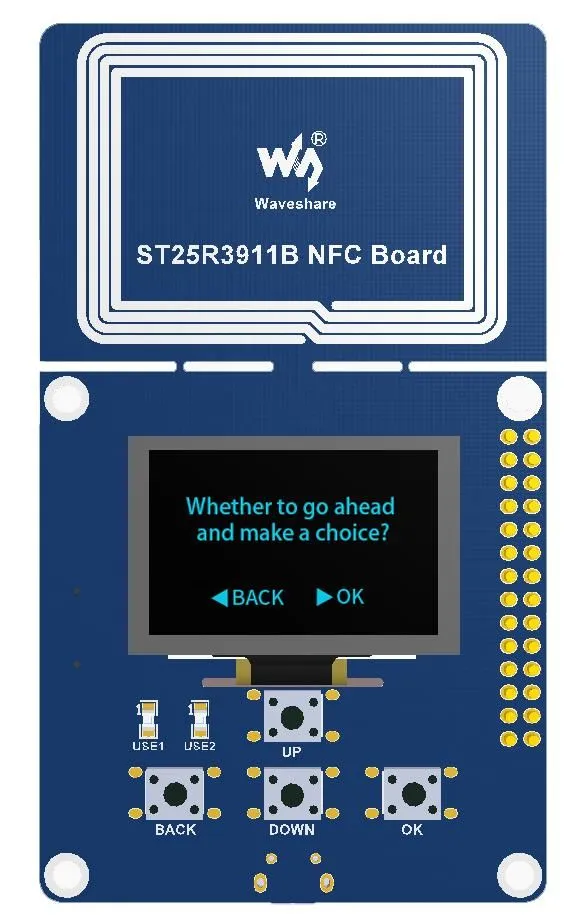
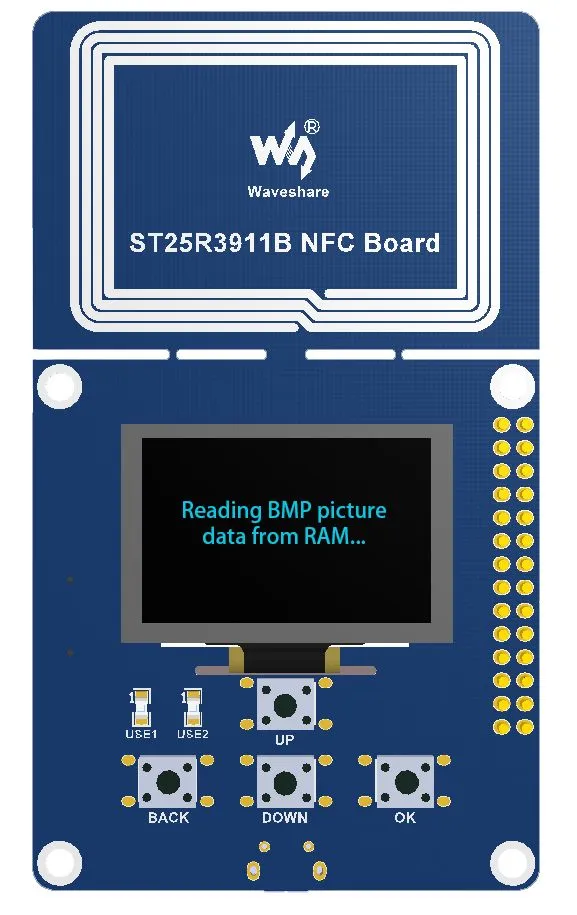
Select UART Method Wait for Image Transfer to Complete 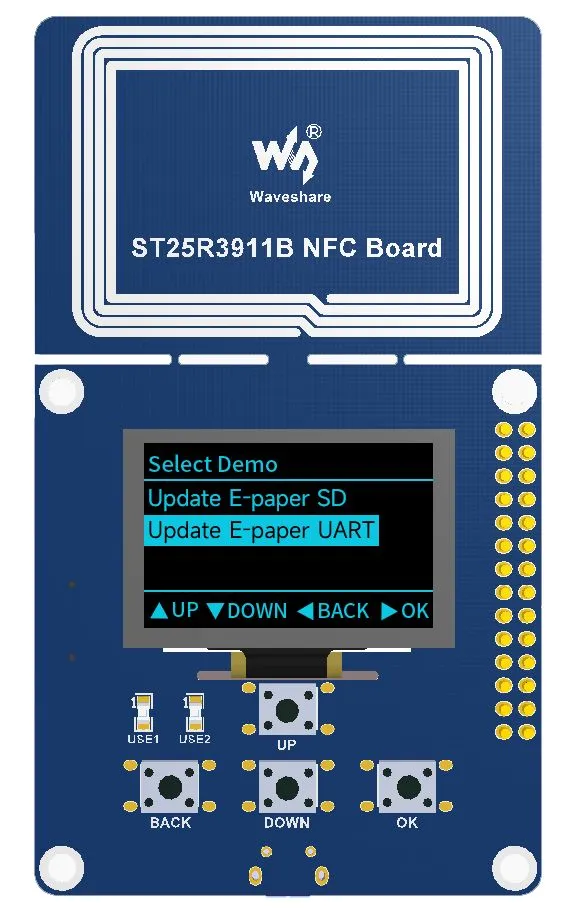
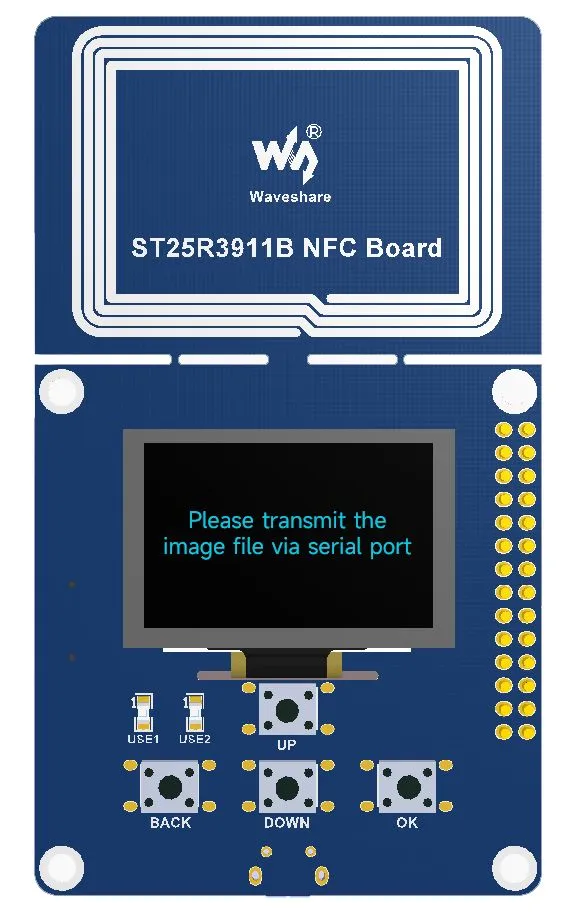
Prompt to Approach Screen Screen Sensing Successful Configuring Screen Refreshing Refresh Successful 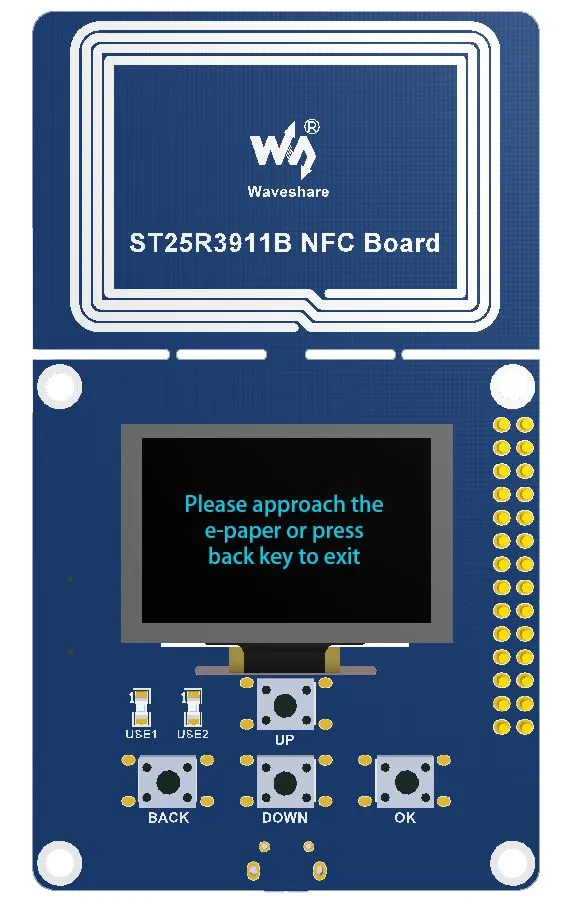
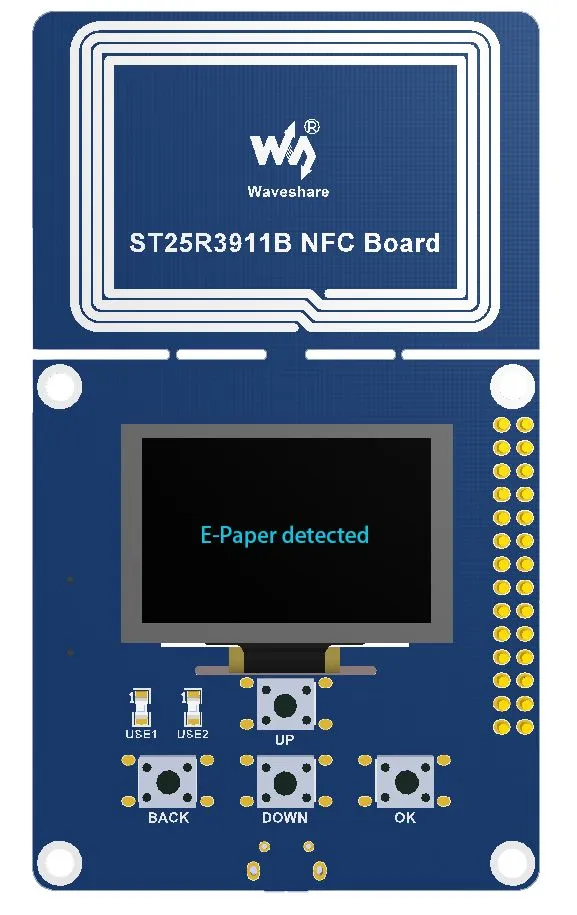
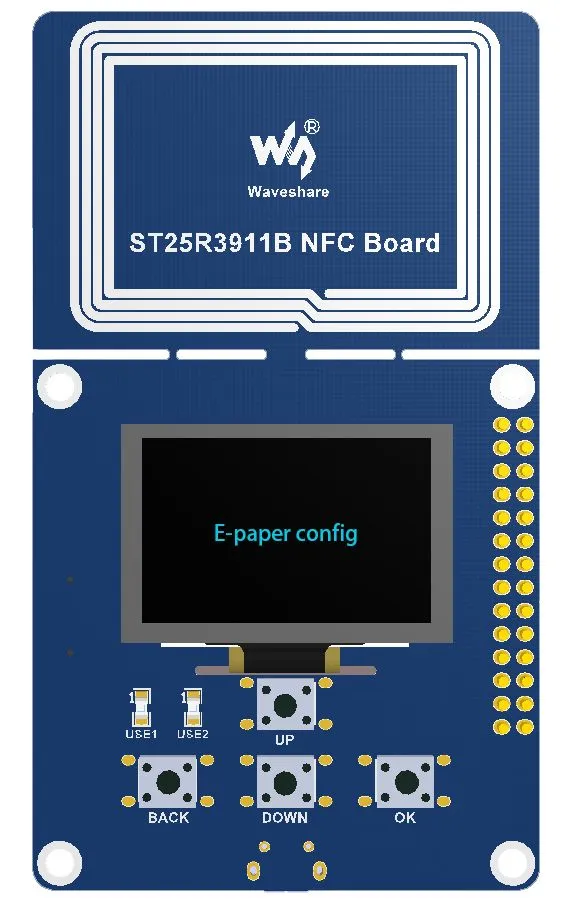
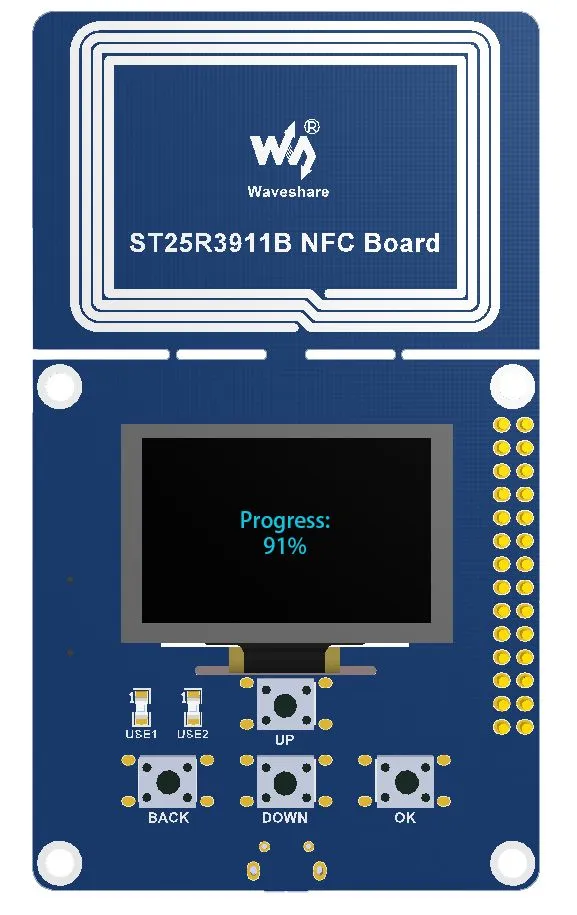
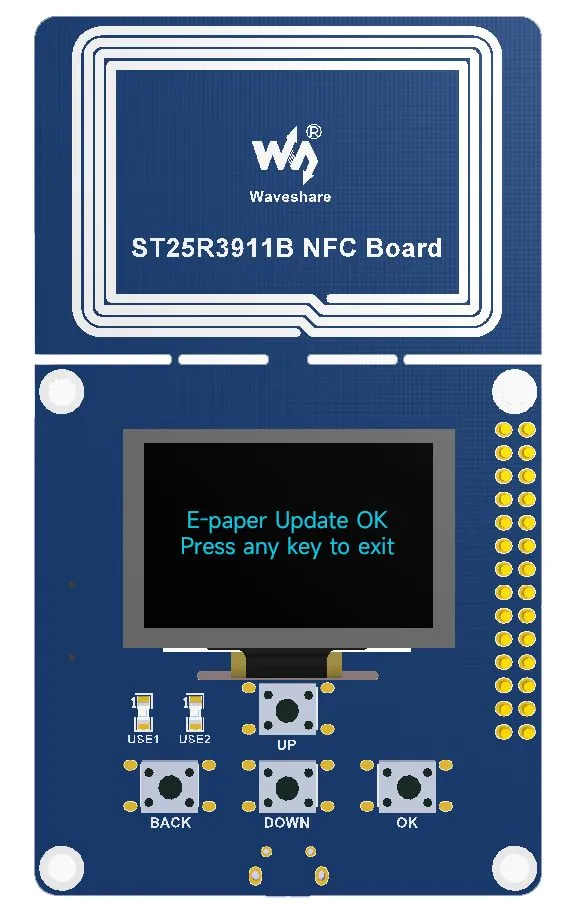
If a refresh failure prompt appears, move the reader/writer away and then place it back to attempt the refresh again.
Resources
1. Related Documents
2. ST25R3911B NFC Board Related Resources
- Schematic Diagram
- X-CUBE-NFC5 Function Description Datasheet
- ST25R3911 Datasheet
- Example Program (Fast Refresh, Default)
- Example Program (Full Refresh)
- Test Images
3. Mobile APP
Support
Monday-Friday (9:30-6:30) Saturday (9:30-5:30)
Email: services01@spotpear.com