


- sales/support
Google Chat:---
- sales
+86-0755-88291180
- sales01
sales@spotpear.com
- sales02
dragon_manager@163.com
- support
tech-support@spotpear.com
- CEO-Complaints
zhoujie@spotpear.com
- Only Tech-Support
WhatsApp:13246739196
- Purchase/Shipping/Refund
WhatsApp:13424403025
- HOME
- >
- ARTICLES
- >
- Common Moudle
- >
- LCD
MK10 B User Guide
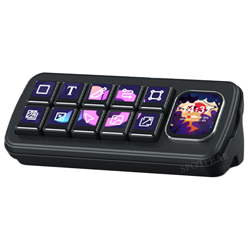
Introduction
MK10 is a multi-functional AI smart control panel with 10 LCD mechanical keys and a 2.01inch secondary screen. The device supports voice recognition and AI platform integration, allowing users to conveniently manage applications, automation tasks, and smart home scenarios through voice interaction and one-click macro operations. The exquisite aluminum alloy body and adjustable stand design make MK10 an efficient interactive tool for creators and smart life users.
Hardware Connection
Connect the USB port of MK10 to the USB port of the computer using a Type-C data cable.
(Note: Please make sure that the USB port of the connected computer can provide a stable power supply.)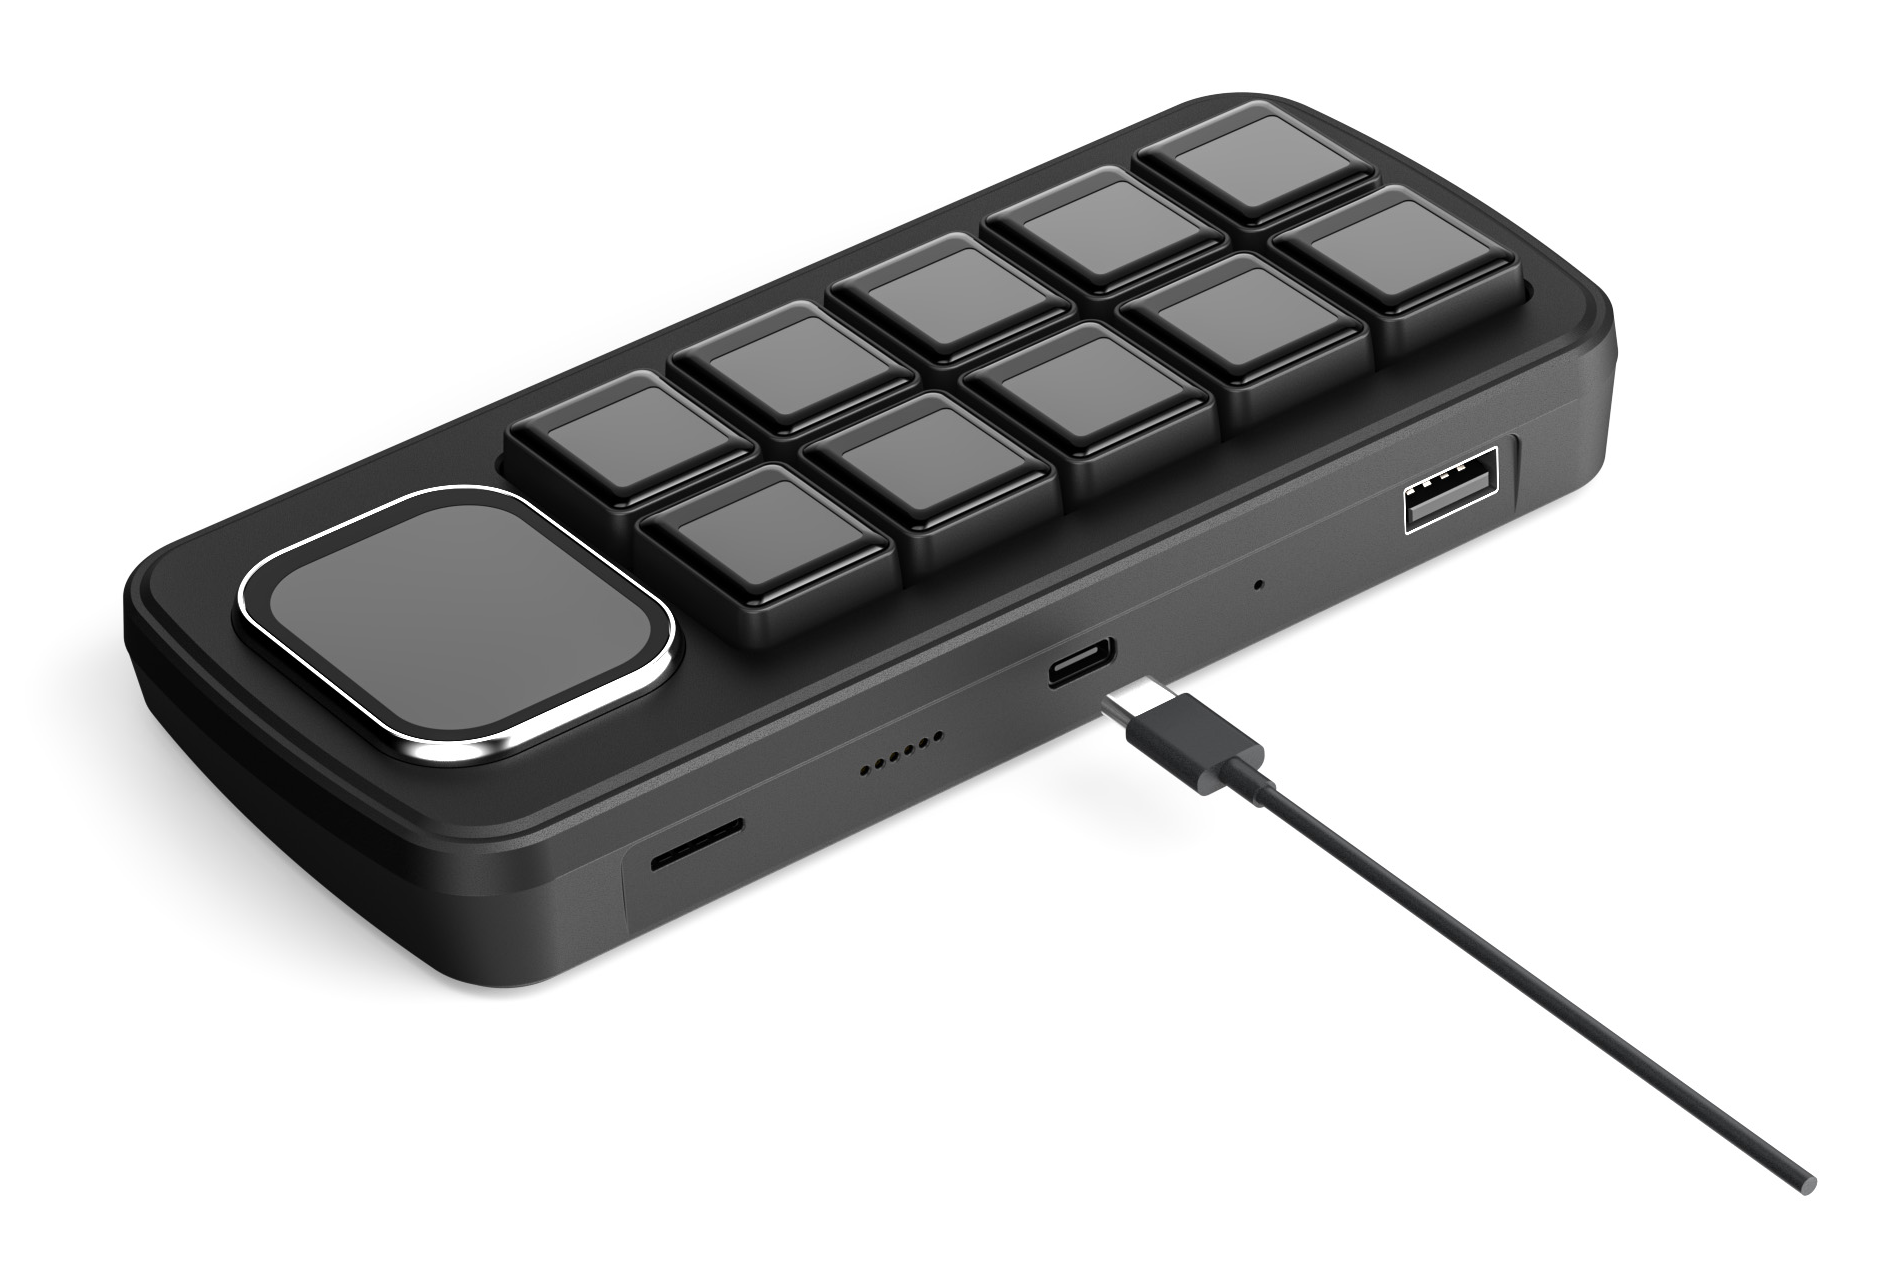
Software Settings
Download Software
- Windows version: ScreenKeyWindows
- Mac version: ScreenKeyMacOS
- ScreenKey open-source software:ScreenKey_Open_Source_V1.0
Run Theme
1. Download and unzip the software package.
2. Run the ScreenKeyWindows.exe application and ensure that "Screenkey Connected" is displayed in the upper left corner.
3. Download your favorite theme from the store in the upper right corner.
4. Select the theme you want to display from the Theme Select drop-down box, click "Save & Run", wait for the run to complete, and "File sent" will be displayed in the upper left corner.
XiaoZhi AI Application
XiaoZhi AI relies on the network and needs to be configured for the network first.
1. Device Networking
① Please insert the USB wireless network card into the USB port of the device first, and then power on the device. The current USB wireless network card does not support hot-swapping and needs to be plugged in before powering on.
② Open the software, click the ⚙ in the upper right corner to open settings.
③ A new option "Device Networking" will appear in the settings.
④ Select the target WiFi (ensure it's a 2.4GHz network), enter the password, and wait for the prompt "Connected" to confirm a successful connection.
2. Download and Load Theme
① Enter the store in the software, search for and download Secondscreen - Theme 20.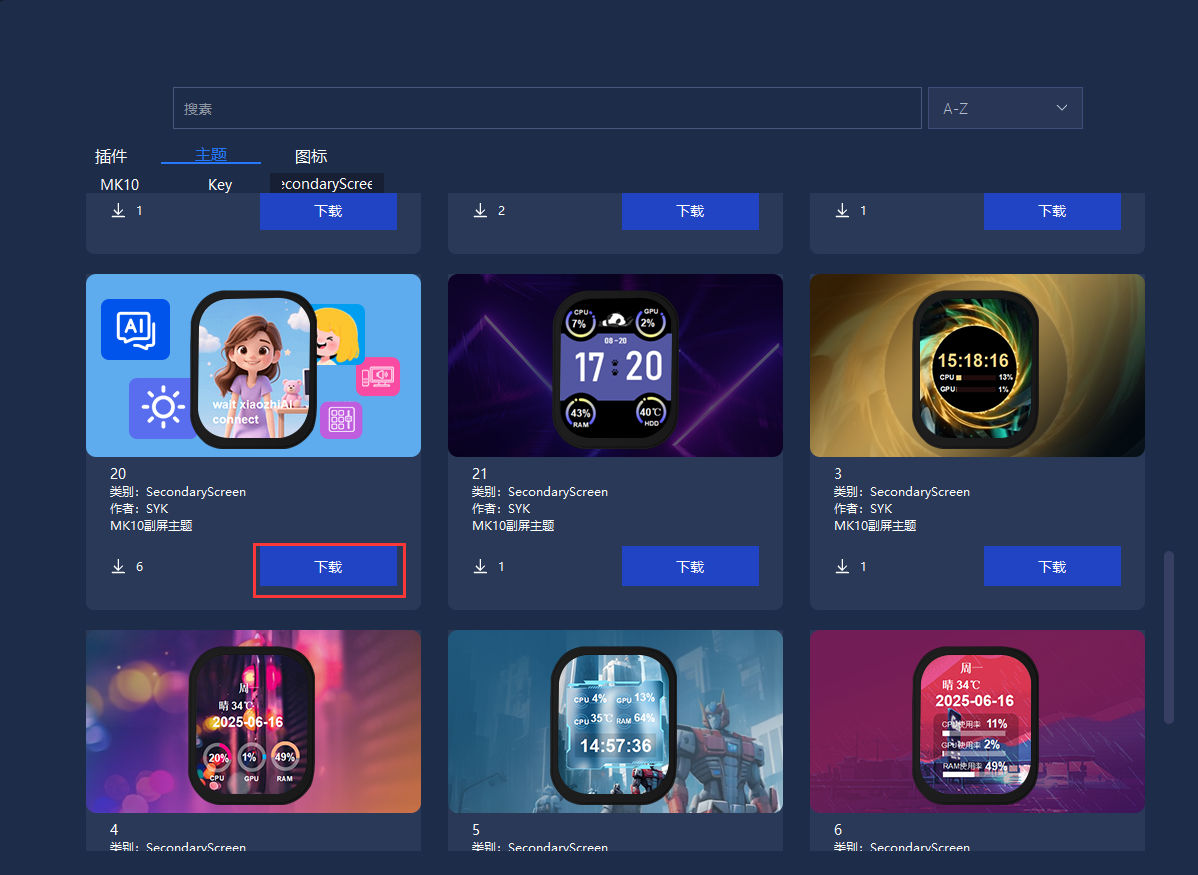
② Back to the main page, right-click on the secondary screen location → load, and select the downloaded 20.theme file.
③ In the side button bar, find Device → AI enable switching and AI status switching, and drag them to any position in the button panel.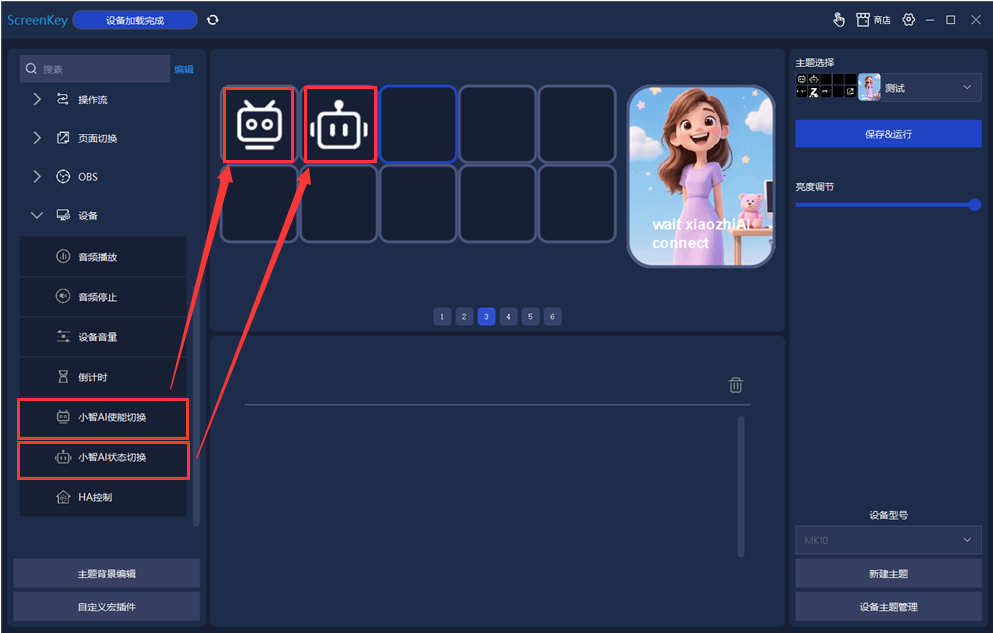
④ Click "Save & Run", and the theme will take effect.
⑤ After configuration, the text may display the following status:
- `xiaozhiAI connect`: The XiaoZhi AI has successfully connected and can start interacting.
- `Captcha`: Xiaozhi AI is waiting to be activated.
3. Connect to XiaoZhi AI
① Open XiaoZhi official website, register and log in with your phone number.
② Select Add Device, and the system will prompt you to enter the verification code.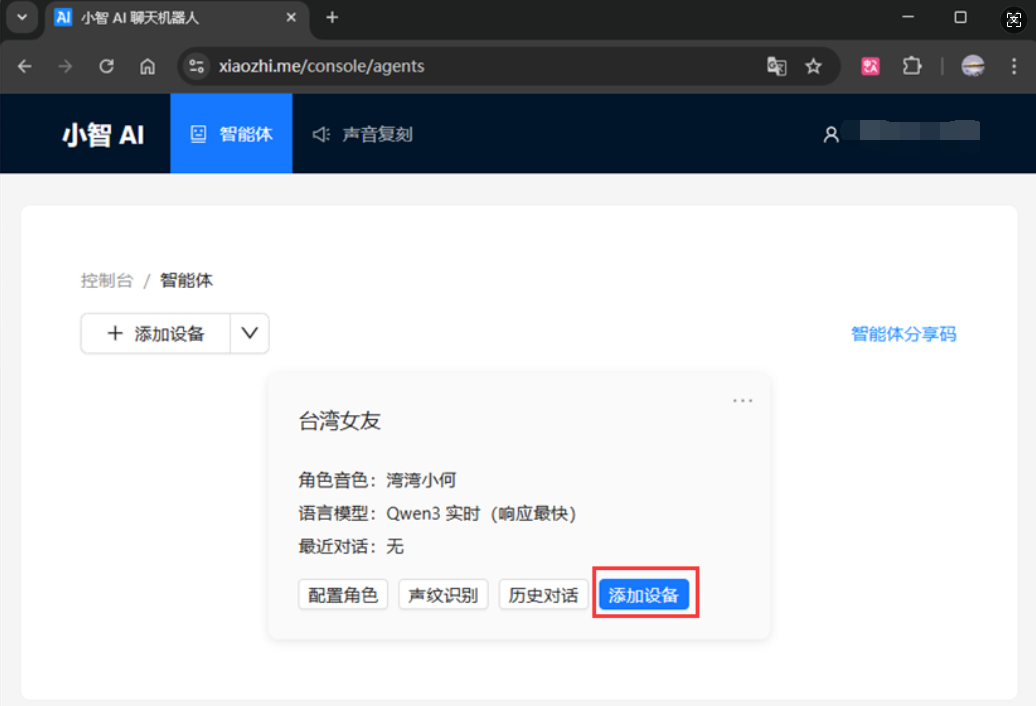
③ Check the verification code on the MK10 screen and enter it to complete the connection.
4. Control XiaoZhi Voice Status
- AI enable switching: Used to enable or disable the XiaoZhi AI function.
 Screen display instructions:
 - `xiaozhiAI enable` / `xiaozhiAI connect`: XiaoZhi AI has connected and ready to start a conversation.
 - `xiaozhiAI disable`: XiaoZhi AI has been disabled.
 - `Audio Device Error`: The audio interface is occupied, just restart the device
- AI status switching: Used to control the XiaoZhi AI voice function.
 Screen display instructions:
 - `xiaozhiAI Listening`: XiaoZhi is listening and can start voice commands.
 - `xiaozhiAI Pausing`: XiaoZhi has paused listening and cannot receive voice commands temporarily.
XiaoZhi AI Chat
XiaoZhi AI can not only execute control commands for devices and host computers but also conduct simple conversations and information queries, enhancing the interactive experience.
For example: "How is the weather today?", "Play a song", "Tell a joke".
You can set the language, voice, and background introduction of the dialogue character in Console → Agents → Configure Role.
XiaoZhi AI Built-in Commands
XiaoZhi AI has built-in the following common commands, which are divided into host computer processing and device processing based on different processing methods.
| Command | Processing method | Application example |
|---|---|---|
| System volume | Host computer processing (requires connection to a computer) | Adjust computer volume, such as "set to 50%" |
| System input | Host computer processing (supports Chinese input) | Enter text by voice into chat window and search box |
| Open webpage | Host computer processing | "Open Baidu", "Visit YouTube" |
| Open file | Host computer processing | "Open presentation document", "Open Excel sheet" |
| Open folder | Host computer processing | "Open the download folder" |
| Device volume | Device processing (no need for a host computer) | Adjust the volume of the device's built-in speaker |
| Device brightness | Device processing (no need for a host computer) | Automatically reduce brightness at night and increase brightness during the day |
| Device input | Device processing (does not support Chinese input) | Enter English or numeric commands, such as "OK" or "1234" |
Extended Commands (Custom AI Control)
In addition to the built-in commands mentioned above, you can also configure AI commands through controls:
① Fill in the voice command in the AI command field of the control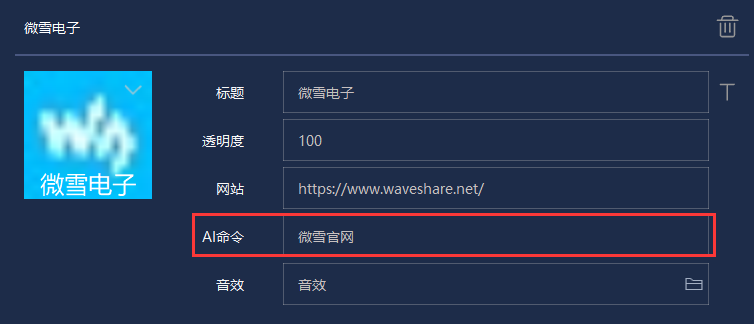
② Save the theme and run it
③ After running, it can be triggered by voice
Application example: "Open the Waveshare official website"
Theme Customization (Optional Operation)
1. Enter "Theme editing" Interface
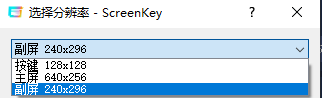
After clicking the "Theme editing" button in the lower left corner, a screen selection window will pop up. There are three options in the pop-up window:
- Button: 10 x 0.85" mechanical display keys (resolution 128×128)
- Main screen: Overall area consisting of 10 keys (resolution 640×256)
- Secondary screen: 2.01inch secondary screen (resolution 240×296)
In this example, the secondary screen 240×296 is selected as the object for subsequent introduction.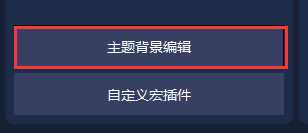
2. Set "Image" Control
① Click "Image" to set the center coordinates of the image (centered by default (120,148)).
② Set the image path, place the created image in the \image\MK10 file directory and select it.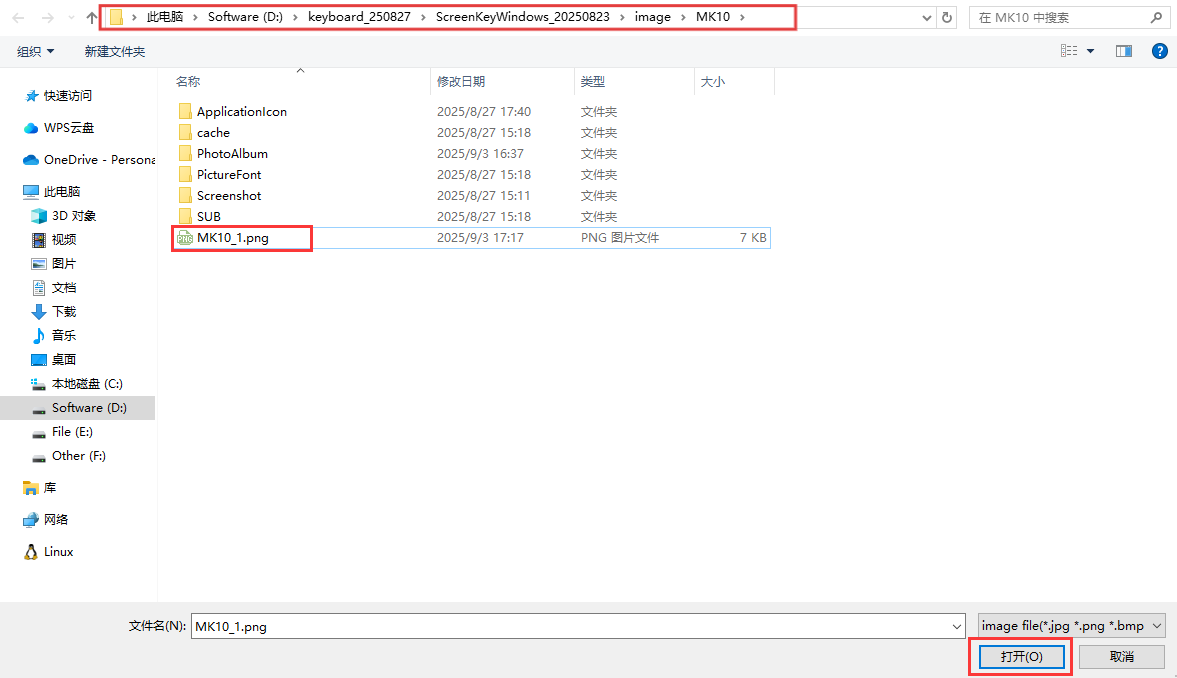
③ A preview of the image will appear in the canvas area. If you need to modify it, you can edit it by clicking on the layer.
3. Set "Text" Control
① Click on "Text" to set the text coordinate position (default (120,148), can be dragged and zoomed with the mouse).
② Set the text content, foreground color, and font, and click "Save" to take effect
③ If the "Data classification" switch is turned on, the text control will display the corresponding dynamic data in real time.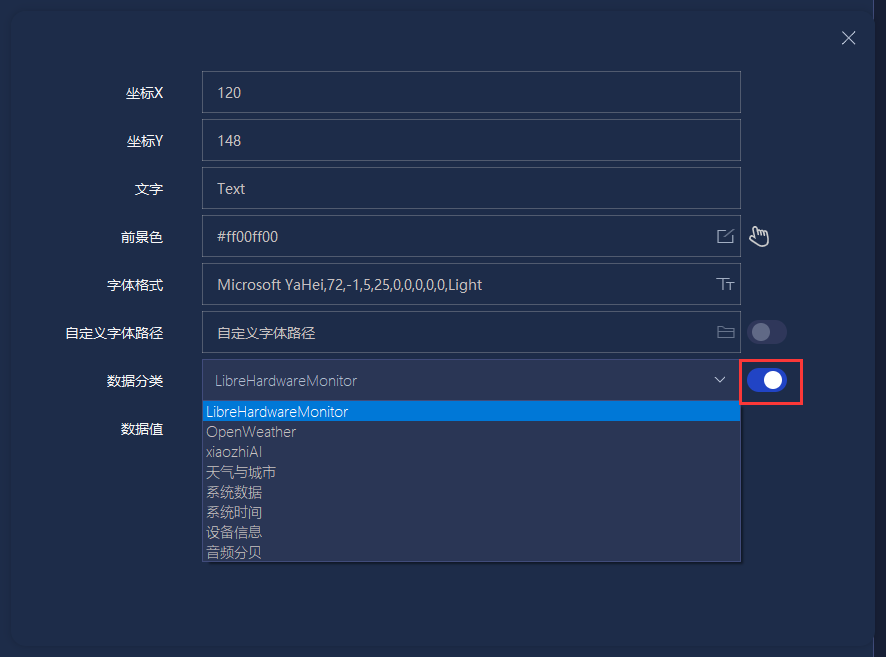
| Data classification | Description |
|---|---|
| LibreHardwareMonitor | System hardware monitors data and supports displaying CPU usage, temperature, memory usage, GPU load, etc. It requires the LibreHardwareMonitor library. |
| OpenWeather | Weather data, which can display temperature, humidity, wind speed, weather description, city information, etc. You can refer to the openweathermap website for an introduction to related parameters. |
| xiaozhiAI | Interaction data from Xiaozhi AI, such as voice assistant output, intelligent dialogue feedback, etc. To more intuitively display the device network and XiaoZhi status, it is recommended to use the "Multi-line Text" control to show the status. |
| Weather and the city | Displays the weather information and geographical location name of the city set by the user, and is often used in conjunction with OpenWeather. |
| System Data | Local system status information, such as CPU usage, memory remaining, disk usage, etc., is updated in real time. |
| System Time | The current system time, which can be used as a clock. |
| Device information | Static information of the device, device brightness and volume information. |
| Audio decibels | Real-time environmental sound decibel level, which can be used to visualize the intensity of audio input. |
4. Set "Circular Progress Bar" Control
① Hover over "Circular Progress Bar" to select the progress bar type.
② Set the parameters such as circular coordinates, diameter, arc width, and interval.
③ Set the color, which can be displayed in three gradients or monochrome.
④ Set the starting and ending angles of the arc, control direction and arc length.
⑤ After selecting system data and setting the upper and lower limits, the progress bar dynamically displays the corresponding data.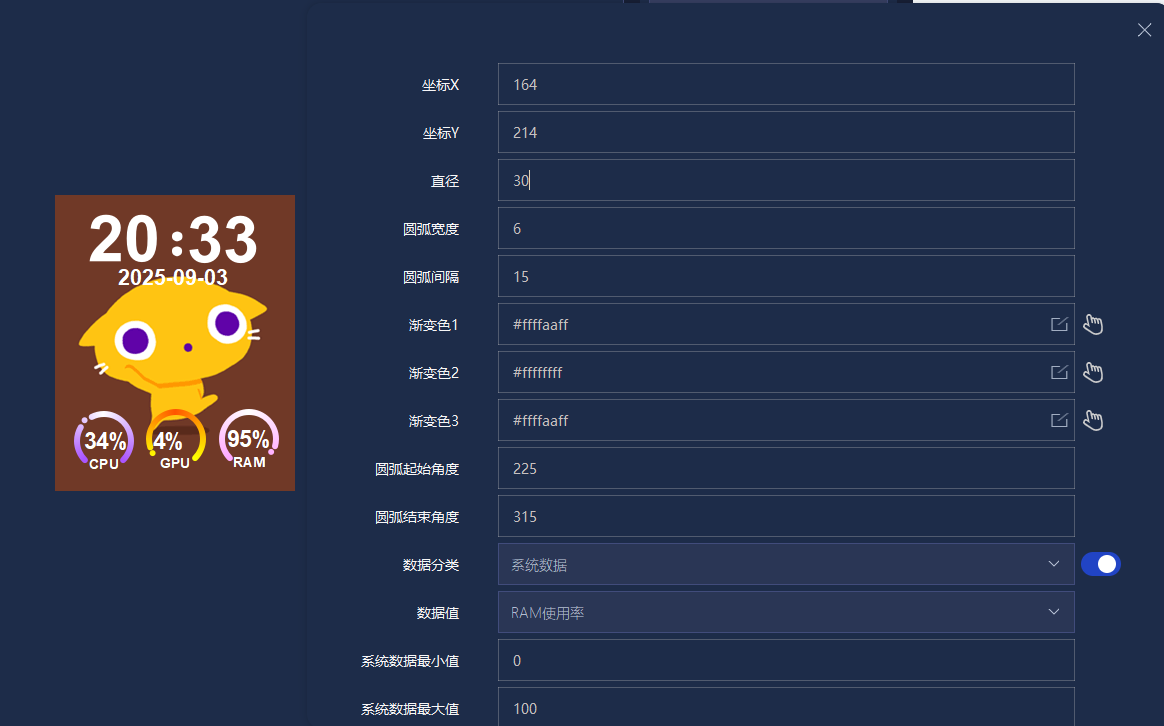
5. Set "Linear Progress Bar" Control
① Click "Linear Progress Bar" to set coordinates, width, height, corner radius, edge width, etc.
② Set the rectangular border, background color, and content foreground color, which can be displayed in gradient or monochrome colors.
③ After checking the system data, the rectangular progress bar dynamically displays the corresponding data.
HA Configuration Guide
Configure HA System on Raspberry Pi
1. Use Raspberry Pi Imager to Flash Latest Official Image
- 1. Connect the TF card to the PC, download and use Raspberry Pi Imager to flash the corresponding system image.
- After flashing is completed, insert the TF card into the Raspberry Pi and connect the network cable and power supply.
- Connect the Raspberry Pi to the HDMI screen, and you can read the system-assigned IP address on the screen.
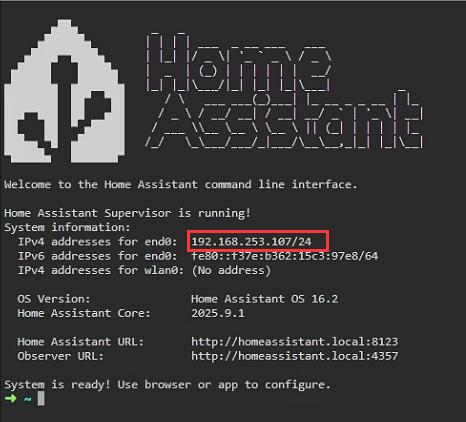
- Enter the following address in the web browser on a computer within the same local area network:
http://<Raspberry Pi IP>:8123/
For example http://192.168.253.107:8123/ , please replace with the actual IP, or access directly: http://homeassistant.local:8123/
- When you first enter the page, it will prompt "Preparing Home Assistant". Depending on your hardware and network connection, the preparation process may take some time.
At this moment, Home Assistant is downloading the latest version of Home Assistant Core (about 700 MB).
- After initialization is complete, click "Create My Smart Home" to continue the setup.
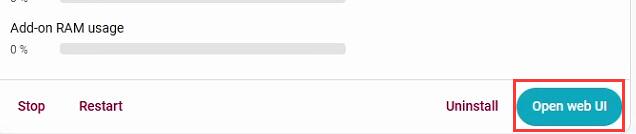
2. Install Advanced SSH & Web Terminal
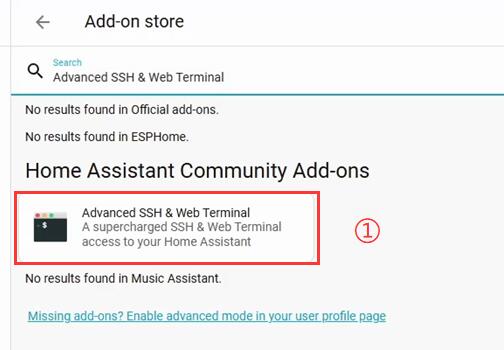
- Open Settings -> Add-ons

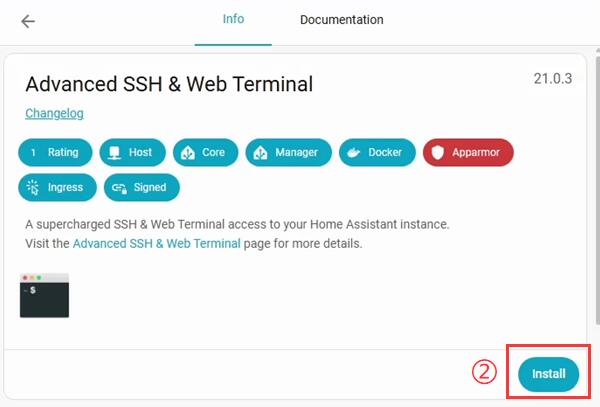
- Enter "Advanced SSH & Web Terminal" in the search bar, click Install
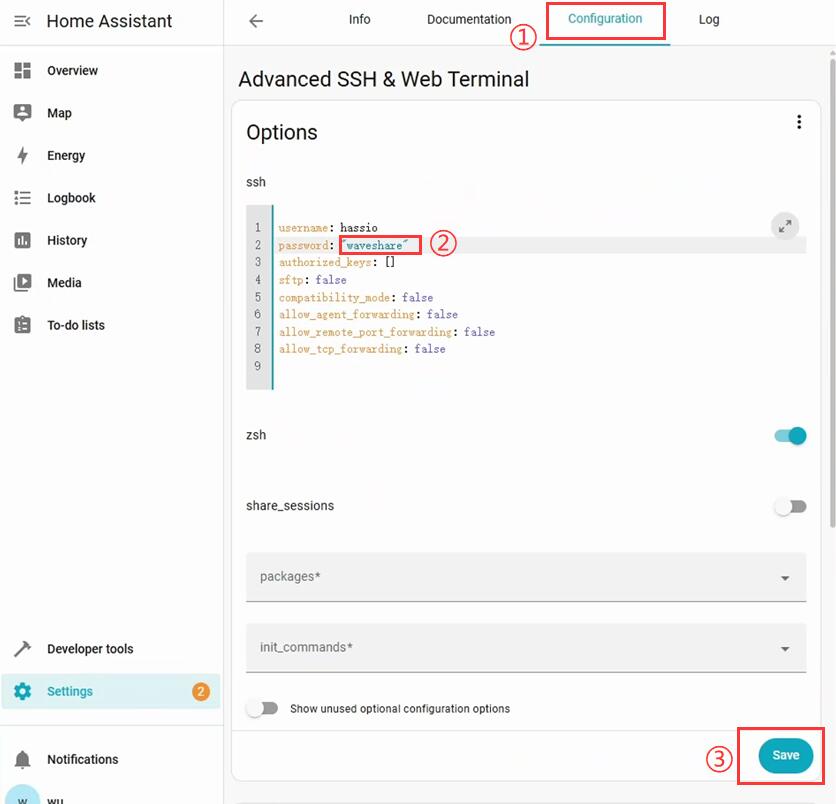
- After the installation is complete, click Configuration, set the Advanced SSH & Web Terminal login password
3. Install HACS (Home Assistant Community Store)
HACS is not an add-on, but a custom integration, and needs to be installed via terminal commands.
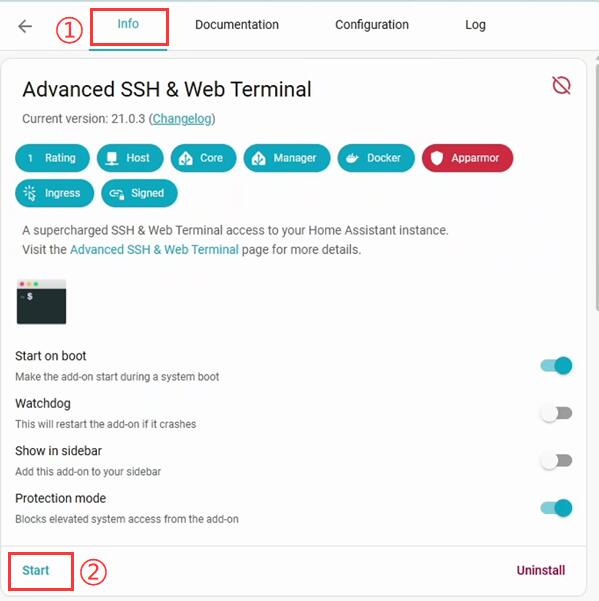
- Open Advanced SSH & Web Terminal:
- Enter the following command in the terminal:
wget -O - https://get.hacs.xyz | bash -
- After execution, restart Home Assistant.
reboot
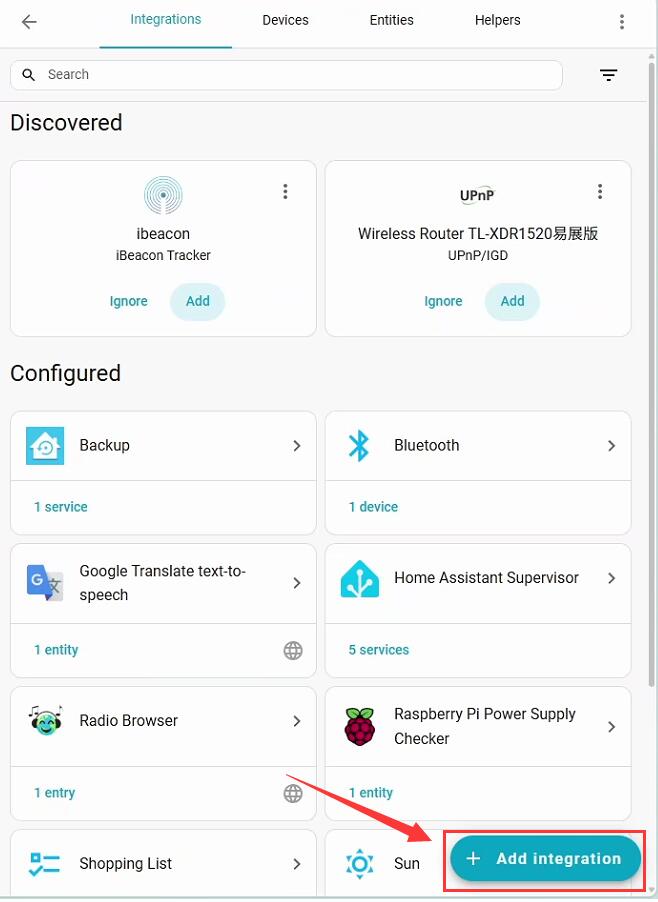
- After the system restarts, go to Settings -> Devices & services
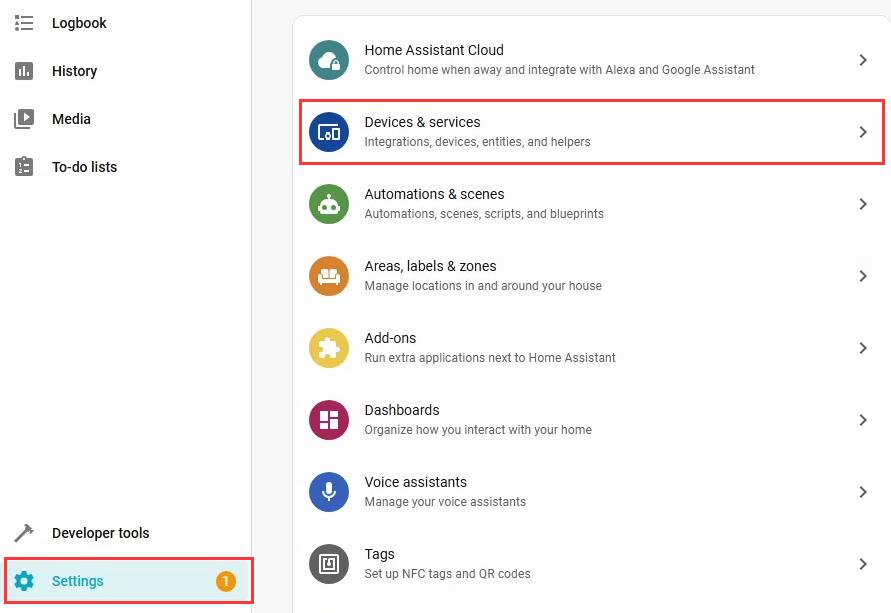
- Click "Add integration" in the lower right corner
- Search for HACS, click to enter
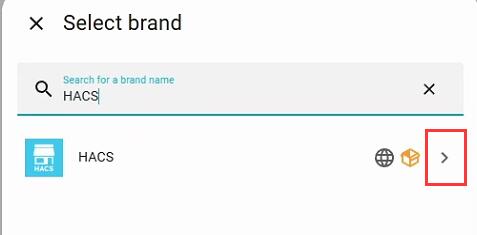
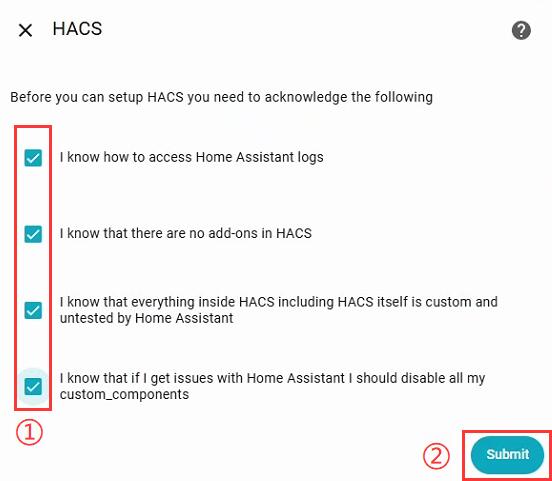
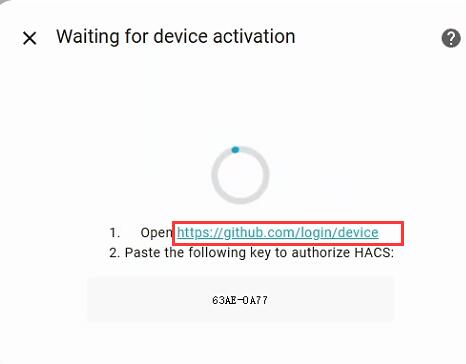
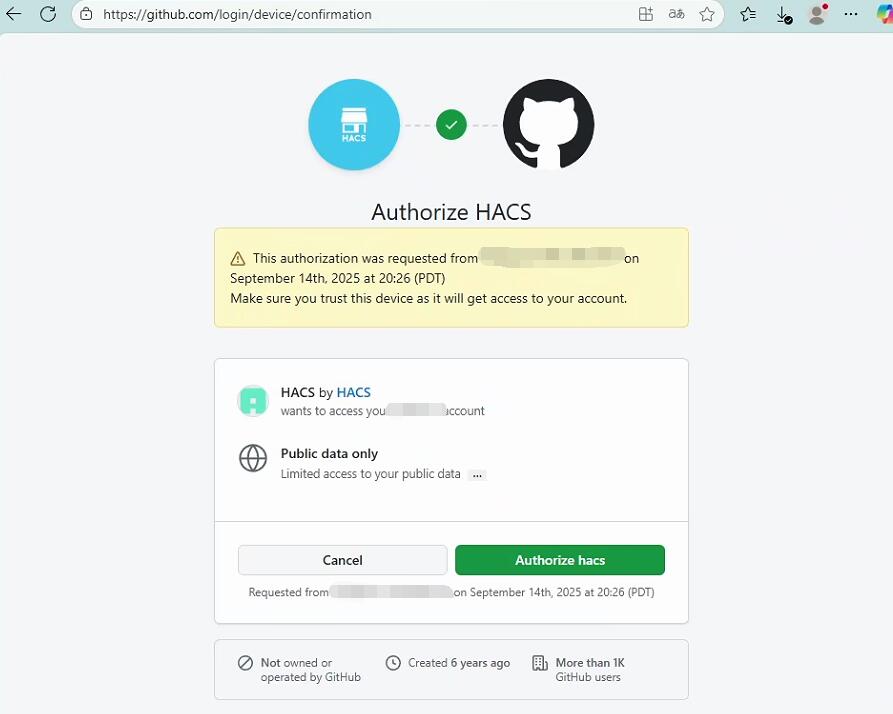
- Click the link, verify and log in to your Github account (you need to register yourself)
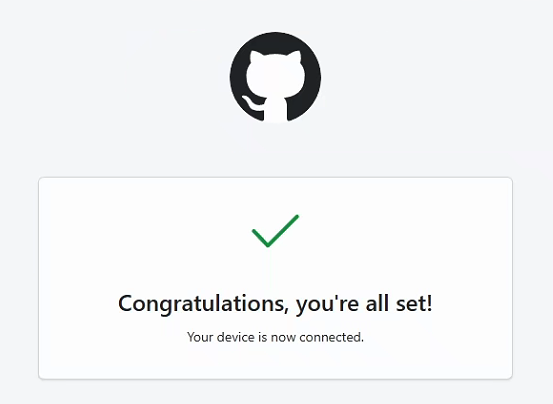
- Binding successful:
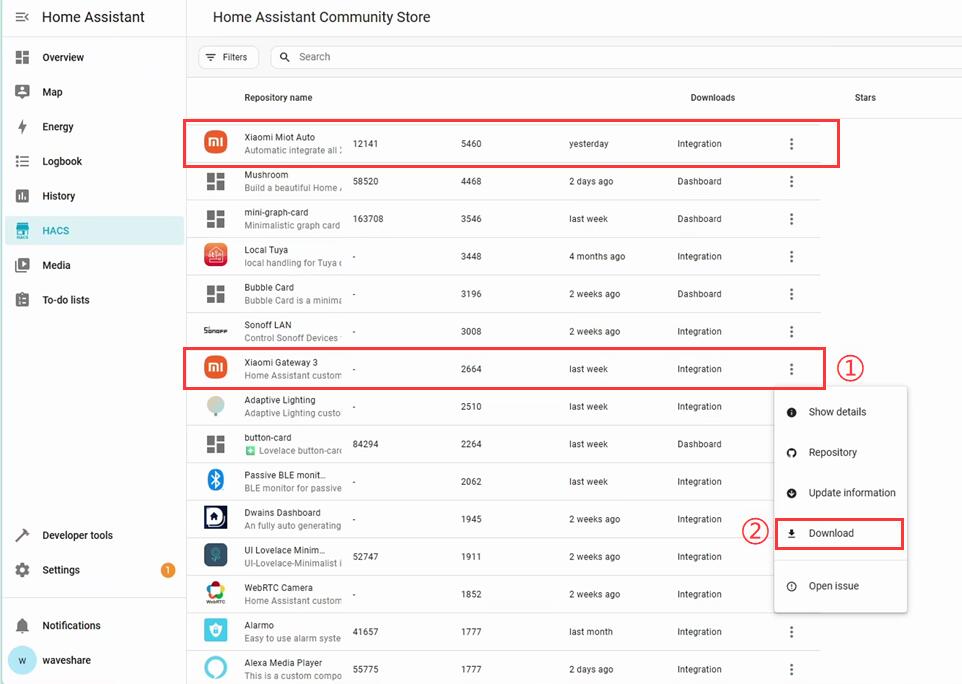
4. Connect to Xiaomi Home Device
- Open HACS, enter and install the following two integrations in the search bar:
- Xiaomi Miot Auto
- Xiaomi Gateway 3
- After installation, go to Settings -> Device & services -> Add integration, and enter xiaomi in the search bar
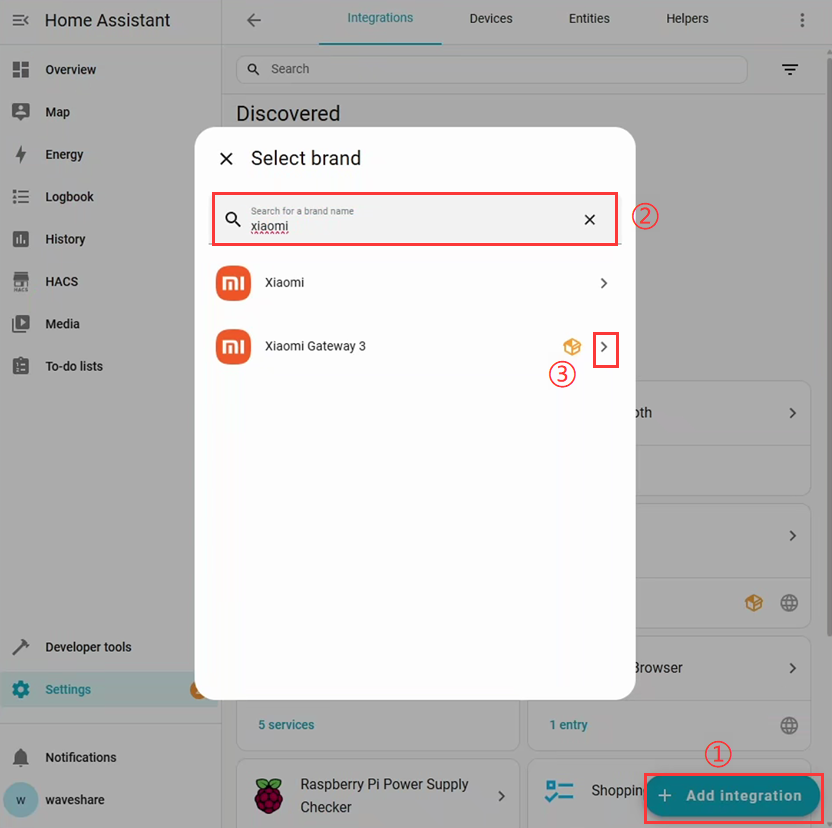

- Follow the prompts on the interface to log in to the Xiaomi account that has been bound to the Xiaomi Home device (advance registration is required)
XiaoZhi Voice Control for HA Devices
We need to ensure that Xiaozhi can respond normally and that the HA webpage can control the device normally first
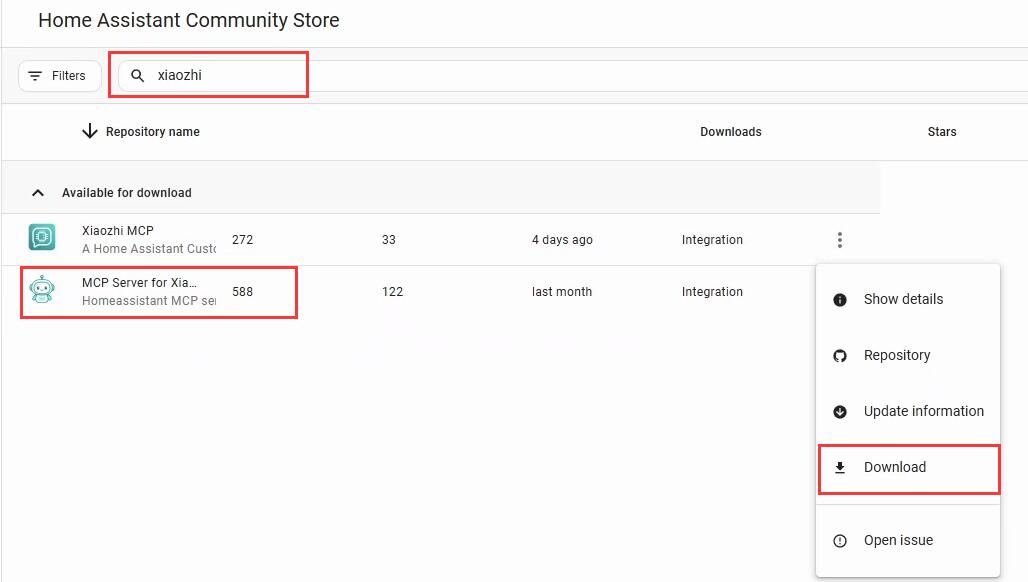
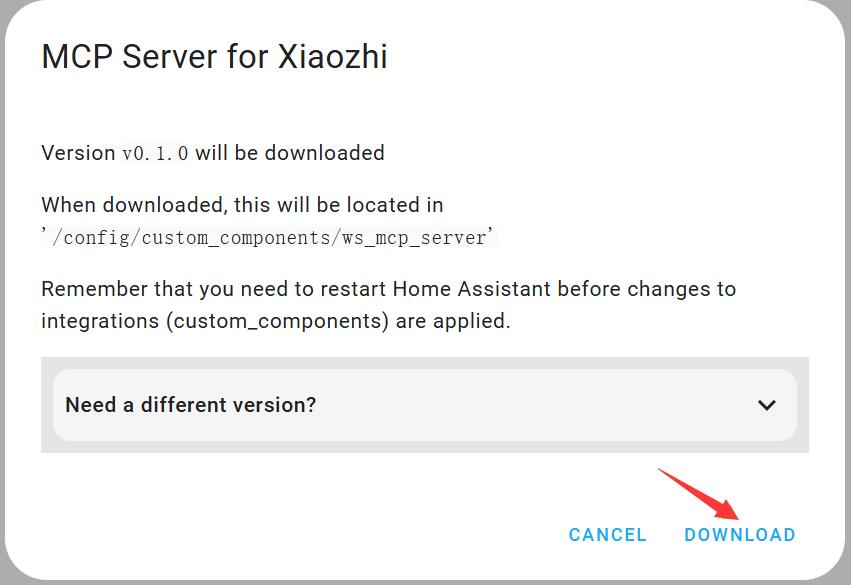
Xiaozhi MCP Access
- Enter HACS, search for xiaozhi, download MCP Server for Xiaozhi
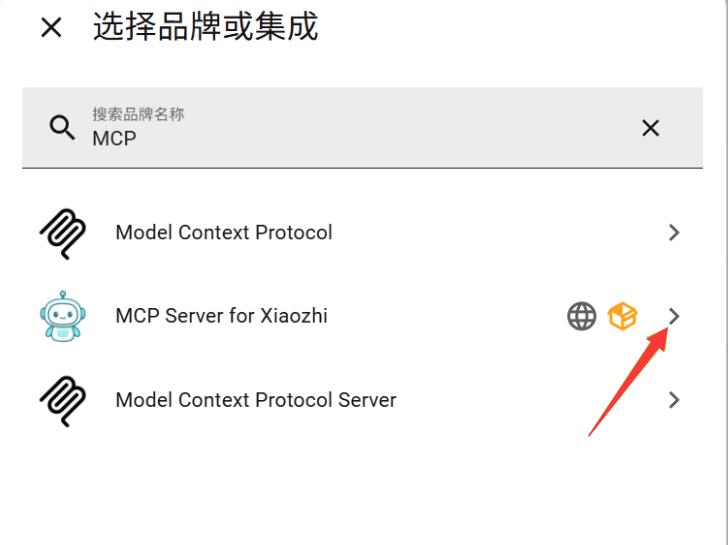
- After successful download, go to Settings -> Devices & services -> Add integration -> Search and add MCP Server for Xiaozhi
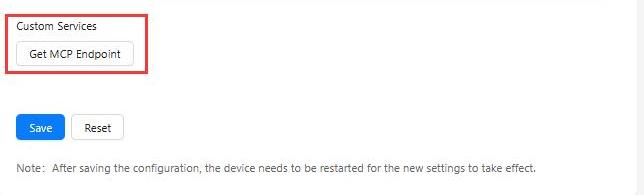
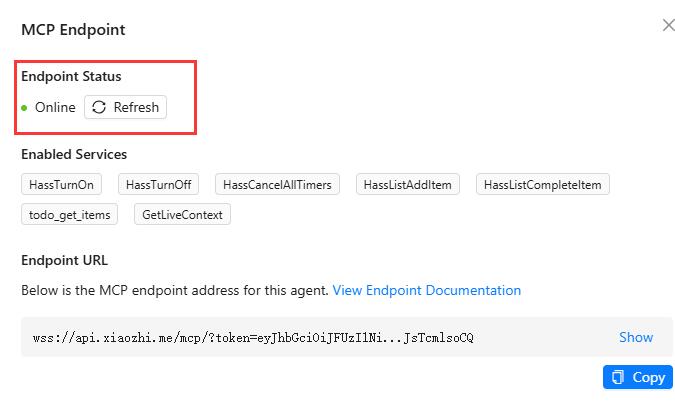
- Get the access address for XiaoZhi MCP, enter https://xiaozhi.me/console/agents in the browser
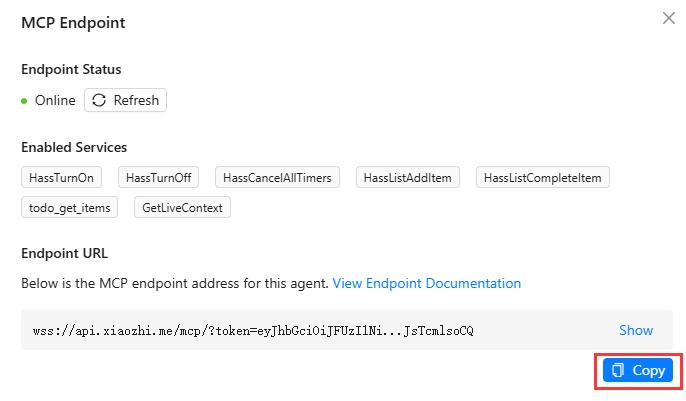
Click Configure Role -> Get MCP Endpoint
Copy URL
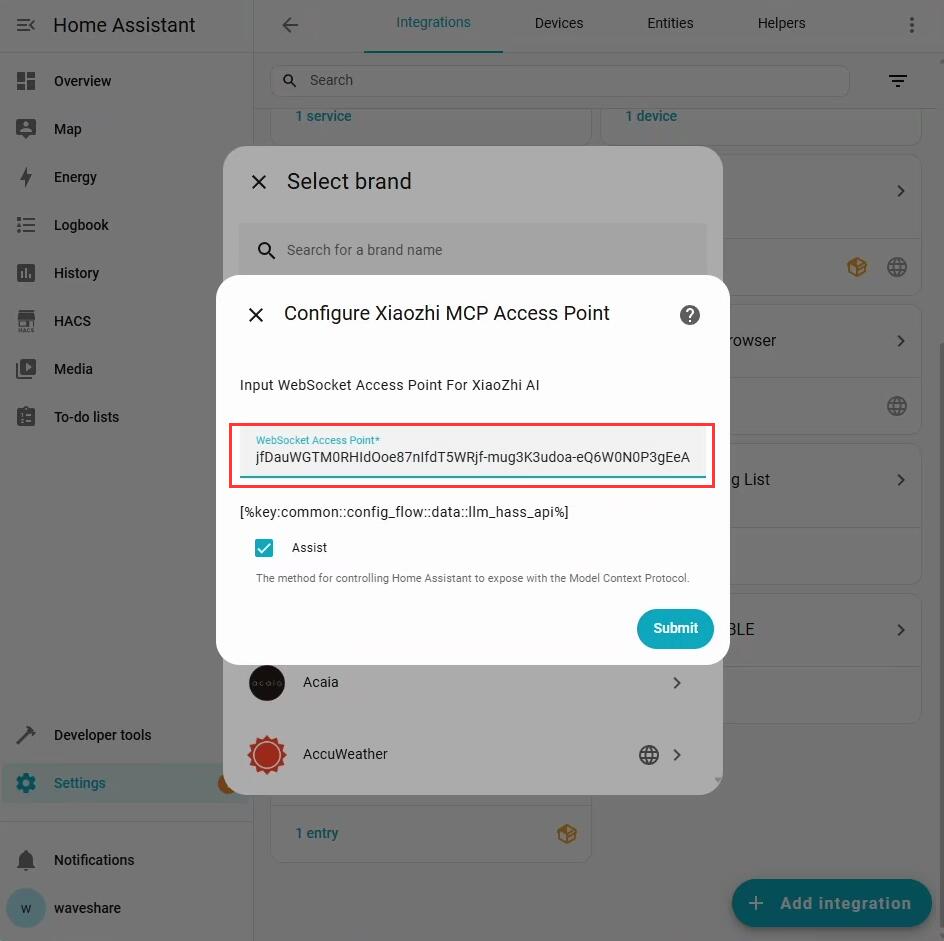
Paste the copied address into the HA configuration just now
At this time, return to the Xiaozhi configuration interface and refresh, the endpoint status will be displayed as Online
Control Optimization
It is recommended to use the Deepseek model for Xiaozhi

- In the Home Assistant web page, go to:
Settings - > Voice assistants - > Expose - > Assistants
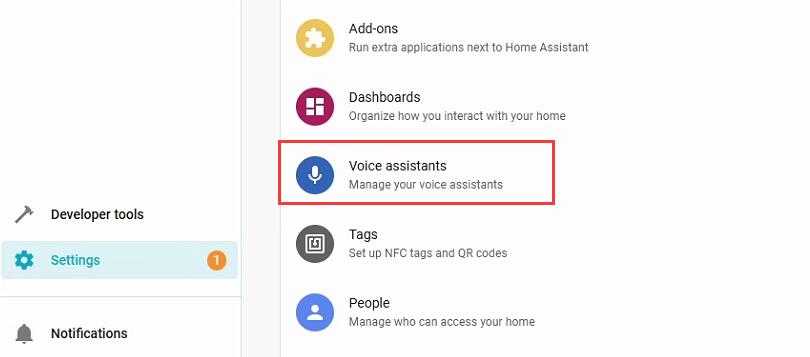
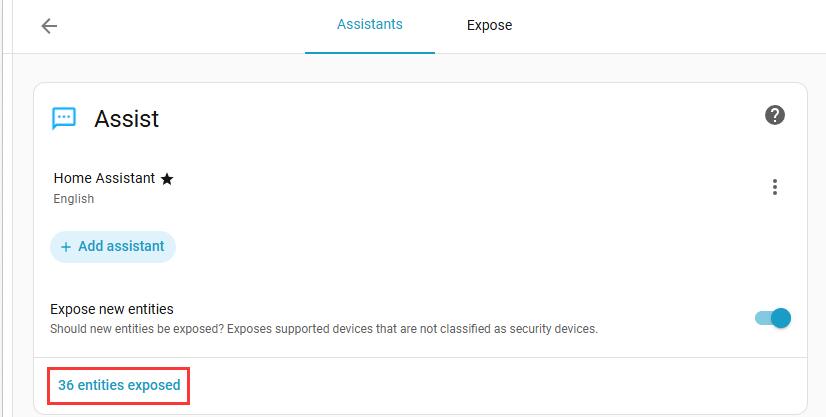

Then you can set an alias for the device
- After completing the setup, restart the device to start a conversation with XiaoZhi, for example:
- XiaoZhi, what devices are there in the office?
- Turn on the desk lamp.
- XiaoZhi, what devices are there in the office?
ScreenKey Local Access to HA Devices
Create Token
In the HA web interface, go to:
User → Security → Create token

Configure Token
- Copy the generated token and paste it into the token input box in the ScreenKey software.
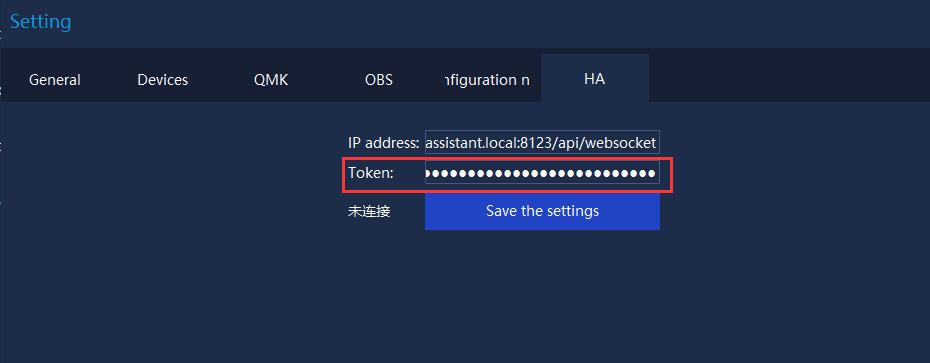
- Click Save the settings, if configured correctly, it will show "Connected".
- If it is a local network environment, no IP address modification is required; if not, please replace homeassistant.local with the actual IP address.
Dual System Architecture Description
MK10 adopts a dual-system architecture:
- Host Mode
Run the host software on Windows/MacOS, which allows you to customize themes, macro commands, AI voice interaction, and other functions through a graphical interface.
- Independent Operation Mode (QMK Firmware)
Even without running the host software, the MK10 can rely on the built-in QMK firmware to perform the following functions:
① Keyboard input: Single key input, combined key input (e.g., Ctrl+C, Alt+Tab).
② Quick operation: Enter commands via Win+R to quickly open web pages, applications, folders, or files.
③ Mouse simulation: Perform mouse clicks, scrolling, and other operations.
④ QMK string: One-click entry of preset characters (such as entering the boot password when powering on/locking the screen).
⑤ Operational flow control: Delay, loop, conditional execution.
⑥ XiaoZhi AI: Supports simple voice dialogue (optional feature).
Resources
FAQ
1. Please confirm that the WiFi is on the 2.4GHz frequency band; 5G WiFi is not supported.
2. Confirm that the WiFi password is entered correctly.
3. Avoid special characters in the WiFi name.
4. Confirm that the network signal is stable, and you can use the mobile hotspot for comparison testing.
5. Try unplugging the USB cable and reconnecting the device.
1. Insert the network card into the Windows PC.
2. The first time you connect the network card, a USB flash drive will pop up. Double-click the exe file to install the realtek driver, and after the network card is connected, the wireless network will be recognized in Device Manager.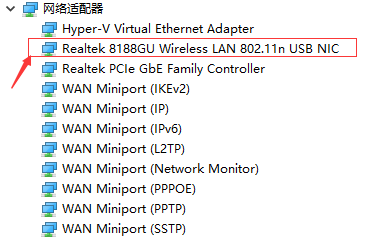
Support
Monday-Friday (9:30-6:30) Saturday (9:30-5:30)
Email: services01@spotpear.com
[Tutorial Navigation]
- Introduction
- Hardware Connection
- Software Settings
- Download Software
- Run Theme
- XiaoZhi AI Application
- 1. Device Networking
- 2. Download and Load Theme
- 3. Connect to XiaoZhi AI
- 4. Control XiaoZhi Voice Status
- XiaoZhi AI Chat
- XiaoZhi AI Built-in Commands
- Theme Customization (Optional Operation)
- HA Configuration Guide
- Configure HA System on Raspberry Pi
- 1. Use Raspberry Pi Imager to Flash Latest Official Image
- 2. Install Advanced SSH & Web Terminal
- 3. Install HACS (Home Assistant Community Store)
- 4. Connect to Xiaomi Home Device
- XiaoZhi Voice Control for HA Devices
- ScreenKey Local Access to HA Devices
- Dual System Architecture Description
- Resources
- FAQ
- Question: Why can't the device connect to WiFi?
- Question: How to check if the network card is working properly?
- Support