- sales/support
Google Chat:---
- sales
+86-0755-88291180
- sales01
sales@spotpear.com
- sales02
dragon_manager@163.com
- support
tech-support@spotpear.com
- CEO-Complaints
zhoujie@spotpear.com
- Only Tech-Support
WhatsApp:13246739196
- Purchase/Shipping/Refund
WhatsApp:13424403025
Raspberry Pi ------ 3.7 OLED display raspberry pi status User Guide
7 OLED display raspberry pi status
The Raspberry Pi RGB_Cooling_HAT needs to be properly plugged into the GPIO port of the Raspberry Pi and open the Raspberry Pi system I2C function.
This experimental phenomenon shows that OLED display CPU usage, CPU temperature, running memory usage, disk usage and IP address of the Raspberry Pi
1. File transfer
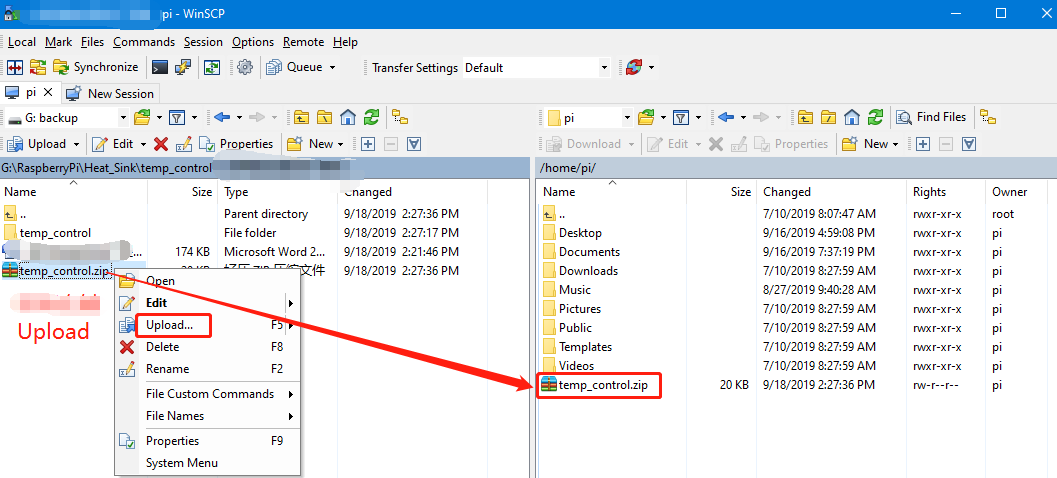
1.1 Install WinSCP tool on the computer side, connect the Raspberry Pi and transfer the temp_control.zip package to the pi directory of the Raspberry Pi.
Path of WinSCP:[Raspberry Pi RGB_Cooling_HAT]---[Tools]---[winscp556_setup.1416364912.exe]
1.2 Extract file
Open the Raspberry Pi terminal and input command ls to find the temp_control.zip file.
As shown below:

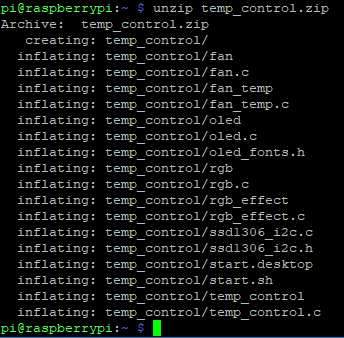
Input command to extract file:
unzip temp_control.zip
2. Compiling and running program
2.1 Input command to enter temp_control find file:
cd temp_control/
ls

2.2 Input command to compile:
gcc -o oled oled.c ssd1306_i2c.c -lwiringPi
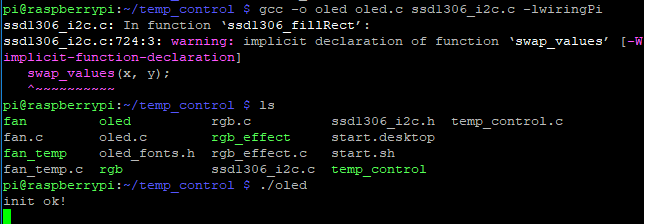
Among them, the gcc compiler is called, -o means to generate the file, oled is the generated file name, oled.c and ssd1306_i2c.c are the source program, -lwiringPi is the wiringPi library that references the Raspberry Pi.
2.3 Input command to run the program
./oled

We can see that OLED display CPU usage, CPU temperature, running memory usage, disk usage and IP address of the Raspberry Pi.
3. About code
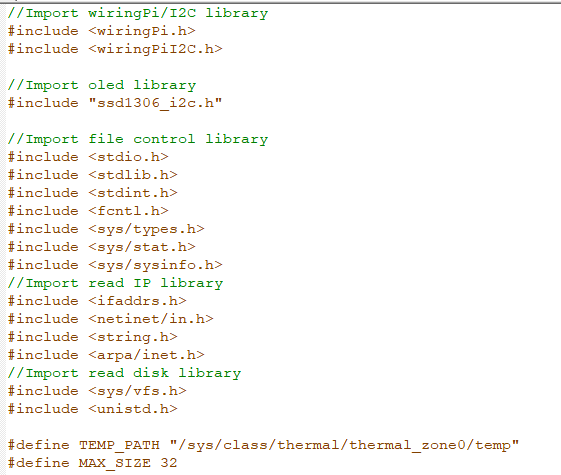
3.1 Import the wiringPi/I2C library, the oled display library, the file control library, the read IP library, and the read disk library.
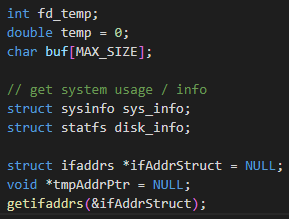
3.2 Define temperature, system information, disk information, IP and other related parameters.
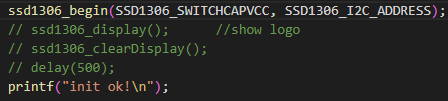
3.3 Initialize the OLED and output initialization success information “init ok!” from on the terminal.
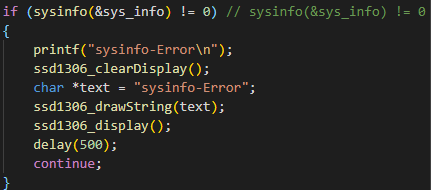
3.4 Read the system information, if it fails, display sysinfo-Error on OLED, and wait 0.5 seconds to re-read.
3.5 Read the CPU usage, where the function of the “sprintf” function is to concatenate the string.

3.6 Read the running memory usage. The unit of read data is b. For the convenience of display, it needs to be converted into Mb, which can be shifted to the right by 20 bits.
It can also be written as follows: unsigned long totalRam = sys_info .totalram / 1024 / 1024;

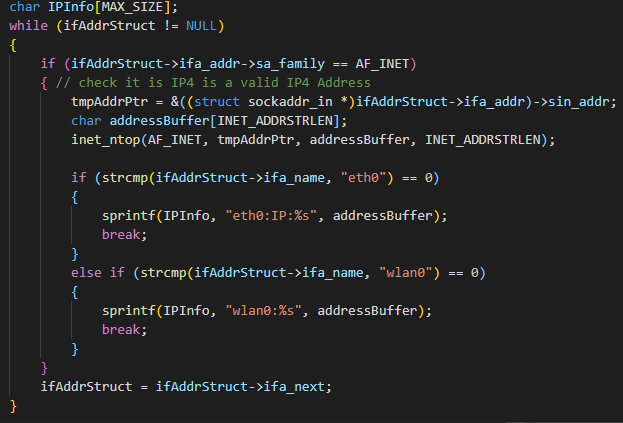
3.7 Read the IP address, you can display the IP address of the network cable and WiFi network, and give priority to the IP address of the network cable.
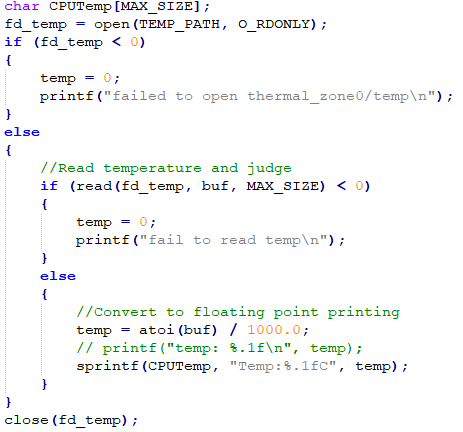
3.8 Get the temperature.
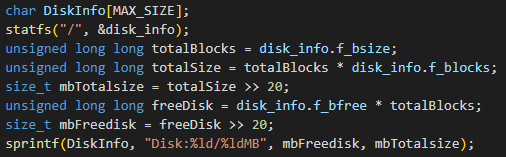
3.9 Get disk space
3.10 Set what to display on OLED
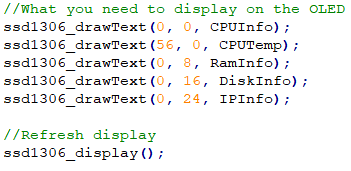
The ssd1306_drawText(int x, int y, char *str) function is to set the content displayed on oled, the first parameter is x,which control the left and right offset. The second parameter is y, which control the upper and lower offset. The third parameter is a string pointer, which is what you want to display.
Finally, you must run the ssd1306_display() function to refresh the display.